Activating an OMNI license
Important
As of September 9th 2017, the instructions below are no longer valid with the release of our new licensing workflow and Account Management Portal at https://account.appspace.com. Please refer to our introductory article here: Account Management Portal.
For new instructions to activate your license, please refer to the Activating Appspace on-premises article available in version 6.2 of this Knowledge Center.
This article provides instructions to activate your Appspace on-premises server for an OMNI subscription (i.e. OMNI C, OMNI D, OMNI E, OMNI F, or OMNI G); using the following two methods:
Offline Activation, when you do not have an active Internet connection.
Online Activation, when you have an active Internet connection,
Important
Online Activation is currently not available.
As of Appspace 6.1-ac.16, with the introduction of new licensing attributes, the older Appspace ID has been phased out, and the Subscription page now reflects the following new ID types, which are unique identifiers used by Appspace to track users and devices:
- Device ID
- Premium User ID
- Basic ID
When you assign devices and users to a particular channel group, each device is allocated one Device ID, while each user is allocated one Premium User ID. Every device and user consumes one ID each from the central pool of IDs purchased from Appspace.
Basic IDs enable you to let any users in your organization that exist in an external IdP, access the Appspace App on smartphones or tablets without having to consume Premium User IDs, thus expanding the usage and adoption of our app to a much bigger audience. To use Basic ID pass-through authentication, do the following:
Cloud: The account must be configured to use SSO, and the you need to contact Appspace Support to register your email domain with us so that we can identify and map your domain for pass-through authentication.
On-premises: You can use either SSO or AD/LDAP and configure this within your own local environment.
Prerequisites
Your Cloud user account must be upgraded to an OMNI subscription plan.
Portal Administrator privileges on your Appspace server.
Note
You can check your subscription information from your Cloud account via System > Account > Subscription.
Offline Activation
Follow the instructions below to activate an Appspace on-premises server without an active Internet connection, or with security policies in place that limit Internet access.
After a fresh installation of Appspace, connect to the Appspace server from a web browser via one of the following two URL paths:
http://<server_name_ip_address>/app
(replace <server_name_ip_address> with the DNS name or IP address of your Appspace server)
http://localhost/app
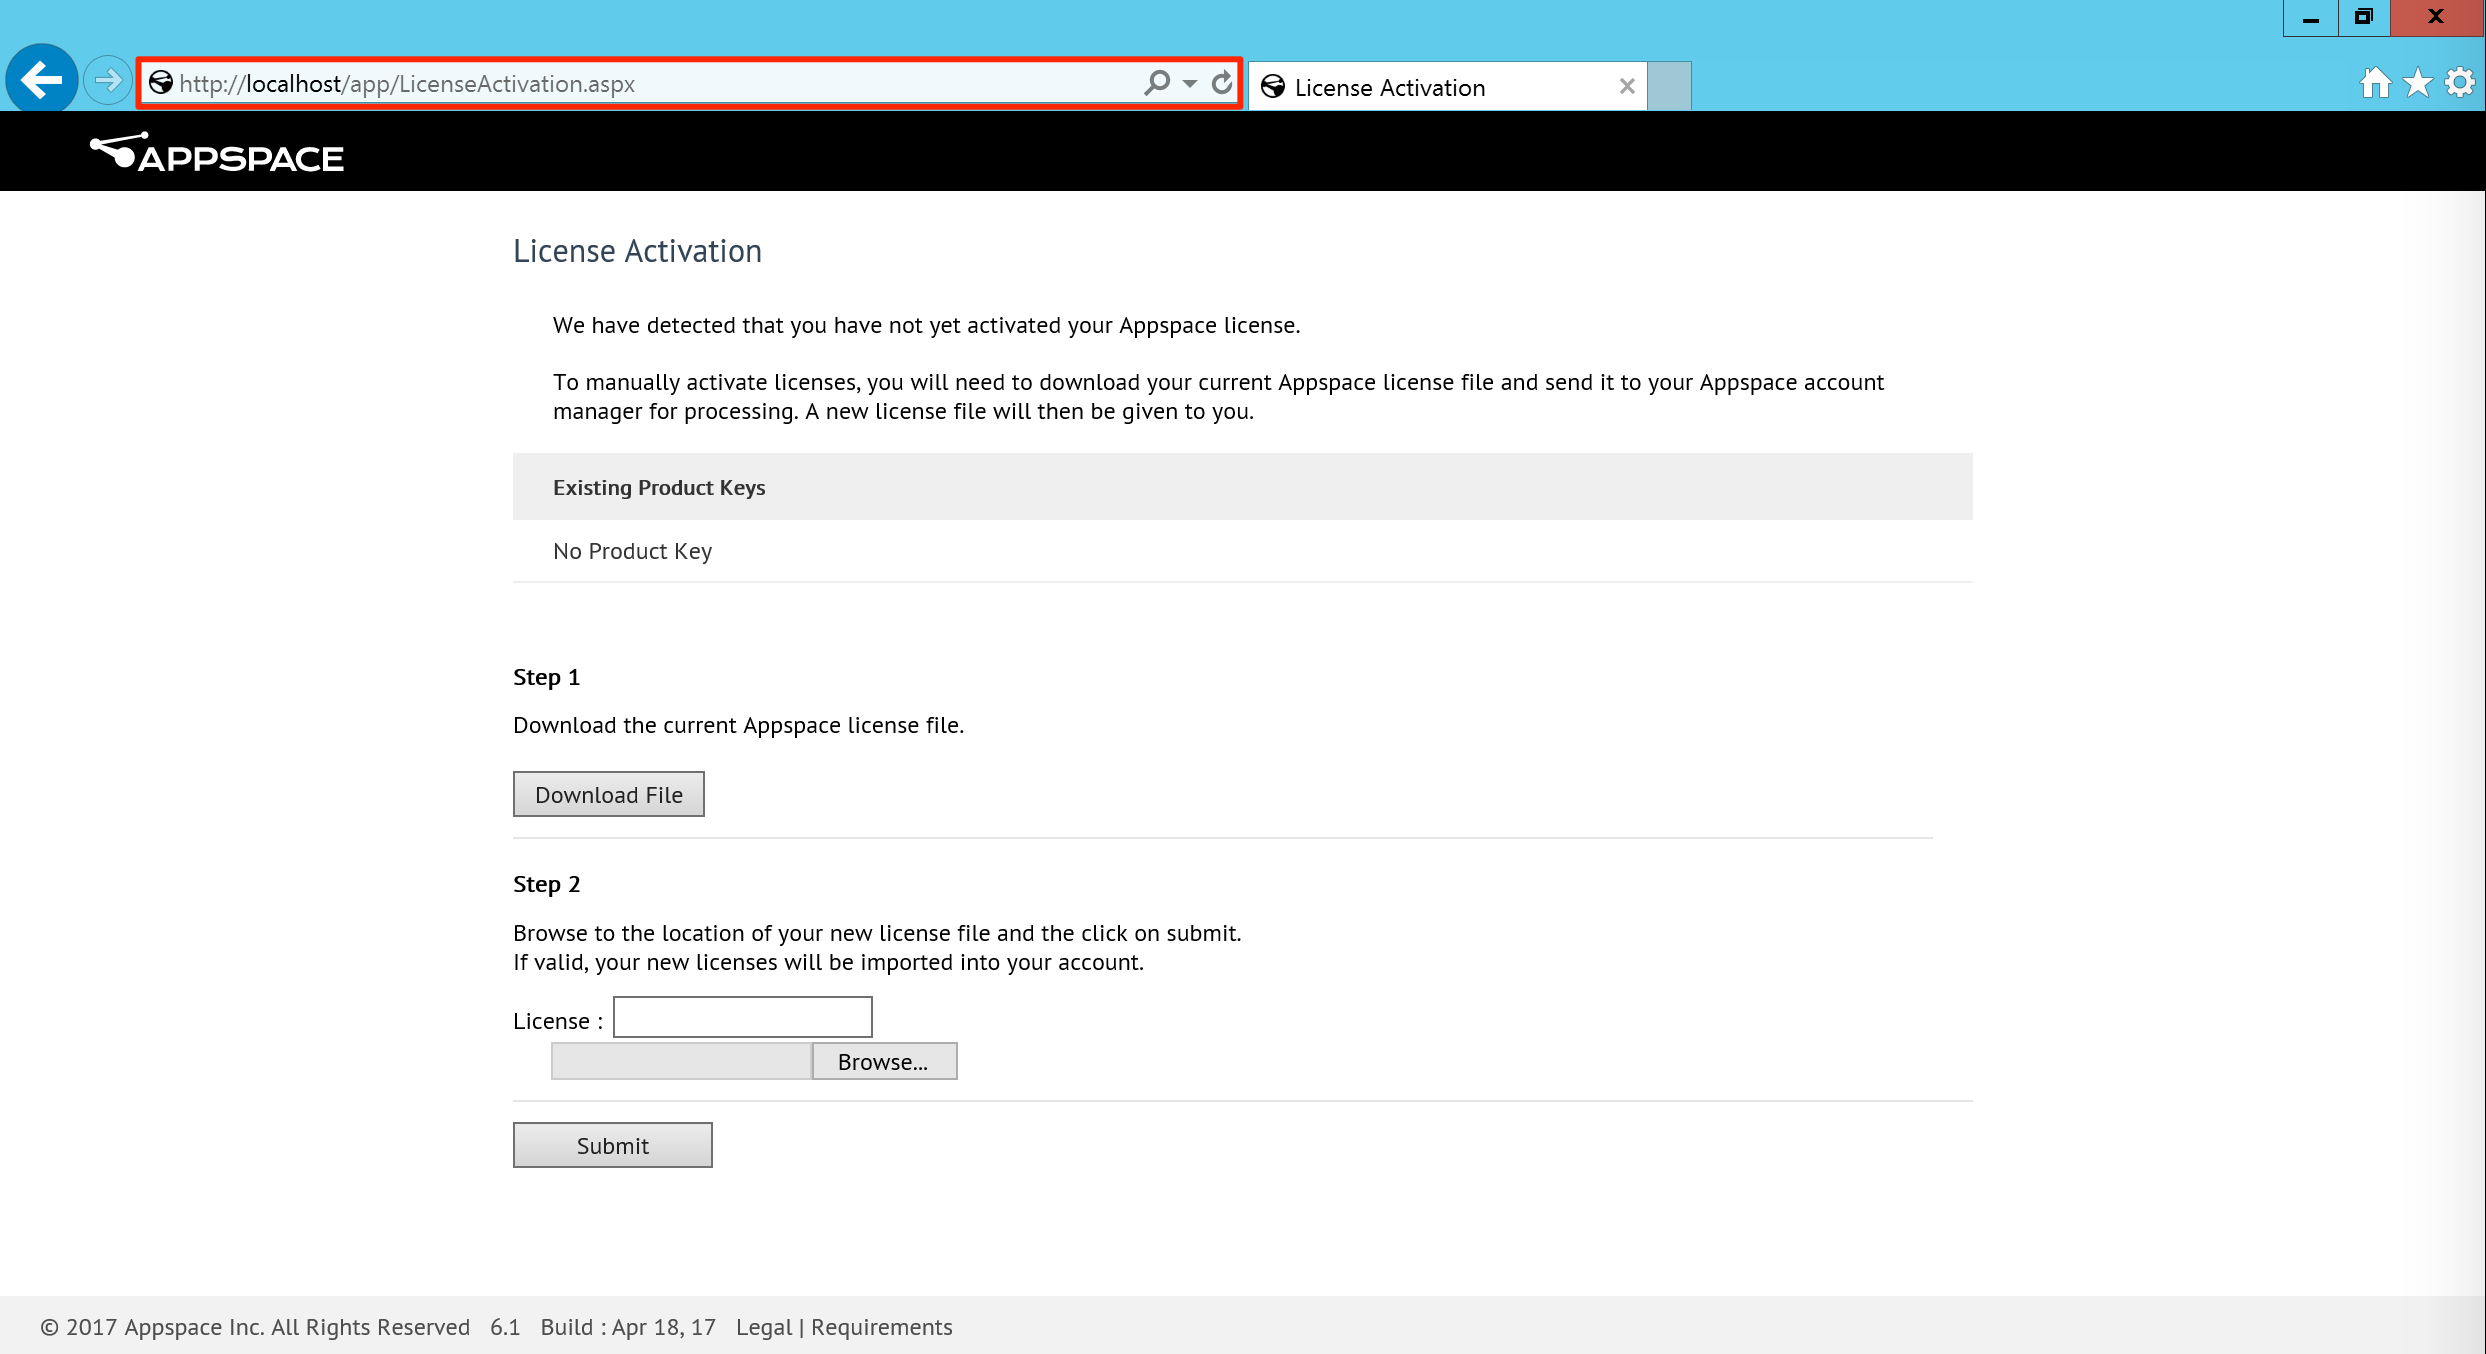
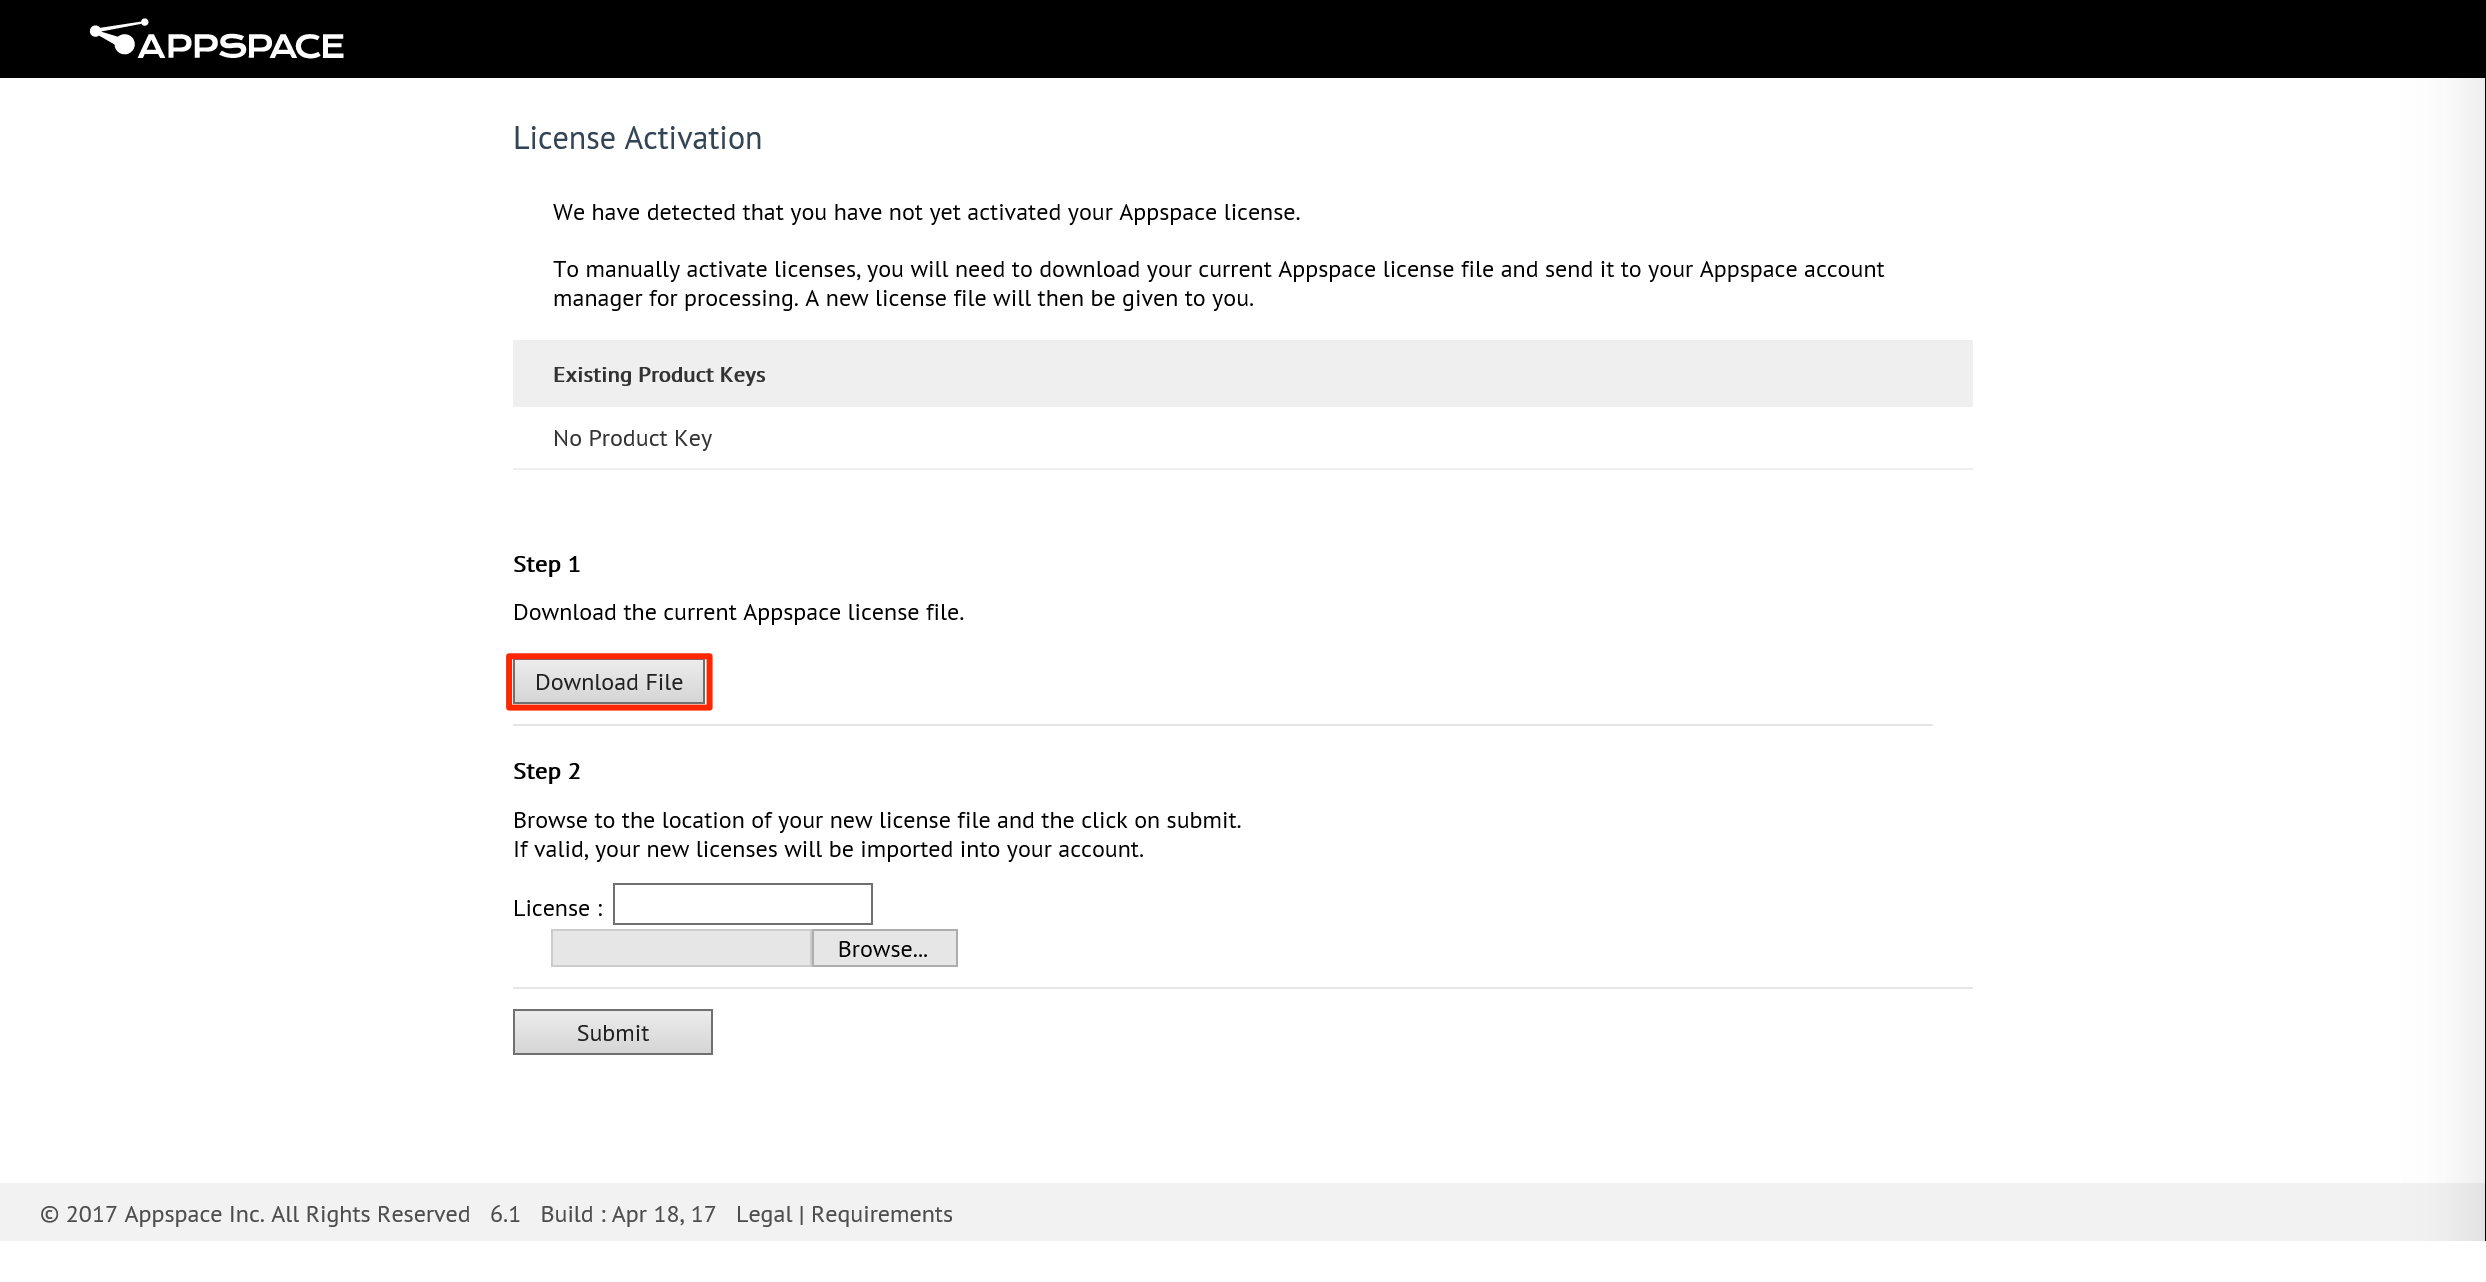
In the License Activation page, click the Download File button to download your Server Profile. Save the ServerProfile.xml file to a location on your local machine.
Login to your Appspace Cloud account on https://cloud.appspace.com, and click System > Account in the Appspace menu.
Select the Subscription tab, and click the ‘Register new instance’ link.

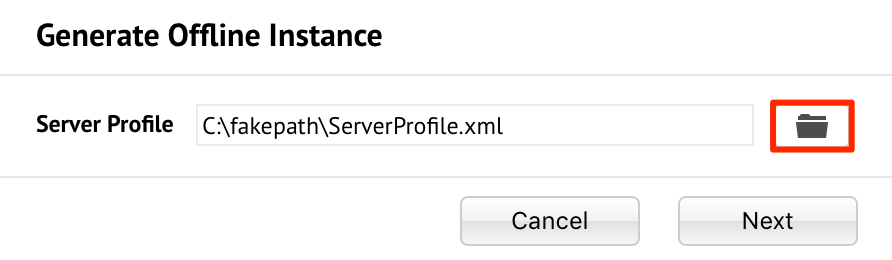
In the Generate Offline License window, click the folder button to browse and select the ServerProfile.xml downloaded earlier. Click Next.
Input the Instance Name and select the Location. Click the Generate button.
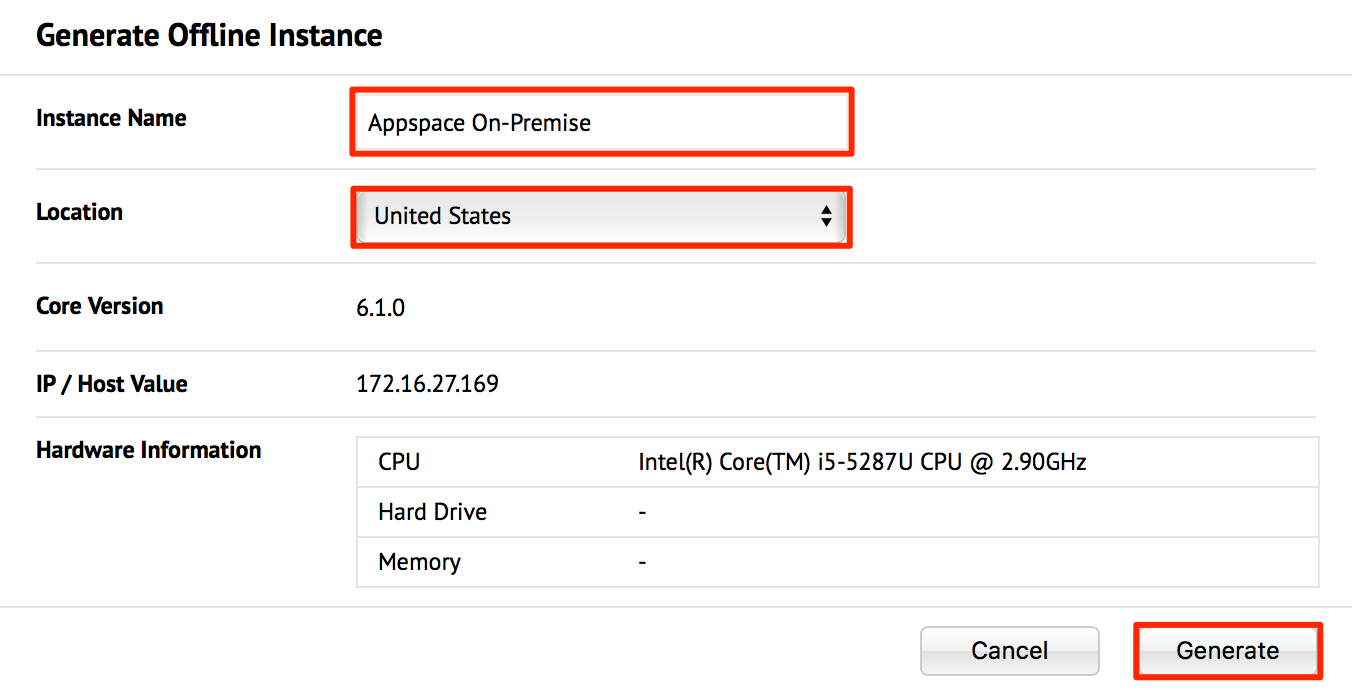
If successful, you should see a confirmation notification in the window. Click the ‘Download the license file’ link.
In the Download Confirmation & Agreement window, accept the Terms of Service, and click Download. This will download the Product Activation file, <Product Key Number>.bin. Save this file to your local machine.
Back on the Manual License Activation page, browse and select the downloaded Product Activation file (<Product Key Number>.bin). Click the Submit button.
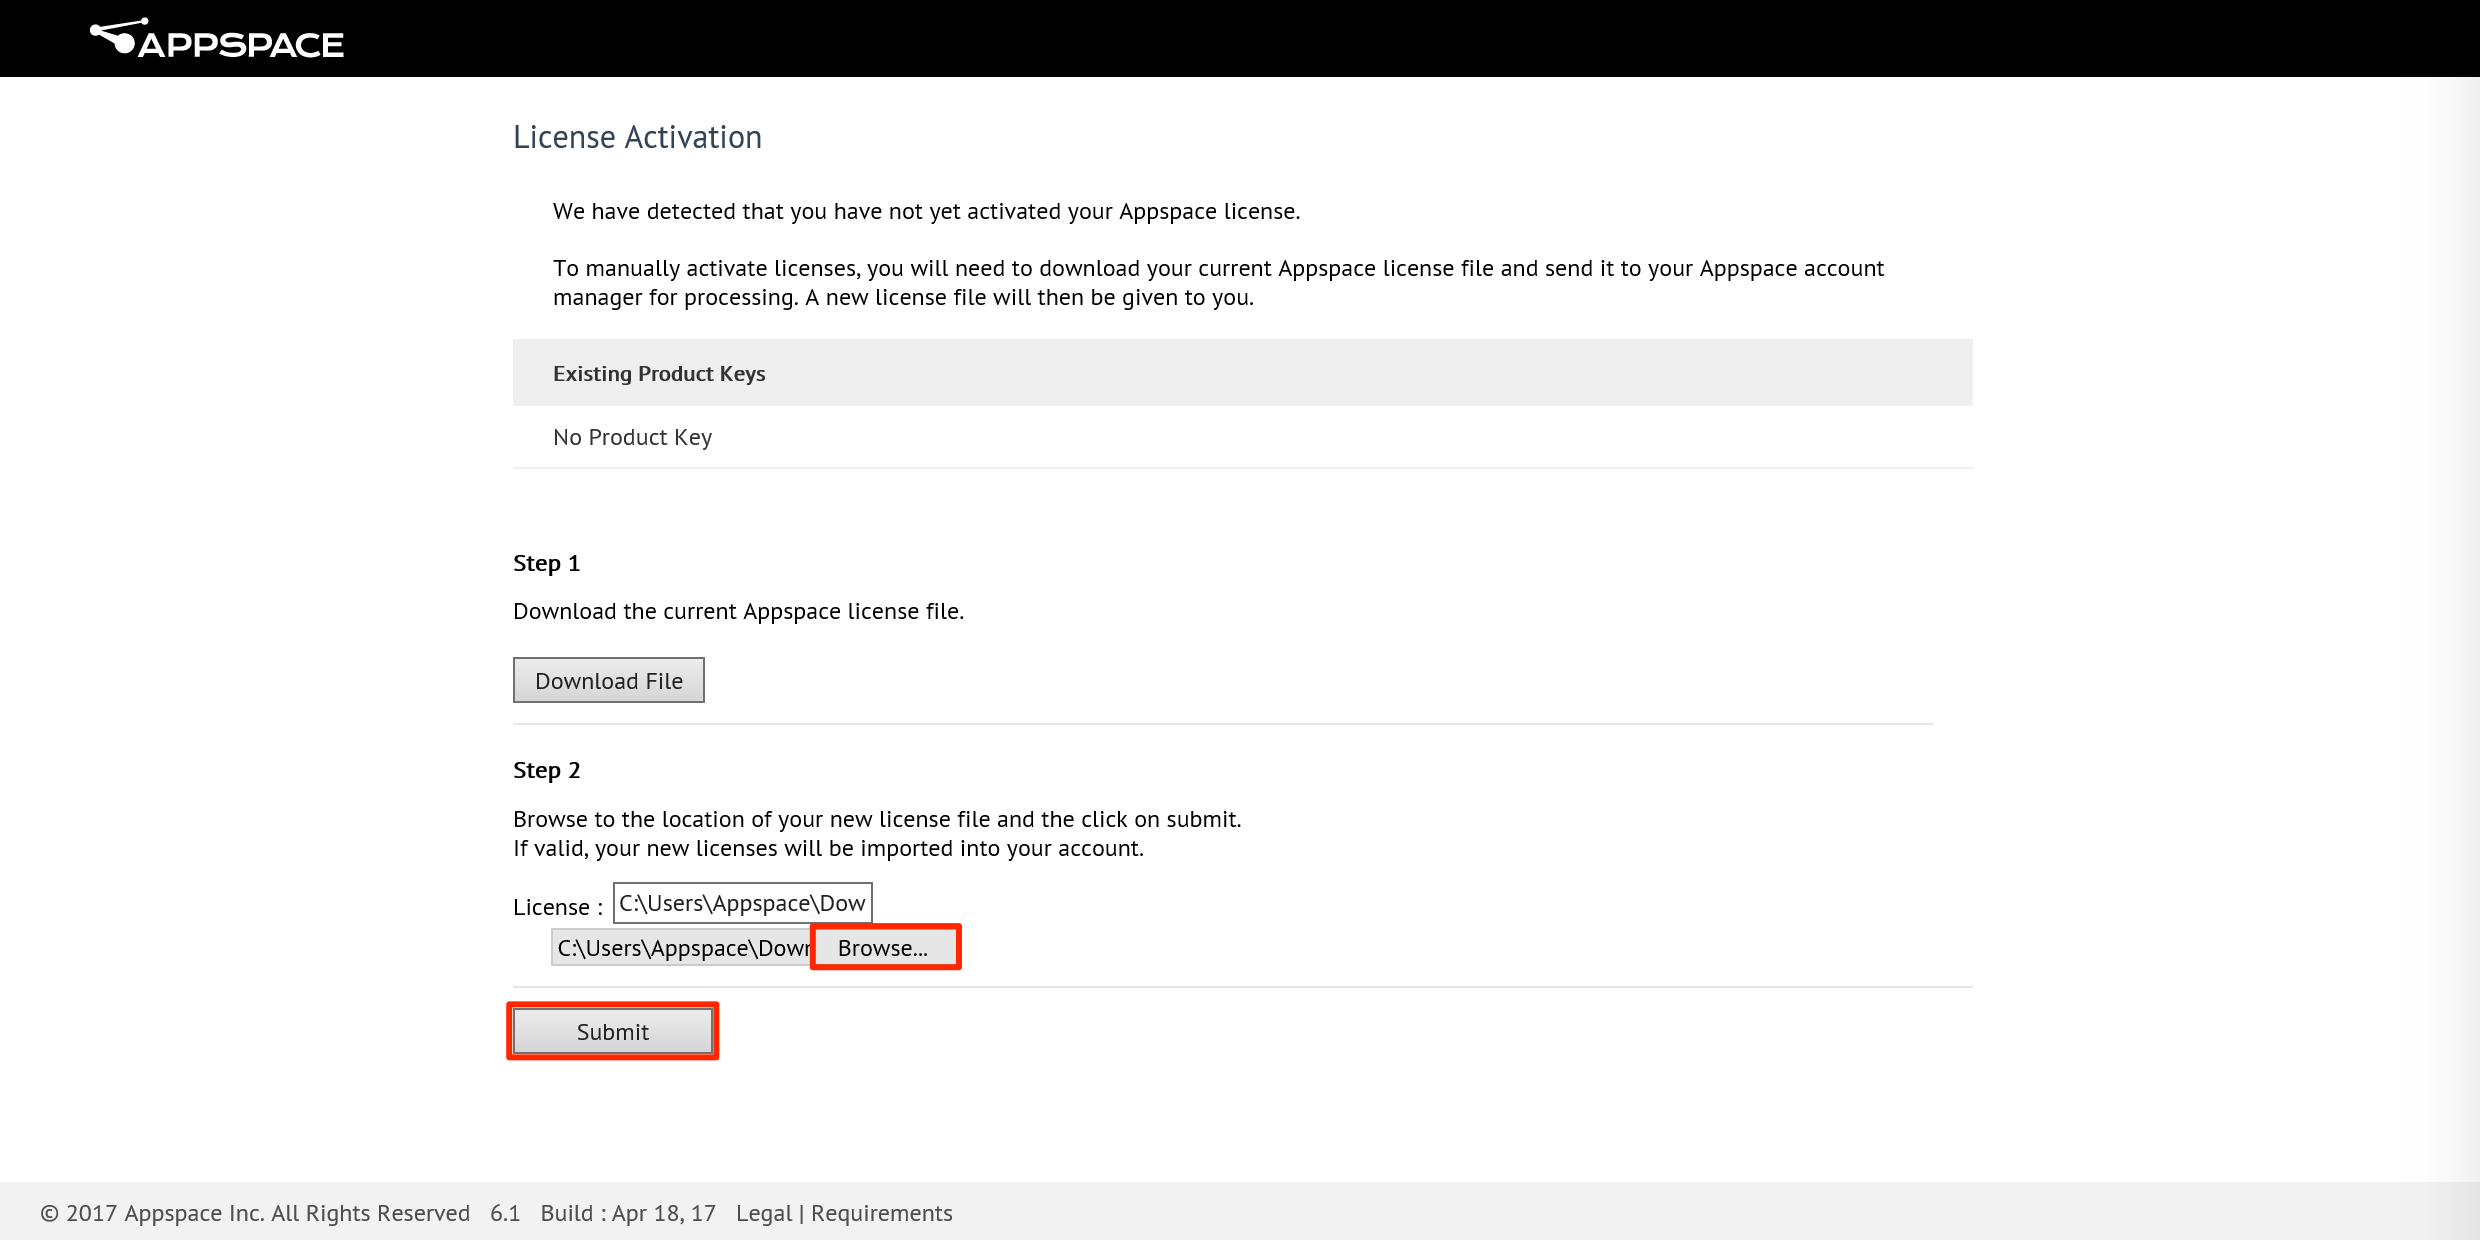
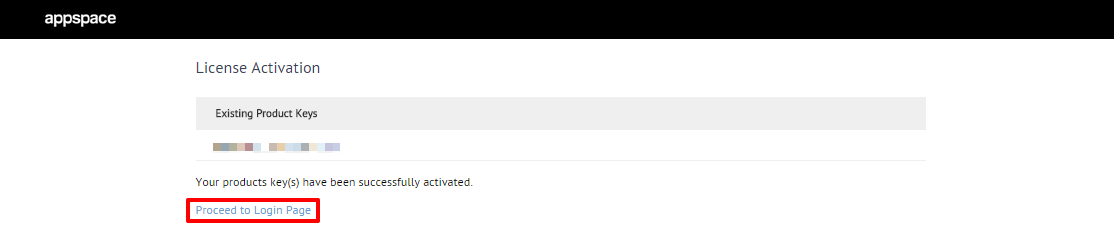
If successful, a confirmation message is displayed. Click the ‘Proceed to the sign in page’ link.
Once your Appspace server has been successfully licensed, connect to the Appspace server from a web browser via one of the following two URL paths:
- http://<server_ip_address>/app (replace <server_ip_address> with the DNS name or IP address of your Appspace server)
- http://localhost/app
In the Sign In page of your on-premise Appspace server, use the following credentials:
- Username: admin
- Password: password123
Note
The password for the “admin” username may be changed at a later time. This account has Portal Administrator privileges by default.
In the Software License Agreement (EULA) page, review the Customer Agreement, and click Accept to continue. You will be automatically redirected to the Appspace console dashboard.
Updating OMNI Licenses
If an active Internet connection is present, the on-premise Appspace instance automatically syncs with Appspace Cloud daily at 12 AM UTC to update to the latest license information for OMNI subscribers.
However, if an active Internet connection is not present, navigate to “http://<server address>/app/LicenseActivation.aspx” to access the license page, and follow the Offline Activation instructions above.