The Milestone card allows businesses to easily schedule in advance and display multiple occasions or milestone events, all with its own messaging, event type, and display dates – all in a single card. Events can be scheduled weeks in advance to be displayed on a specific day, the entire week, or even a month.
Sportsbars would find using the Milestone card beneficial, as they can add in all the sporting events that have been scheduled in the next week, month or year, and leave it to automatically display when the day comes, together with their promos and special offers of the day.
The Milestone card is an Appspace supported card, which is officially created and periodically updated by Appspace with new templates and features.
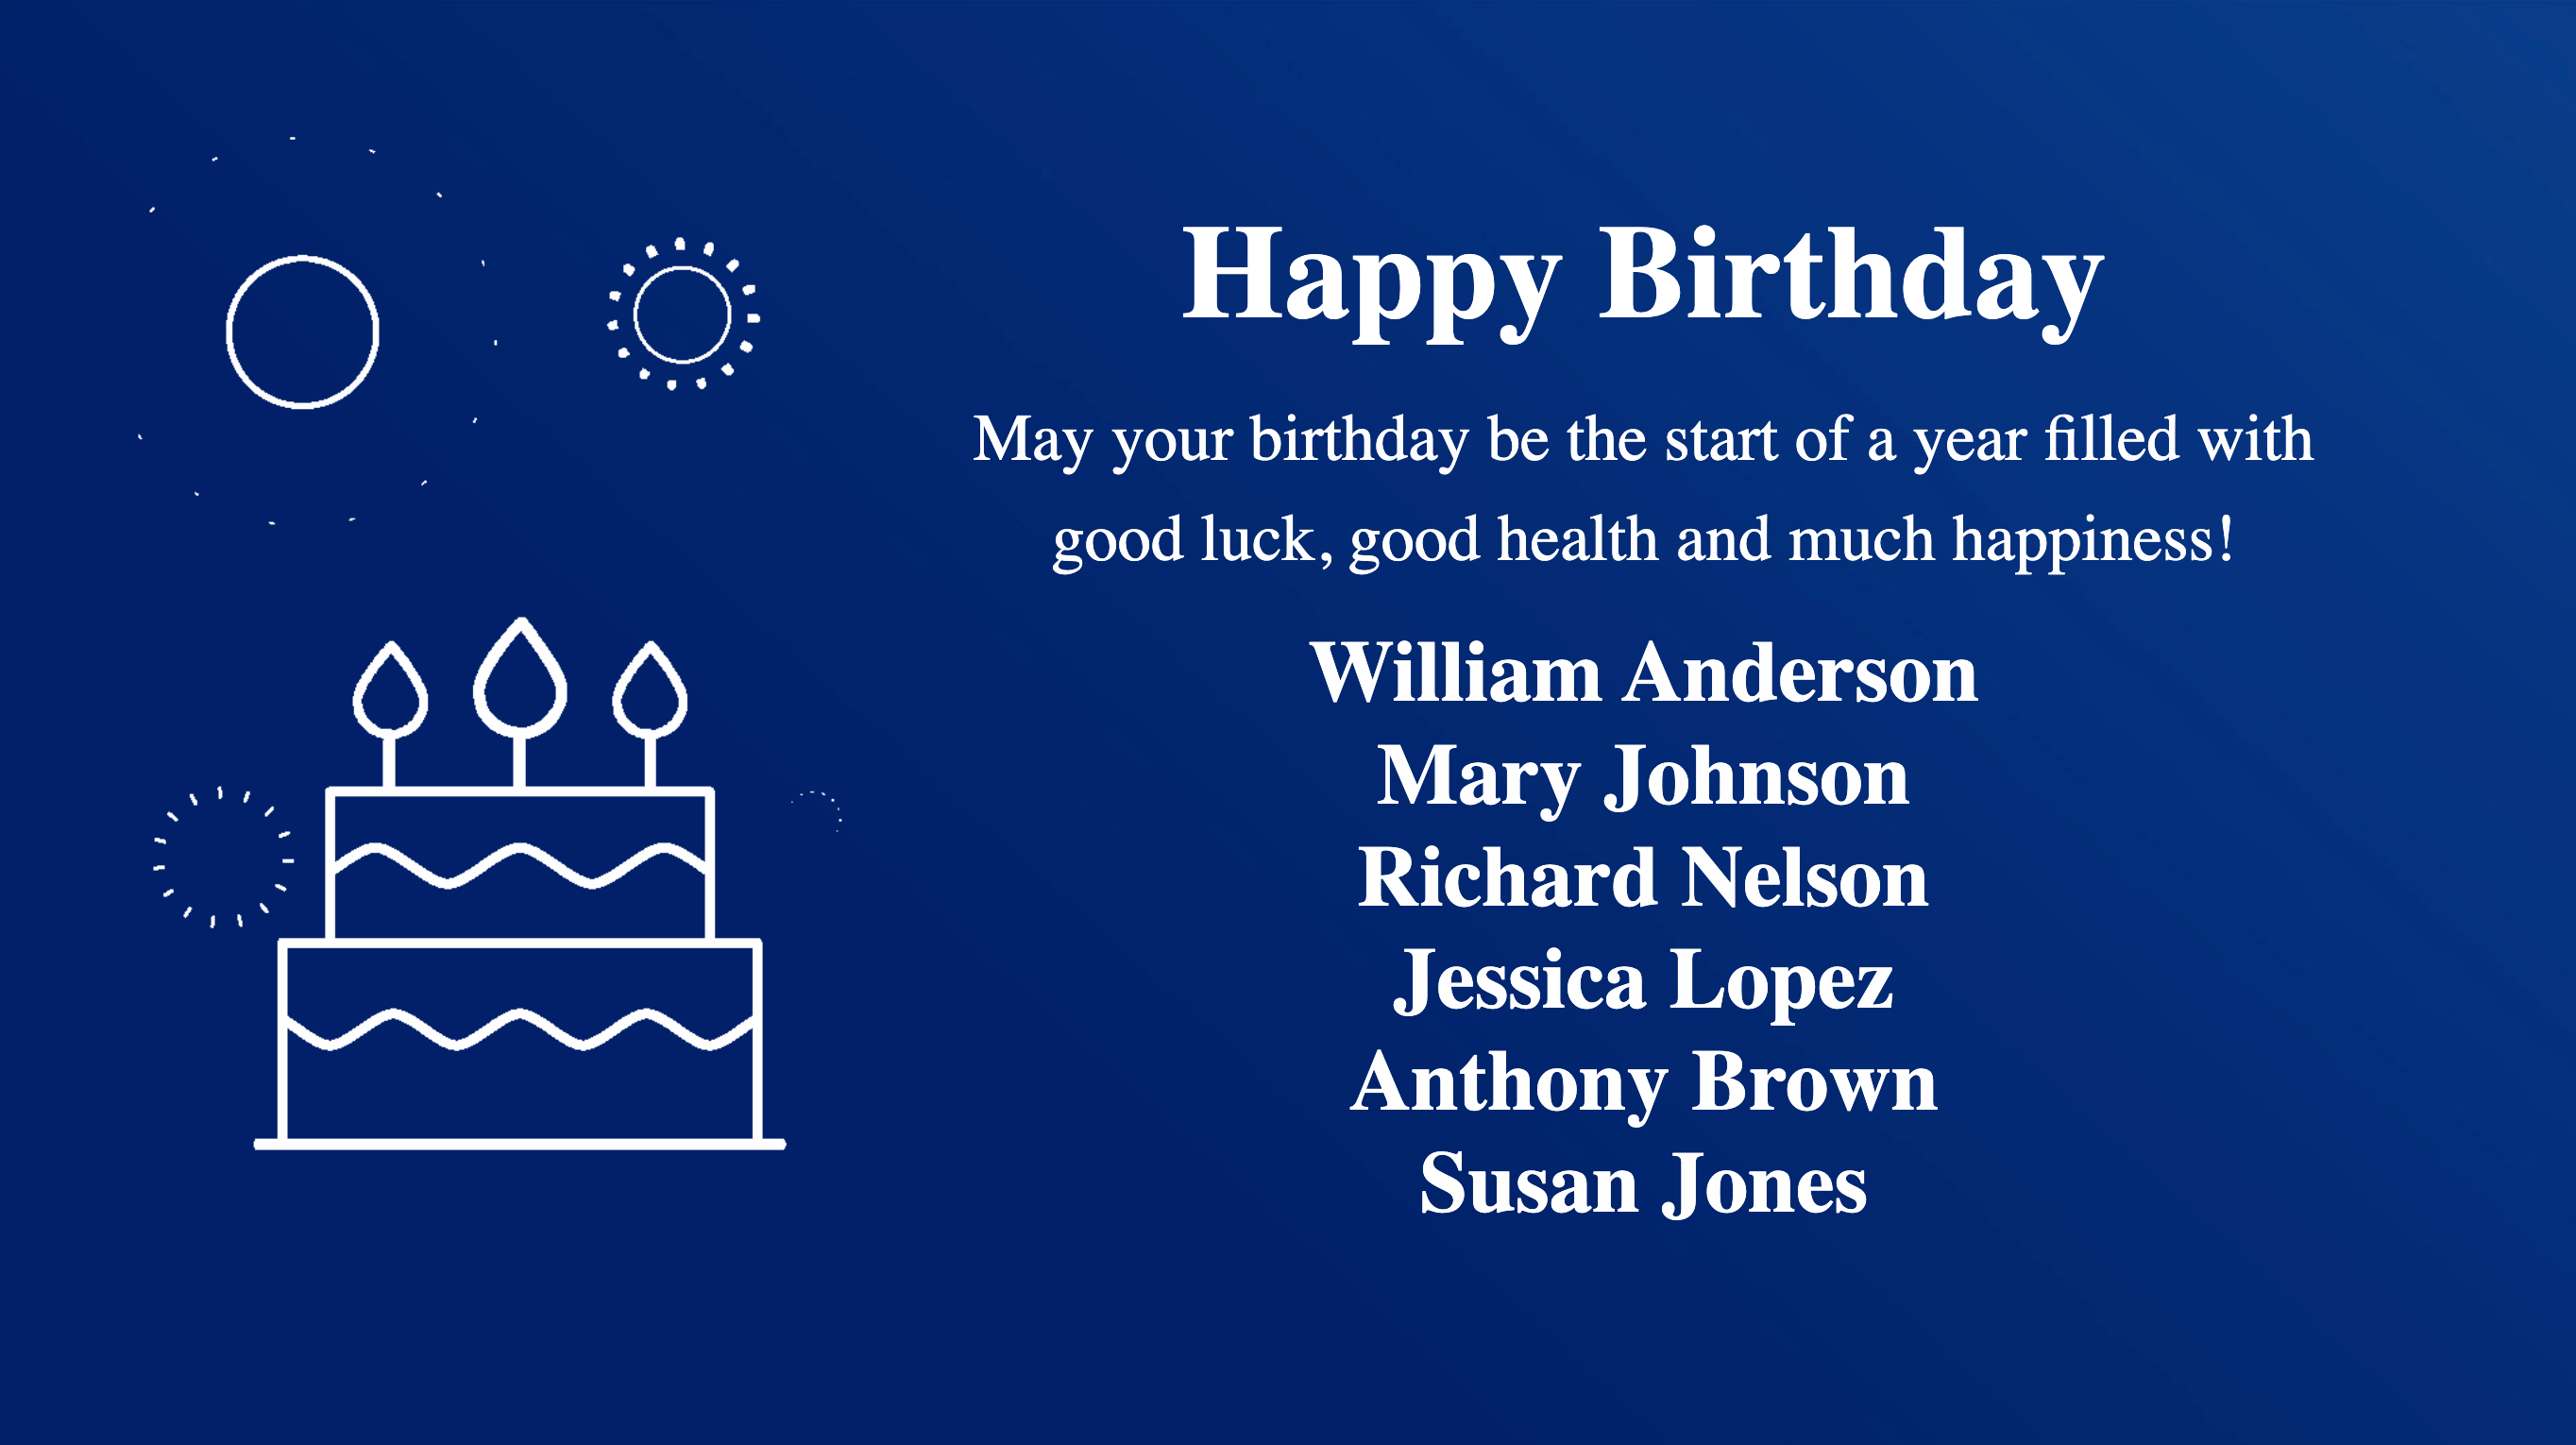
To get you started, the base Milestone card comes with four default event types, which are:
- Congratulations
- Happy Birthday
- Work Anniversary
- Welcome
Apart from the basic card customizations, the following customizations and features are available for the Milestone card:
- With the introduction of Content Categories in Appspace 8.0 ac.22, the Milestone card template is assigned with the Culture & Values content category.
- Add multiple event types. The image added must reflect the event name.
- Add multiple names of people for each event. Example: add the names of all employees that have birthdays in March.
- Update events manually or by uploading a .xlsx file. The table header in the file must follow the table header on the card Schedule page.
- Configure the Title text effect.
- Configure card background color or image.
- Schedule different dates for different events, and choose to display the event on that day only, during the week, or the entire month.
- Configure the number of milestone events to display per playback loop.
- Preview the card display on a selected date, if the event has been set.
This article provides instructions on how to create, configure, and customize the Milestone card to be displayed:
Prerequisite
- Ensure your device is compatible. Refer to the Supported Appspace Cards article.
- Account Owner, Publisher, Editor, or Content Producer (Author) role to add or edit content in Library.
- If updating event milestones via an .xlsx file, ensure the following:
- The table headers in the file, must correspond to the headers in the card table, i.e Date, Name(s), Event Type, Show on, Summary.
- The Date format must be MM/DD/YYYY.
- The Event Type and Show on values must be exactly the same as displayed in the drop down in the card table.
Create and Configure Milestone Card
The instructions below allow you to create milestones.
- Log in to your Appspace console.
- To create this card, select one of the following options:
- Click +Quick Action from the Appspace menu bar on the top right, and select Create Card.
- Click Library from the ☰ Appspace menu, and select a library or folder you wish to create the content in. Click +CREATE, and select Card.
- To create and add the card directly to an existing channel, refer to Add Content to Playlist Channels.
- Select Communication from the All Templates panel, and click Milestone. ImportantIf you are unable to locate the content, try using either the Search bar, the Order by, or Filter icon to narrow down the content that you are looking for.
- Enter the Title of the content as this will also act as the filename for the content. This is a mandatory field.
- In the Edit tab:
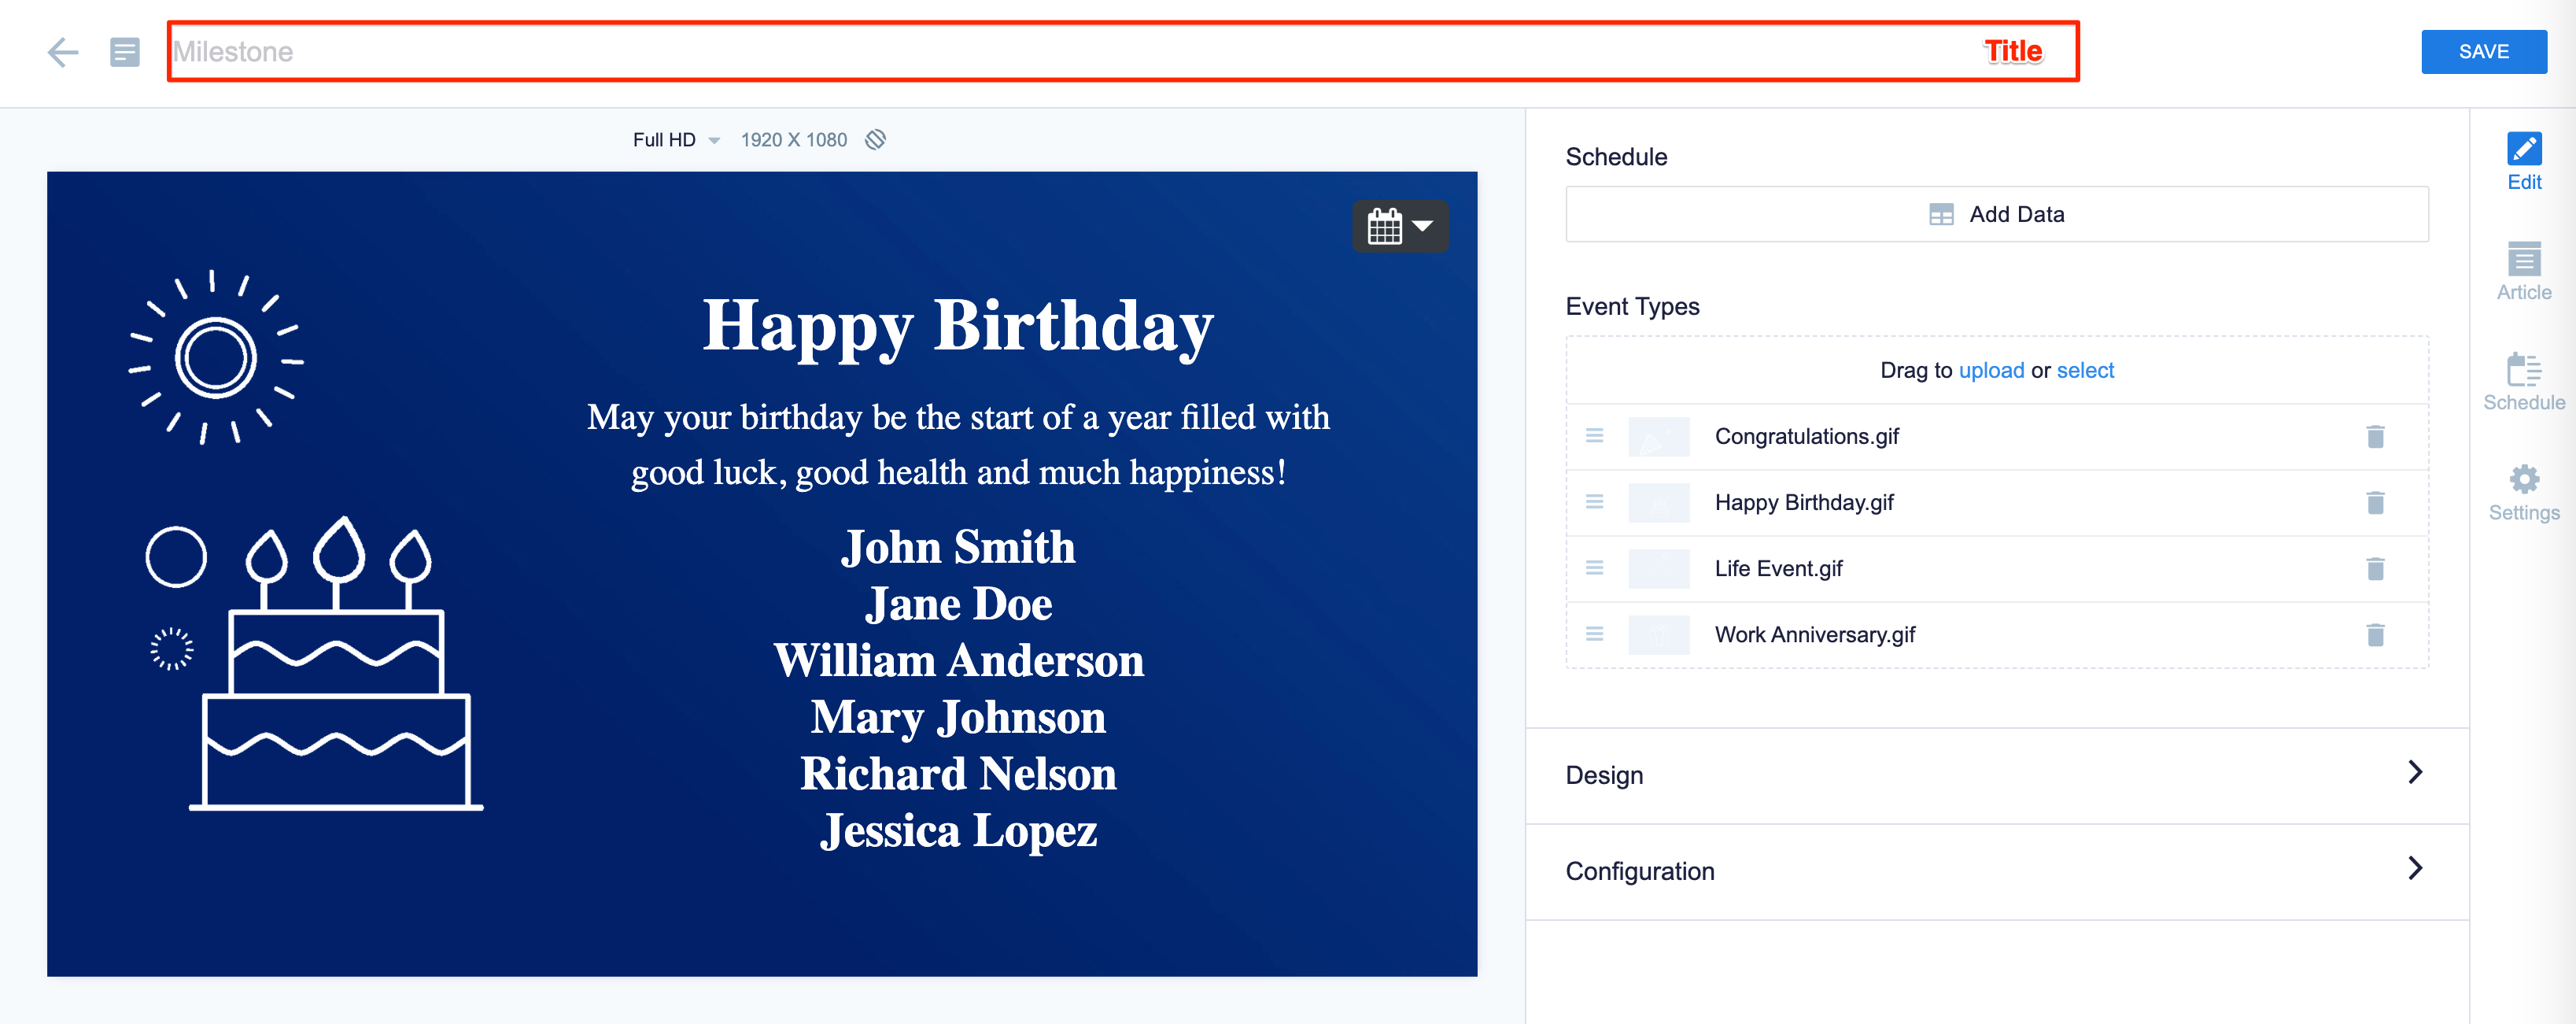
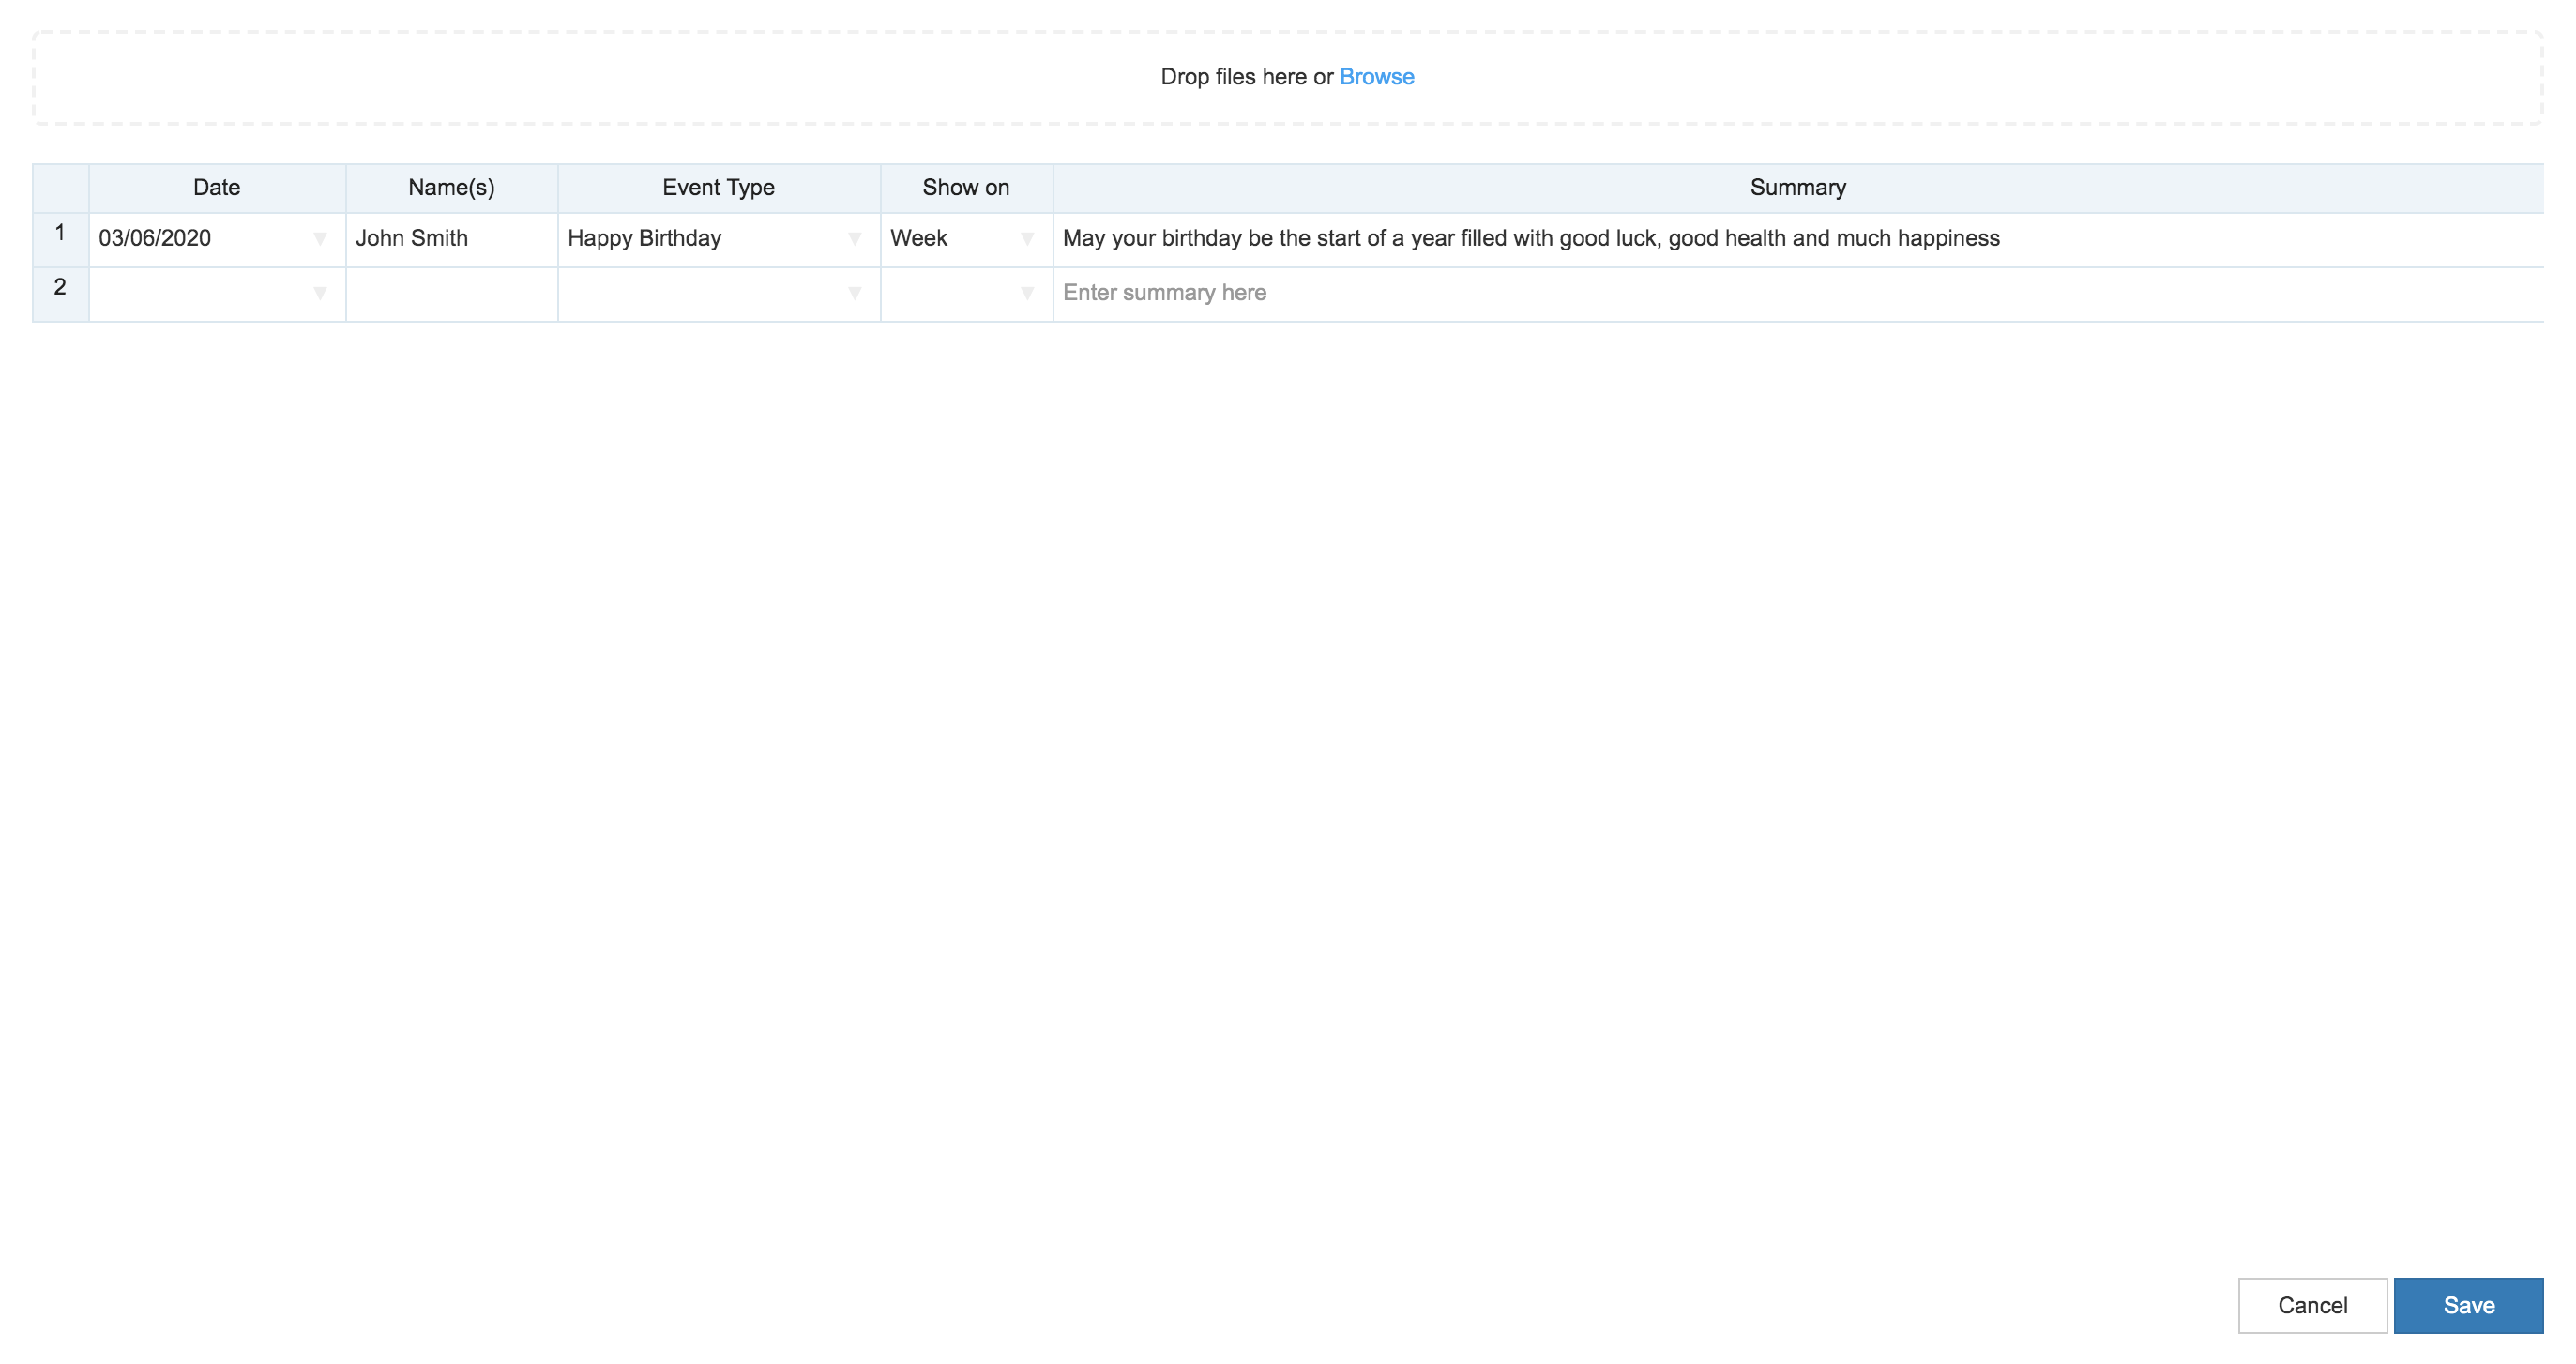
- Click Add Data to populate the Schedule table, by entering the following information in the table (one event in each row):

- Date – Select a date for the milestone event. The current date will be the default. If you want it to be displayed only on that date, during the entire week, or for the whole month, select the corresponding option in the Show on column.
- Name(s) – Enter the names of the people involved in the corresponding event. You can add one name or multiple names. Each name must be separated by a comma (,).
- Title – Enter a custom title for the milestone event that replaces the default event type title displayed.
- Event Type – Select an available event from the drop-down menu. Default events and any uploaded event(s) will be listed in the drop-down menu.
- Show on – Determine if the message will be displayed on the set date, the entire week, or during the whole month. Select day, week, or month from the drop-down menu accordingly.
- Custom Graphic – Use a custom image for the milestone event, by uploading a custom image file to replace the default event image.
- Summary – Enter a message for the corresponding event. The summary text is displayed beneath the title text on the card display. You may also upload a .xlxs file with event details. The table headers in the file must correspond to the headers in the card editor table shown above i.e. Date, Name(s), Event Type, Show on, Summary. Ensure the Date format is MM/DD/YYYY, while the Event Type and Show on values are exactly the same as displayed in the table drop down for the .xlsx to upload correctly.
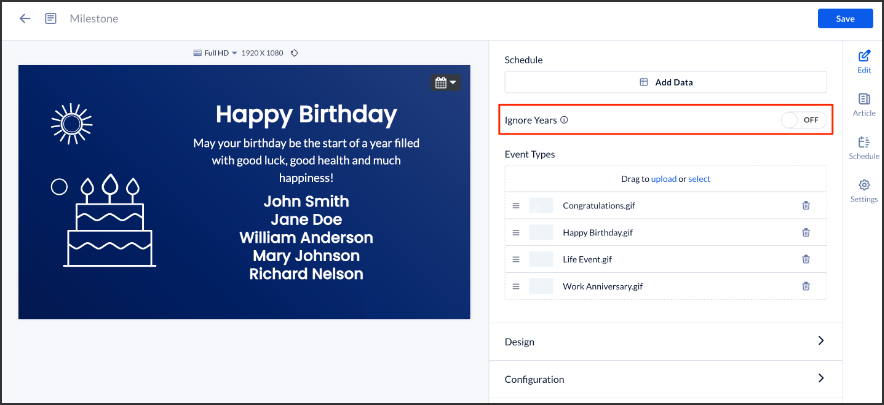
- You may schedule the event with the Ignore Years option by turning the toggle ON or OFF for preview and device playback. The schedule event will render the event on the specified day/week/month as scheduled beginning this year and recurring annually as expected.Note
The additional information message: “With this setting enabled, milestones will be displayed on the appropriate date regardless of the entered year. This is ideal for recurring milestones like public holidays or birthdays” will appear when you hover over the “Ignore Years” info icon.
- The default Event Types available are as follows:
- Congratulations
- Happy Birthday
- Welcome
- Work Anniversary
- You may also add your own event type. Upload an image file with the event name. Example: Happy Holidays.svg. NoteRecommended image file types are: JPG, PNG, SVG, with a file size of 400px x 600px.
- Click the Calendar icon on the top right of the image preview, and select a date, to preview the content that will be displayed on that particular day as per the scheduled event.
- In the Design section: click the arrow to expand.
- Customize the following fields:
- Title font, size, and color
- Summary font, size, and color
- Name(s) font, size, and color
- Customize the Content Box, and the Background color or image.
- Customize the following fields:
- In the Configuration section: click the arrow to expand.
- Customize the following fields:
- Title Text Effect
- Number of Milestones per Playback Loop NoteExample: If there are 8 events configured in Step 7 above for a given date, by default all 8 events will be displayed as scheduled. However, if you input 2 in the Number of Milestones per Playback Loop field, only 2 events will be displayed in a loop. Events 1-2 during the first loop, events 3-4 during the second loop, and so on. Once all events have been displayed, then the loop restarts from the beginning of the event list.
- Customize the following fields:
- Click Add Data to populate the Schedule table, by entering the following information in the table (one event in each row):
- In the Article tab:
- Include an Article or Caption to accompany the content item when being displayed on mobile apps, tablets, and other social collaboration apps.
- Enter a Referral Link to link more information to the content.
- In the Schedule tab:
- You may add the content to a channel by selecting the channel from the Add to channel drop-down menu, or leave it unassigned to be added later.
- When the content is assigned to a channel, the SCHEDULING and DISPLAY PROPERTIES options are displayed. Refer to the Configure Content Playback Properties: Dayparting, Frequency, Scheduling, in a Playlist Channel article for detailed configuration instructions.
- In the Settings tab:
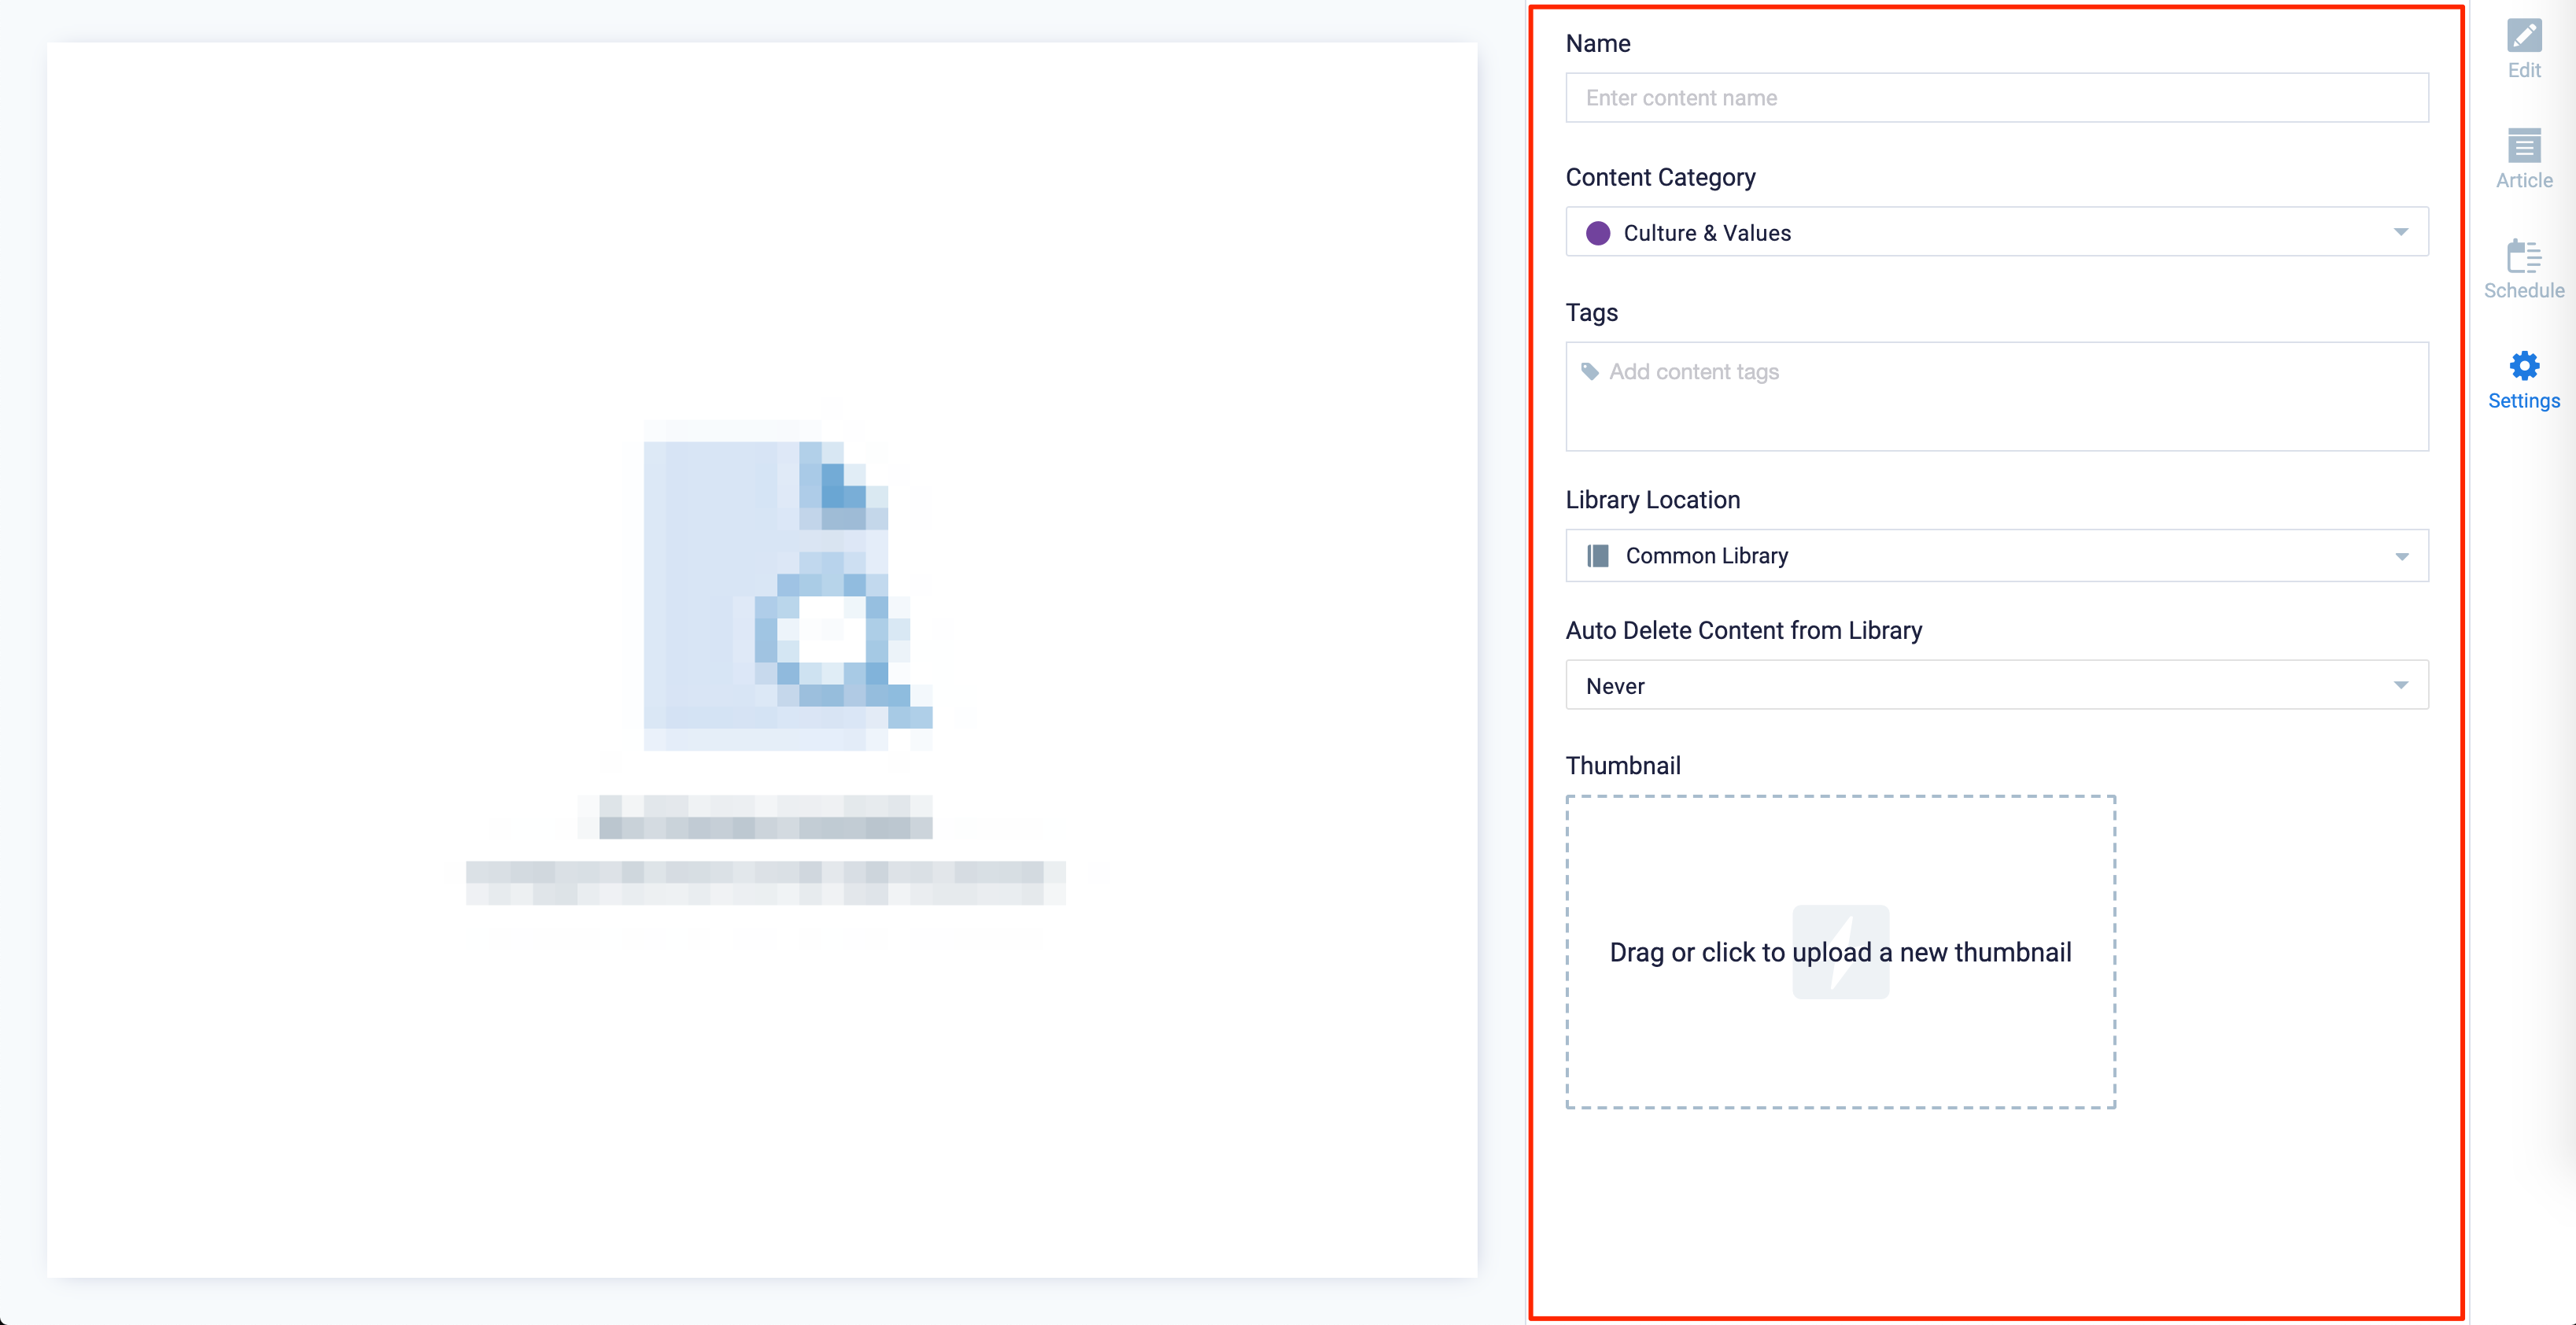
- The Name field will be auto-populated to match the Title of the content which will also act as the filename for the content. This is a mandatory field.
- Select the Content Category from the drop-down menu to match the focus of the message, or leave it at the default content category.
- Enter any relevant Tags for the content. (Optional)
- Select a folder for the content in the Library Location drop-down menu to change the default folder location.
- Select an expiry date for the content from the Auto Delete Content from Library drop-down menu. (Optional)
- Upload an image to be used as the Thumbnail for the content.
- Once done, click SAVE.


Edit Milestone Card
The instructions below show you how to edit a Milestone card.
- Log in to your Appspace console.
- Click Library from the ☰ Appspace menu, and select a library or folder containing the content you wish to edit.
- Select and click the Milestone card to edit, and select the desired tab to edit or view.
- In the Edit, Article, and Settings tabs:
- You may edit the content the same way as it was configured. For detailed instructions on how to do this, please refer to the Create and Configure Milestone Card section above.
- In the Preview tab:
- Preview how the content is displayed on your device.
- In the Channels tab:
- You may add the content to a channel by selecting the channel from the Add to channel drop-down menu, or leave it unassigned to be added later.
- When the content is assigned to a channel, the SCHEDULING and DISPLAY PROPERTIES options are displayed. Refer to the Configure Content Playback Properties: Dayparting, Frequency, Scheduling, in a Playlist Channel article for detailed configuration instructions.
- In the Analytics tab:
- View the individual content analytics in this tab. For more information, please refer to the Individual Content Analytics section of the Analytics article.
- In the Edit, Article, and Settings tabs:
- Once done, click SAVE.
Was this article helpful?