This article provides the instructions to create and configure a Google Sheets card, ideal for displaying information from a Google Sheets file on a TV, by simply configuring the card with:
- a shareable public link to a file on Google Drive, for G Suite accounts without administrative authentication controls.
- a shareable private link to a file on Google Drive, for G Suite accounts with administrative authentication controls.
If your organization has administrative controls enabled for your G Suite accounts, then an Appspace account owner/administrator must configure the Google Sheets card theme to input the Google authentication credentials in place. A user who wishes to display his Google Sheets file via the card, must then make the file shareable and publish to the web, before adding the link in the card.
- Please refer to our Introduction to Cards guide for an in-depth introduction to the types of cards that are ideal for your signage solutions.
- Cards are only supported on devices with the Appspace App. Legacy devices are not supported.
What’s in this article:
Prerequisites
- Ensure your device is compatible. Refer to Compatible Appspace Cards.
- Account Owner, Publisher, or Editor (author) role in Appspace required to create Google Sheets card.
- Account Owner or administrator role in Appspace required to configure authentication on Google Sheets card theme (optional).
- A shareable private/public link to the Google Sheets file.
Basic Card Tools
Please take note of the following pointers when configuring the card:
- The card title is also the name used when saving the card to the Library. Therefore this is a mandatory field.
- The text editor is only displayed for each field when you click and type in the field (Title, Headline, Summary). It provides basic text editing capabilities such as font size, font style, text alignment, and text color.

- You can add images to the card by browsing the Library for existing content. You can also upload, or drag and drop an image directly into the image placeholder, from a folder in your computer. However, you may only upload one image to the image placeholder.

- The color picker, enables color selection for text and backgrounds in the card.
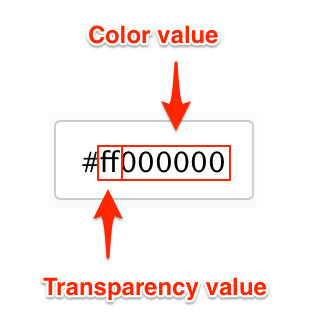
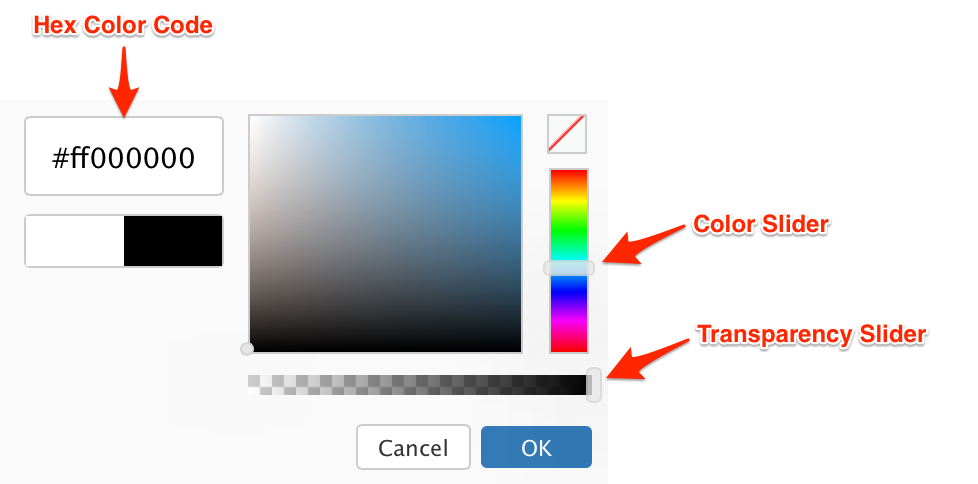 The first two characters in the Hex color code is the transparency value, while the next six characters are the color values. Please be mindful when including a custom Hex color code.
Configure Google Sheets Card
To configure the card, follow the instructions below:
- Configure Google Authentication (Optional)
- Create a Shareable Link
- Create and Configure Google Sheets Card
Configure Google Authentication
Follow the instructions below to configure the Google Sheets card theme with the G Suite account authentication. Appspace Account Owner role required.
- Log in to the Appspace console.
- Navigate to System > Cards from the Appspace menu on the left navigation bar, and click the Themes tab.
- Select Google Sheets from the Filter By drop-down menu, and click the Duplicate icon of the Base Theme.
- Enter in a name for the card theme, and click the Authenticate button.
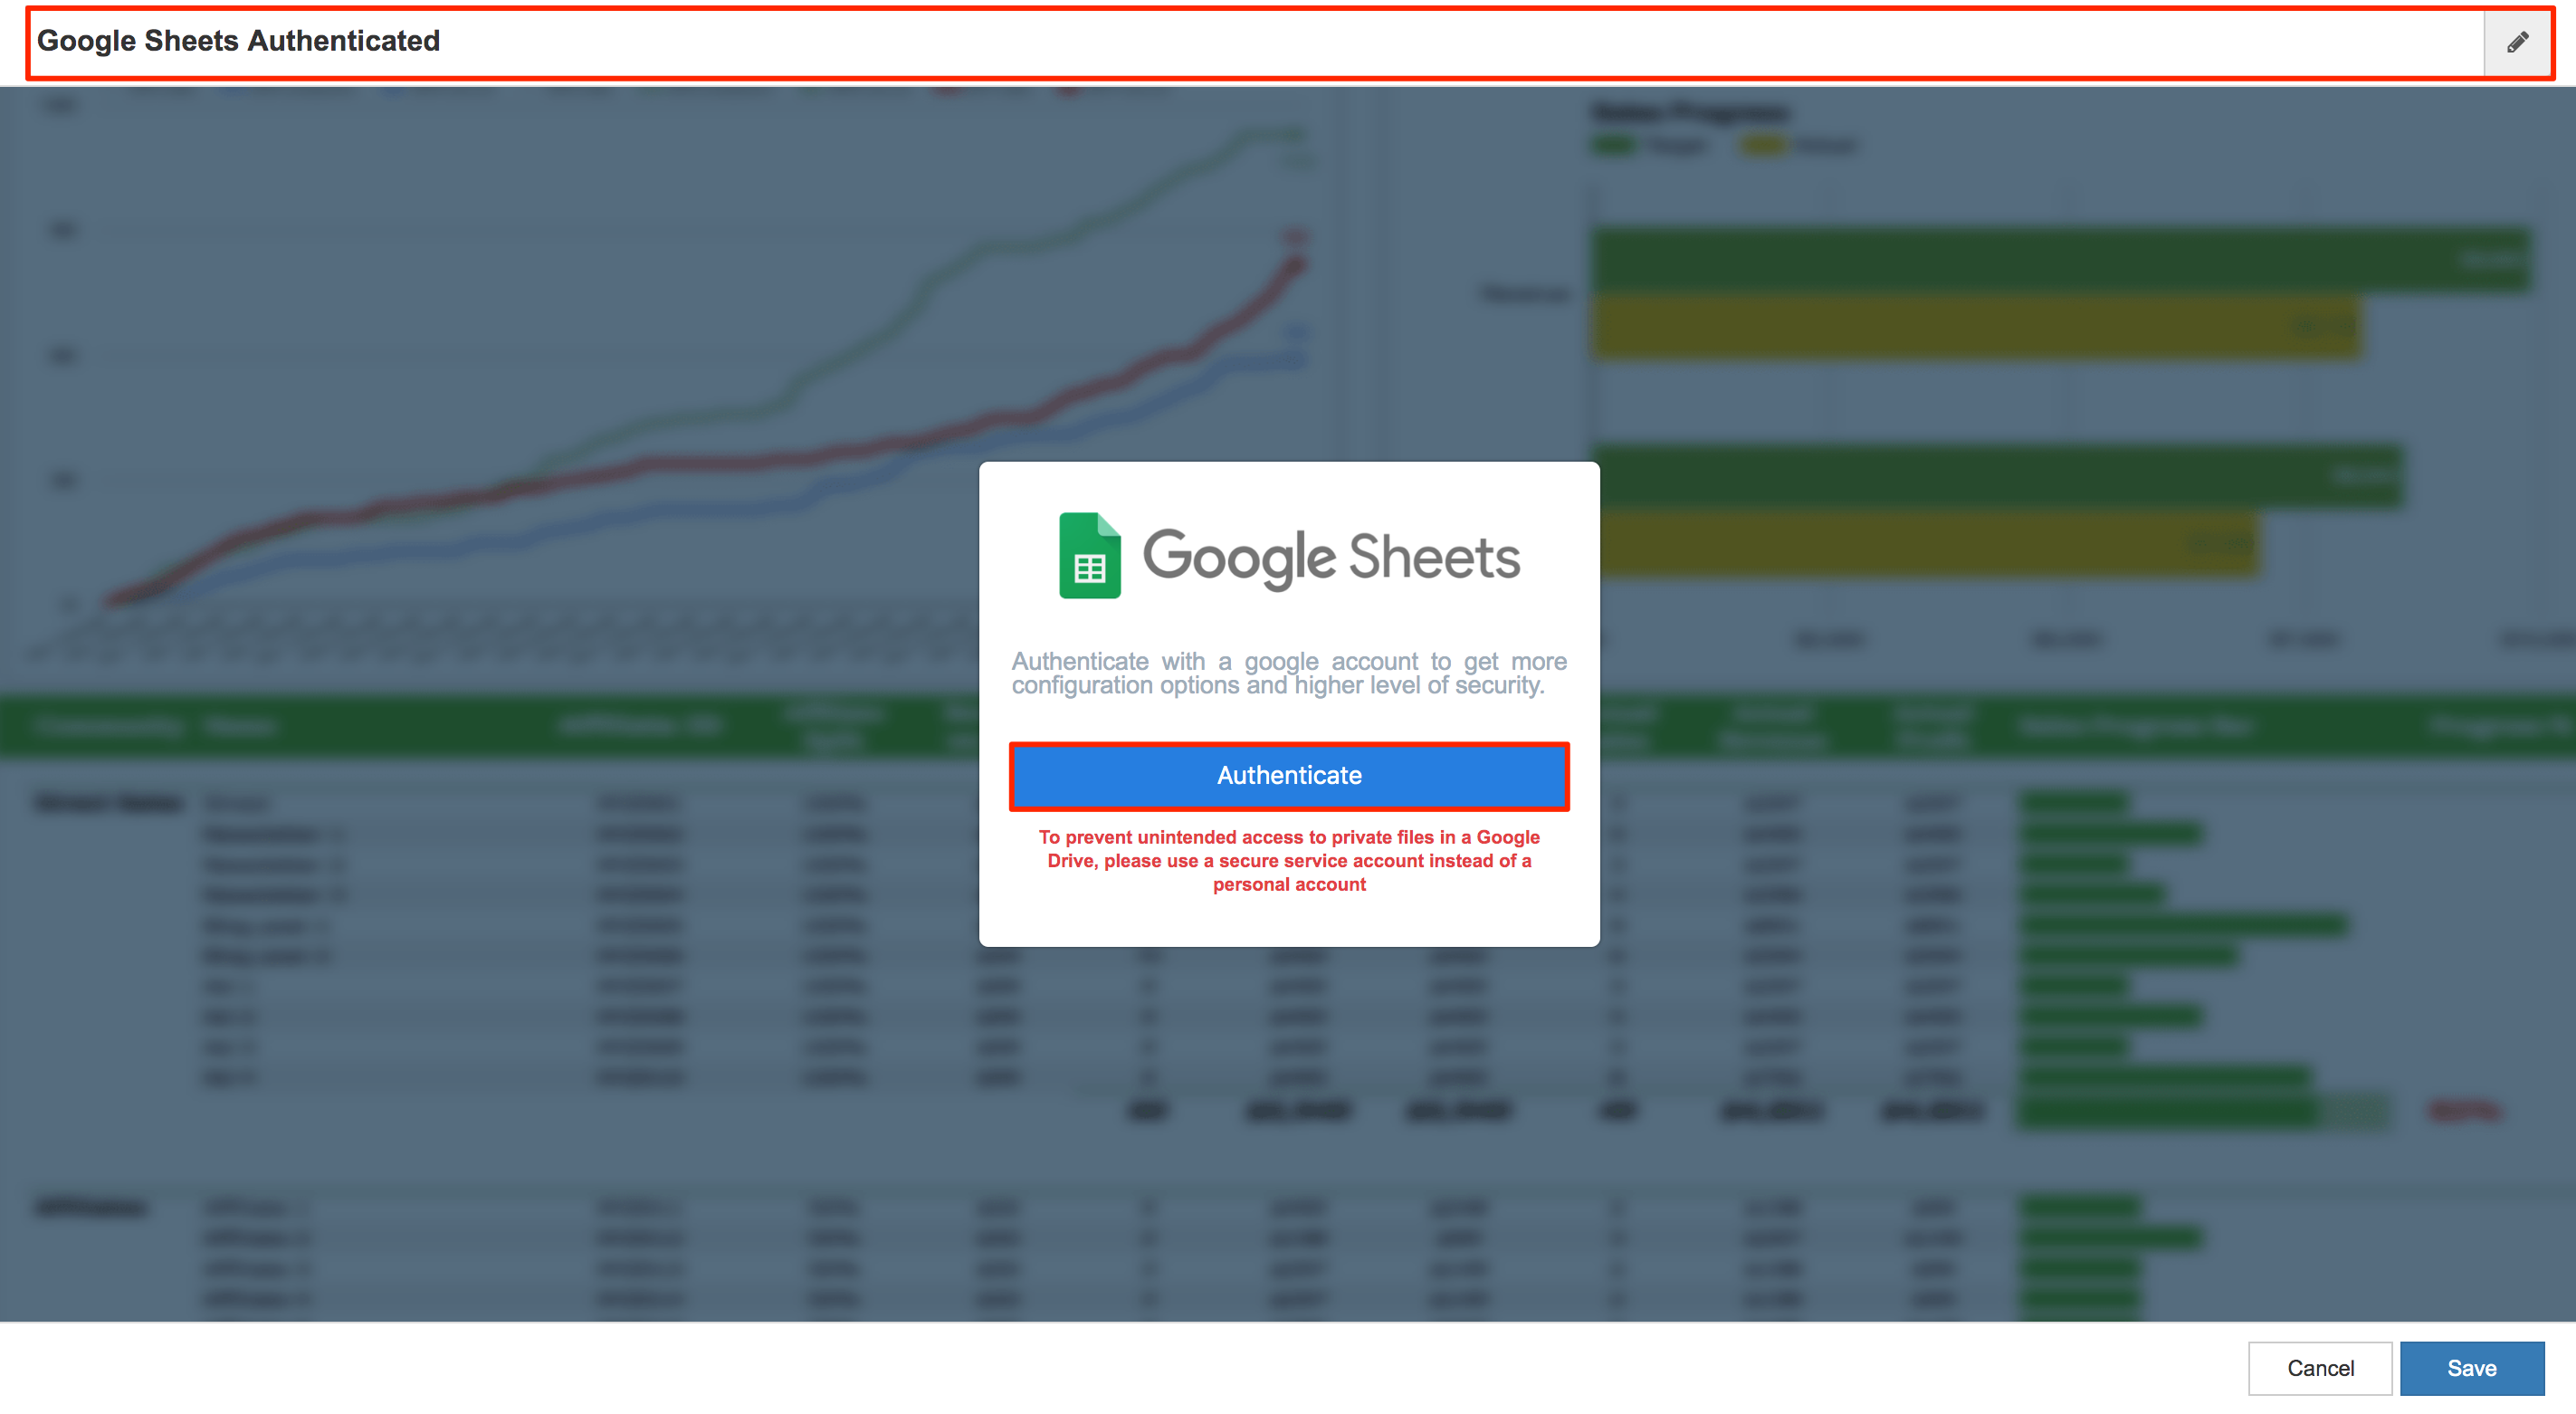
- In the Sign in with Google window, select or enter in your G Suite credentials, and click Allow to enable Appspace to access the Google account.
- Click Save once the card is authenticated.

Create Shareable Link
Follow the instructions below to create a shareable link to your file on Google Drive:
- Follow the steps outlined in the Publish a file to the web section, from this Google Help site: https://support.google.com/a/users/answer/9308870
- Click the Publish button, and close the window.
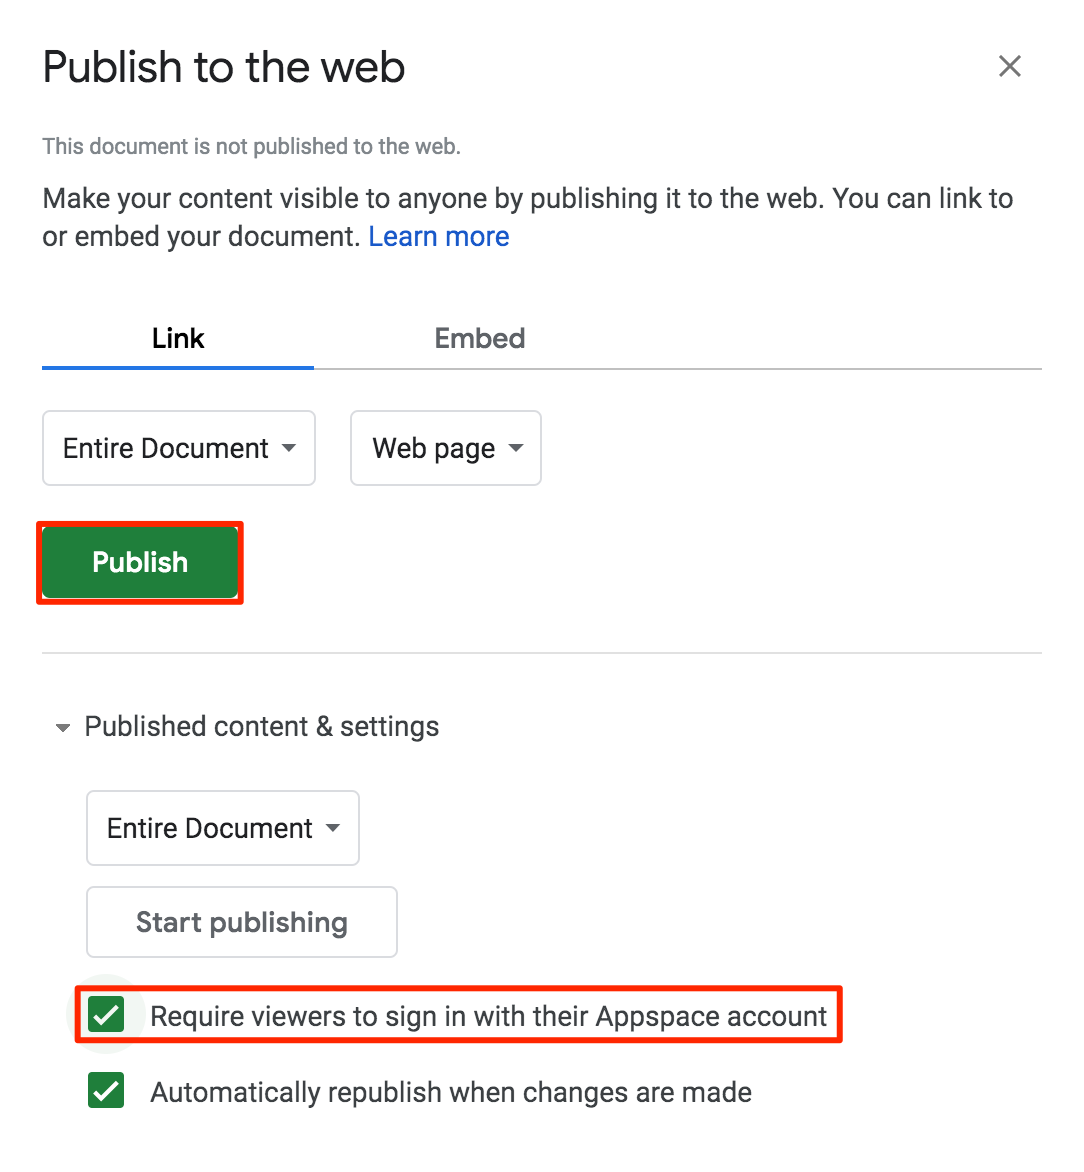
- Once done, follow the Share a single file instructions in the Step 1: Find the file you want to share section, from this Google Help site: https://support.google.com/docs/answer/2494822
- In the Step 2: Choose who to share with & how they can use your file section, ensure you select one of the following options:
- Share a link to the file – Select this option to get a shareable link to a secured Google file, to be used in an authenticated Google card.
- Share a file publicly – Select this option to get a shareable Google file, to be used in an unauthenticated Google card.
- Copy the shareable link to the Google file and proceed to the next section below.
Create and Configure Google Sheets Card
Follow the instructions below to create and configure the card. Account Owner, Publisher, or Editor (author) role required.
- Log in to the Appspace console.
- Click the QUICK ACTION menu on the top right, select Create Card, and proceed to step 4 below. Or click Library from the Appspace menu navigation bar on the left, and proceed to step 3 below.
- Select the desired folder in the library, click the ADD button, and select Create Card.
- Select Google Sheets from the Filter by template menu, and select a desired card template.
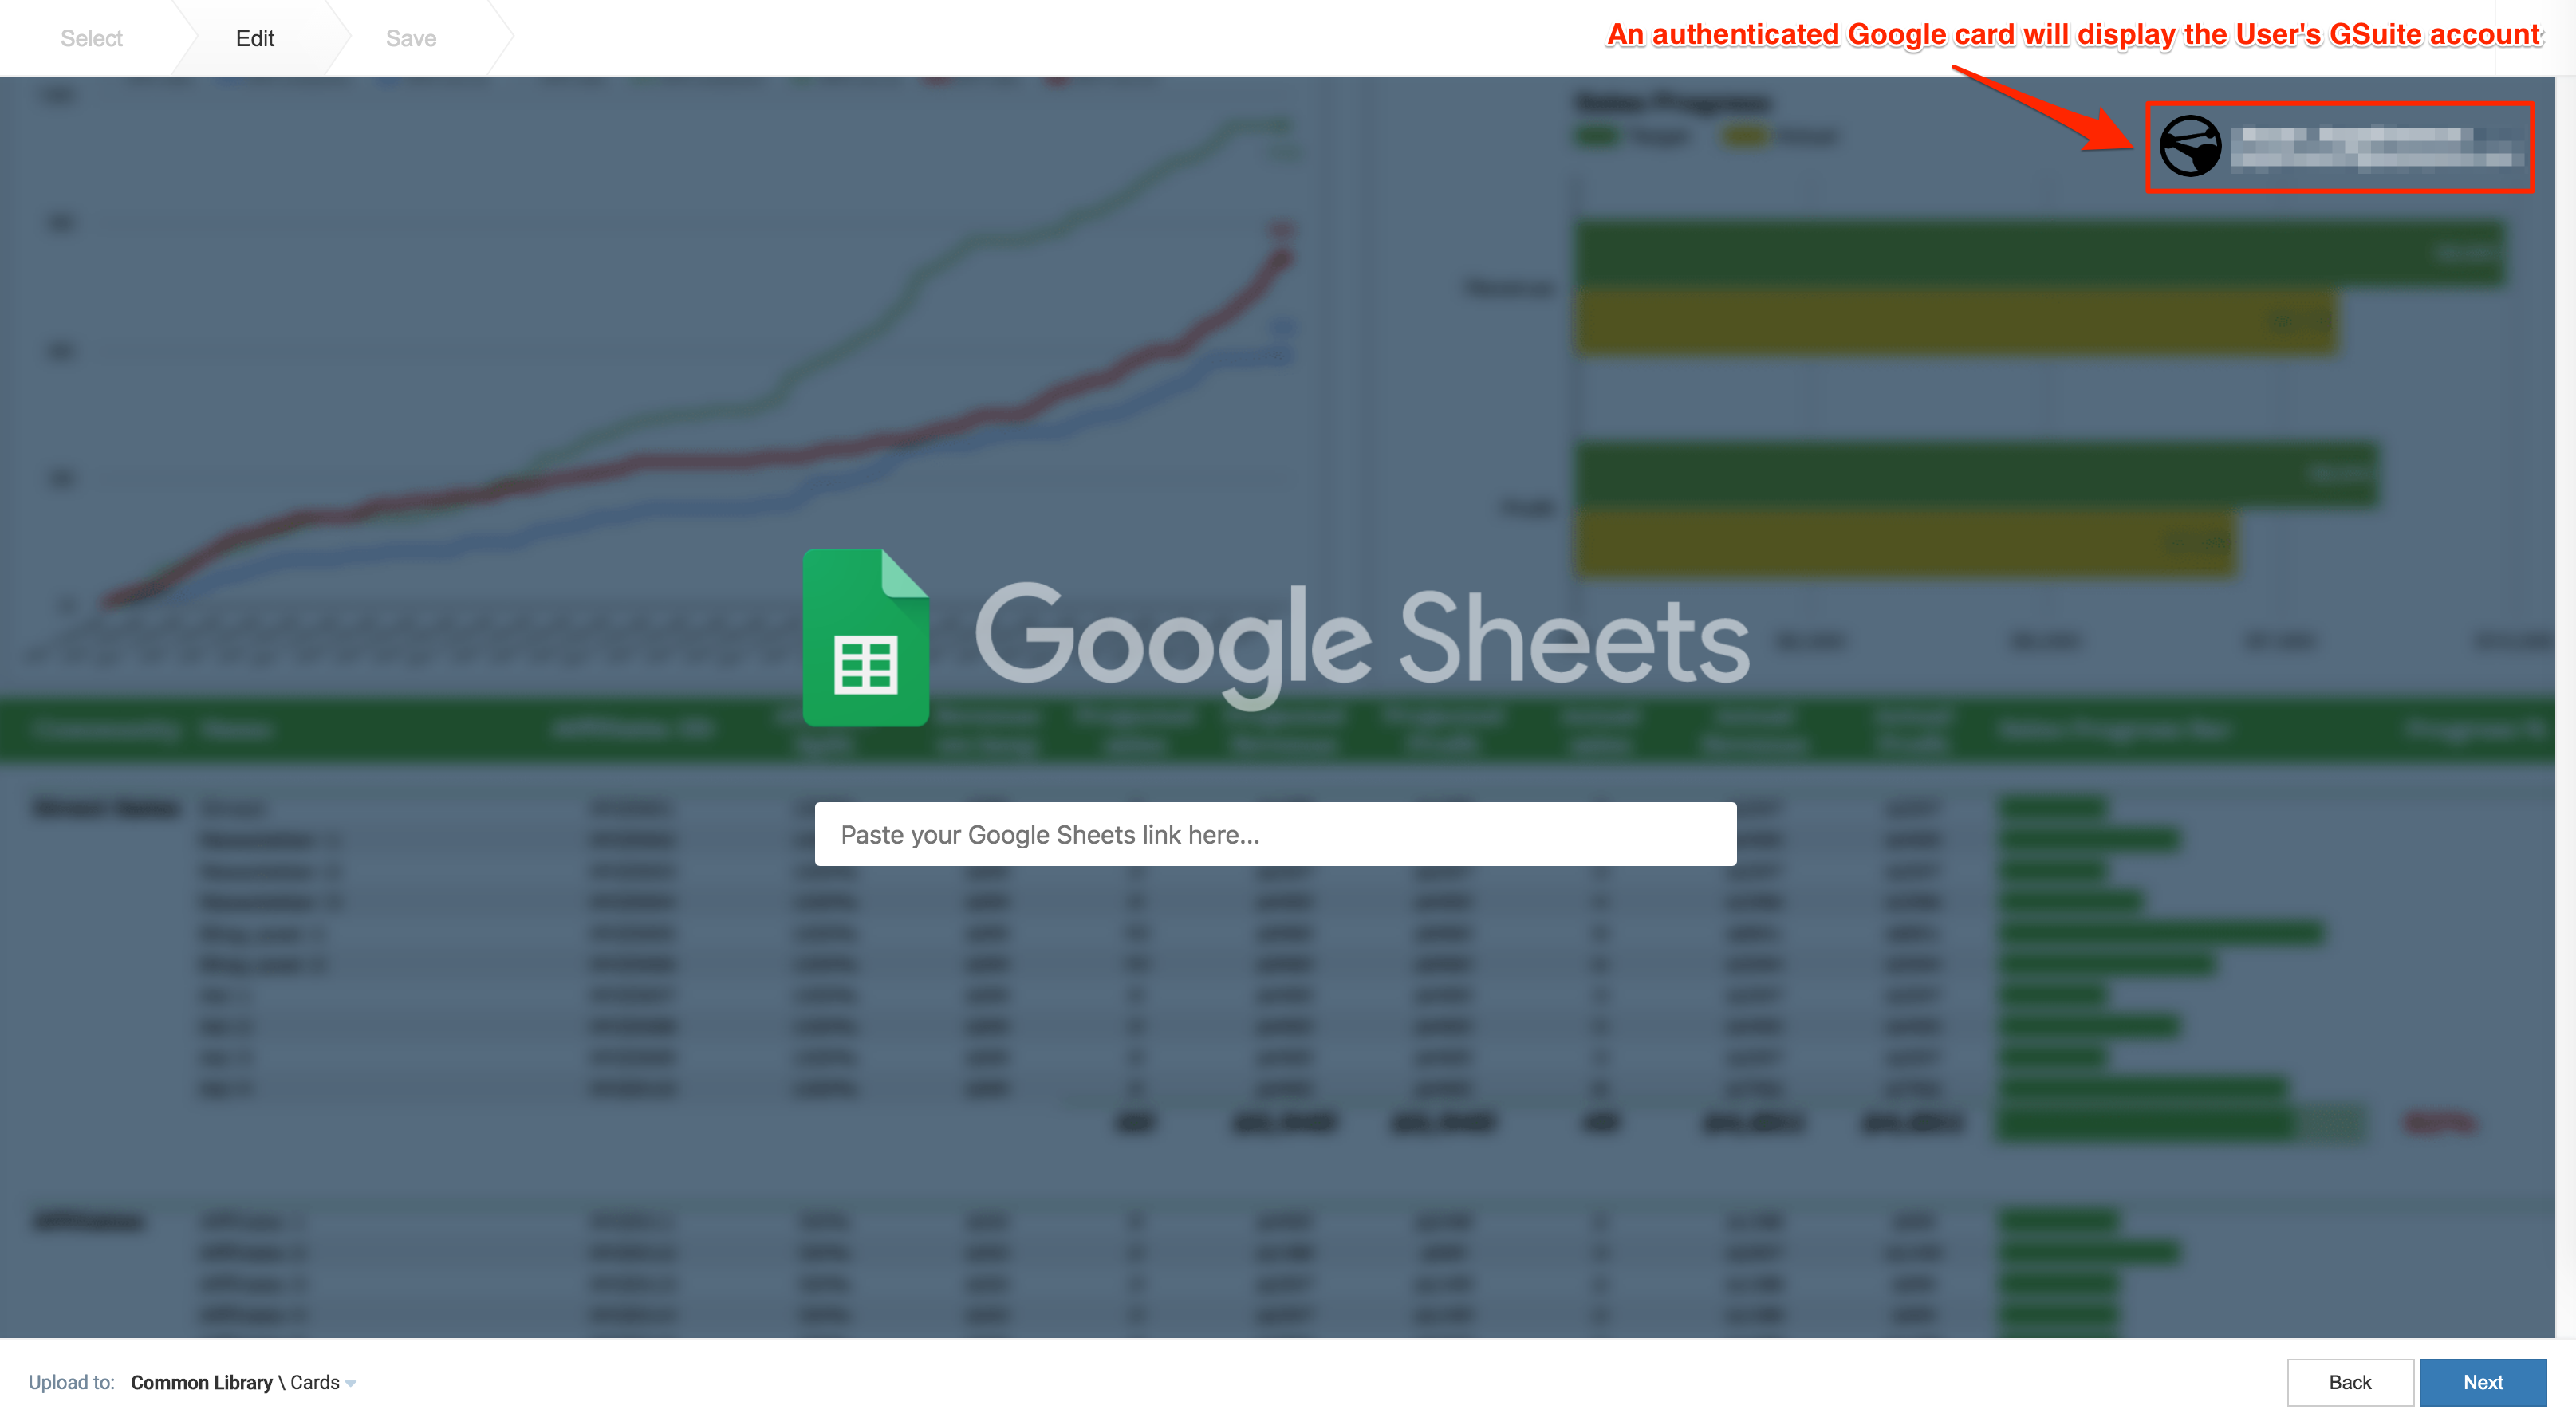
- Enter in the Google Sheets shareable URL obtained earlier, and click Next.
- Select the zoom level of the spreadsheet. By default, the value is set to 100%, and anchors to the top right corner.
This can be used to only display certain portions of the spreadsheet.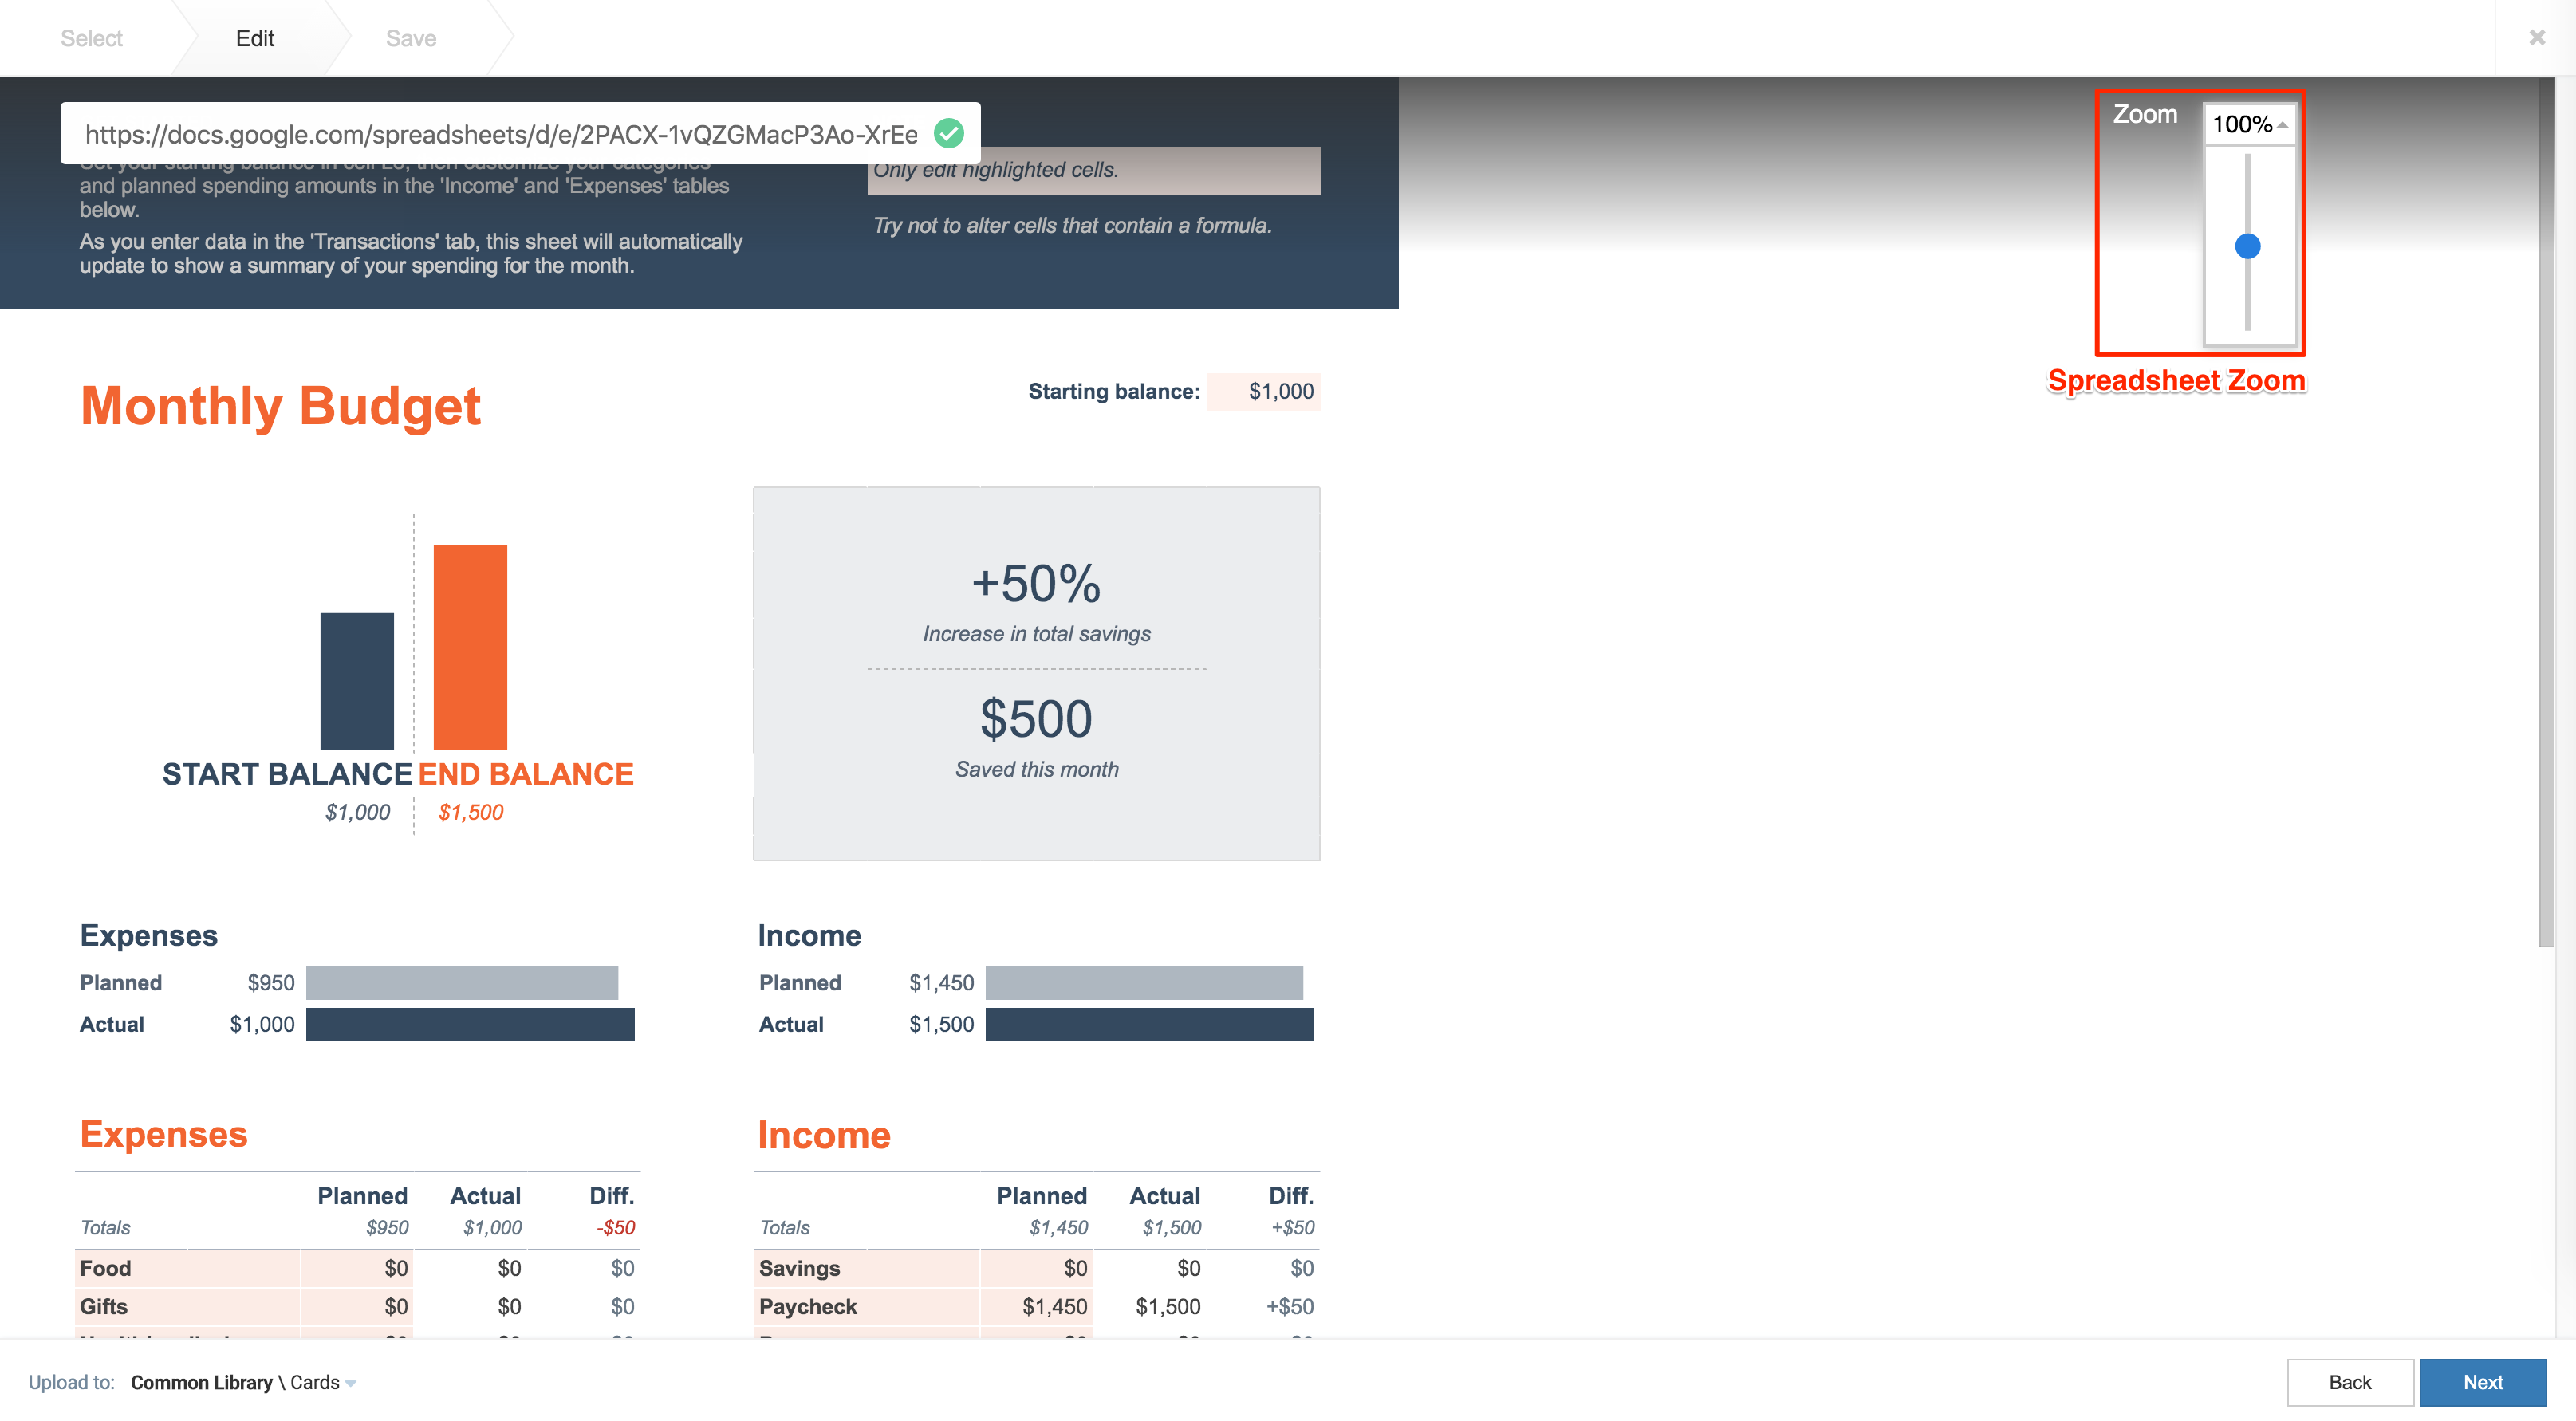
- Once customizations have been made, click Next.
- In the Save tab, enter in the Title, as this is a mandatory field. Optionally, you may enter in the Article, Caption, Content Expiry, Content Tags and even upload a custom thumbnail for the content.
- Click Save to complete, and you may now proceed to add the card into a playlist channel.
Was this article helpful?