Appspace now supports Logitech Tap Scheduler devices, a purpose-built scheduling panel for meeting rooms, allowing organizations to find, book, and reserve the right meeting space using the Appspace Room Booking card.
With Appspace built into the device, there is near zero configuration to start using Appspace on the Logitech Tap Scheduler. Once configured, Appspace will automatically run and display the room schedules persistently on the device.
The dual indicator LEDs on the device integrate with the Room Booking card to further enhance the experience for employees, providing a clear indication of the availability of meeting spaces from a greater distance and from any angle, regardless of the screen visibility.
This article provides instructions to configure and register the Logitech Tap Scheduler device with Appspace.
Prerequisites
Appspace
- An active Appspace account, with sufficient device licenses to register the device.
- Appspace App 2.49 and later.
- Account Owner or Location Admin user roles with sufficient platform licenses.
- An Appsppace Room Booking card configured with your preferred calendar provider.
- An Appspace playlist channel assigned with the Room Booking card created above.
- An active Internet connection.
- It is recommended that the device clock is set to automatically retrieve time from a Network Time Protocol (NTP) server, with the correct time zone, in order for it to sync correctly with the Appspace server.
NoteAppspace cloud servers by default retrieve time from a NTP server. If an Appspace on-prem server is used, ensure the server time is automatically retrieved by a NTP server.
- Please ensure your network is configured to allow Appspace Approved URLs and the relevant network ports. On your proxy server, ensure our approved URLs are listed in the ‘How to set up networks with SSL content filters’ section in the following article: https://support.google.com/chrome/a/answer/3504942#sslinspection.
Logitech
- Supported Logitech Tap Scheduler device. The device must meet the manufacturer’s minimum hardware and technical specifications. Please refer to Supported Devices & Operating Systems.
- Logitech CollabOS 1.7 and later. ImportantYou will only be able to use Logitech Tap Scheduler devices once it has been updated with Logitech CollabOS 1.7 and Appspace App 2.49 and later (built-in).
Configure Logitech Tap Scheduler
Follow the instructions below to configure the Logitech Tap Scheduler device for room scheduling:
- Switch On the Logitech Tap Scheduler device, and select Appspace from the Select video service provider screen.

- Once selected, Skip the Logitech Sync Portal screen.
- At the Confirm Installation screen, click the Right Arrow icon to proceed with the installation.
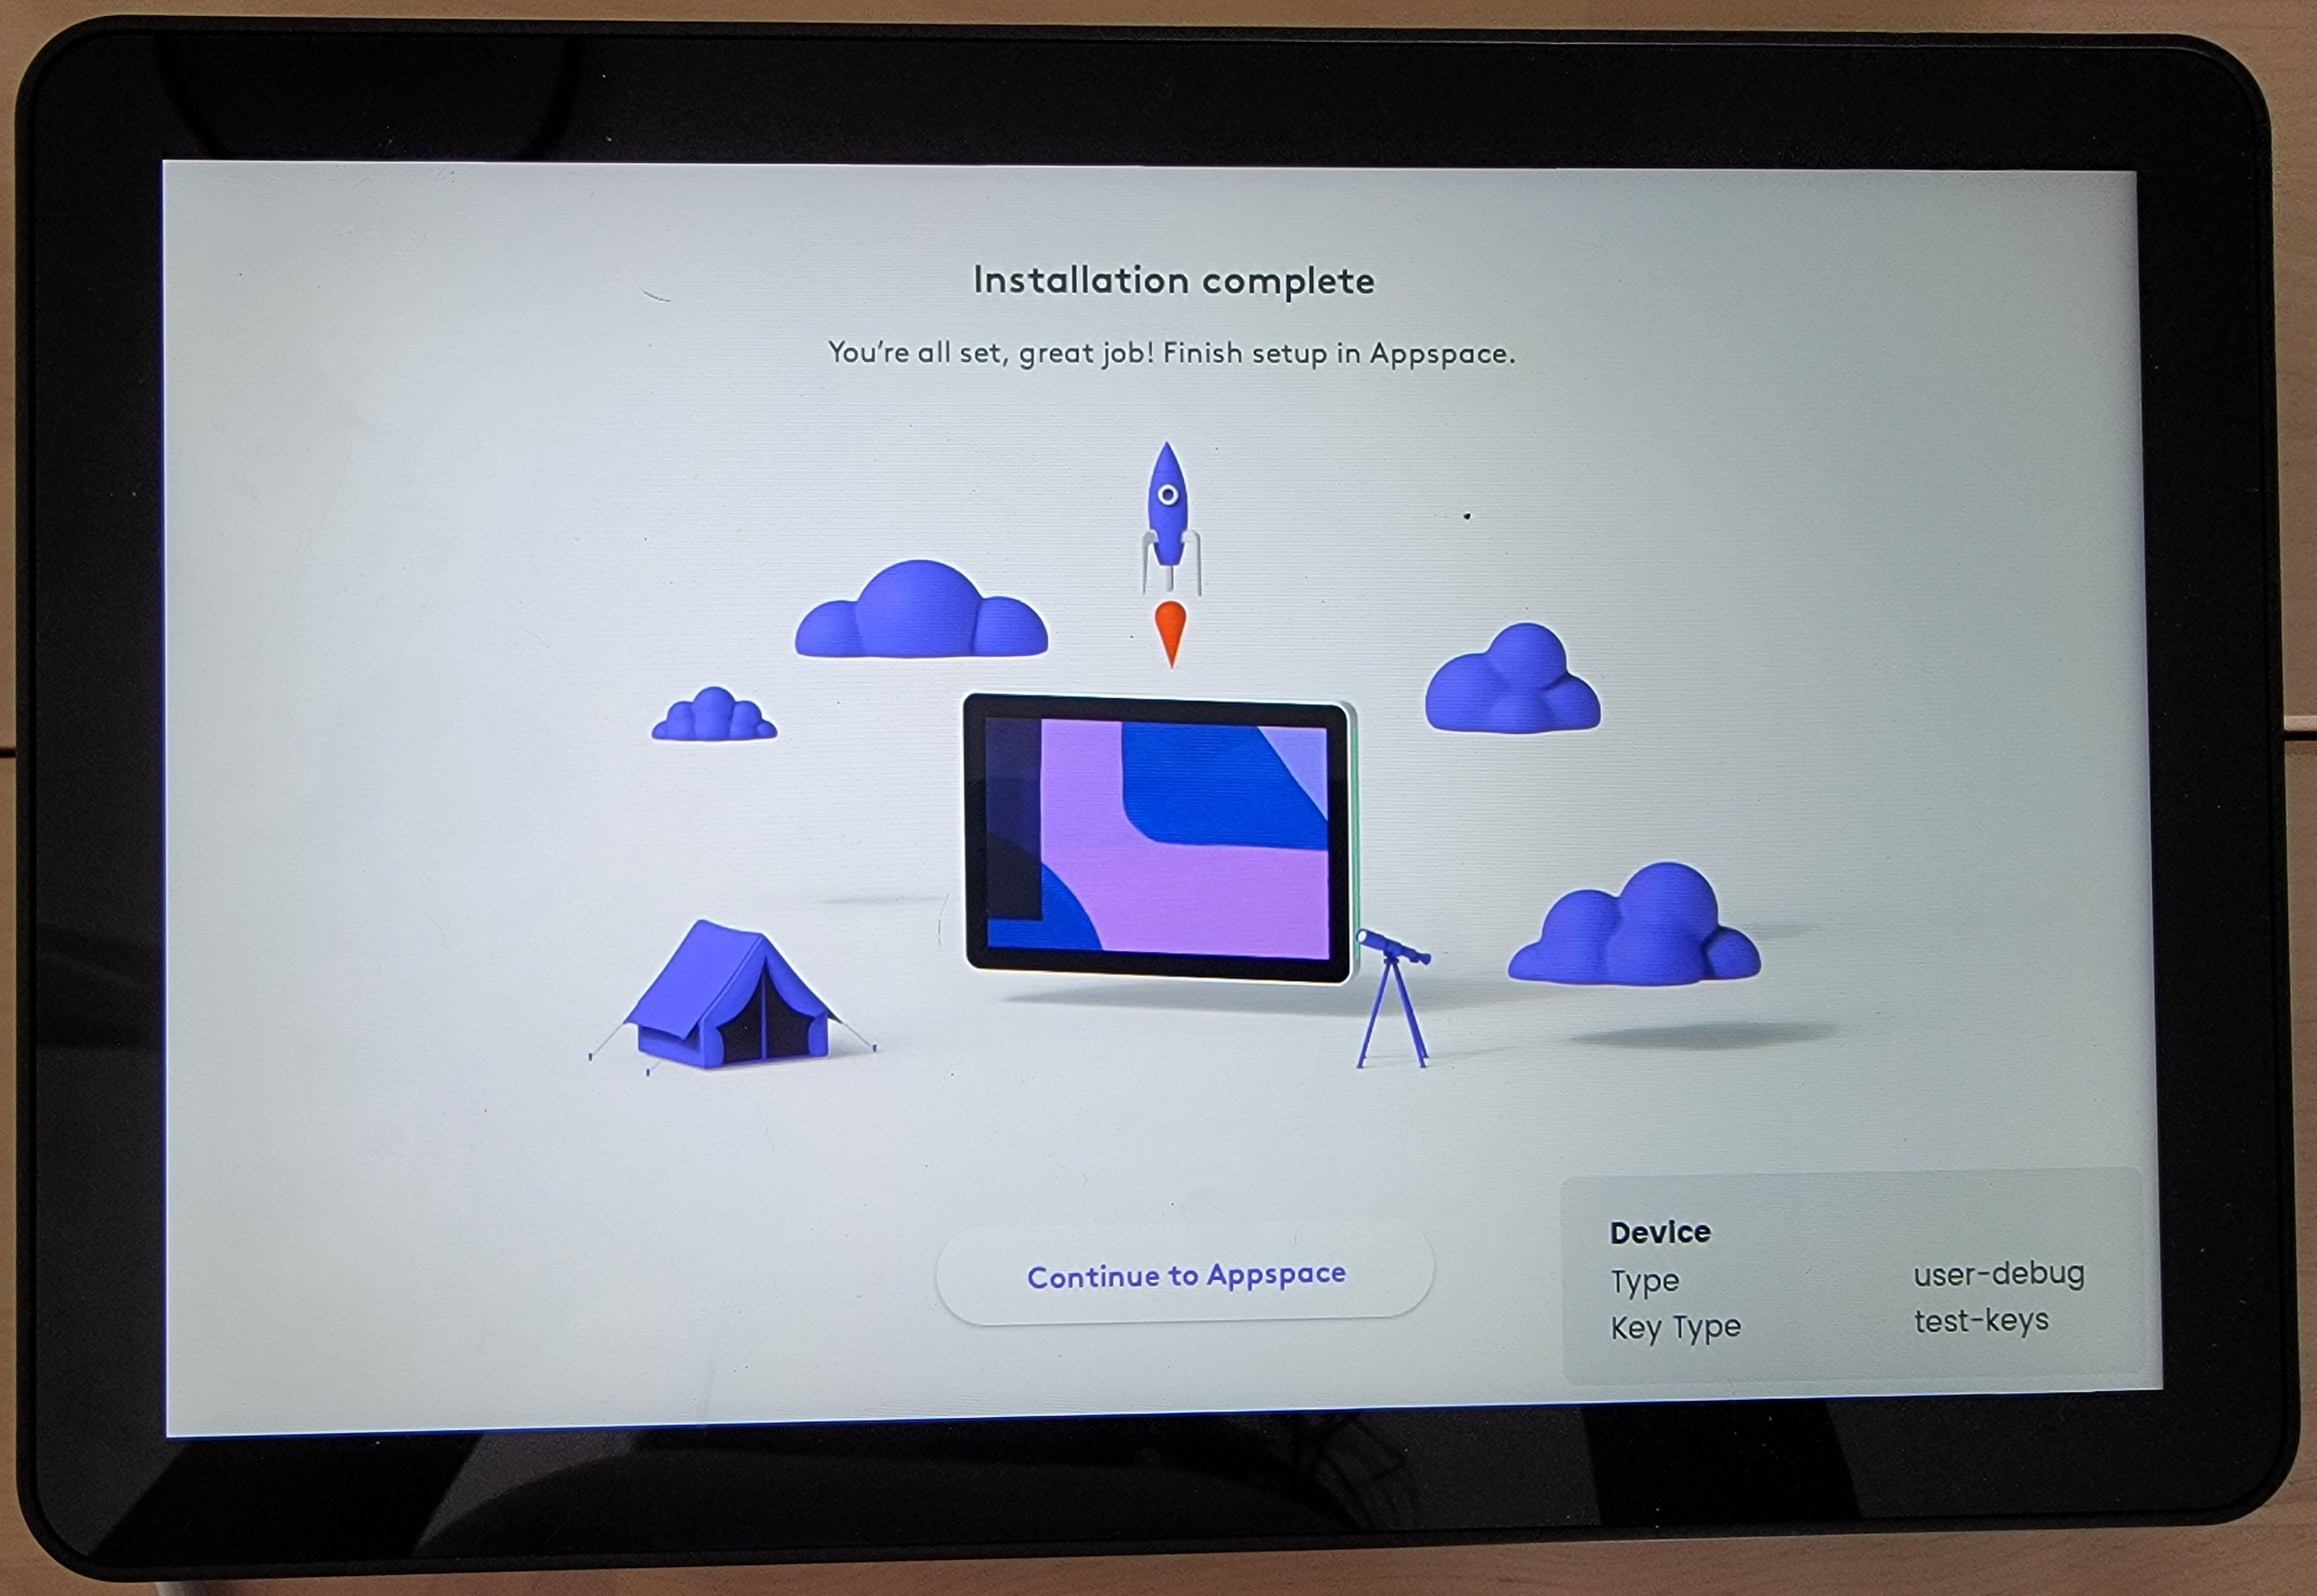
- Once the installation has completed, click Continue to Appspace to launch the Appspace App (Devices) registration screen.

- Proceed to register the Appspace App on the Logitech Tap Scheduler device by following the instructions in the Register a device article.
- In Step 6 of the registration process, select the Administrators can select a single channel option for the Channel selection mode.
- Assign the playlist channel with the Room Booking card created earlier.
- The Appspace room scheduling service will be displayed on the device, ready for room booking.
Enable ADA-Compliant LED Status Lights
The Logitech Tap Scheduler device is now ADA-compliant (Americans with Disabilities Act Standards), by allowing its LED status lights to display the following colors that are visible to users with color blindness.
- Occupied status: Amber
- Check-In status: Yellow
- Available status: Blue
To enable ADA-Compliance on the Logitech Tap Scheduler, follow the instructions below:
- Log in to your Appspace console.
- Navigate to Devices from the Appspace menu.
- Click the desired device name link from the Devices dashboard.
- Click the Settings > Device Properties tabs, and navigate to the last row of the device property listing.
- Proceed to enter the following Property and Value in their respective fields:
- Device Property: player.statuslight.colorpalette
- Device Value: ada
- Click the check mark once done to confirm.
To revert back to its default color settings, (red, yellow, green), you may either delete the device property, or change its value to “default”
- Device Property: player.statuslight.colorpalette
- Device Value: default
Access Logitech LogiSettings (Device Settings)
Follow the instructions below to access the Logitech Tap Scheduler LogiSettings (Device Settings):
- Device Property: player.devicemenu.hotarea.enable
- Value: true
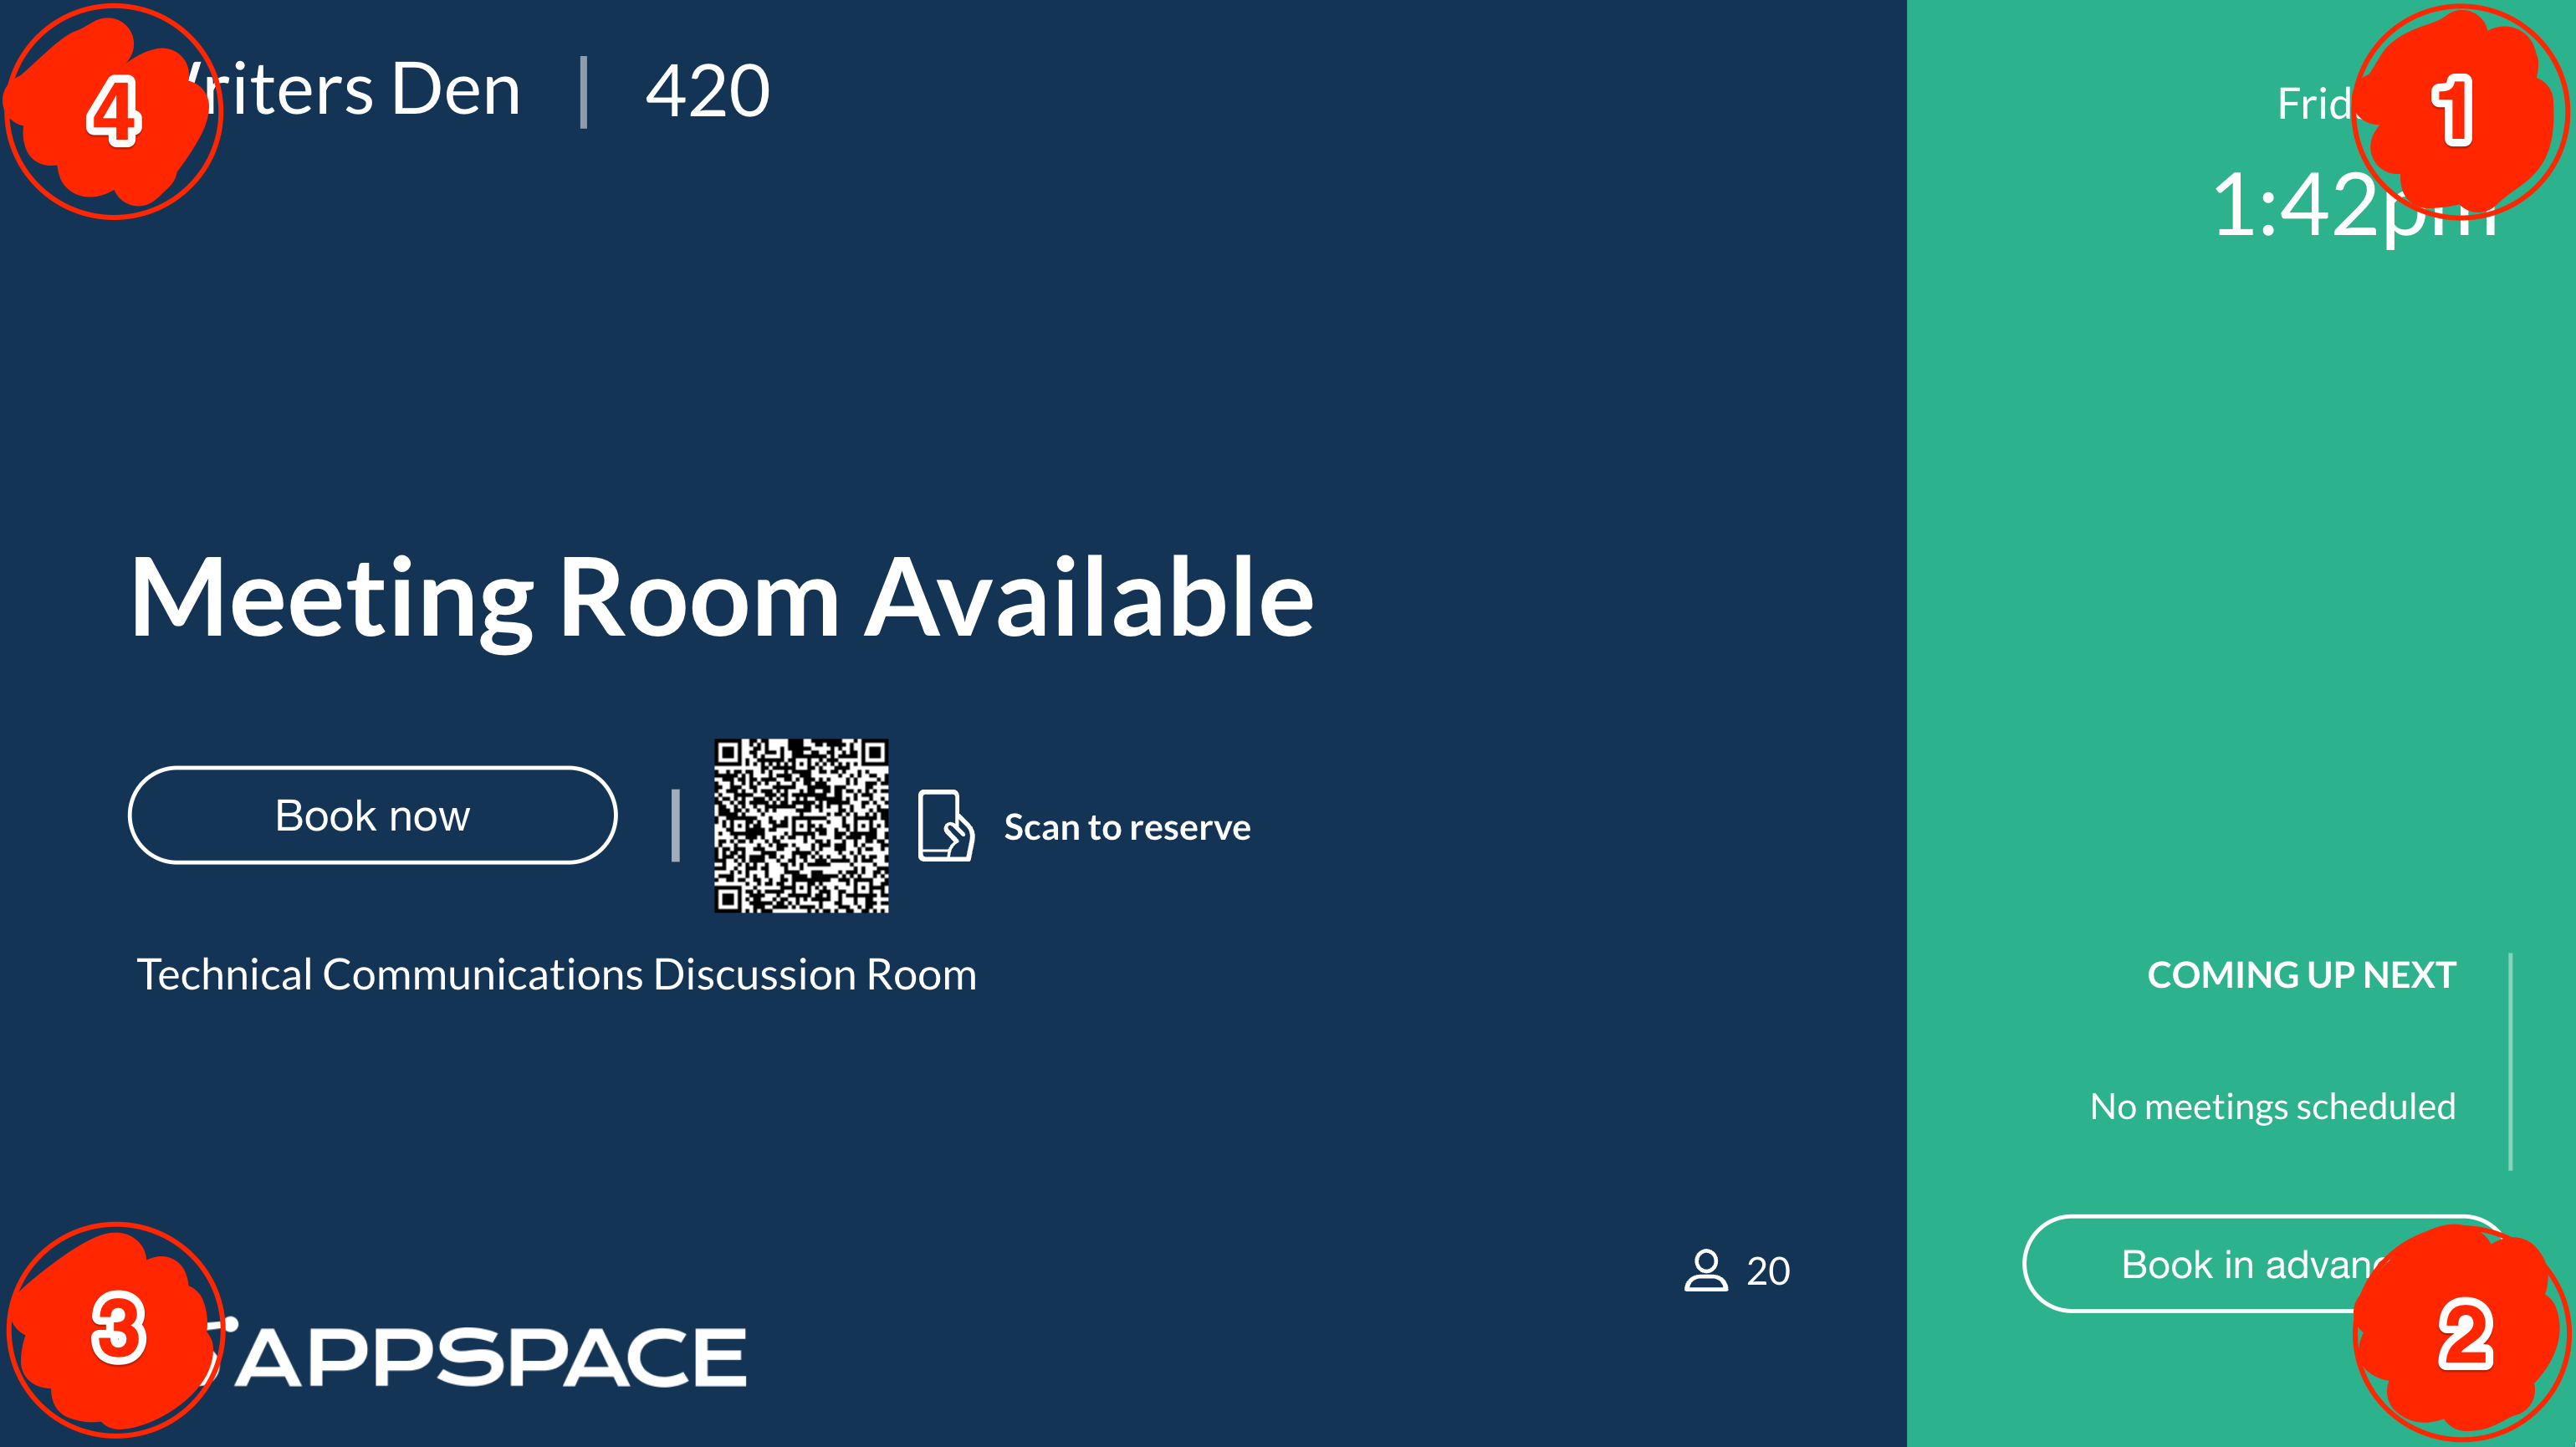
- To access the Logitech LogiSettings (Device Settings), tap each corner of the touch screen in the following sequence (clockwise):
- If done successfully, the Appspace Device Menu screen will be displayed.
- Select Internal Device Settings from the Appspace Device Menu screen, to access the Logitech LogiSettings (Device Settings).
Was this article helpful?
