Appspace SharePoint Intranet incorporates the Blogs function, providing users with an advanced tool for smooth and continuous communication. These personalized places are perfect for people, particularly CEOs, who need a platform to routinely distribute thorough and well-organized material. Blogs serve as a comprehensive platform for internal communications, enabling successful communication between different communities and across the whole enterprise, reaching a large audience. This feature enables various sharing choices, whether via a team’s blog or a private community blog. In addition, blogs promote informal conversation by including enhanced information, such as images and videos, which improves the creativity and involvement of internal communications.
This article provides instructions on how to create a new blog space in the Appspace SharePoint Intranet platform.
Create a New Blog Space
Follow the instructions below to create a new blog space.
- Log in to your Appspace SharePoint Intranet account.
- Click the + button to create a new space.
ImportantIt is important to note that in order for a user to create a standalone blog, they must first obtain permissions from the administration roles. There is more to discover about basic configuration. Please refer to the following article: Enable tools and sites.
- Select Blog and click the Create button.
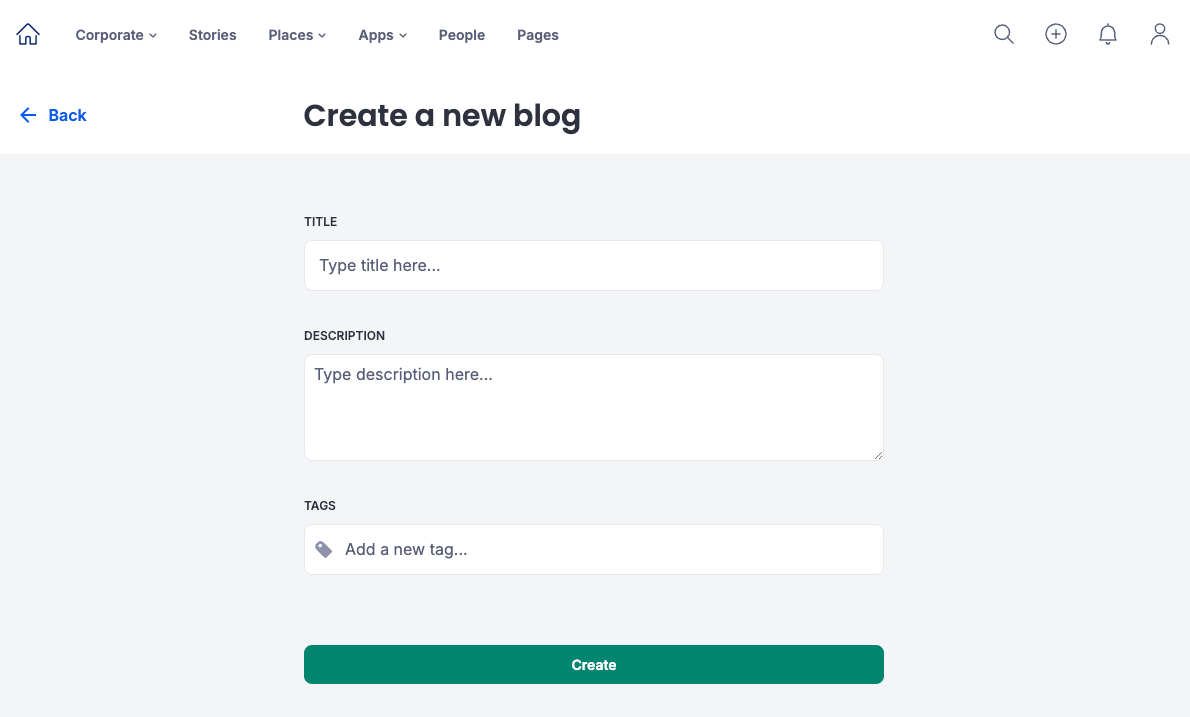
- To create a new blog space, you can start by editing the main categories of the blog, namely:
- Title: In this field, you must include the title of your blog.
- Description: In this field, you must include the description or goal of this space.
NoteFilling out the title and description fields is compulsory. 240 characters are permitted for the title and 255 characters for the description.
- Tags: You may add the tags related to your blog content.

- Click the Create button to launch the blog space.
NoteThis procedure could take up to five minutes. While you wait, you can change the blog settings (such as the title, description, and tags) by clicking Exit and get notified or Start configuring (you will then be notified in your notifications space). You’ll get a notification in either of the options so that you know your blog space was properly created.
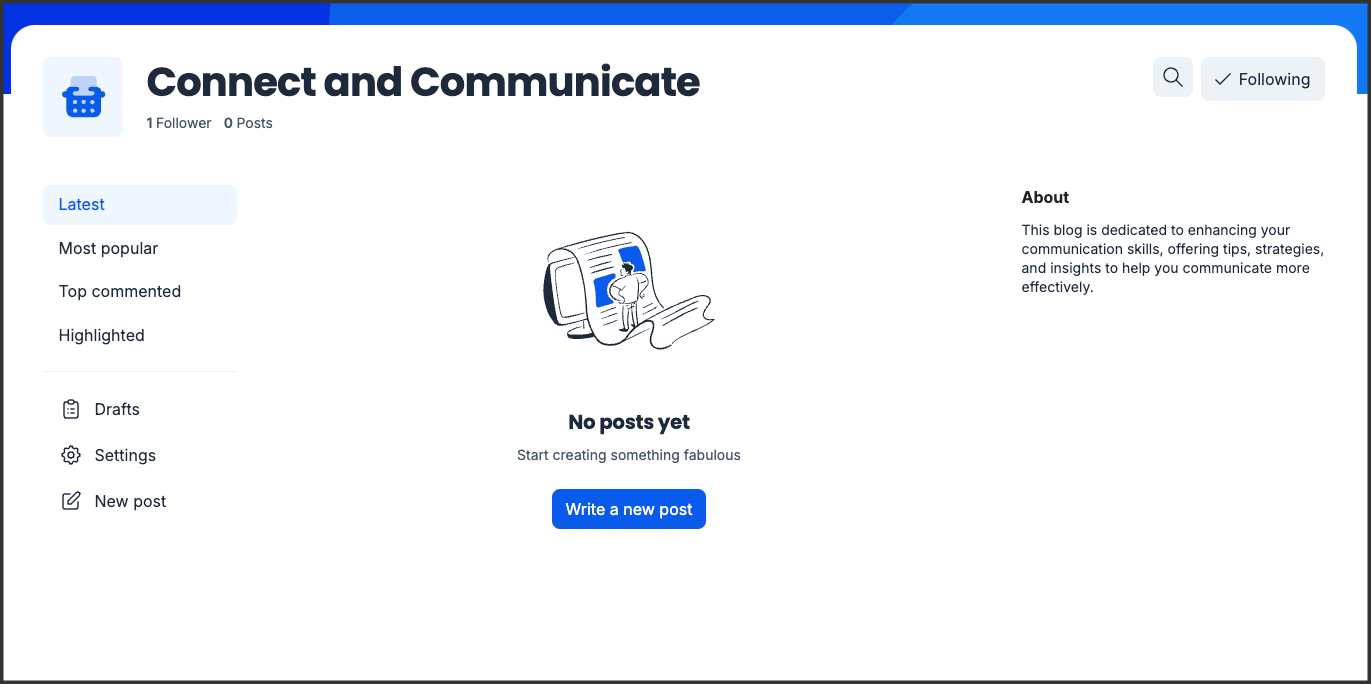
- Once the process is completed, you may do the following:
- View Blog – To view the blog space dashboard.
- Edit Settings – To edit the blog settings. In the Edit blog page, you may do the following:
- Basic – Edit the title, description and tags.
- Users – Add the authors and owners.
- Design – Add the blog image and banner image.
- Once done, click Save, and it will take you to the blog space dashboard.

Was this article helpful?