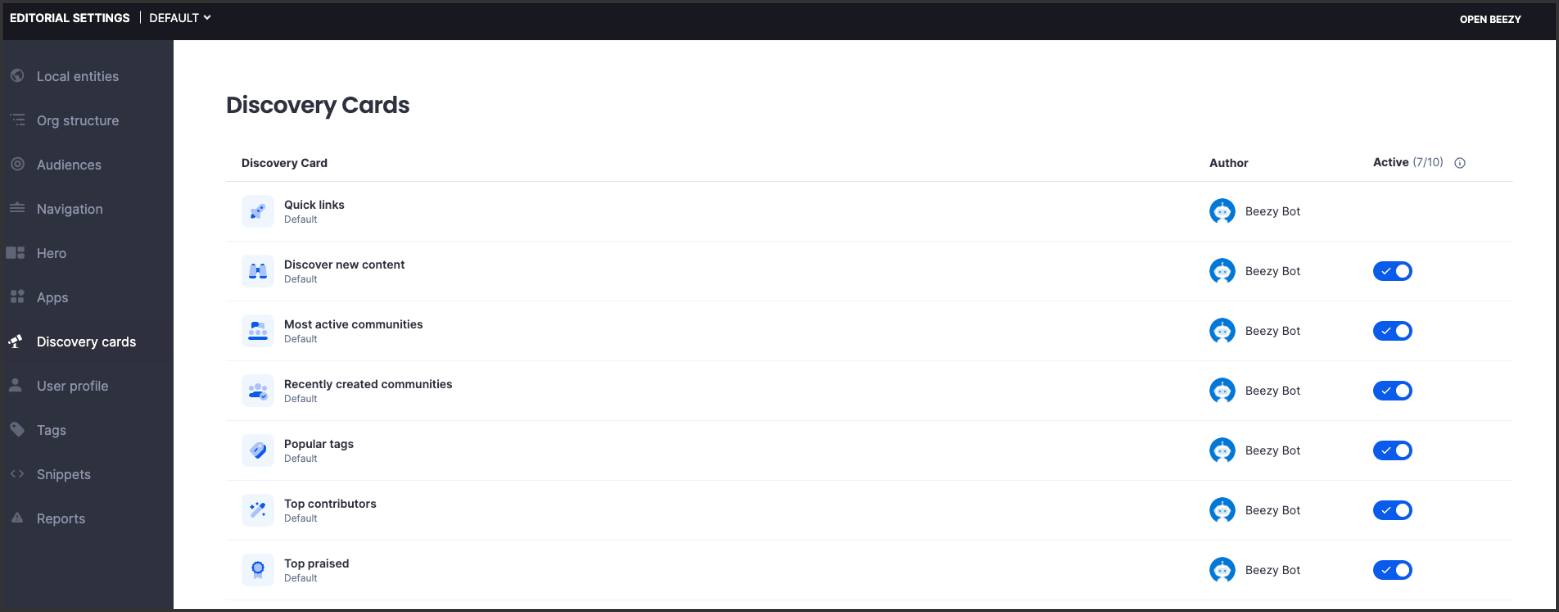
Appspace SharePoint Intranet uses Discovery cards to provide users with essential content, information, and resources, assisting employees in finding updates, announcements, events, or information that is relevant to their positions or interests. There are a variety of cards that may be found on the newsfeed. Some of these cards are Quick Links, Discover New Content, Most Active Communities, Recently Created Communities, Popular Tags, Top Contributors, and Top Praised.
This article describes how to configure Discovery Cards in the Appspace SharePoint Intranet.
What's New
Enhancements release in Appspace SharePoint Intranet 4.14
- Editorial Managers can now effortlessly add custom cards with predefined layouts to the platform, offering a variety of formats—banners, lists, and event listings—for a more tailored and engaging user experience.
Prerequisites
- A Global/Local Editorial Manager has roles with permissions to create and edit the Discovery cards.
- The Local Entity Administrator role includes permissions to edit Discovery cards and add new items. It’s is important to note that they cannot overwrite global admin links.
Create Discovery Cards
- Log in to your Appspace SharePoint Intranet account.
- Click the User Menu and select Editorial settings.
- In the Editorial Settings dashboard, select Discovery cards.
- On the Discover cards dashboard, select the +New Card button.
- In the Layout tab, you may select:
- Banner
- In the New banner section, you may do the following options:
- Select languages:
- Catalan
- Chinese
- Czech
- Danish
- English (Default)
- French
- German
- Italian
- Japanese
- Spanish
- Select languages:
- Title: Name of the card.
- Description: Description about the card.
- Link: Add a short title link to the relevant resources.
- Style: Customize your card’s appearance by choosing the icon, fill color, upload the background image, set the background overlay and set the text color.
- Once done, you may preview the banner by clicking the Preview on the top right of the window, or click Save.
- In the New banner section, you may do the following options:
- List
- In the New list section, you may do the following options:
- Select languages:
- Catalan
- Chinese
- Czech
- Danish
- English (Default)
- French
- German
- Italian
- Japanese
- Spanish
- Select languages:
- Title: Name of the card.
- Style: Customize your card’s appearance by choosing the icon, fill color, upload the background image, set the background overlay and set the text color.
- To reset changes, click the Reset Changes button, or click Next to proceed.
- Item Type: Choose an item type from the dropdown menu:
- Generic List: You may upload an image, add a short title, a line of description, and a related link.
- Event List: You may upload an image, add a short title, write a line of description, select the date, and provide a related link.
- Once done you may preview the banner by clicking the Preview on the top right of the window, or click Save.
NoteThe new discovery cards are only applicable to the 3-column layout.
- In the New list section, you may do the following options:
- Banner
Manage Discovery Cards
Follow the instructions below to manage Discovery cards.
- Log in to your Appspace SharePoint Intranet account.
- Click the User Menu and select Editorial settings.
- In the Editorial Settings dashboard, select Discovery cards.
- On the Discover cards dashboard, you can see a list of cards scheduled, the author, and the option to activate or deactivate the cards to show displayed in the newsfeed.

Edit Quick Links Card
Follow the instructions below to edit Quick Links card.
- On the Discover cards dashboard, click Quick Links.
- Hover the mouse to the right corner and select the ellipsis button. Then, click on Edit to proceed.

- In the Edit quick links section, you have the following options:
- Select languages:
- Catalan
- Chinese
- Czech
- Danish
- English (Default)
- French
- German
- Italian
- Japanese
- Spanish
- In the General section add a title in the title box.
- In the Tab section you may set up card’s content within each of it’s tabs.
- Recommended tab:
- Enable Tab: Slide the toggle to enable or disable to display the links recommendations.
- Tab Title: Name the tab.
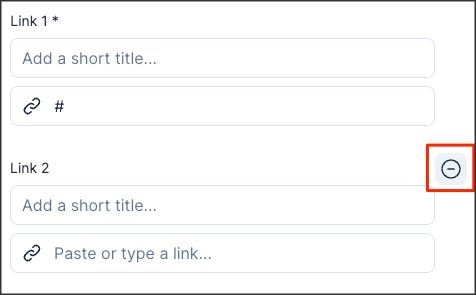
- Link 1: You can add a short title link to the relevant resources.
- Add link: You can add a link if you have more recommended content to share. To remove a link, hover the mouse to the right corner until the remove button appears, then click it.
- Reset Changes: To reset all the modifications that have been made.
- Once done, click Save.
- Users Shortcuts tab:
- Enable Tab: Slide the toggle to enable or disable allowing users to save and access their own link.
- Tab Title: Name the tab.
- Reset Changes: To reset all the modifications that have been made.
- Once done, click Save.
- Recommended tab:
- Select languages:

Was this article helpful?