The RSS card lets businesses quickly and easily display live RSS feeds right into your office space, as it is a great tool to keep teams informed on the latest industry trends, financial markets, or breaking news, allowing them to make much better well-informed decisions.
The RSS card is an Appspace supported card, which is officially created and periodically updated by Appspace with new templates and features.

Visit our Appspace Card Gallery to find the perfect card to deliver your message.
The base RSS card allows you to add authenticated, or unauthenticated RSS feeds that are available over the internet, or from a private internal network, just as long as the RSS feeds are in the following RSS formats:
- RSS 1.0
- RSS 2.0
- mRSS
- Atom 1.0
Apart from the basic card customizations, the following customizations and features are available for the RSS card:
- Display RSS feed summary and media.
- Configure RSS media aspect ratio.
- Disable low resolution media on RSS feeds.
- Upload a custom font.
NoteTo enable custom font, it has to be unlocked at the card theme. Please follow the Create Card Themes instructions in the Customize Appspace Cards Theme article to do this.
- Configure text color.
- Configure feed duration.
- Configure date format.
- Upload custom logo.
- Enable transitions between RSS feeds.
- Configure transition effects and colors.
With the introduction of Content Categories in Appspace 8.0 ac.22, the RSS card template is assigned with the Productivity & Engagement content category.
This article provides instructions on how to create, configure, and customize the RSS card to be displayed.
What’s in this article:
Prerequisite
- Ensure your device is compatible. Refer to the Supported Appspace Cards article.
- Account Owner, Portal Admin, Publisher (Editor), or Author roles to add or edit content in Library.
Create and Configure RSS Card
The instructions below allow you to display RSS feeds.
- Log in to your Appspace console.
- To create this card, select one of the following options:
- Click +Quick Action from the Appspace menu bar on the top right, and select Create Card.
- Click Library from the ☰ Appspace menu, and select a library or folder you wish to create the content in. Click +CREATE, and select Card.
- To create and add the card directly to an existing channel, refer to Add Content to Playlist Channels.
- Select Feeds from the All Templates drop-down menu, and click the RSS card.
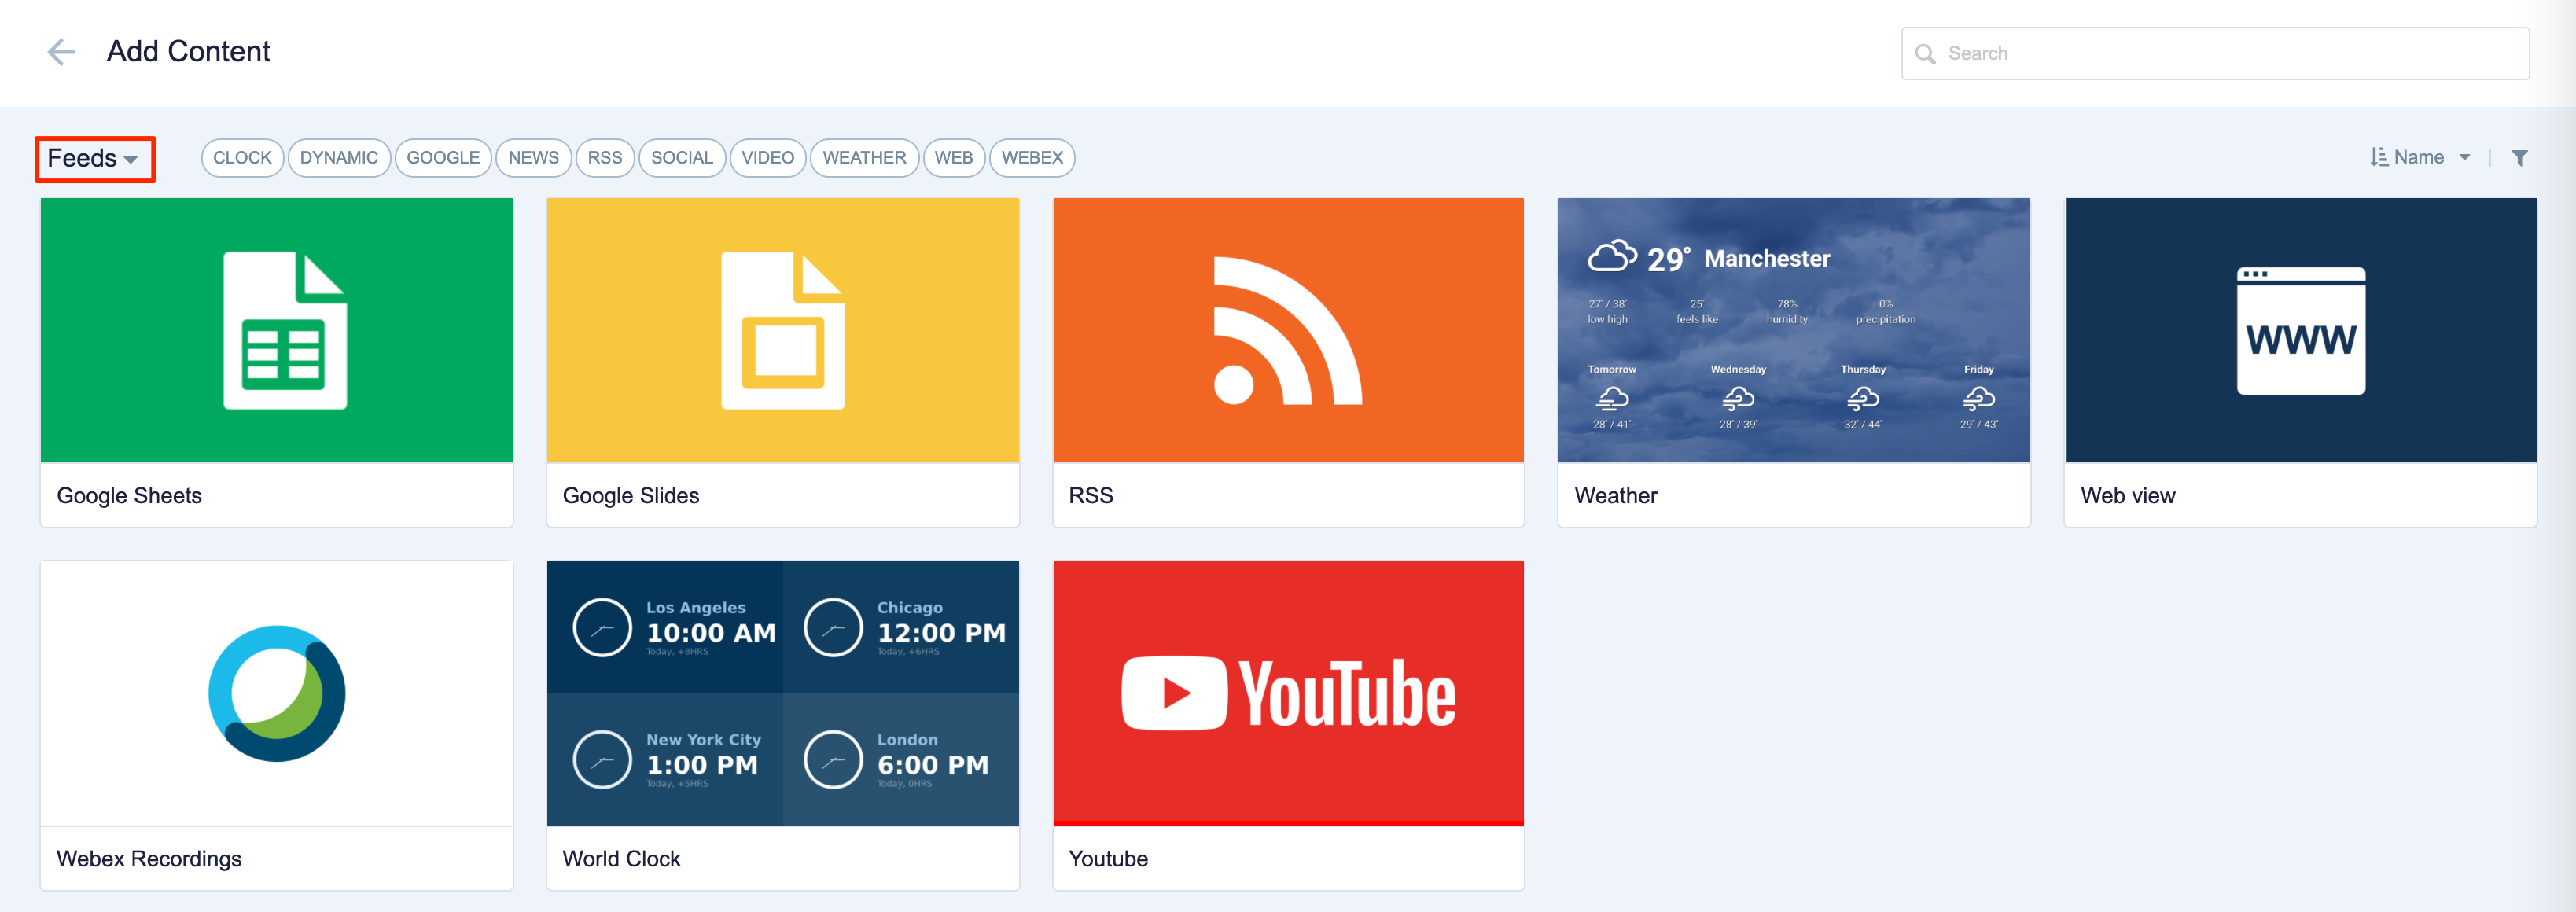
ImportantIf you are unable to locate the content, try using either the Search bar, the Order by, or Filter icon to narrow down the content that you are looking for. - Enter the Title of the content as this will also act as the filename for the content. This is a mandatory field.
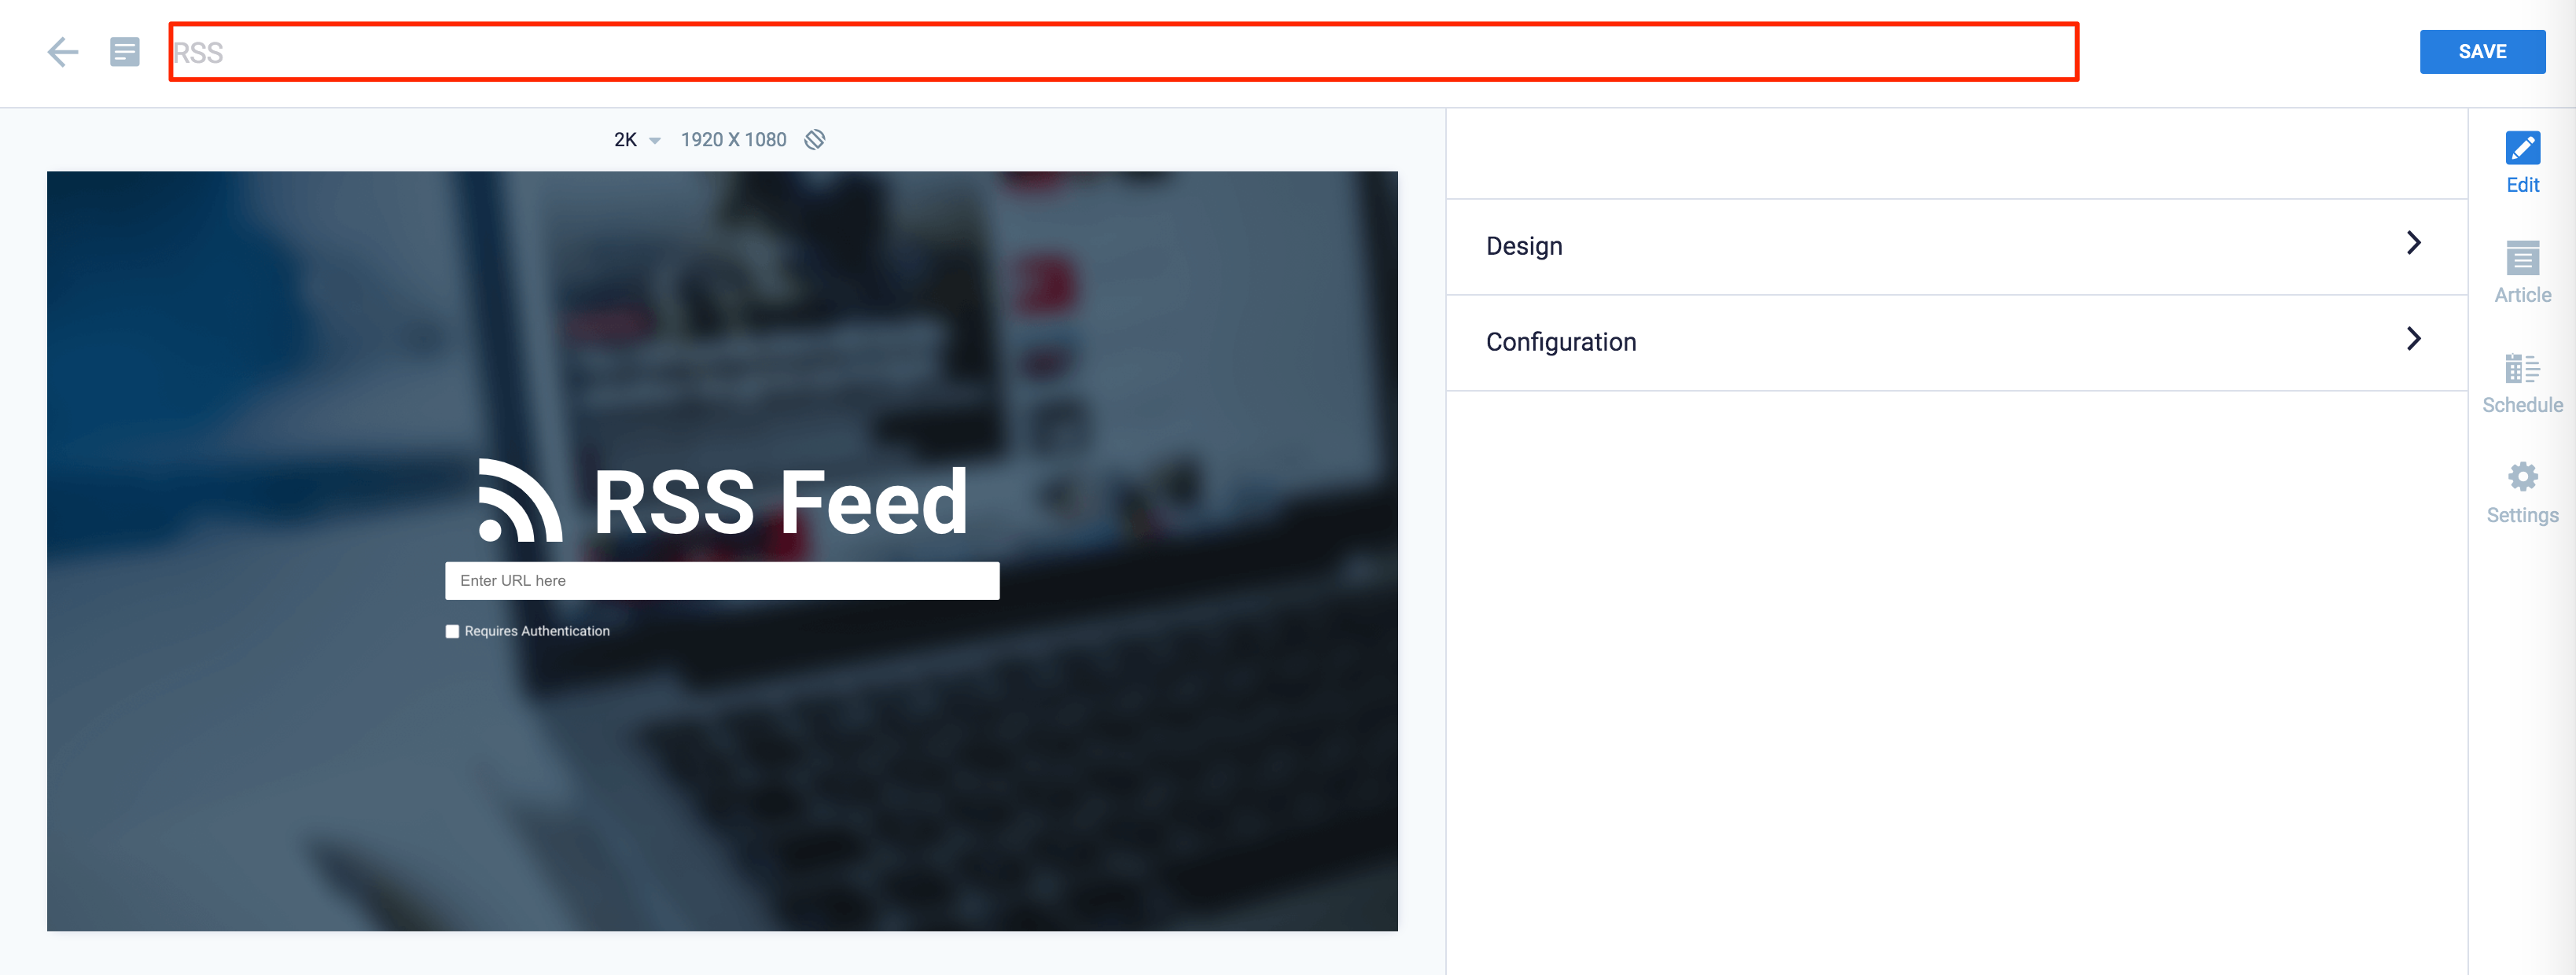
- In the Edit tab;
- Enter the RSS feed URL in the address field on the card. If authentication is required, check the Requires Authentication checkbox, and fill in the required credentials.
NoteSupported RSS formats: RSS 1.0, RSS 2.0, mRSS, Atom 1.0
- In the Design section; click the arrow to expand.
- Customize the Transition 1, Transition 2, Text Color, and the Background Color or Media.
- In the Configuration section; click the arrow to expand.
- Select the Feed Item Duration to set the number of seconds each content is displayed before the next within the feed.
- Select the Display Options for the RSS feed:
- Enable Transition – Display a transition between feed content. Selected by default.
- Enable Custom Logo – Allows users to upload a custom logo for company branding.
- Show RSS Media – Display media content from the RSS feed. Selected by default.
- Show RSS Summary – Display the content summary from the RSS feed. Selected by default.
- Show RSS Date – Display the content date from the RSS feed. Selected by default.
- Hide Low Resolution Media – Display only high resolution content from the RSS feed.
- Keep Aspect Ratio – Display the content in its original aspect ratio from the RSS feed.
- Select the Date Format.
- Select the Transition Effect.
- Enter the RSS feed URL in the address field on the card. If authentication is required, check the Requires Authentication checkbox, and fill in the required credentials.
- In the Article tab; This section may be skipped.
- Include an Article or Caption to accompany the content item when being displayed on mobile apps, tablets, and other social collaboration apps.
- Enter a Referral Link to link more information to the content.
- In the Schedule tab; This section may be skipped.
- You may add the content to a channel by selecting the channel from the Add to channel drop-down menu, or leave it unassigned to be added later.
- When the content is assigned to a channel, the SCHEDULING and DISPLAY PROPERTIES options are displayed. Refer to the Configure Content Playback Properties: Dayparting, Frequency, Scheduling, in a Playlist Channel article for detailed configuration instructions.
- In the Settings tab; This section may be skipped.
- The Name field will be auto-populated to match the Title of the content which will also act as the filename for the content. This is a mandatory field.
- Select the Content Category from the drop-down menu to match the focus of the message, or leave it at the default content category.
- Enter any relevant Tags for the content. (Optional)
- Select a folder for the content in the Library Location drop-down menu to change the default folder location.
- Select an expiry date for the content from the Auto Delete Content from Library drop-down menu. (Optional)
- Upload an image to be used as the Thumbnail for the content.
- Once done, click SAVE.
Edit RSS Card
The instructions below show you how to edit an RSS card.
- Log in to your Appspace console.
- Click Library from the ☰ Appspace menu, and select a library or folder containing the content you wish to edit.
- Select and click the RSS card to edit, and select the desired tab to edit or view.
- In the Edit, Article, and Settings tabs:
- You may edit the content the same way as it was configured. For detailed instructions on how to do this, please refer to the Create and Configure RSS Card section above.
- In the Preview tab:
- Preview how the content is displayed on your device.
- In the Channels tab:
- You may add the content to a channel by selecting the channel from the Add to channel drop-down menu, or leave it unassigned to be added later.
- When the content is assigned to a channel, the SCHEDULING and DISPLAY PROPERTIES options are displayed. Refer to the Configure Content Playback Properties: Dayparting, Frequency, Scheduling, in a Playlist Channel article for detailed configuration instructions.
- In the Analytics tab:
- View the individual content analytics in this tab. For more information, please refer to the Individual Content Analytics section of the Analytics article.
- In the Edit, Article, and Settings tabs:
- Once done, click SAVE.
Was this article helpful?