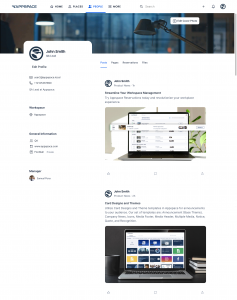
The People directory and people profiles keep the employee workforce connected and accessible from around the organization with a quick interface. Employees can easily access or manage their employee information anytime using any device, connect with remote teams, and foster better workplace relationships.
In this article, we will guide you on how to easily view user profiles in the People section of the Appspace Employee App. We’ll also show you how to personalize your own profile information, including your user icon, display name, and bio. By making these updates, you’ll be able to share and update your status and information to your colleagues.
Employees are able to view profiles within the People section of the Appspace Employee App and edit their own information (such as their display name and bio) within their profile to be viewed by their colleagues.
After Account Owners create user accounts, users will receive invitations to log in to the Appspace Employee App. Users who enter the People section and view their profile for the first time will see a reminder to set up their profile so it can be viewed by others.
You can perform the following actions on the Profile page:
- View a person’s Photo, Display Name, Bio, Email, Phone number, Praises received, Workspace, Manager, and other information.
- View Posts, Pages, Reservations, and Files created by the person.
- On your own profile page, you can edit your own Photo, Display Name, Bio, and other information that will be viewed by others.
- In your profile, you can navigate to your Posts, Pages, Stories and Reservations to make changes to them, and download your Files.
Prerequisites
- An active Appspace public/private cloud user account.
- The employee’s user account needs to have been generated by the Account Owner and the employee has accepted the invitation to log in and access the Appspace Employee App.
- Premium user license to access the Appspace Employee App.
- Supported web browsers for using the Employee App portal.
View People Profile
Follow the instructions below to view a person’s profile in the Employee App:
- Log in to your Employee App with your Appspace Premium User credentials.
- Click the More tab from the menu, and click the People tab.
- On the People page, the All tab displays you and your colleagues. You may select the Favorites tab to view people you have marked as favorites.
- You may search for users by entering a keyword in the Search colleagues field. Click on the sort option to sort people by the latest updated, most recently joined, or ascending, or click Filter to filter the people displayed based on job title and department. NoteUser profiles that are set as Private will not be displayed in People or in searches.
- Click on the person to view the person’s profile.
The Profile page displays the Display Name (usually based on the user’s first and last name, but may be edited here), job title, email, praises received, workspace location, department, and other workspace information that may be set in the user profile.
Send Praise to a Person
Follow the instructions below to send Praise to a person from within the person’s profile in the Employee App:
- Perform the steps in the section above to view the person’s People profile.
- On the Praises section, click Send a Praise.
- Perform Step 3 onward in the following article to send Praise to the person from the People profile page.
Add People to Favourites
You can add people you choose to view more often under your favorites. Follow the instructions below to add a person to your Favorites tab:
- Log in to your Employee App with your Appspace Premium User credentials.
- Click the More tab from the menu, and click the People tab.
- The page displays you and your colleagues. You may search for users by entering a keyword in the Search colleagues field. Click on the sort option to sort people by the latest updated, most recently joined, or ascending, or click Filter to filter the people displayed based on job title and department. NoteUser profiles that are set as Private will not be displayed in People or in searches.
- Move your mouse over a person’s profile to view the Star icon.
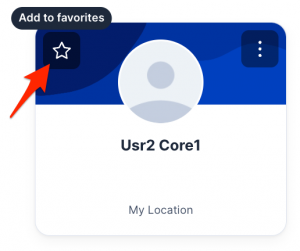
- Click on the star icon to add the person to your Favorites tab. The star color will change from hollow to yellow.
- Alternatively, you can also add a person to your favorites from inside the person’s profile:
- Click on the person to view the person’s profile.
- On the person’s icon, click the star icon to add the person to your Favorites tab. The star color will change from hollow to yellow.
- You have set the person as a favorite. People you have set as favorites are marked with a star on their profile image.
- You can click the Favorites tab to view the people you have marked as favorites.
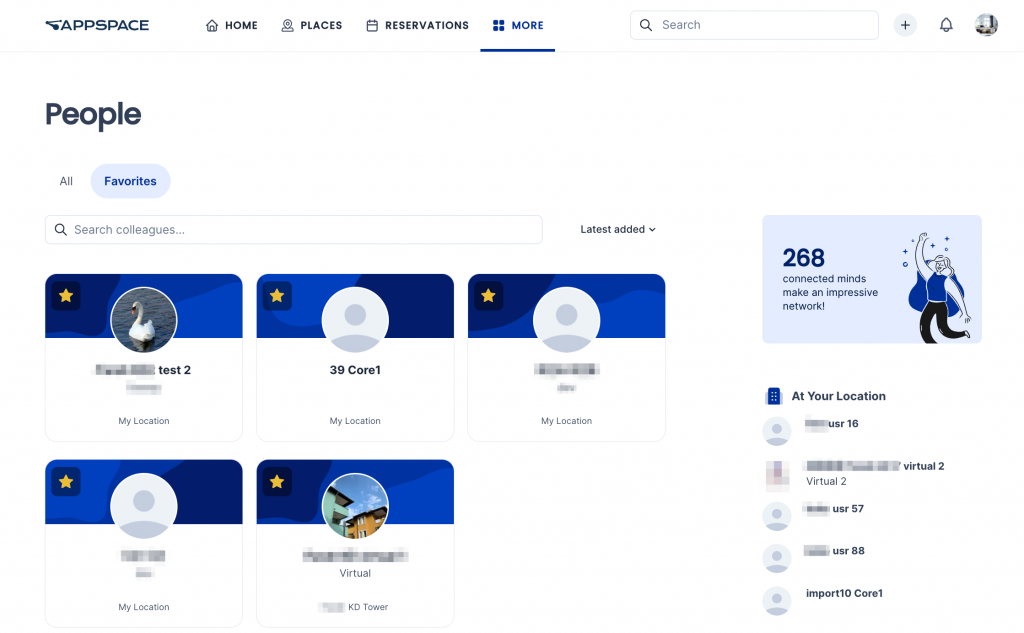
- People you have marked as favorites will be displayed first if they are attending a reservation in the building and the week you have selected in the Places > At the Office tab. However, if their workspace reservation is set to private, they will not be displayed unless you are the host or an attendee of the meeting.
- To remove a person from your favorites, move your mouse over the person’s profile icon and click the star icon. The star’s color will change from yellow back to hollow.
- You can click the Favorites tab to view the people you have marked as favorites.
View People’s Posts, Pages, Stories, Reservations and Files
- Log in to your Employee App with your Appspace Premium User credentials.
- Click the More tab from the menu, and click the People tab.
- The page displays you and your colleagues. You may search for users by entering a keyword in the Search colleagues field. Click on the sort option to sort people by the latest updated, most recently joined, or ascending, or click Filter to filter the people displayed based on job title and department. NoteUser profiles that are set as Private will not be displayed in People or in searches.
- Click on the person to view the person’s profile.
The section on the right displays the Posts, Pages, Stories, Reservations, and Files tabs. Click the tab to display the corresponding information.
- Posts tab – displays the posts created in channels by the user. Click the post to view the entire post. You can also like, comment, and share the post.
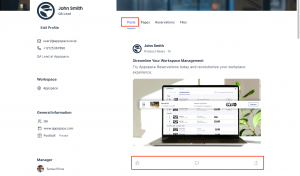
- Pages tab – displays the pages created by the user. Click the page to view the entire page.
- Stories tab – displays the stories created by the user. Click the story to view the entire article.
- Reservations tab – displays the reservations tied to the user. Click the reservation to view its details. Reservations set to private will not be displayed unless you are a host or an attendee of the meeting.
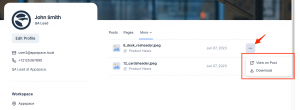
- Files tab – displays the files created in posts and pages by the user. Click the ellipsis in the file to download the attachment or to view it in its original post.
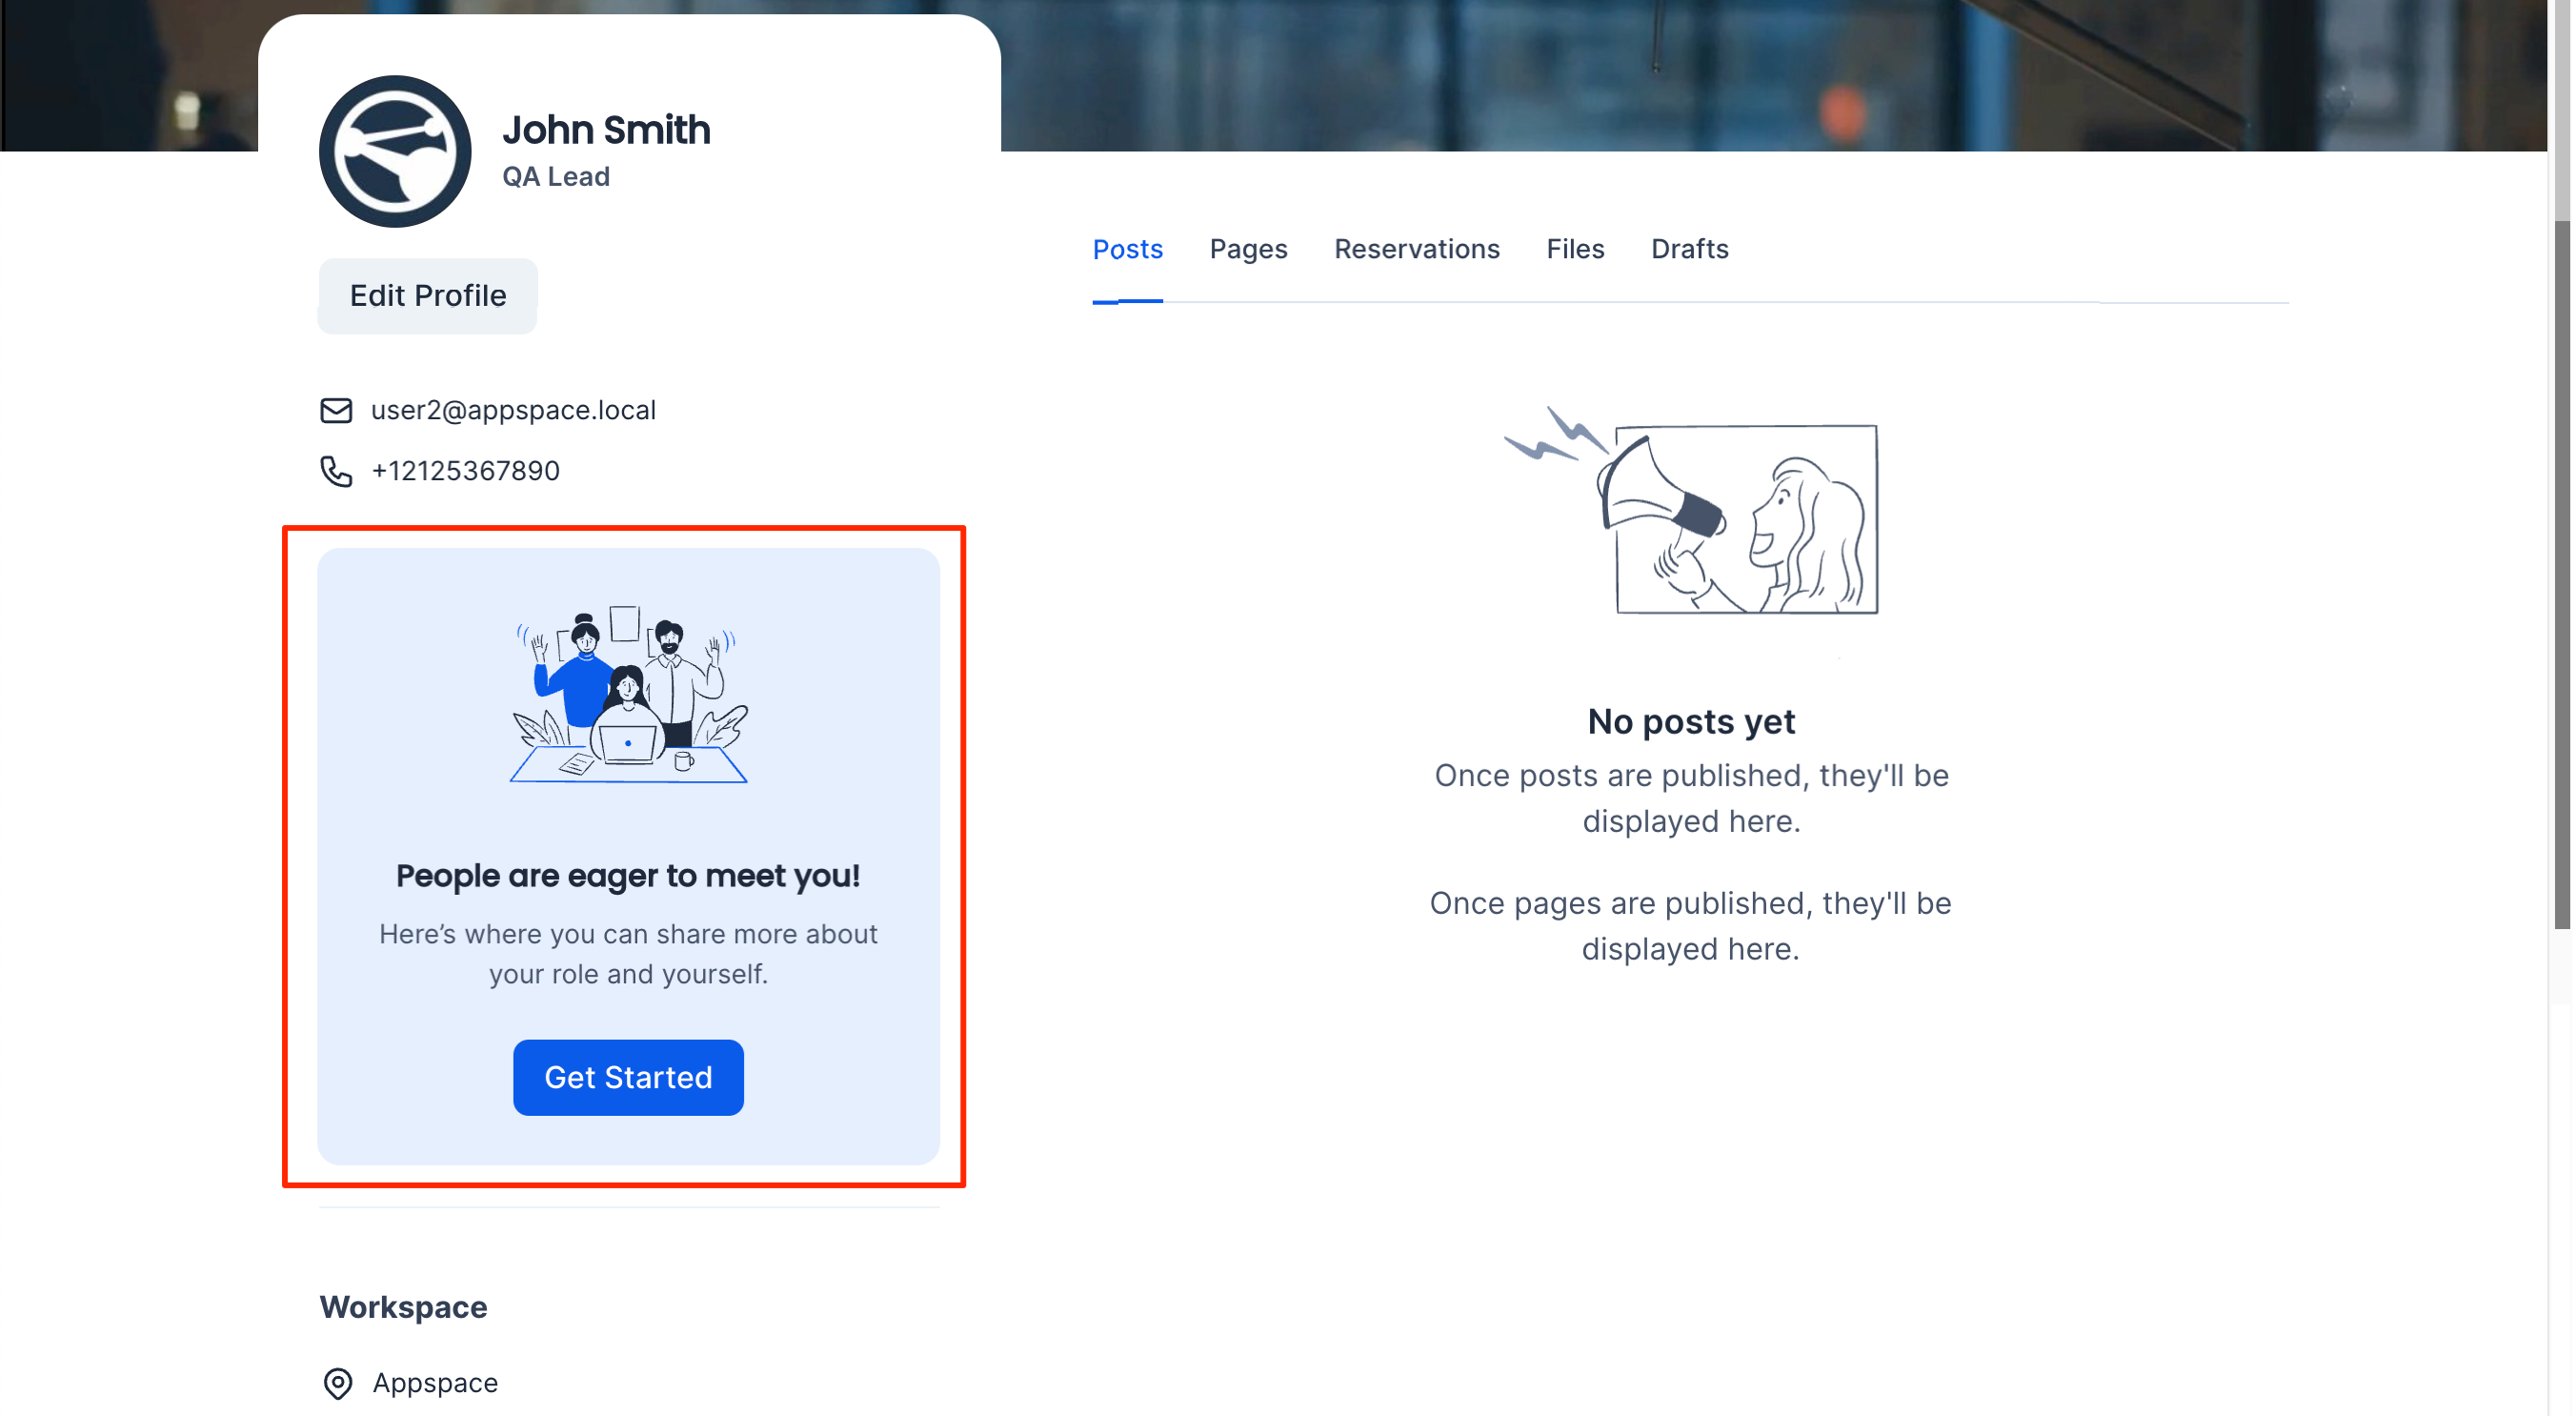
Get Started on Your Profile
Users who access their Profile for the first time will see a reminder to set up their profile.
- Log in to your Employee App with your Appspace Premium User credentials.
- Click the More tab from the menu, and click the People tab.
- Click on your profile.
- On your profile page, click Get Started.
- In the pop-up window, set your Display Name (this is usually based on the user’s first and last name, but may be changed in the Profile), Bio, and other information.
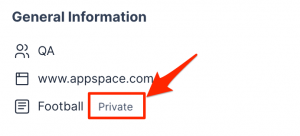
ImportantUser fields that have their visibility attribute set as hidden in the User Profile settings are marked as Private. You can still view and edit these fields, but they are not displayed in your profile to other users. Please refer to this article for more information.
- Scroll to the bottom of the window and click Save.
- You can add an icon image for your profile by clicking your icon and selecting an image.
- You may also add a background image for your profile by clicking Edit Cover Photo and selecting an image.

Edit Your Profile
Perform the following steps to edit your own profile, and change or remove your icon and cover image.
- Log in to your Employee App with your Appspace Premium User credentials.
- Click the More tab from the menu, and click the People tab.
- Click on your profile.
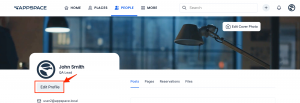
- On your profile page under your name, click Edit Profile.
- In the pop-up window, set your Display Name (this is usually based on the user’s first and last name, but may be changed in the Profile), Bio, and other information.
ImportantUser fields that have their visibility attribute set as hidden in the User Profile settings are marked as Private. You can still view and edit these fields, but they are not displayed in your profile to other users. Please refer to this article for more information.

- Scroll to the bottom of the window and click Save.
- You can edit your icon image for your profile by clicking your icon and selecting to either upload a new image or remove your existing icon.
- You may also edit your background image for your profile by clicking Edit Cover Photo and selecting an image.
View and Edit Your Bookmarks, Activity, and Drafts
You can view and edit your bookmarks, activity, and drafts from within your People profile.
- Log in to your Employee App with your Appspace Premium User credentials.
- Click the More tab from the menu, and click the People tab.
- Click on your own profile.
- The section on the right displays the Bookmarks, Activity and Drafts tabs, which are only visible in your own profile. Click the tab to display the corresponding information.
- The Bookmarks tab allows you to view posts (including event posts), stories, and pages that you have bookmarked.
- Click on the Bookmark tab to display your bookmarks. You can click on the bookmarked items to view the article.
- Move your mouse over a bookmarked item and click on the bookmark icon to remove the bookmark. Alternatively, you can click on the ellipsis and select Remove bookmark.
- The Activity tab allows you to view scheduled and expired posts in the Activity section.
- (New) The My Activity widget shows links to Scheduled, Expiring soon, and Expired posts, with a badge next to each category displaying the number of posts. NoteIf the count of any category (Scheduled, Expiring soon, or Expired posts) is zero, that category will not appear. The entire widget is hidden if there are no posts in all the categories.
- Click on any of the items to display the items on the Activity tab.
- (New) The My Activity widget shows links to Scheduled, Expiring soon, and Expired posts, with a badge next to each category displaying the number of posts.
- The Drafts tab allows users to view posts that are still in draft status.
- The Bookmarks tab allows you to view posts (including event posts), stories, and pages that you have bookmarked.
Was this article helpful?
