The Web View card allows businesses to display websites (HTML) easily, such as a company website, news portal, or even a blog, where updates can be almost instantly, or from sources that are readily available online.
The Web View card is an Appspace supported card, which is officially created and periodically updated by Appspace with new templates and features.
Visit our Appspace Card Gallery to find the perfect card to deliver your message.
Apart from the basic card customizations, the following customizations are available for the Web View card:
- Website scaling options:
- Fit to screen – matches the web page display with the screen resolution and size.
- Custom size – displays the web page at a custom screen resolution and size.
- Custom size with crop – displays only a particular section of the web page.
This article provides the instructions to create and configure a Web View card, which allows you to embed an external website into the card with multiple embedding options, such as:
- Native Webview – displays the web page in the device’s browser without the ability to customize, as the web page is set as source and is not embedded.
- XHR Proxy – uses XMLHttpRequest (XHR) proxy to by-pass some browser security settings, to display websites that do not allow embedding.
- Basic Authentication – allows web pages with basic authentication using the XHR proxy method. NoteBasic Authentication has been disabled, and will not work for BrightSign devices running the 8.0 firmware and above.
- Iframe – uses the most basic way to embed web pages, and only works if the web page allows embedding. It may not work for websites that do not allow embedding, such as social media web sites.
What’s in this article:
Prerequisites
- Cards are only supported on devices with the Appspace App. Legacy devices are not supported.
- Ensure your device is compatible. Refer to Compatible Appspace Cards.
- Account Owner, Publisher, or Editor (author) role in Appspace.

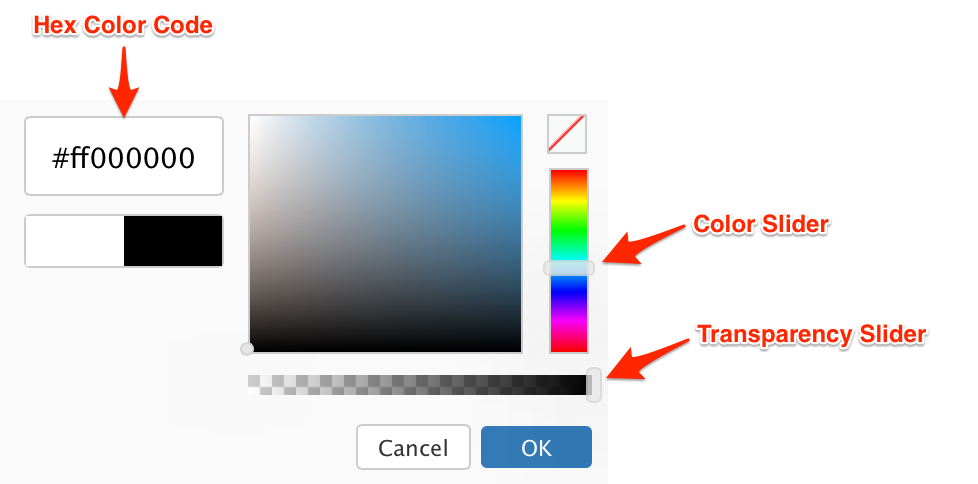 The first two characters in the Hex color code is the transparency value, while the next six characters are the color values. Please be mindful when including a custom Hex color code.
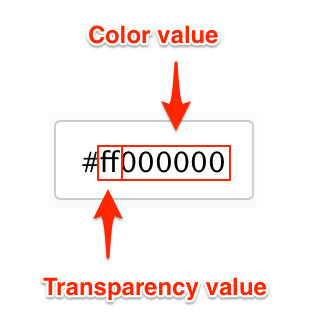
Create and Configure Web View Card
Follow the instructions below to create and configure the card:
- Log in to the Appspace console.
- Click the QUICK ACTION menu on the top-right, select Create Card, and proceed to step 4 below. Or click Library from the Appspace menu navigation bar on the left, and proceed to step 3 below.
- Select the desired folder in the library, and click the ADD button, and select Create Card.
- Select Web View from the Filter by template menu, and select a desired card template.
- Fill in the desired website URL in the Enter website URL field.
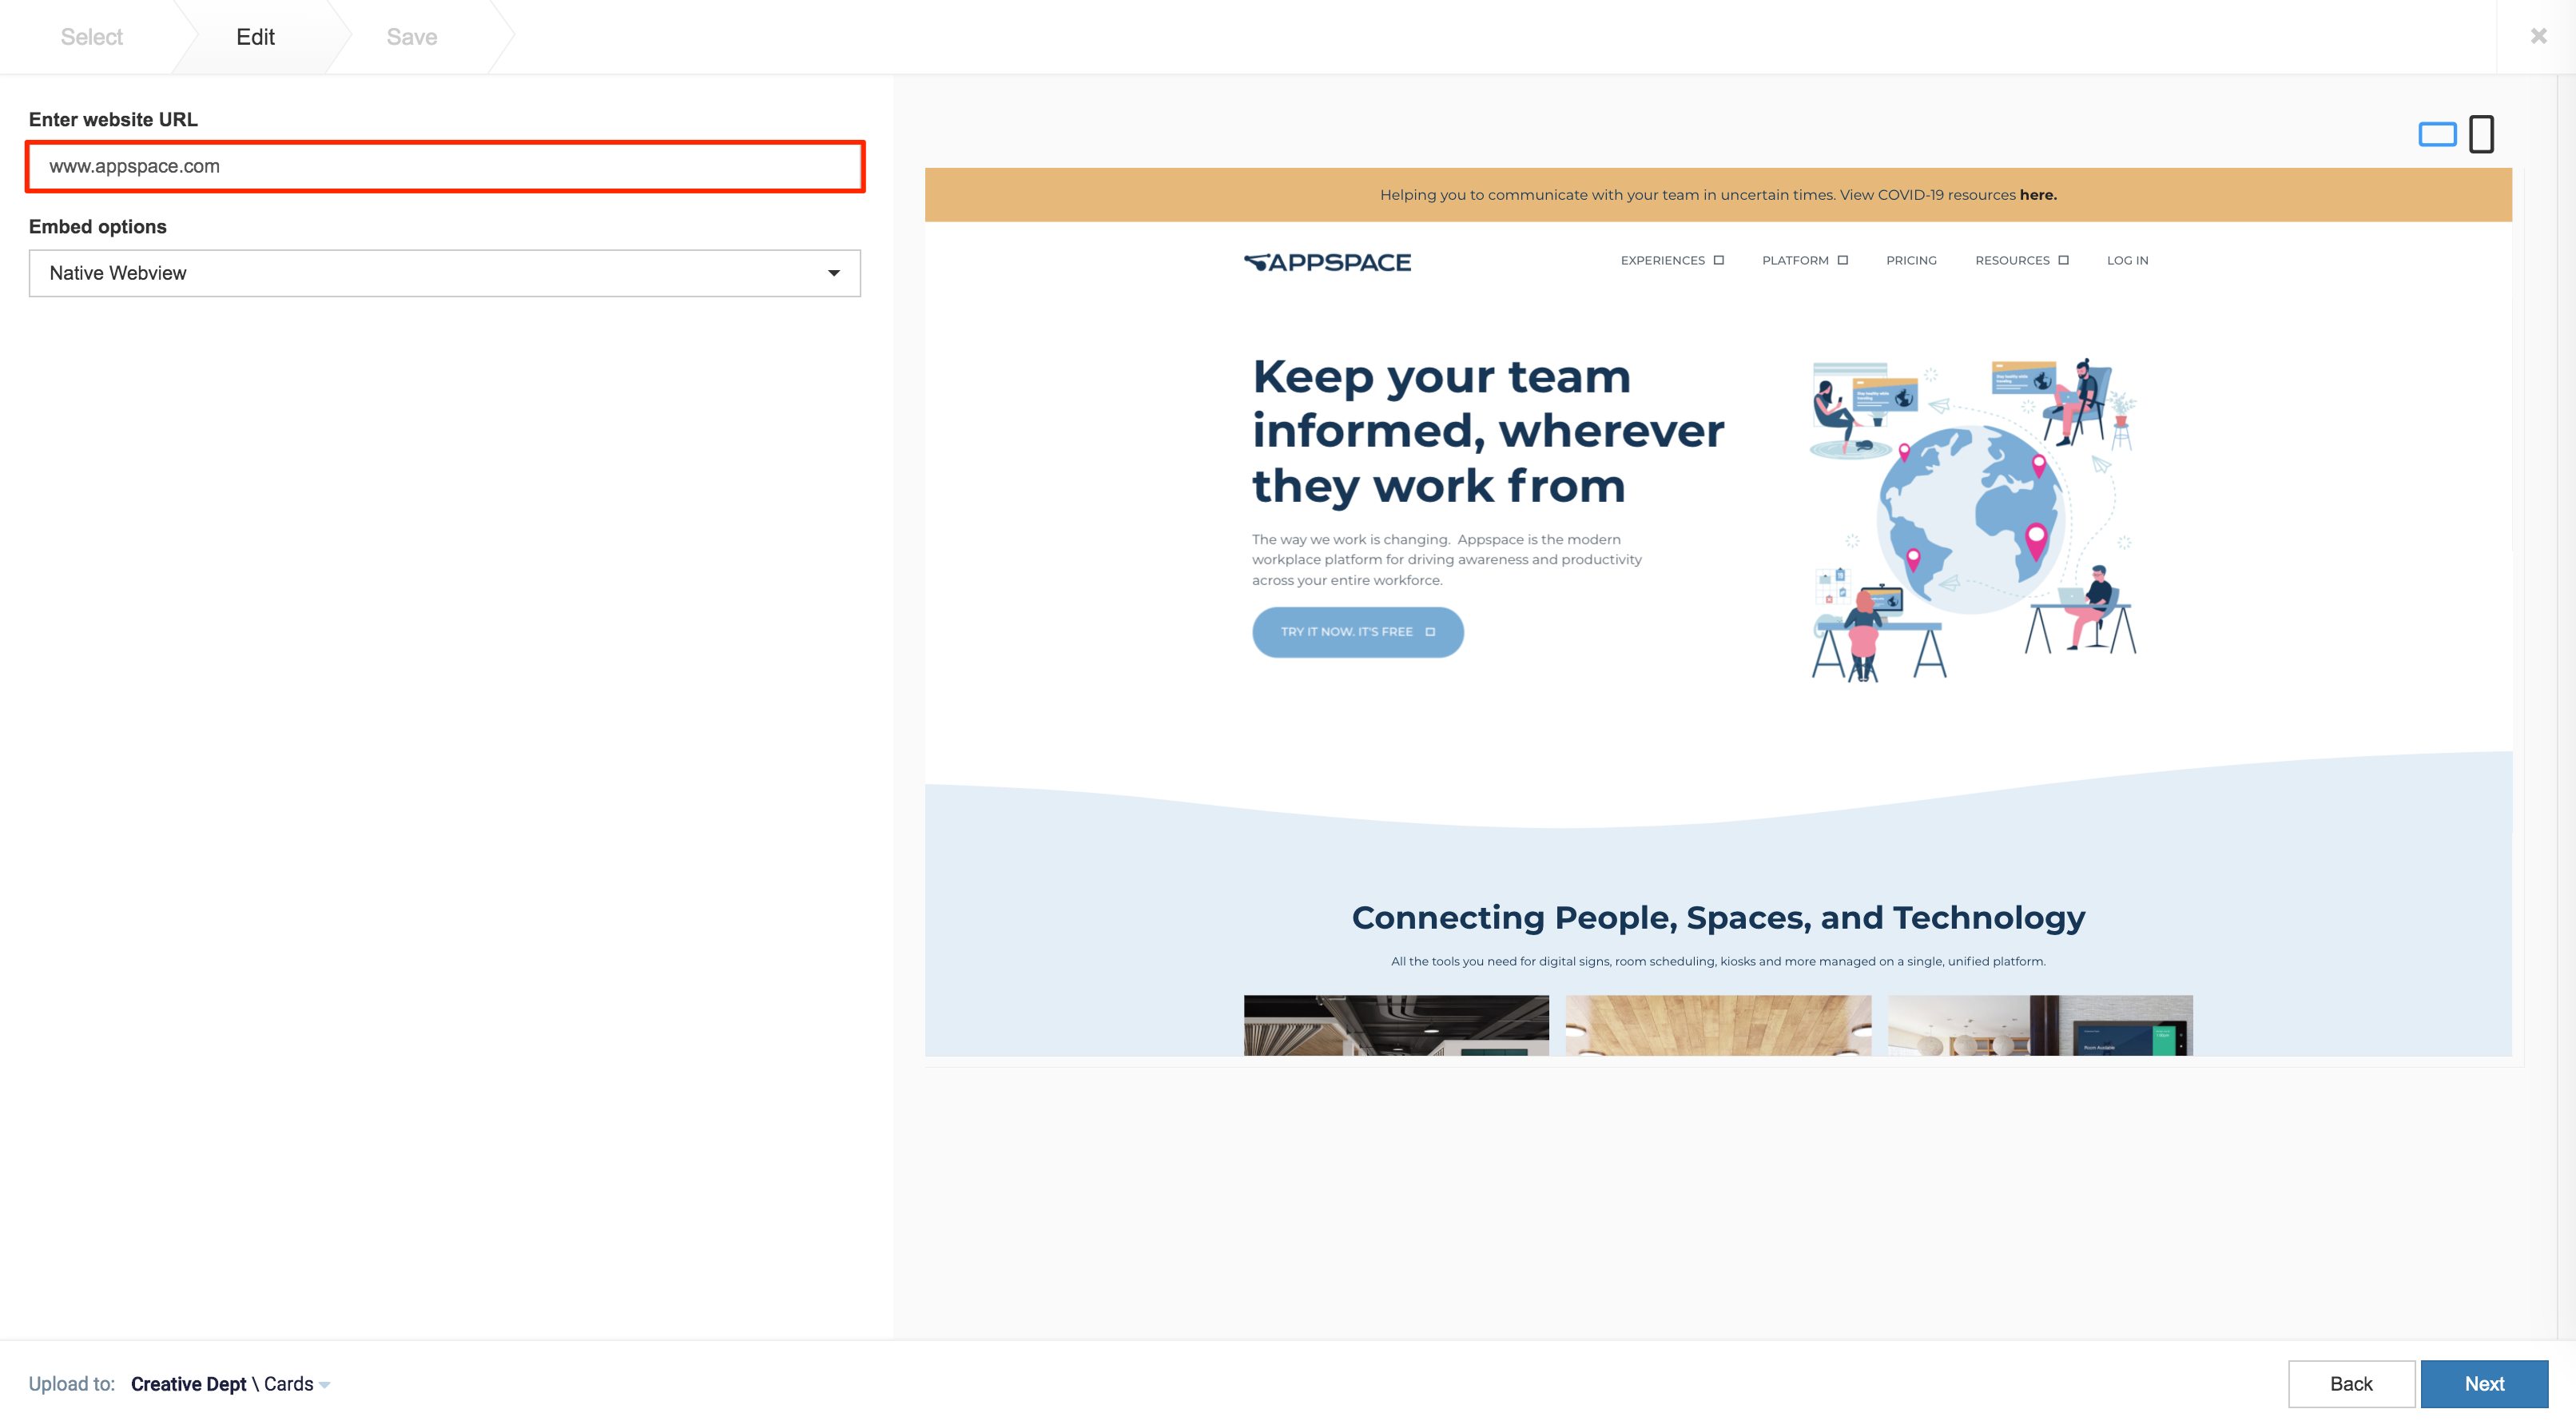
- Select one of the following Embed options:
- Native Webview – Displays the web page in the device’s browser without the ability to customize, as the web page is set as source and is not embedded.
- XHR Proxy – Uses XMLHttpRequest (XHR) proxy to by-pass some browser security settings, to display websites that do not allow embedding.
- Basic Authentication – Allows web pages with basic authentication using the XHR proxy method.
- Iframe – Uses the most basic way to embed web pages, and only works if the web page allows embedding. It may not work for websites that disallow embedding, such as social media web sites.
- Additional customization options are available when XHR Proxy, or Iframe is selected.
- Select Set website scaling to configure the following:
- Fit to screen – Allows the web page to be displayed to match the screen resolution.
- Custom size – Allows the web page to be displayed at a custom resolution.
- Custom size with crop – Allows a particular section of the web page to be displayed.
- Select More customization options to configure the following:
- Disable interactivity – Prevents users from clicking or scrolling the web page on devices with touchscreen or mouse attached.
- Display while loading – Displays the web page before it is fully loaded, with certain elements loaded after the web page is displayed.
- Customize the card background color, or image.
- Select Set website scaling to configure the following:
- Once customizations have been made, click Next.
- In the Save tab, enter in the Title, as this is a mandatory field. Optionally, you may enter in the Article, Caption, Content Expiry, Content Tags and even upload a custom thumbnail for the content.
- Click Save to complete, and you may now proceed to add the card into a playlist channel.
Was this article helpful?