To enable folders in a community, access the Community settings, click on Tools and use the Folders switch button.
To finish the process, click Save.
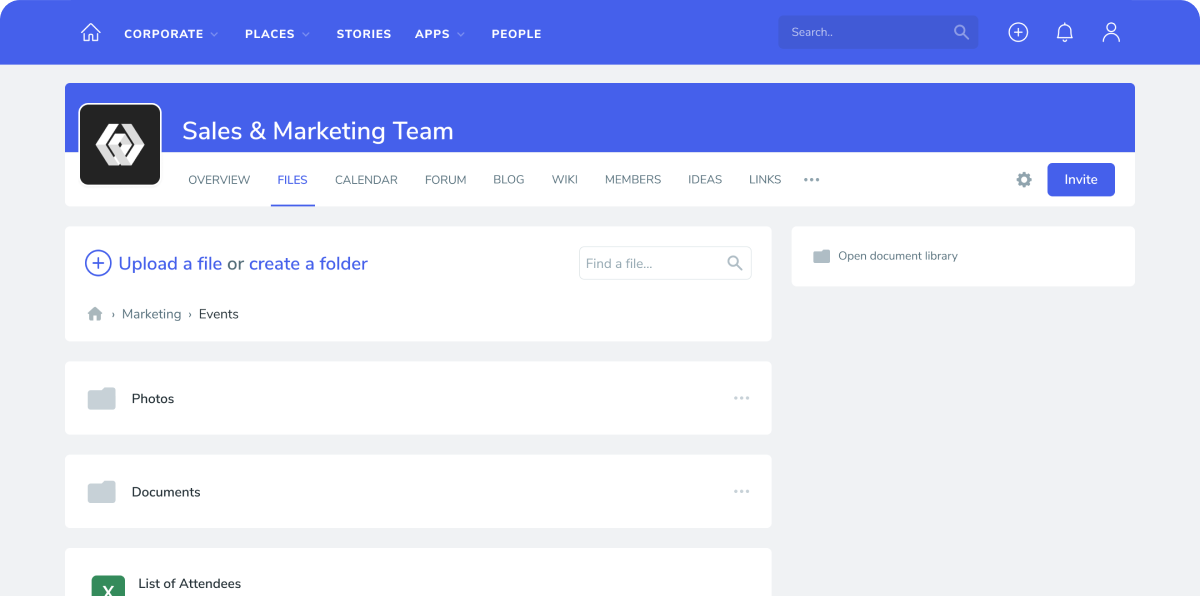
To create a folder, click on the Files tab and click on Create a Folder next to the plus icon button. Folders will be displayed alphabetically.
To Rename and Delete a folder, use the three dots ••• button on the right side of each folder.

Please note: This feature may not be available on your installation, as it needs to be manually configured at an Admin level.
Please note: Any modification on the folder structure with more than twenty files using the drag and drop feature of the SharePoint library (in the SharePoint UI) might cause unexpected behavior on the Community folder structure. This action will change the location of every file within the folder, creating several inconsistencies for users using those same files. We advise users not to use the drag and drop feature on their SharePoint libraries during office hours.
Was this article helpful?