Administrators can now efficiently handle Appspace SharePoint Intranet Security settings through a newly designed interface, simplifying the task of assigning User Roles.
The Security settings page allows administrators to assign intranet user roles to individual users or users within an Active Directory (AD) group. This process is further simplified with the introduction of an intuitive autocomplete search feature, making the identification and assignment of roles to specific individuals or AD groups straightforward.
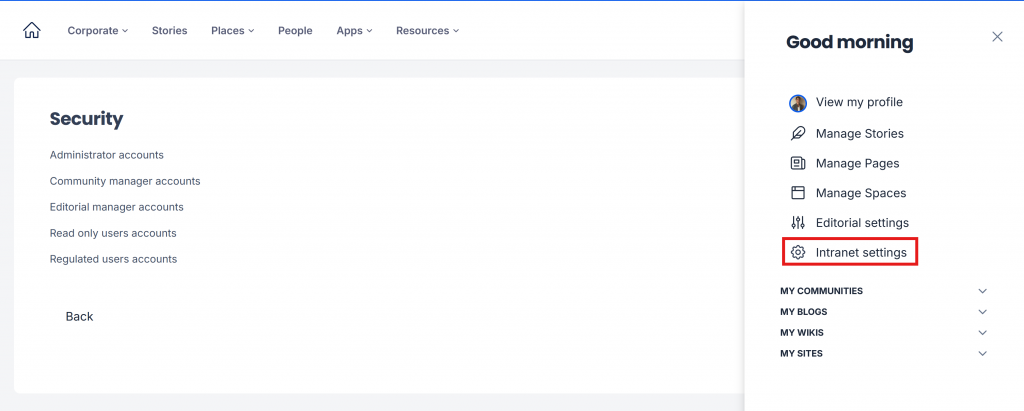
In order to access the Security settings, click the User Menu > Intranet Settings to open the settings page, and click Security under the Basic Configurations section.
This article provides Administrators with instructions to assign user roles to users on the Appspace SharePoint Intranet.
Assign Administrator Accounts
- Log in to your Appspace SharePoint Intranet account.
- Click the User Menu > Intranet Settings.
- Under Basic Configurations, click Security.
- On the Security settings page, click Administrator accounts.
- Proceed to assign the Administrator user role to users:
-
- Enter the desired Active Directory group name (the autocomplete drop-down list is populated and can be selected when the user begins typing) in the ADD ACTIVE DIRECTORY GROUPS text box.
- Enter the desired users (the autocomplete drop-down list is populated and can be selected when the user begins typing) in the ADD SINGLE USERS field.
- Once done, click Save.
Assign Community Manager Accounts
- Log in to your Appspace SharePoint Intranet account.
- Click the User Menu > Intranet Settings.
- Under Basic Configurations, click Security.
- On the Security settings page, click Community manager accounts.
- Proceed to assign the Administrator user role to users:
-
- Enter the desired Active Directory group name (the autocomplete drop-down list is populated and can be selected when the user begins typing) in the ADD ACTIVE DIRECTORY GROUPS text box.
- Enter the desired users (the autocomplete drop-down list is populated and can be selected when the user begins typing) in the ADD SINGLE USERS field.
- Once done, click Save.
Assign Editorial Manager Accounts
- Log in to your Appspace SharePoint Intranet account.
- Click the User Menu > Intranet Settings.
- Under Basic Configurations, click Security.
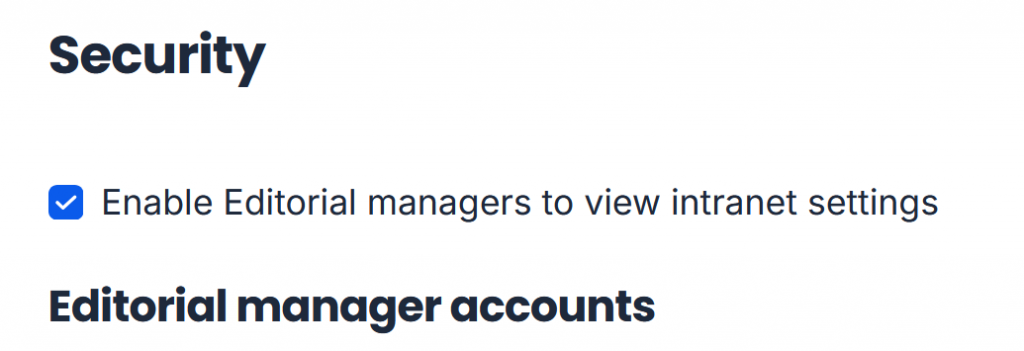
- On the Security settings page, click Editorial manager accounts.
- You may allow Editorial Managers to view Intranet Settings in read-only mode by checking the Enable Editorial managers to view intranet settings checkbox.
- Proceed to assign the Editorial Manager user role to users:
-
- Enter the desired Active Directory group name (the autocomplete drop-down list is populated and can be selected when the user begins typing) in the ADD ACTIVE DIRECTORY GROUPS text box.
- Enter the desired users (the autocomplete drop-down list is populated and can be selected when the user begins typing) in the ADD SINGLE USERS field.
- Once done, click Save.
Assign Read Only Users Accounts
- Log in to your Appspace SharePoint Intranet account.
- Click the User Menu > Intranet Settings.
- Under Basic Configurations, click Security.
- On the Security settings page, click Read only users accounts.
- Proceed to assign the Read-Only user role to users:
-
- Enter the desired Active Directory group name (the autocomplete drop-down list is populated and can be selected when the user begins typing) in the ADD ACTIVE DIRECTORY GROUPS text box.
- Enter the desired users (the autocomplete drop-down list is populated and can be selected when the user begins typing) in the ADD SINGLE USERS field.
- Once done, click Save.
Assign Regulated Users Accounts
- Log in to your Appspace SharePoint Intranet account.
- Click the User Menu > Intranet Settings.
- Under Basic Configurations, click Security.
- On the Security settings page, click Regulated users accounts.
- Proceed to assign the Regulated user role to users:
-
- Enter the desired Active Directory group name (the autocomplete drop-down list is populated and can be selected when the user begins typing) in the ADD ACTIVE DIRECTORY GROUPS text box.
- To exclude an active directory group, Enter the desired Active Directory group name (the autocomplete drop-down list is populated and can be selected when the user begins typing) in the EXCLUDE ACTIVE DIRECTORY GROUPS text box.
- To exclude a user, Enter the desired users (the autocomplete drop-down list is populated and can be selected when the user begins typing) in the EXCLUDE SINGLE USERS text box.
- Once done, click Save.
Was this article helpful?