Register a device
To view the content and channels that you create and publish, you must download and install the Appspace App on your preferred OS and device, register the device, and finally assign the channel to your device.
Below is an overview of the general workflow to create channels and publish on a device:

This article provides the instructions to install the Appspace App and register your device.
Important
- Not sure which device is compatible? Check out our Supported operating systems & devices page.
- Haven’t created your content? Create a card.
- Required Network Administrator or Account Owner role in Appspace.
Register your device using the 6 digit code or QR code with these 5 quick steps:
Download the Appspace App and configure your device based on your device operating system (Android, iOS, Chrome OS, etc.). Please refer to Where do I download the Appspace App?.
Launch the Appspace App. The device registration page will be displayed.
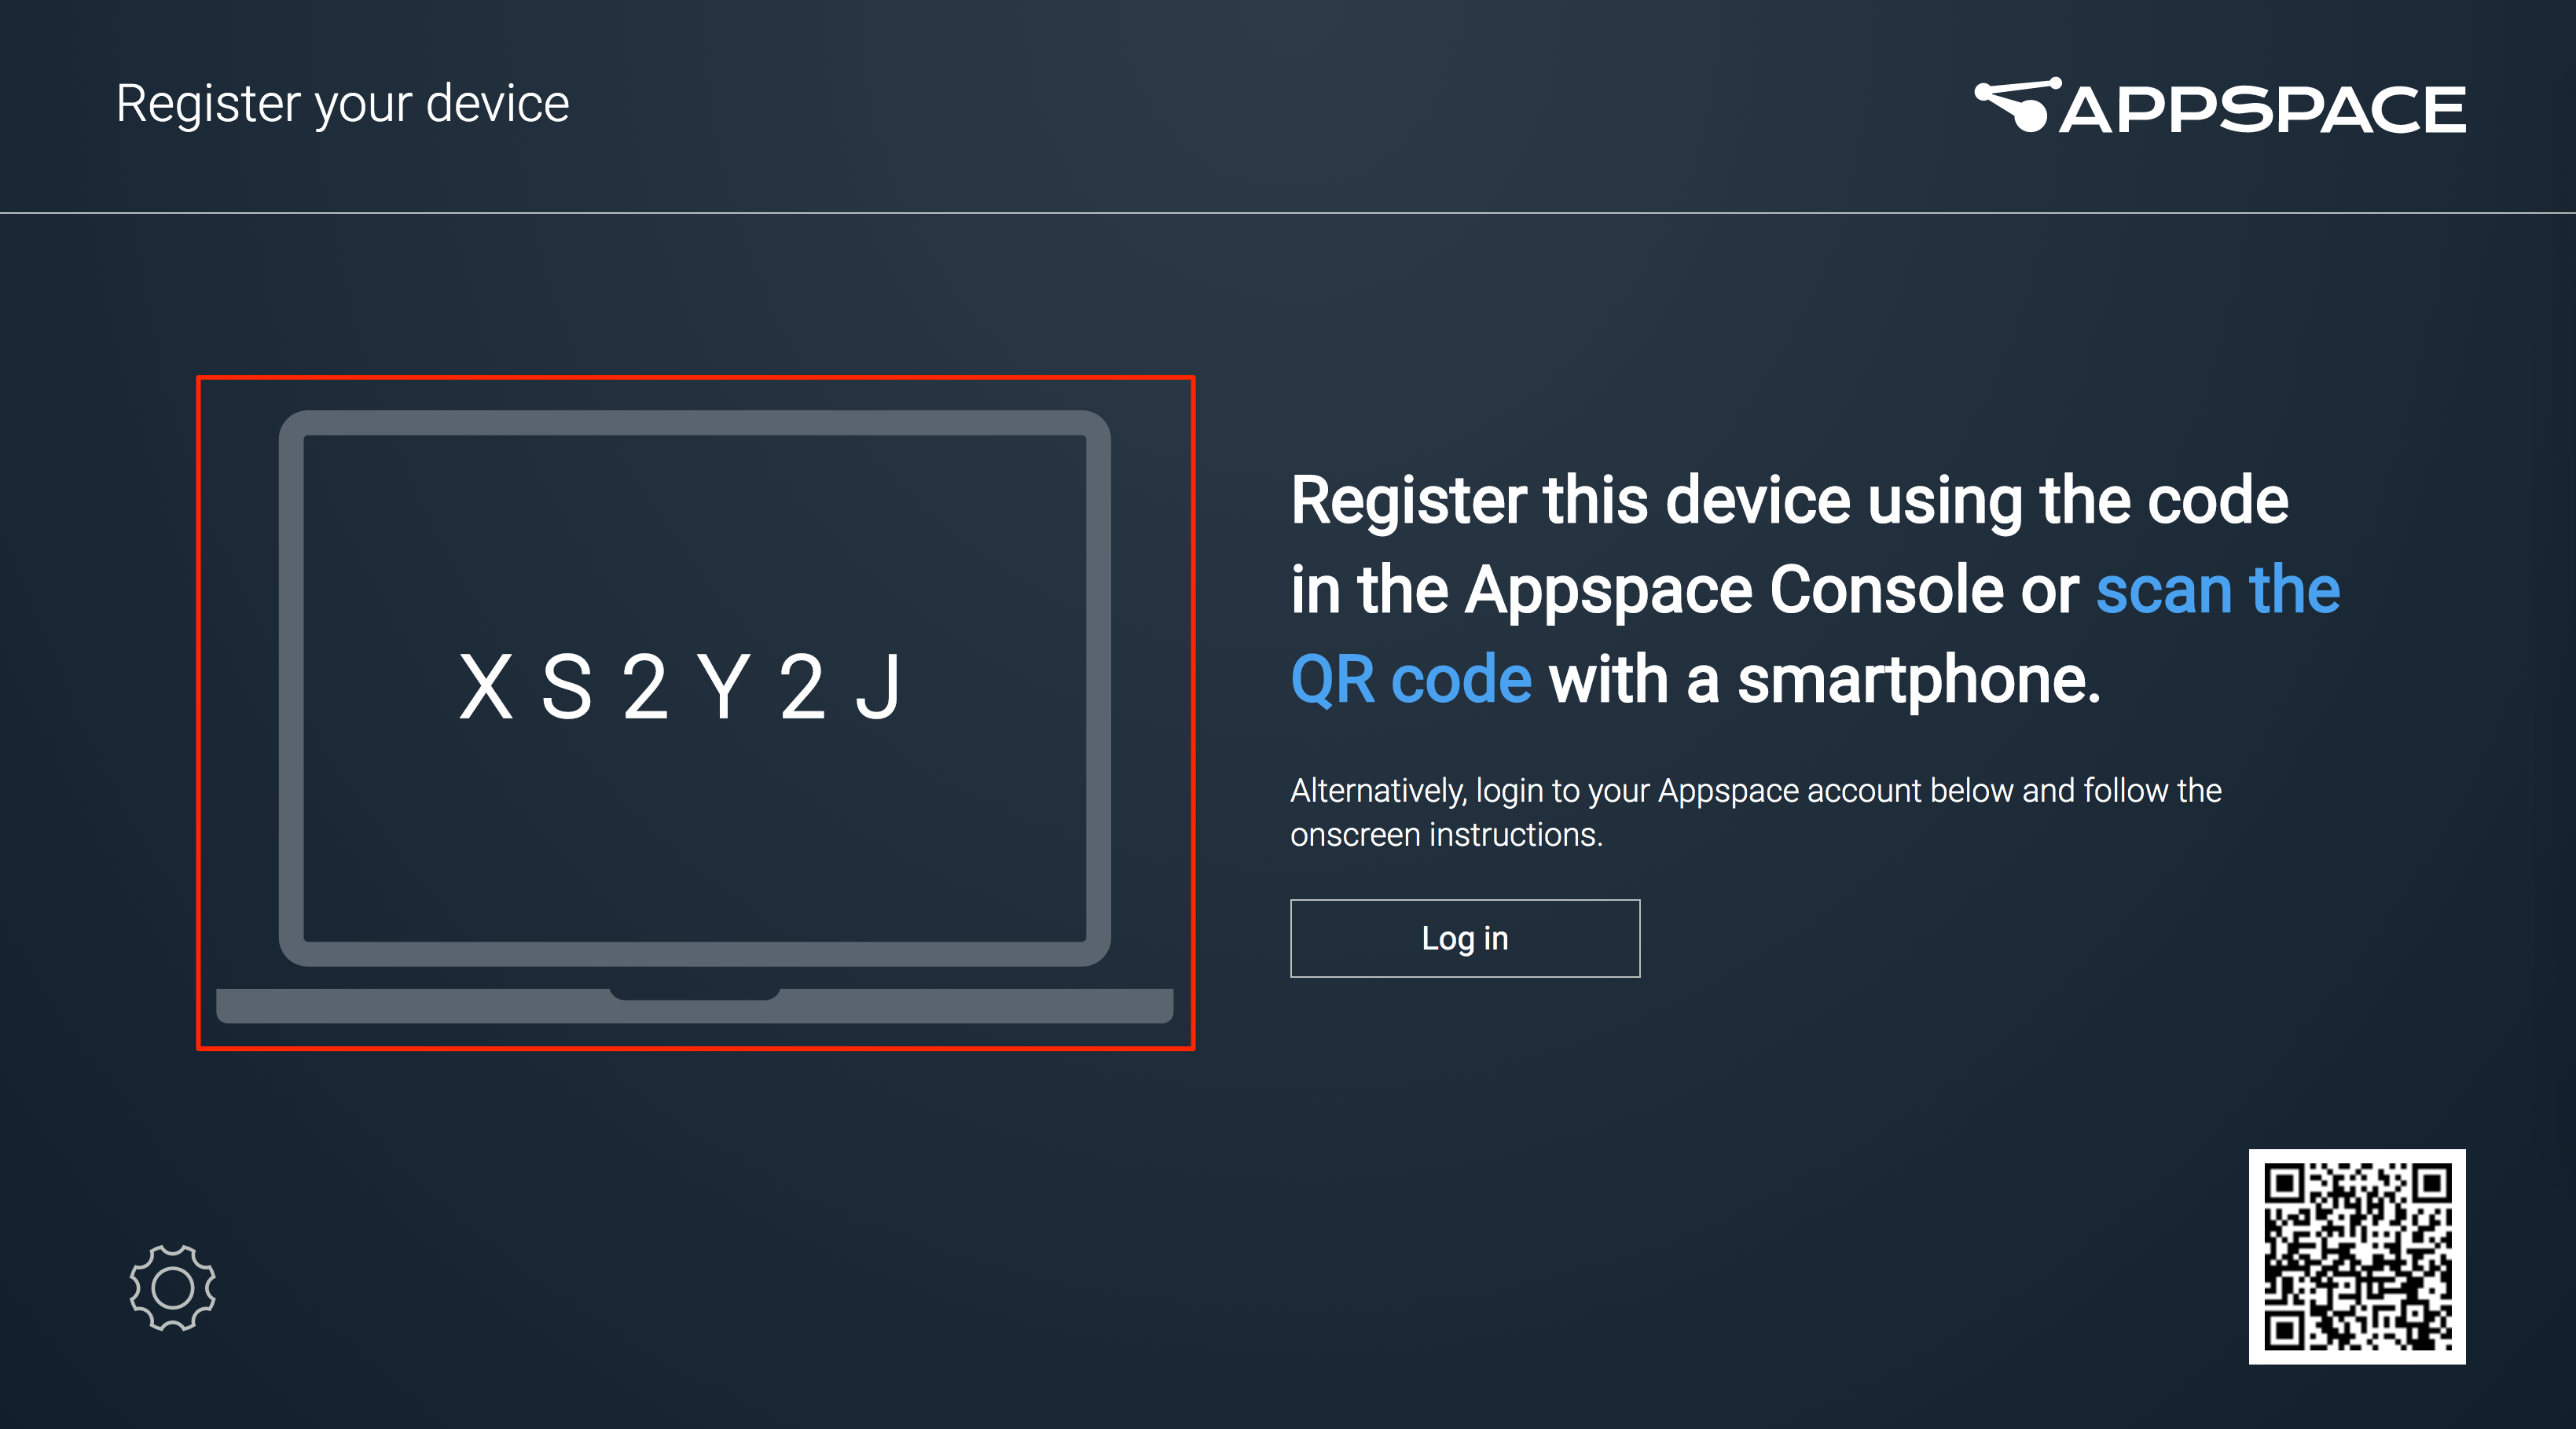
Copy the 6-character registration code or scan the QR code to register (see instructions in Step 5).
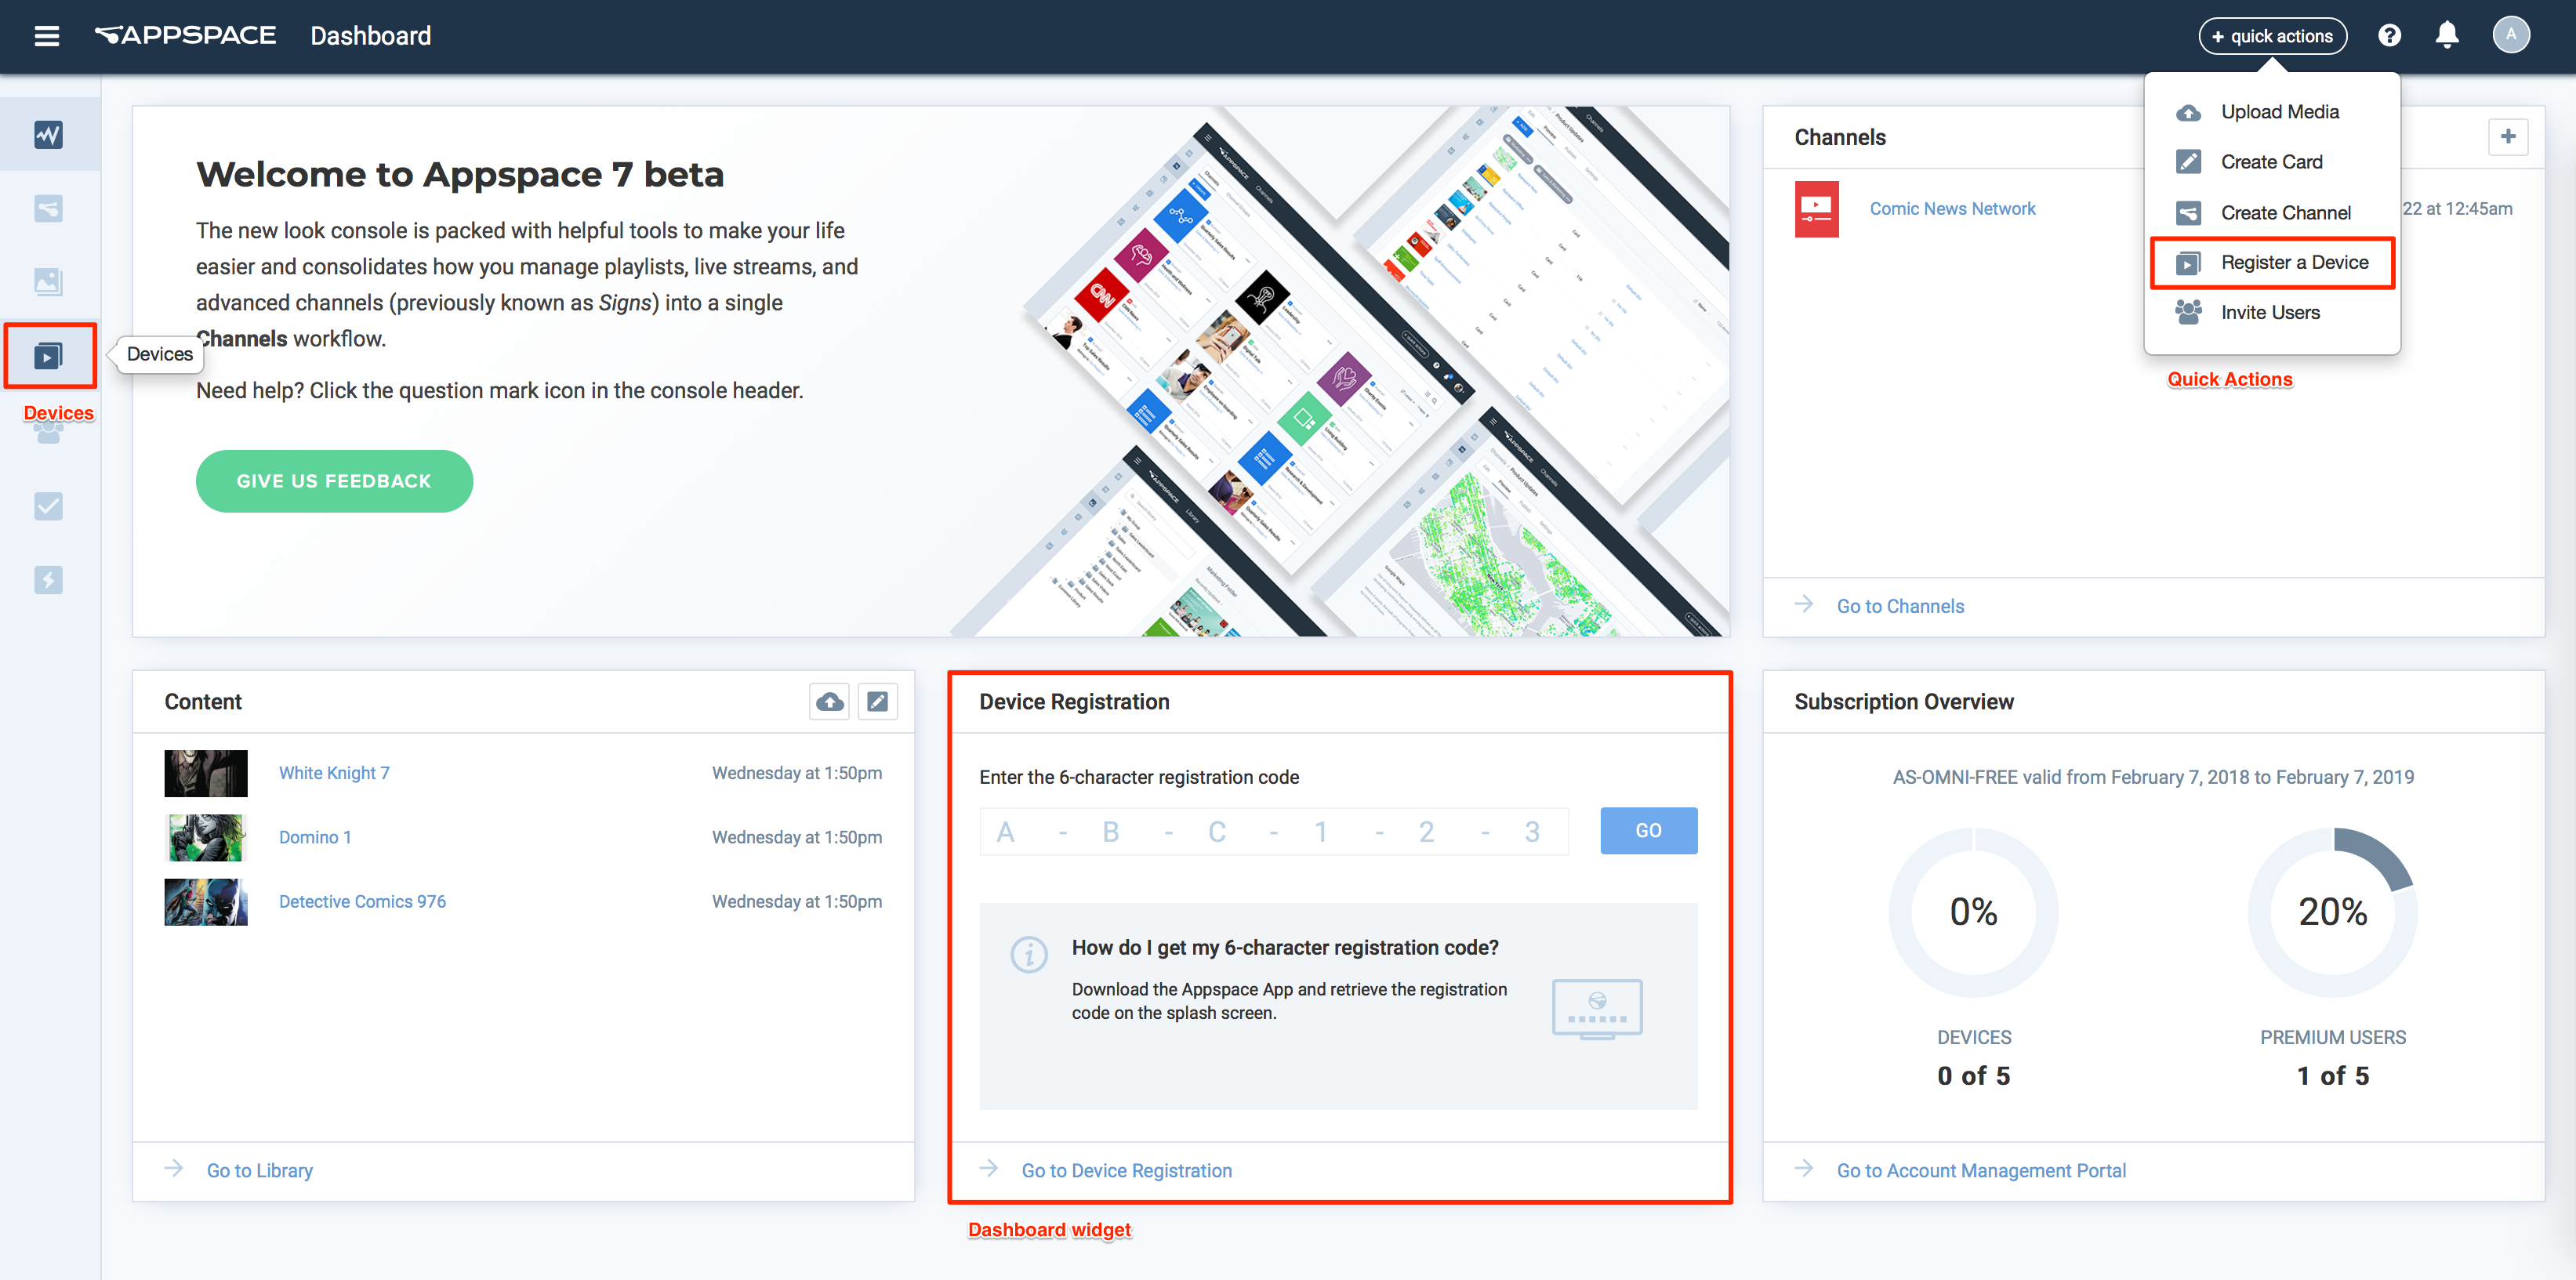
Login to Appspace Cloud at https://cloud.appspace.com, and launch the device registration page via one of the following methods:
- Click the Quick Actions menu and select Register a Device.
- Go to the Device Registration widget on the Dashboard.
- Click the Appspace menu, select Devices, and click the Add button in the Devices tab.
In the Register a New Device window, choose one of the following methods:
Using the 6-character registration code
Enter-in the 6-character registration code, enter the device name, select a network, and assign a channel (if already created).
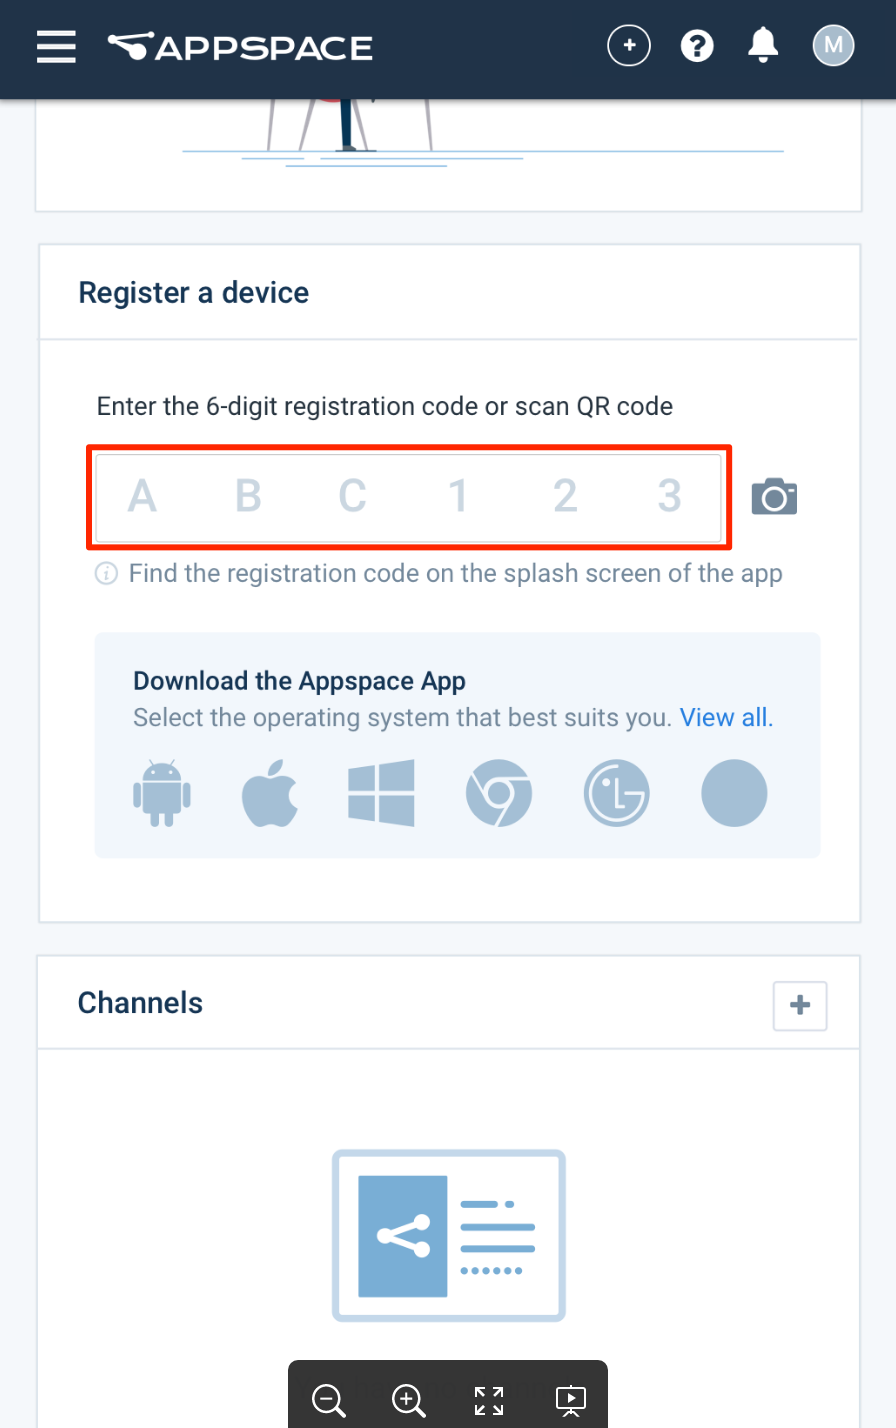
Click the Register button.
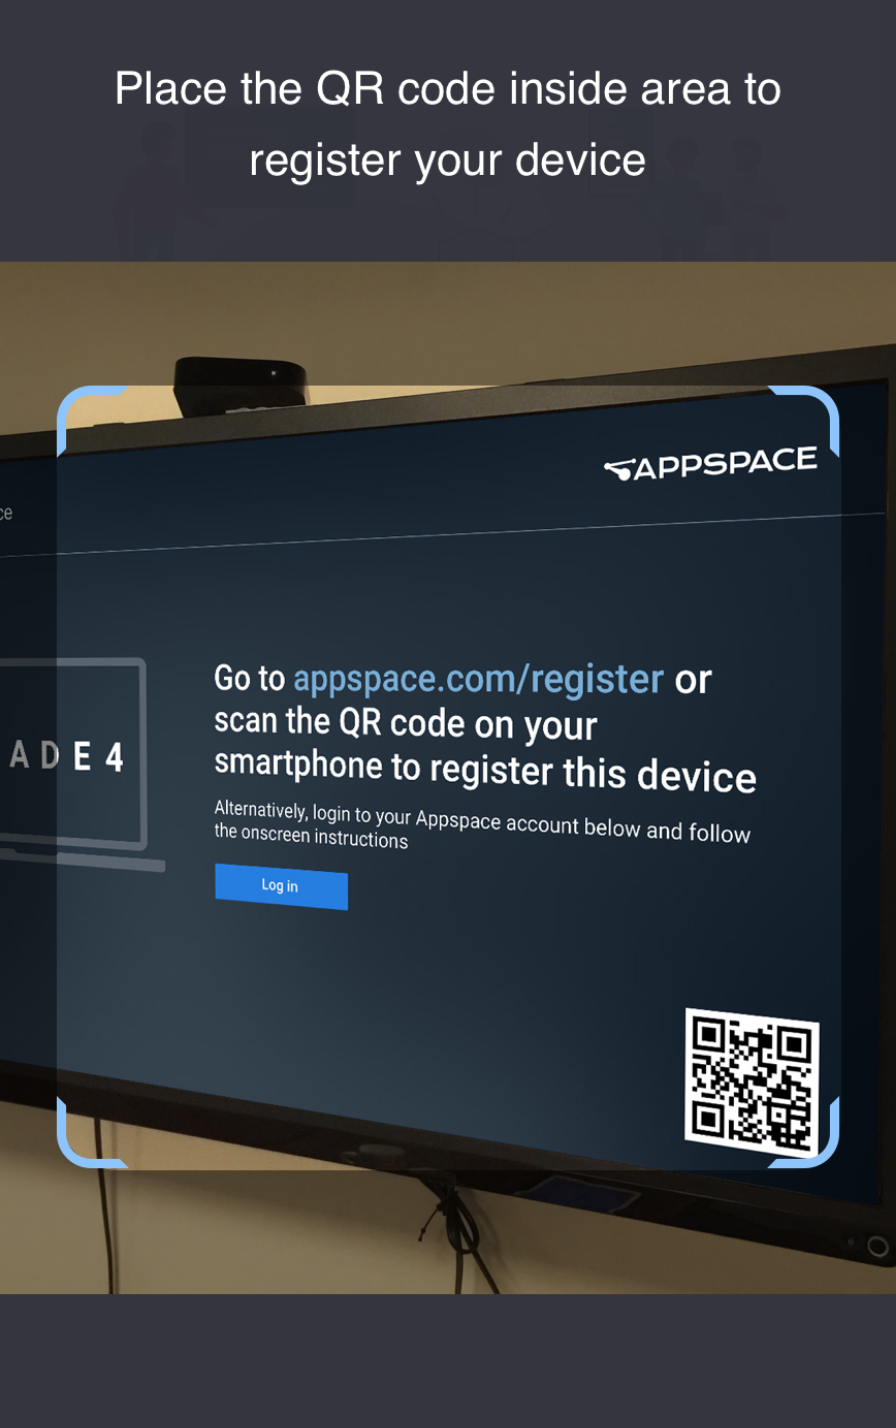
Using the QR code
Click the camera icon to launch the QR code scanner.
Note
On first use, you need to allow the QR code scanner to access the camera, by clicking the Allow button in the request window.

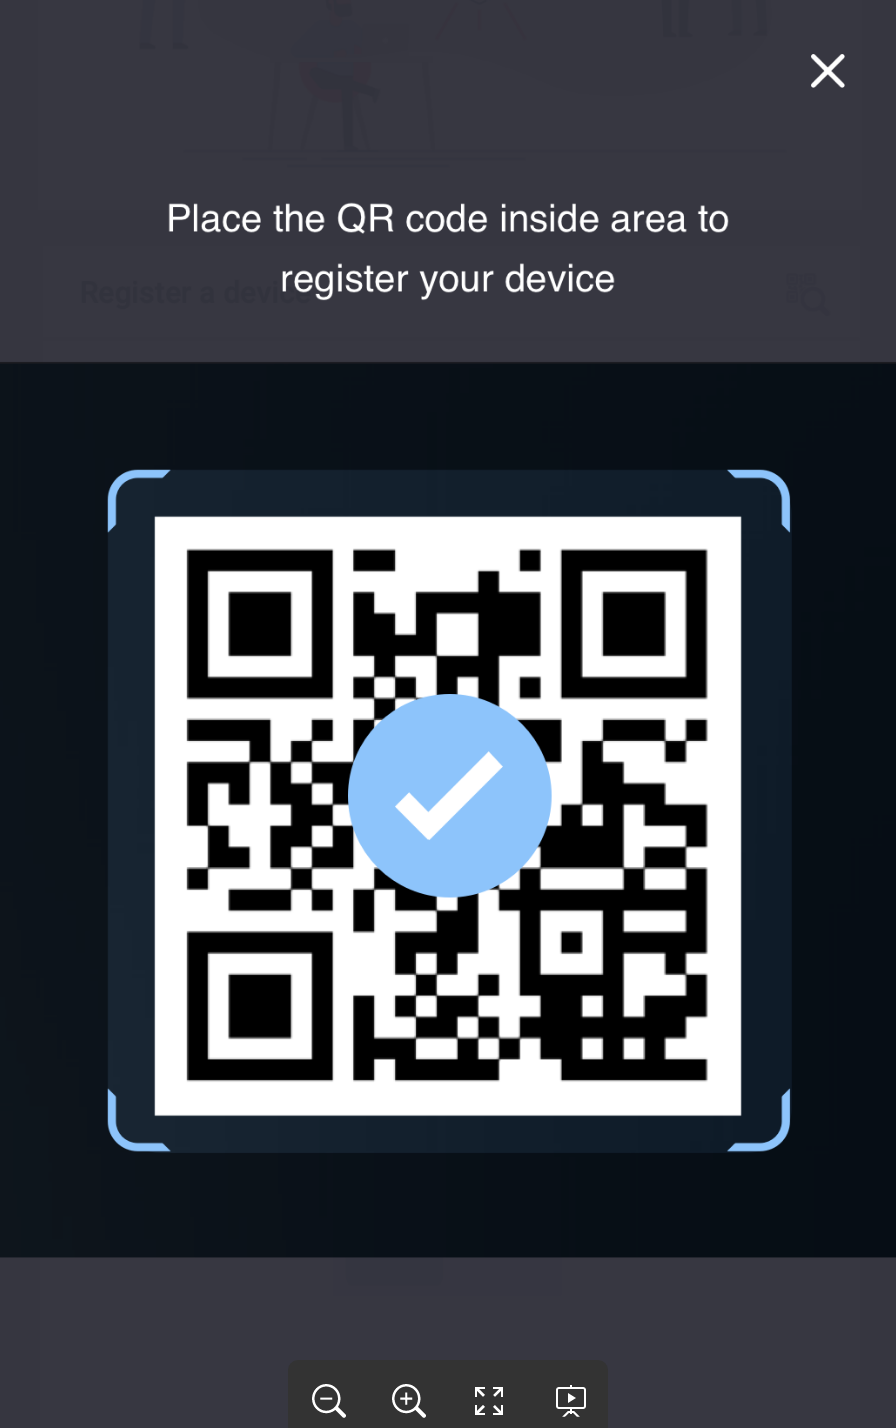
Point the QR code scanner to the QR code on the Appspace App device splash screen. Once the QR code is in view, and scans successfully, a blue tick would appear and return to the device registration screen once again.
Proceed to enter in the device name, select a network, and assign a channel (if already created).
Click the Register button.
Note
To assign a channel here, you must have already published a channel prior to registration. However, you may also choose to leave the fields blank and assign a network and channel later from Devices in the Appspace menu.
Once registration and content syncing is complete, you can view your published channel(s) on the TV, tablet, or on a kiosk.
Note
In Appspace App 1.35 and above, you have the option to sync content in the background, allowing Appspace App to immediately display your published channel(s) via streaming mode. Once the content syncing process is complete, the app restarts and displays content via local storage.
To sync content in background, click the SYNC IN BACKGROUND button during the content syncing process.
Important
For more registration options check out the Advanced device registration article.