Create web or external content
The Library gives users the flexibility to add externally referenced media files, inline HTML webpages, or externally referenced HTML pages. External content is not stored (preserved) in Appspace but rather just the URL to the content is stored and downloaded by the media players.
Important
However, users using Appspace App are encouraged to use the Web View card. This feature is more applicable for legacy devices.
The two ways to create web content are as direct inline HTML or as an URL to an external HTML page. It should be noted that for inline HTML, it is highly recommended that CSS definitions and scripting be included in the content and not externally referenced.
It is important when designing the web content to take into account the capabilities of the target media player device. An example of good practice is to avoid using web content that has Flash elements embedded or dependencies on proprietary web plugins. The preferred and recommended method is to use simple HTML markup for web content in your sign.
Some media player devices are able to display and playback multicast video streams. These multicast video streams are defined as external content media files within Appspace. It should be noted that the preview option is not currently available for these streams and that Appspace only stores the URL of the multicast stream.
Add External Content
Click Library from the Appspace Menu navigation bar.
Select the desired folder in the library, and click the ADD button, and select Other.
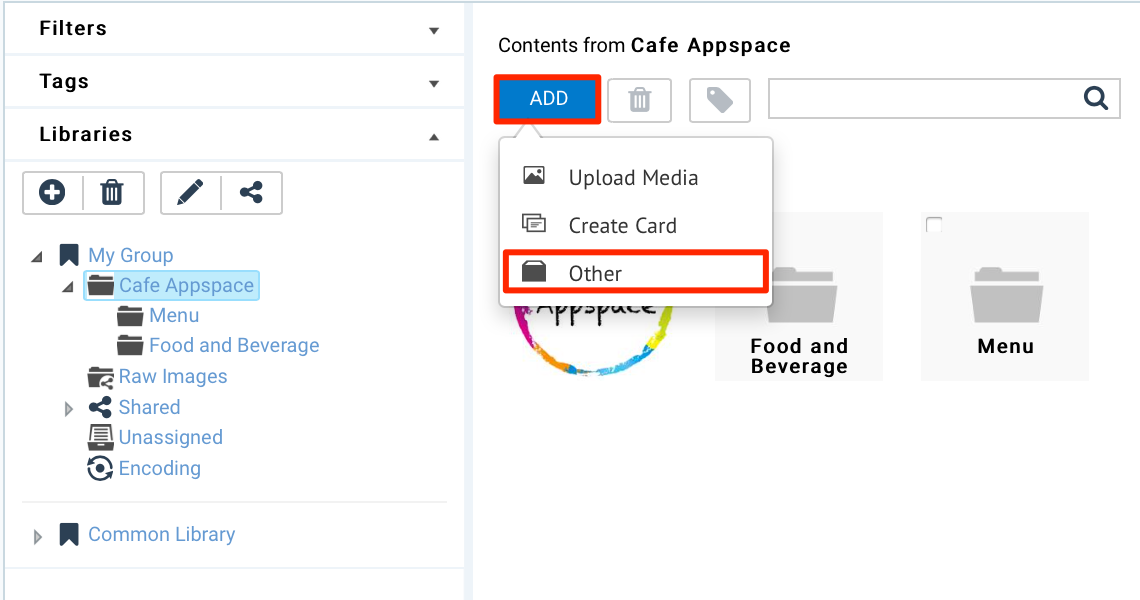
In the Select tab, click External Content.
In the Edit tab, select the desired media type that matches the external content from the drop-down menu, and enter in the external content’s remote media file URL address.
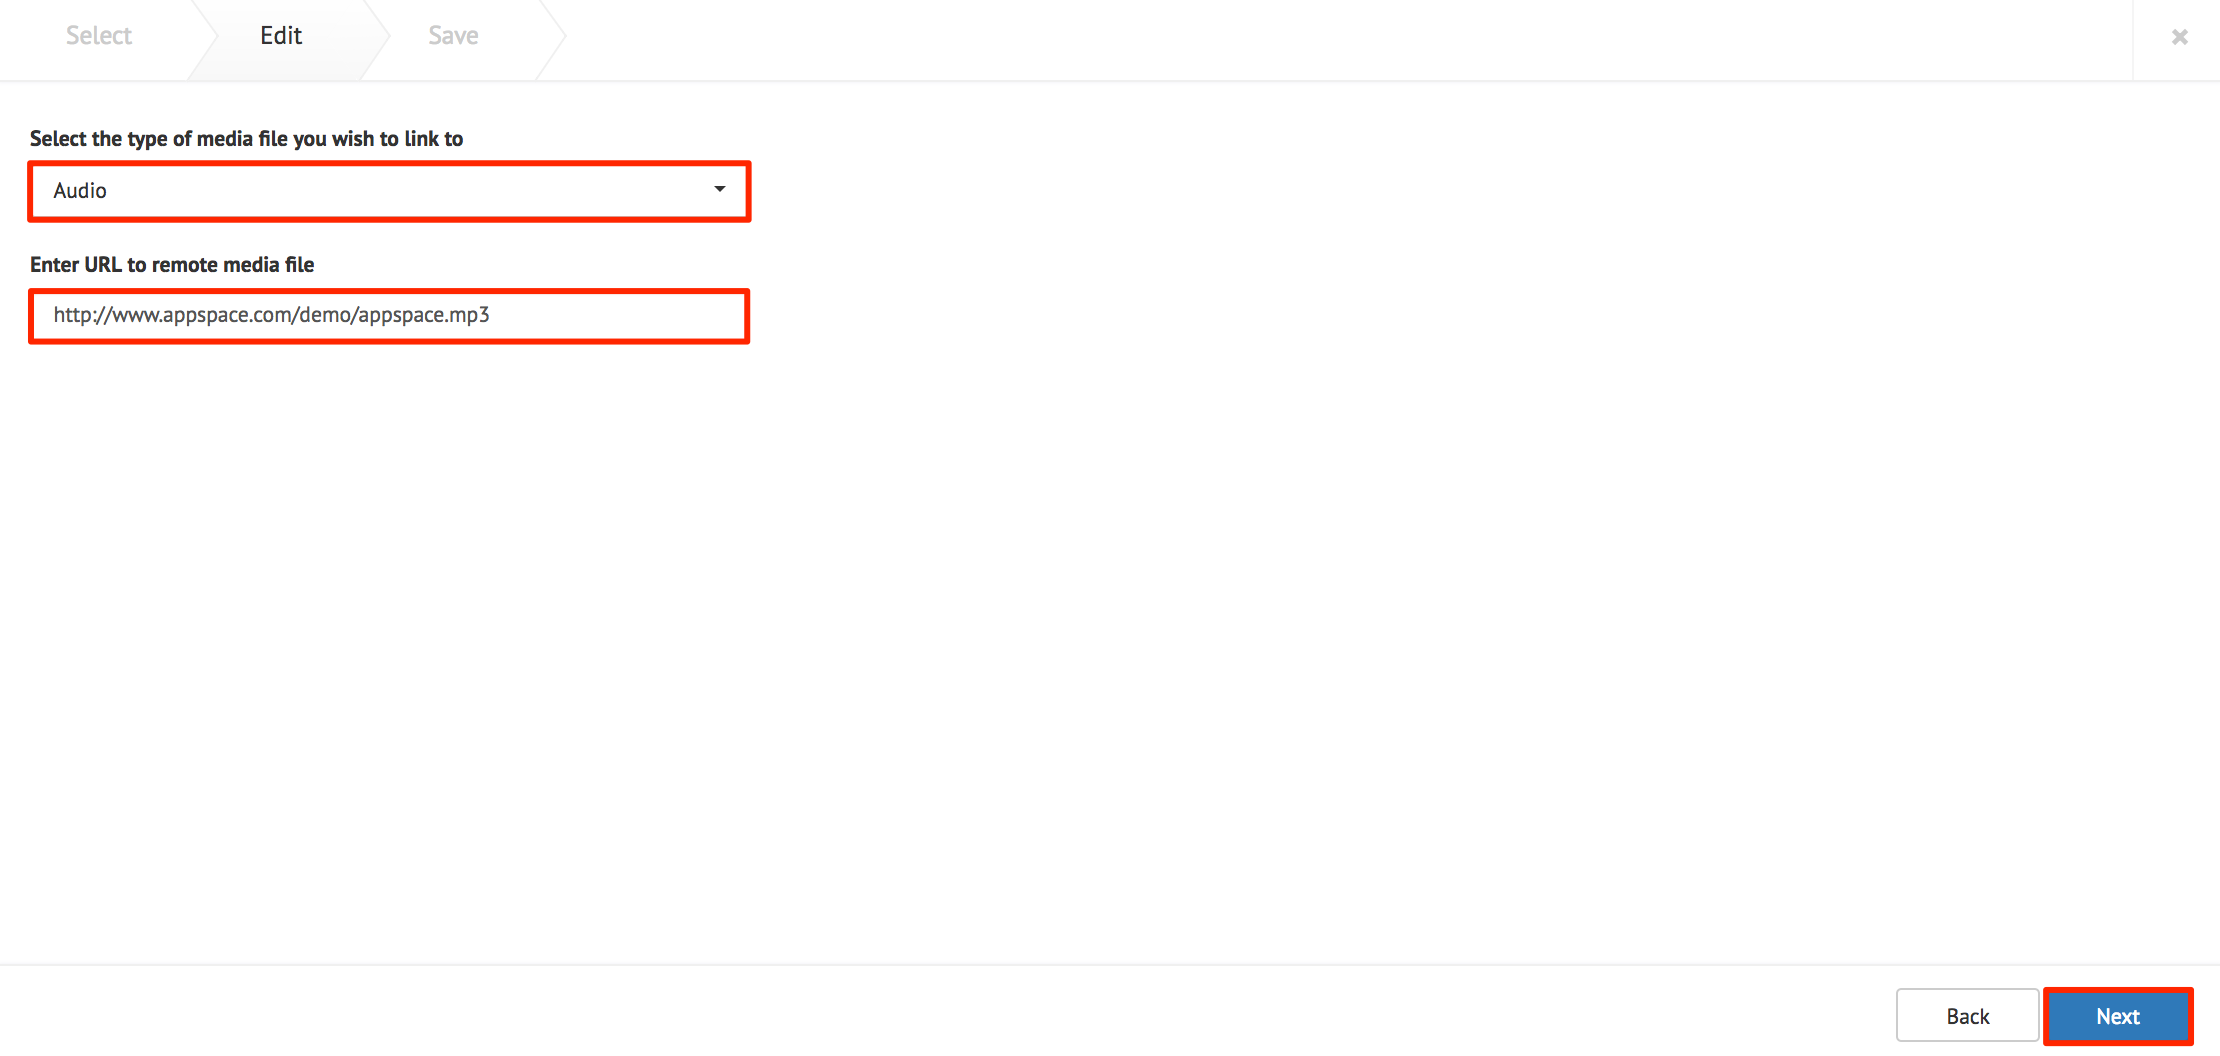
Click Next once done.
In the Save tab, enter in the Title, as this is a mandatory field. Optionally, you may enter in the Article, Caption, Content Expiry, Content Tags and even upload a custom thumbnail for the content.
Click Save once done.
Create Multicast Streams
Click Library from the Appspace Menu navigation bar.
Click the ADD button, and select Other.
In the Select tab, click External Content.
In the Edit tab, select Video from the drop-down menu, and enter in the multicast protocol and IP address (and multicast port number if required) in the Remote media file field.

Example
<protocol>://<ip address>:<port>
udp://192.168.0.6:1234
Click Next once done.
In the Save tab, enter in the Title, as this is a mandatory field. Optionally, you may enter in the Article, Caption, Content Expiry, Content Tags and even upload a custom thumbnail for the content.
Click Save once done.
Add Web Content
Click Library from the Appspace Menu navigation bar.
Click the ADD button, and select Other.
In the Select tab, click Web Page.
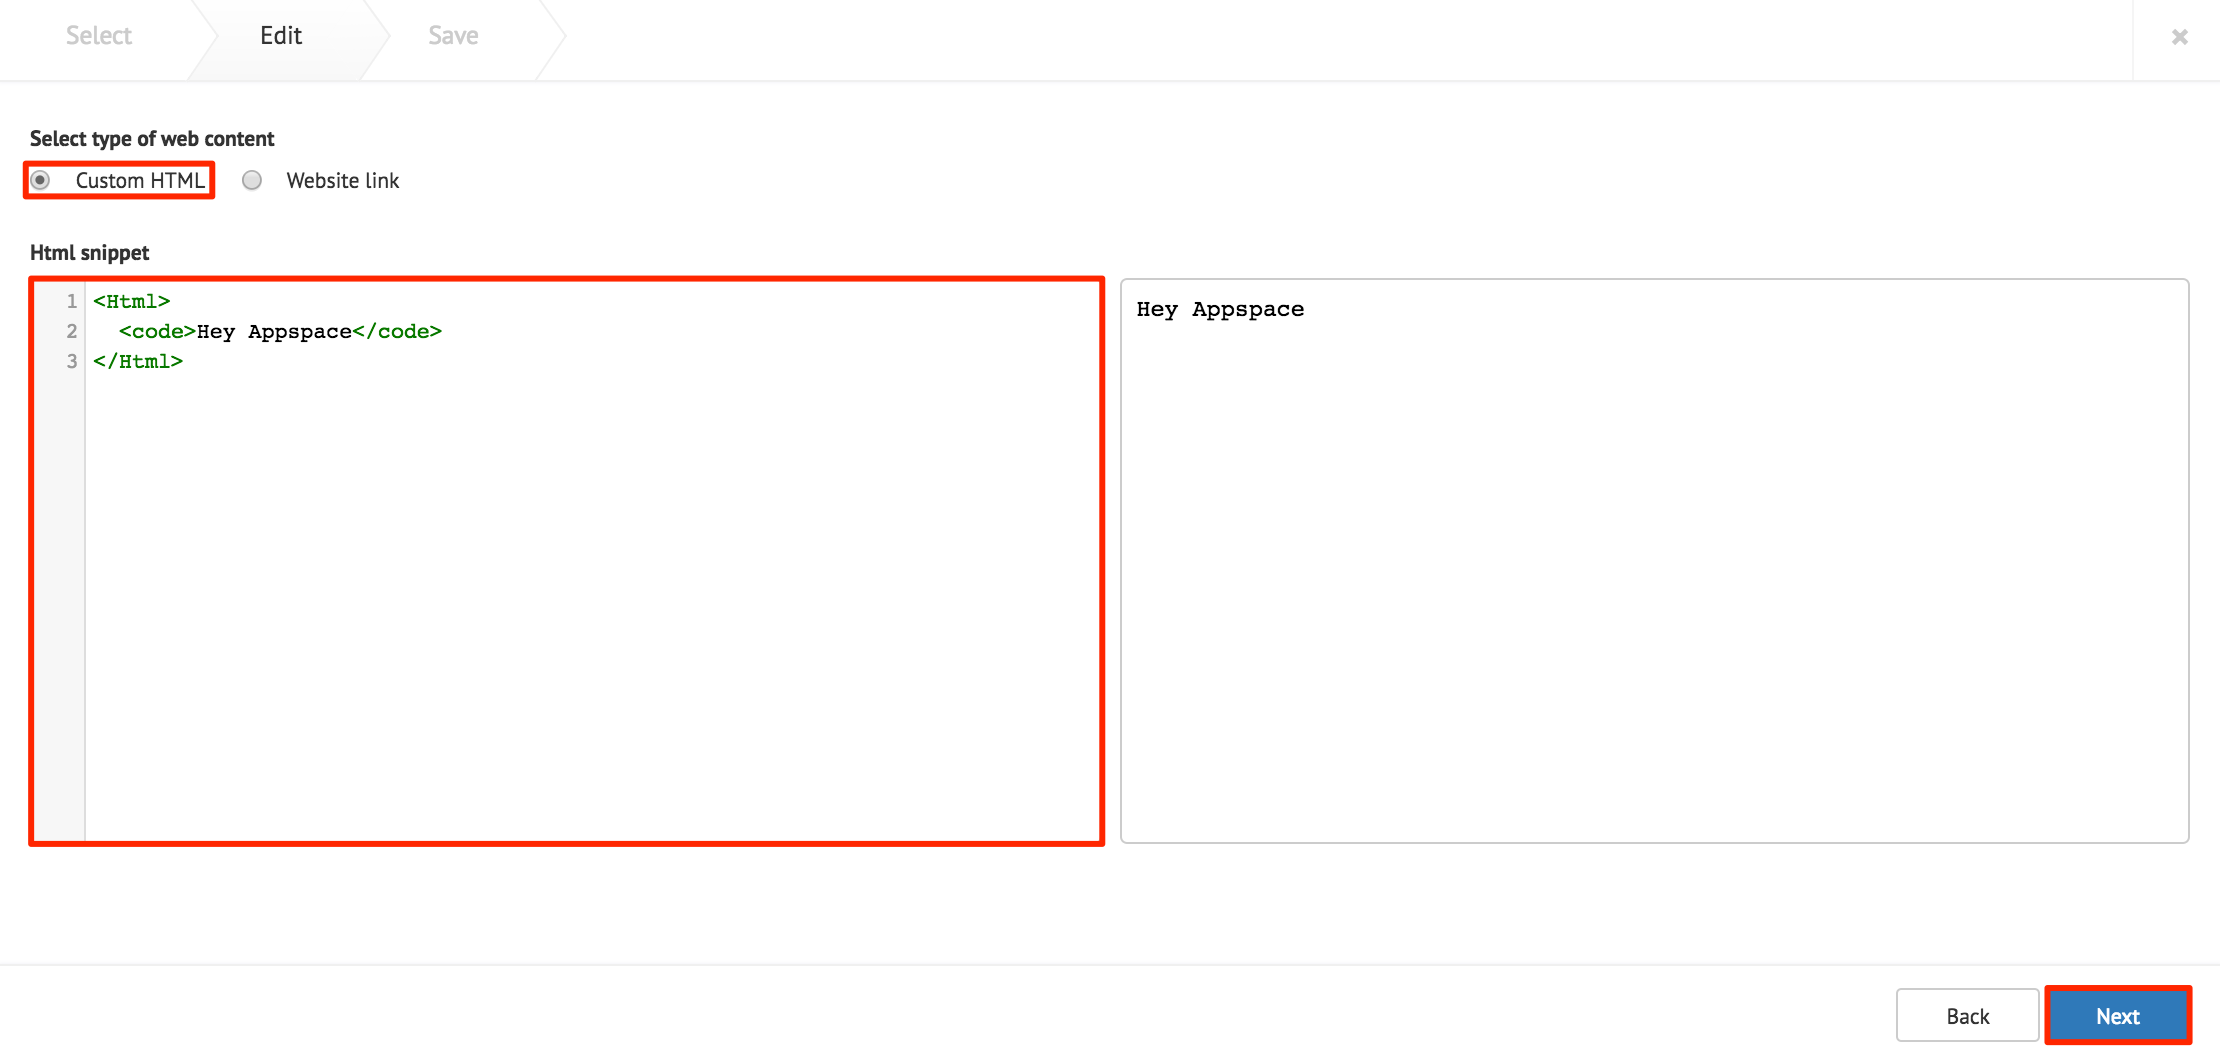
In the Edit tab, select the Custom HTML radio button to use a custom HTML snippet. Enter in the HTML snippet in the HTML snippet textbox. A preview of the snippet is displayed on the right textbox.
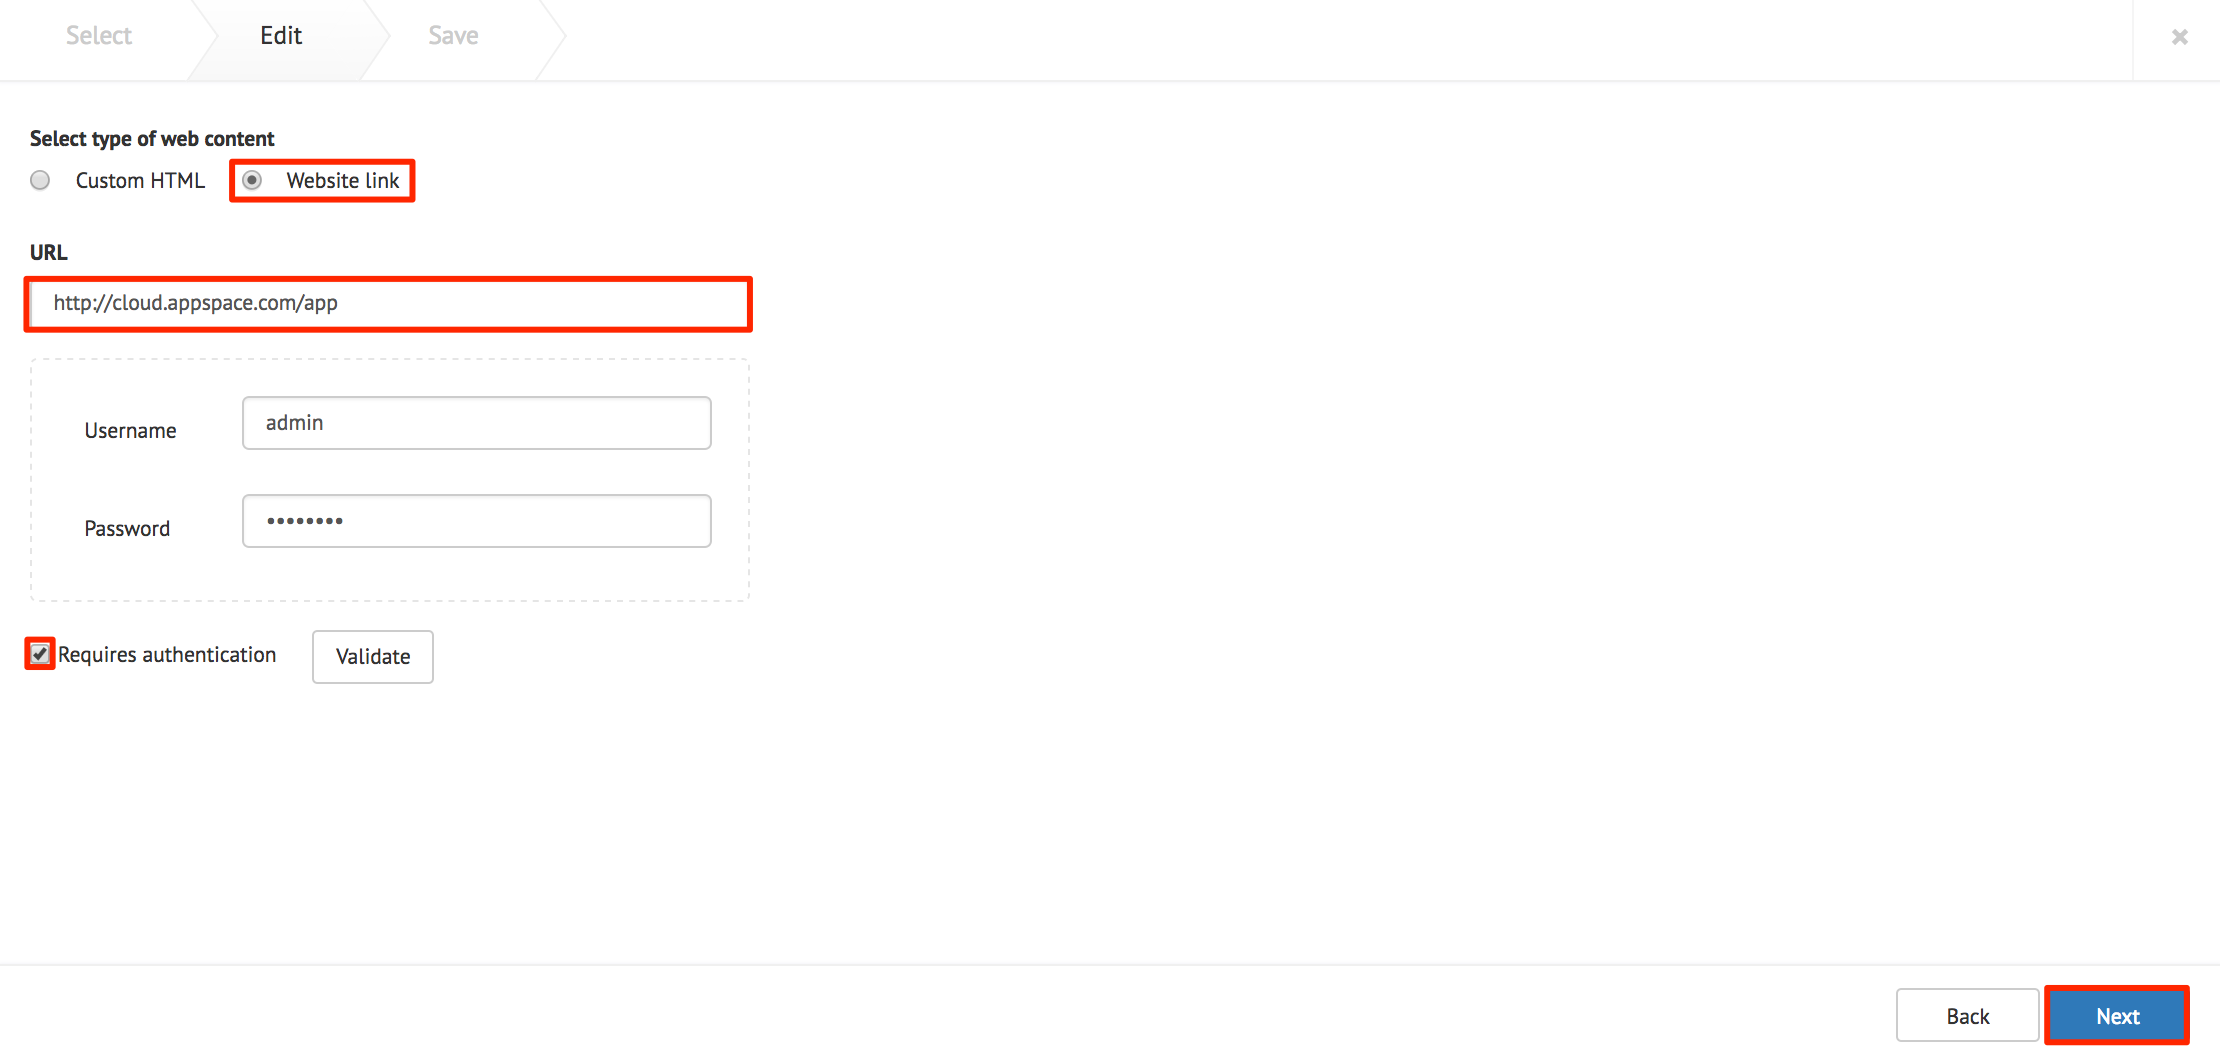
Alternatively, select the Website link radio button to display a live website. Enter in the website URL in the URL text field, and click Validate to validate the URL.
If authentication is required, check the Require authentication checkbox, and enter in the necessary credentials.
Note
When using Internet Explorer 11 or Safari, click the Validate button, and enter the credentials again; this is due to extra security settings in place in these browsers.
Authentication is done via HTTP Basic authentication.
Click Next once done.
In the Save tab, enter in the Title, as this is a mandatory field. Optionally, you may enter in the Article, Caption, Content Expiry, Content Tags and even upload a custom thumbnail for the content.
Click Save once done.