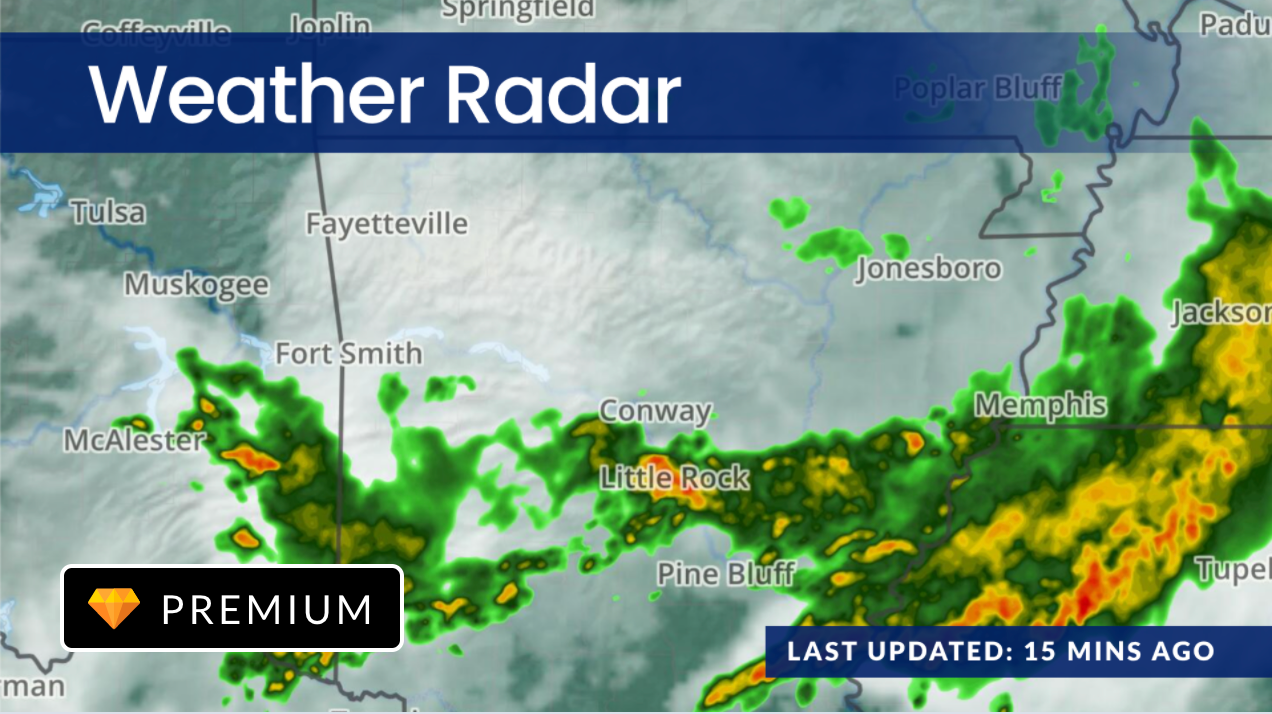
The Weather Radar card allows users to track progressive weather conditions by displaying an interactive regional or national radar map on their devices. Its supported regional maps include the lower 48 United States and select southern Canadian locations. Users may also customize the content appearance by adding a custom logo and changing colors to match corporate branding standards.
Features of this card include:
- Ability to display the weather radar map at a regional or national level, with the following features:
- Regional weather radar map:
- Ability to search for a regional map by city, zip code, or postal code.
- The regional weather radar map will update every 15 minutes.
- National weather radar map:
- Ability to display a US-based national map for all lower 48 states.
- The national weather radar map will update every 30 minutes.
- Regional weather radar map:
- Customization options of the overlay banner include:
- Display or hide the banner
- Upload a brand logo
- Change banner background colour
- Change banner text colour
- Supported file types for uploaded logos such as JPG, PNG, BMP, JPEG, SVG, and GIF.
This article provides instructions to create, configure, and customize the Weather Radar card.
Prerequisites
- Ensure your device is compatible. Refer to the Supported Appspace Cards article.
- Account Owner, Publisher, or Author role to create content in the Library.
- A Weather Radar content license.
- An Appspace registered device, with a content license assigned to it.
Create and Configure Weather Radar Card
Follow the instructions below to display a regional/national weather radar map on your device:
- Log in to your Appspace console.
- To create this card, select one of the following options:
- Click +Quick Action from the Appspace menu bar on the top right, and select Create Card.
- Click Library from the ☰ Appspace menu, and select a library or folder you wish to create the content in. Click +CREATE, and select Card.
- To create and add the card directly to an existing channel, refer to Add Content to Playlist Channels.
- Select Feed from the All Templates panel, and select Weather Radar. ImportantIf you are unable to locate the content, try using either the Search bar, the Order by, or Filter icon to narrow down the content that you are looking for.
- Enter the Title of the content as this will also act as the filename for the content. This is a mandatory field.
- In the Card section, you may choose to view the current weather conditions by selecting Regional or National (US).
- If you select Regional, you need to enter zip code, postal code, or location.
- If you select National (US), the weather radar map will display the entire lower 48 United States. NoteThe Regional weather radar will update every 15 minutes while the National weather radar will update every 30 minutes to display an animated series of images detailing the conditions leading up to the present.
- Click the Next button.
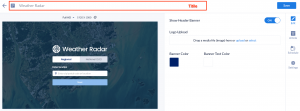
- In the Edit tab, the Show Header Banner is ON by default. You may turn it off if required.
- If you would like to customize the appearance of the overlaying banner, you may do the following:
- Upload a logo from your computer or the Appspace library. For the logo, the supported file types are JPG, PNG, BMP, JPEG, SVG, and GIF.
- Update the colors of the background and text of the banner if required.
- Once done, click SAVE.
- Proceed to the edit section below to add the card to a channel, preview the card, or view analytics once available.
- In order to display the Weather Radar card content on a device, do the following:
- Assign the playlist channel from Step 9 above to an Appspace registered device. Follow the instructions in this Assign Channel to Device article.
- Assign the Weather Radar Feeds content license to the device. You must do this for every device that is to display this card. Follow the instructions in this Add Premium Content Licenses for Devices article.
Edit Weather Radar Card
Follow the instructions below to edit a Weather Radar card.
- Log in to your Appspace console.
- In the Appspace console, click Library from the ☰ Appspace menu, and select a library or folder containing the content you wish to edit.
- Select and click the Weather Radar card to edit, and select the desired tab to edit or view.
- In the Edit, Article, and Settings tabs:
- You may edit the content the same way as it was configured. For detailed instructions on how to do this, please refer to the Weather Radar Card section above.
- In the Preview tab:
- Preview how the content is displayed on your device. You may adjust the aspect ratio to preview other display orientations.
- In the Channels tab:
- You may add the content to a channel by selecting the channel from the Add to channel drop-down menu, or leave it unassigned to be added later.
- When the content is assigned to a channel, the SCHEDULING and DISPLAY PROPERTIES options are displayed. Refer to the Configure Content Playback Properties: Dayparting, Frequency, Scheduling, in a Playlist Channel article for detailed configuration instructions.
- In the Analytics tab:
- View the individual content analytics in this tab. For more information, please refer to the Individual Content Analytics section of the Analytics article.
- In the Edit, Article, and Settings tabs:
- Once done, click SAVE.
Technical Limitations
Please find the limitations for this card listed in the Weather Radar Card Release Notes.
Was this article helpful?