The Desk Booking card is ideal for hot-desking or resource management allowing employees to quickly scan the QR code displayed on devices such as the Qbic Panel-PC device, and make their reservations through the Appspace Employee App.
Desks and resources must be configured in the Appspace Reservations system using the Appspace calendar provider.
When configured, the Desk Booking card displays the resource status and QR Code on the Qbic Smart Panel-PC device or a tablet on a desk, and the following features are available to the employee:
- Desk Name: the desk name and status indicating if the desk is available, offline, or occupied is displayed.
- QR Code: Option to activate or deactivate the QR code for touchless bookings.
- Booking information: details and duration of current booking.
- Booking functions via the Employee App:
- Book now via QR Code – Scan the QR Code with your mobile phone to book the meeting room via the Employee App.
- Book now – ability to book 30 minutes, 1 hour, or 1.5 hours from the current time, based on room availability.
- Book in advance – book future time slots (on the same day only) or up to 7 days in advance, based on room availability.
- Check-in – option to check in to a meeting from 10 minutes before until 10 minutes after the start of the meeting.
- Extend meeting – extend current meeting by 30 minutes, 1 hour, or 1.5 hours.
- End meeting – end current meeting, and make the room available.
This article provides the instructions to create and configure a Desk Booking card.
Prerequisites
- An active Appspace public/private cloud user account.
- An Appspace Platform user license.
- Account Owner, Publisher, or Author role to create and configure the Desk Booking card.
- Ensure that resources available for booking have been configured with the Appspace calendar provider, by following the Configure and Manage Workspace & Desk Reservations – Administrators article.
- A compatible device such as the Qbic – TD-0350 device registered with the Appspace App for Devices.
Create Desk Booking Card
To create and configure the Desk Booking card, please follow the instructions below:
- Log in to your Appspace console.
- To create this card, select one of the following options:
- Click +Quick Action from the Appspace menu bar on the top right, and select Create Card.
- Click Library from the ☰ Appspace menu, and select a library or folder you wish to create the content in. Click +CREATE, and select Card.
- To create and add the card directly to an existing channel, refer to Add Content to Playlist Channels.
- Select Workplace from the All Templates side panel, and click Desk Booking.
ImportantIf you are unable to locate the content, try using either the Search bar, the Order by, or Filter icon to narrow down the content that you are looking for.
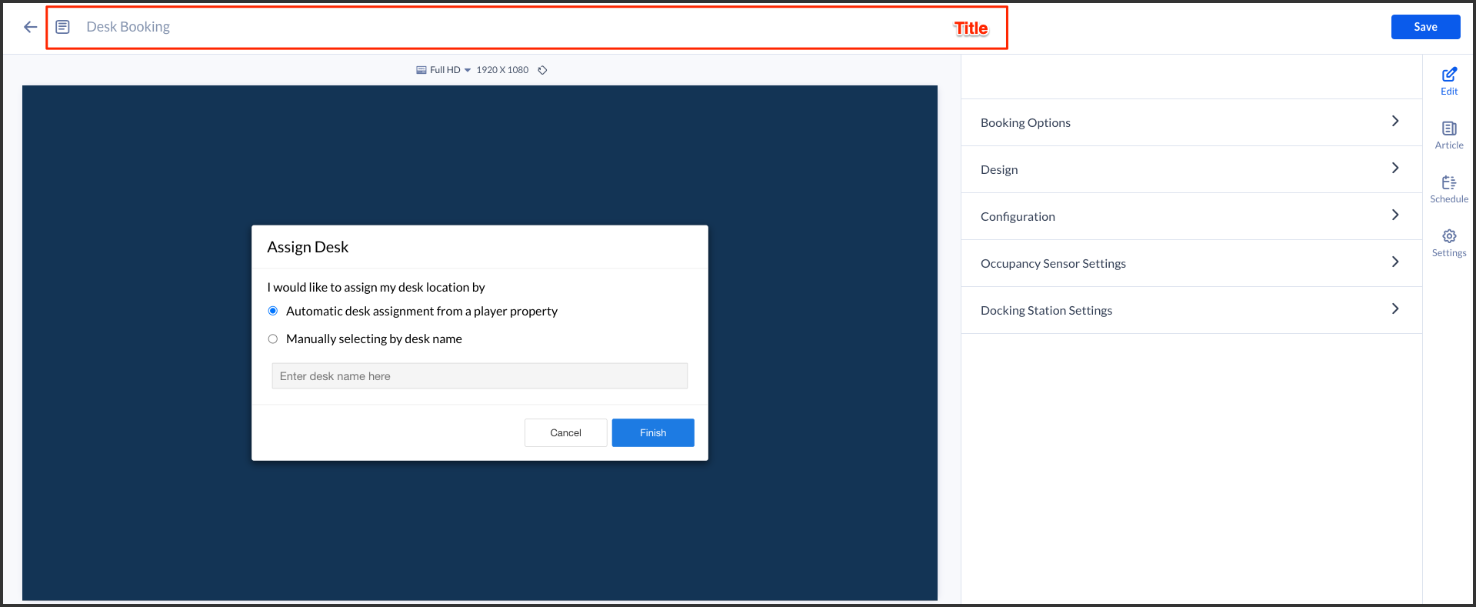
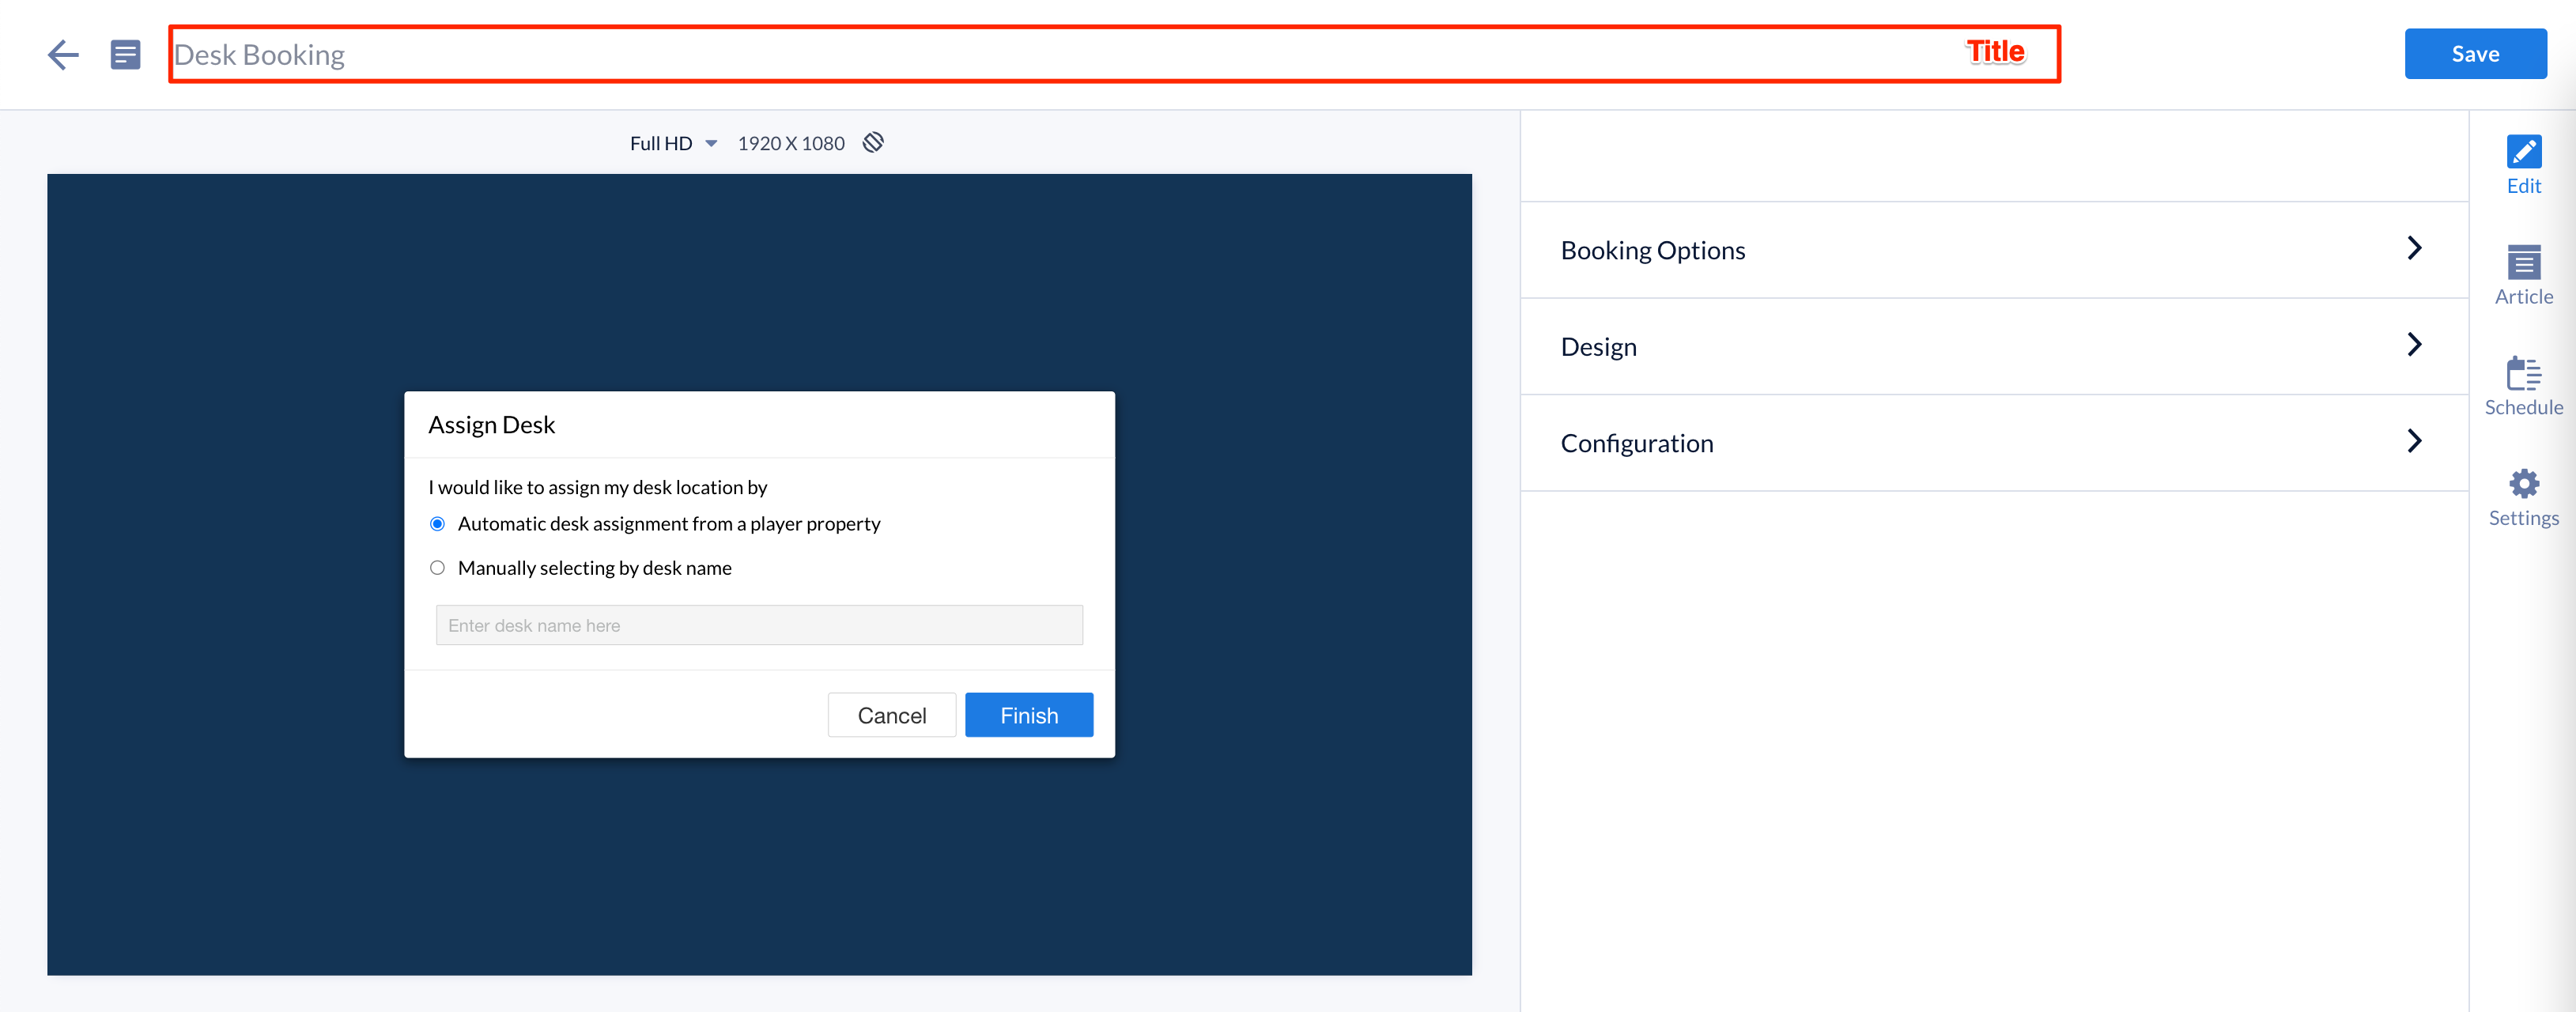
- Enter the Title of the content as this will also act as the filename for the content. This is a mandatory field.

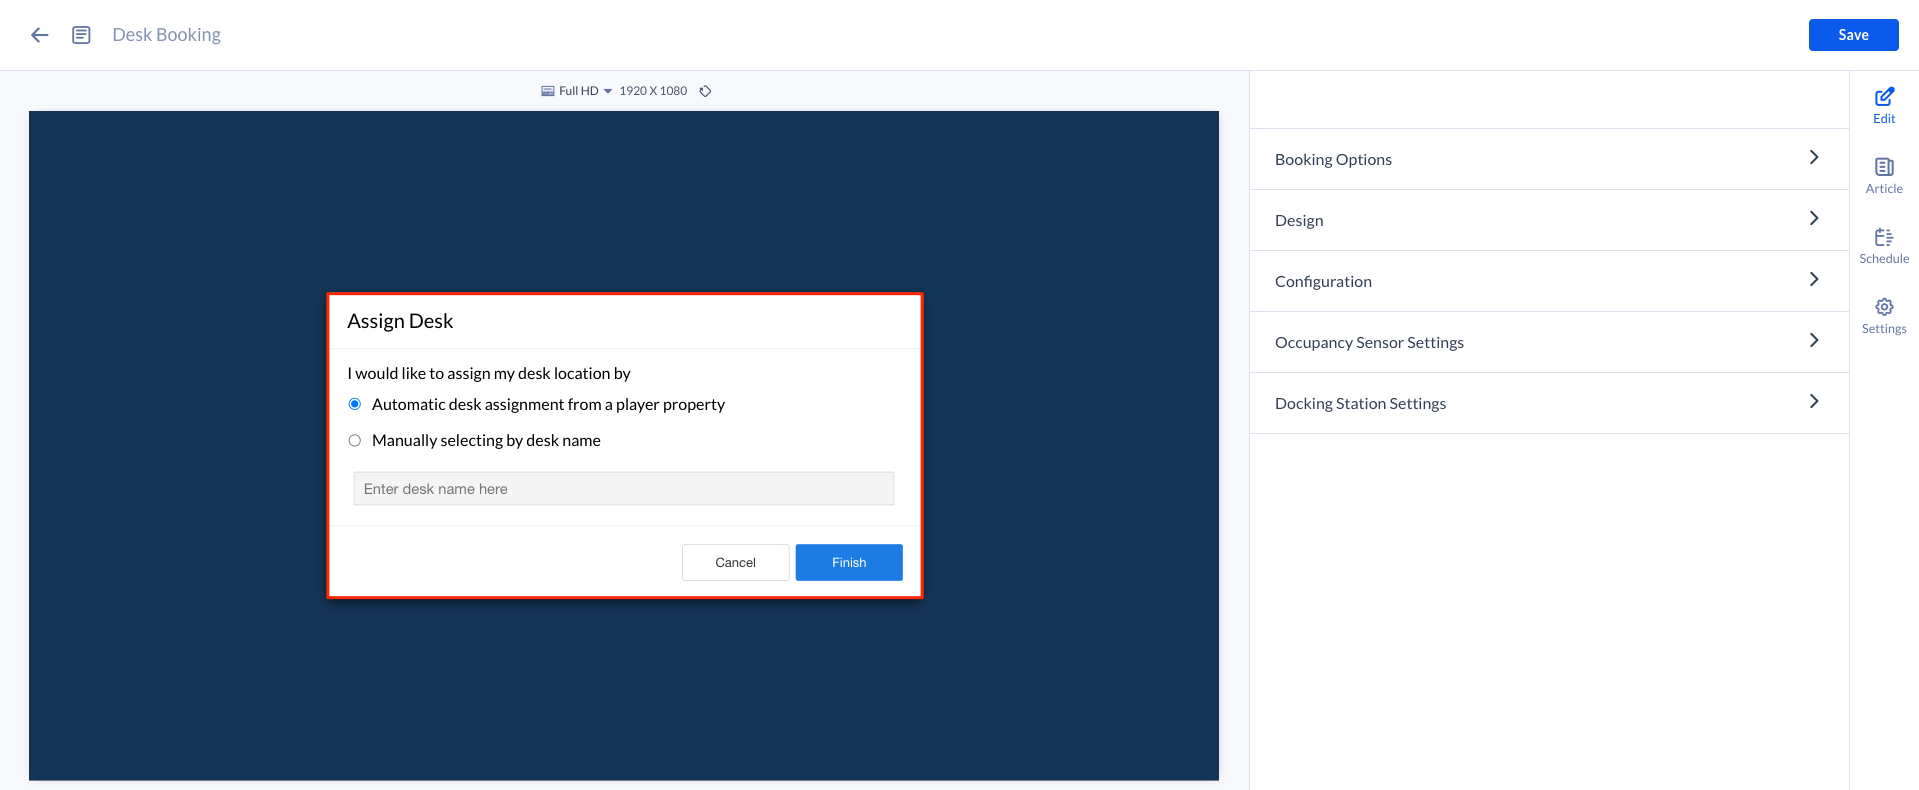
- In the Card preview section on the right, assign a desk to the card by selecting one of the two options provided:

- Automatic desk assignment from a player property
This option allows you to use the same card (with the defined configuration and branding themes) for multiple desks.- You must then add a device property card.room.roomid = Resource ID to each device and ensure it points to the desired desk (One specific tablet for each desk.)
Example:
- Device property for Desk 1 & Device 1: card.room.roomid = 47563454656
- Device property for Desk 2 & Device 2: card.room.roomid = 34547409516
- Click here for instructions to Add a device property. You will need Location Admin or Account Owner privileges to add a property.
- You must then add a device property card.room.roomid = Resource ID to each device and ensure it points to the desired desk (One specific tablet for each desk.)
Example:
- Manually selecting by desk name
This option allows you to assign one desk directly to this card. If you have 10 desks, you must create 10 cards for each desk.- The default manual selection option text would be Manually selecting by room id with a Search by name link shown below, which upon clicking prompts you to enter a user email address (booking account email address) to retrieve the resources list. If an email address has been entered previously, the manual selection option text would read Manually selecting by desk name instead.
NoteIf this manual option is selected, while the device is also configured with a player property for automatic desk assignment, then the manual assignment of the desk takes precedence.
- The default manual selection option text would be Manually selecting by room id with a Search by name link shown below, which upon clicking prompts you to enter a user email address (booking account email address) to retrieve the resources list. If an email address has been entered previously, the manual selection option text would read Manually selecting by desk name instead.
- Automatic desk assignment from a player property
- In the Edit tab:
- In the Booking Options section: click the arrow to expand.
- Enable QR Code for touchless reservations – Allow users to scan a QR code that is displayed on the card to instantly make a reservation.ImportantThe Enable QR code for touchless reservations checkbox is a new feature in the Booking Options, which allow users to scan a QR code that is displayed on the card to instantly make a reservation.
- Enable QR Code for touchless reservations – Allow users to scan a QR code that is displayed on the card to instantly make a reservation.
- In the Design section: click the arrow to expand.
- Customize the Available Status and Text Color, Occupied Status and Text Color, and Check-in Status and Text Color.
- In the Configuration section: click the arrow to expand.
- Show meeting name (default) – displays the meeting name.
- In the Occupancy Sensor Settings section: click the arrow to expand.
-
Click the Enable occupancy sensor checkbox to proceed with the following features you wish to display or enable.
ImportantTo utilize this feature, please contact Appspace Support, as this feature requires custom integrations that leverages on Appspace APIs, while some sensors may also require device tasks in order to function correctly.-
- Automatically check-in based on occupancy – Enter the duration after the room is occupied. Defaulted at 3 mins.
- Automatically create a new meeting based on occupancy – Enter the duration after the room is occupied. Defaulted at 3 mins.
- Automatically end meetings based on occupancy – Enter the duration after the room is vacant. Defaulted at 3 mins.
- Automatically extend meetings based on occupancy – Enter the duration before the current meeting ends. Defaulted at 3 mins.
-
-
- In the Docking Station Settings section: click the arrow to expand. (New)
- Select the Enable auto-reservations for docking station checkbox to automatically generate reservations when a user’s computer connects to the docking station.
NoteThe Docking Station Settings are applicable only to the LogiDock Flex device.
- Select the Enable auto-reservations for docking station checkbox to automatically generate reservations when a user’s computer connects to the docking station.
- In the Booking Options section: click the arrow to expand.
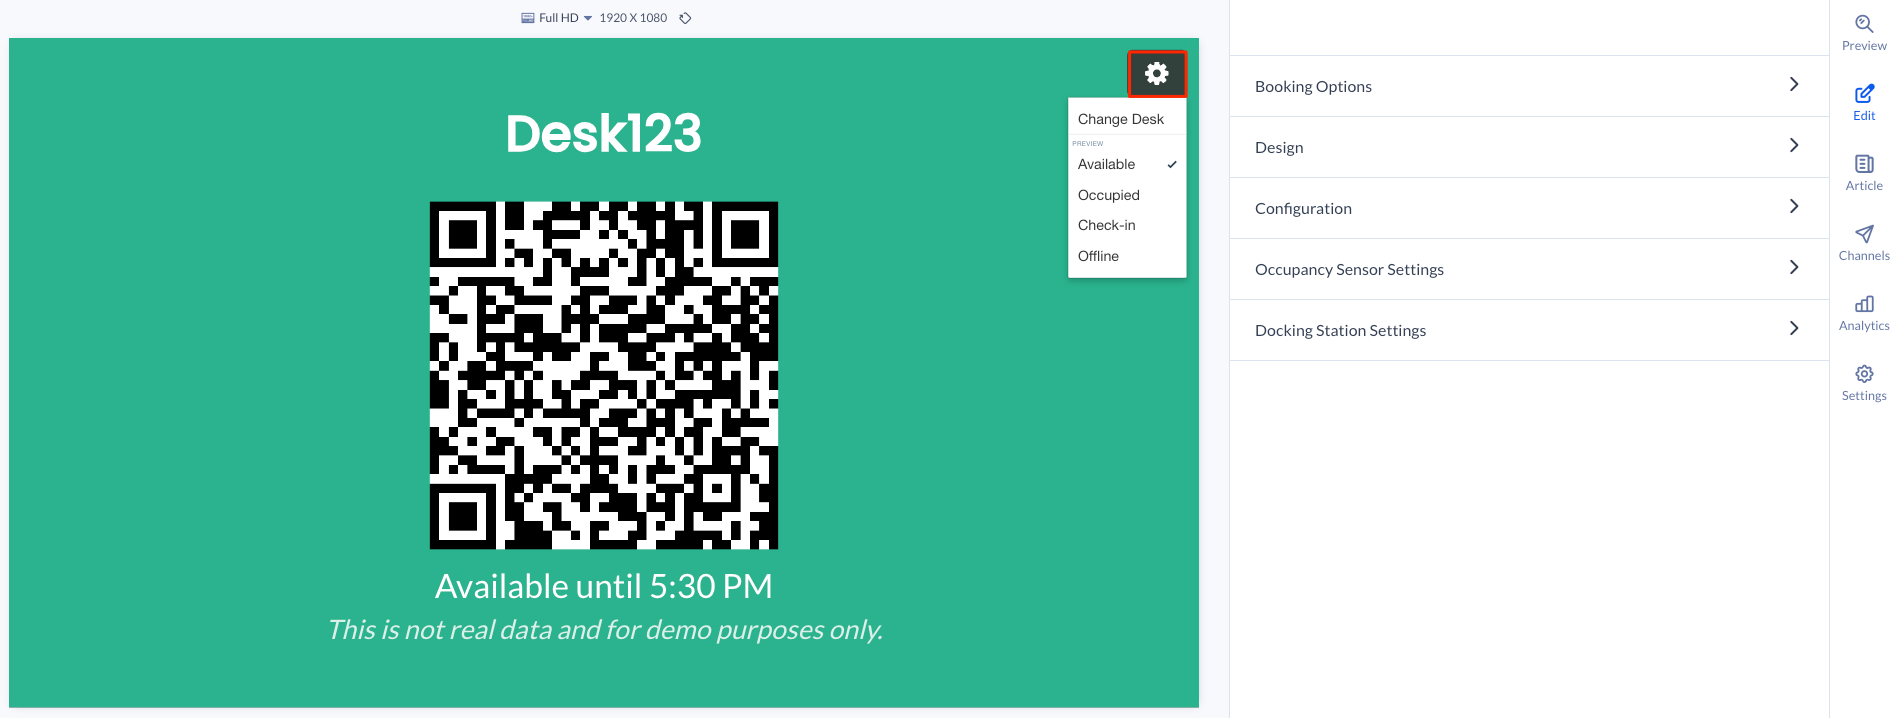
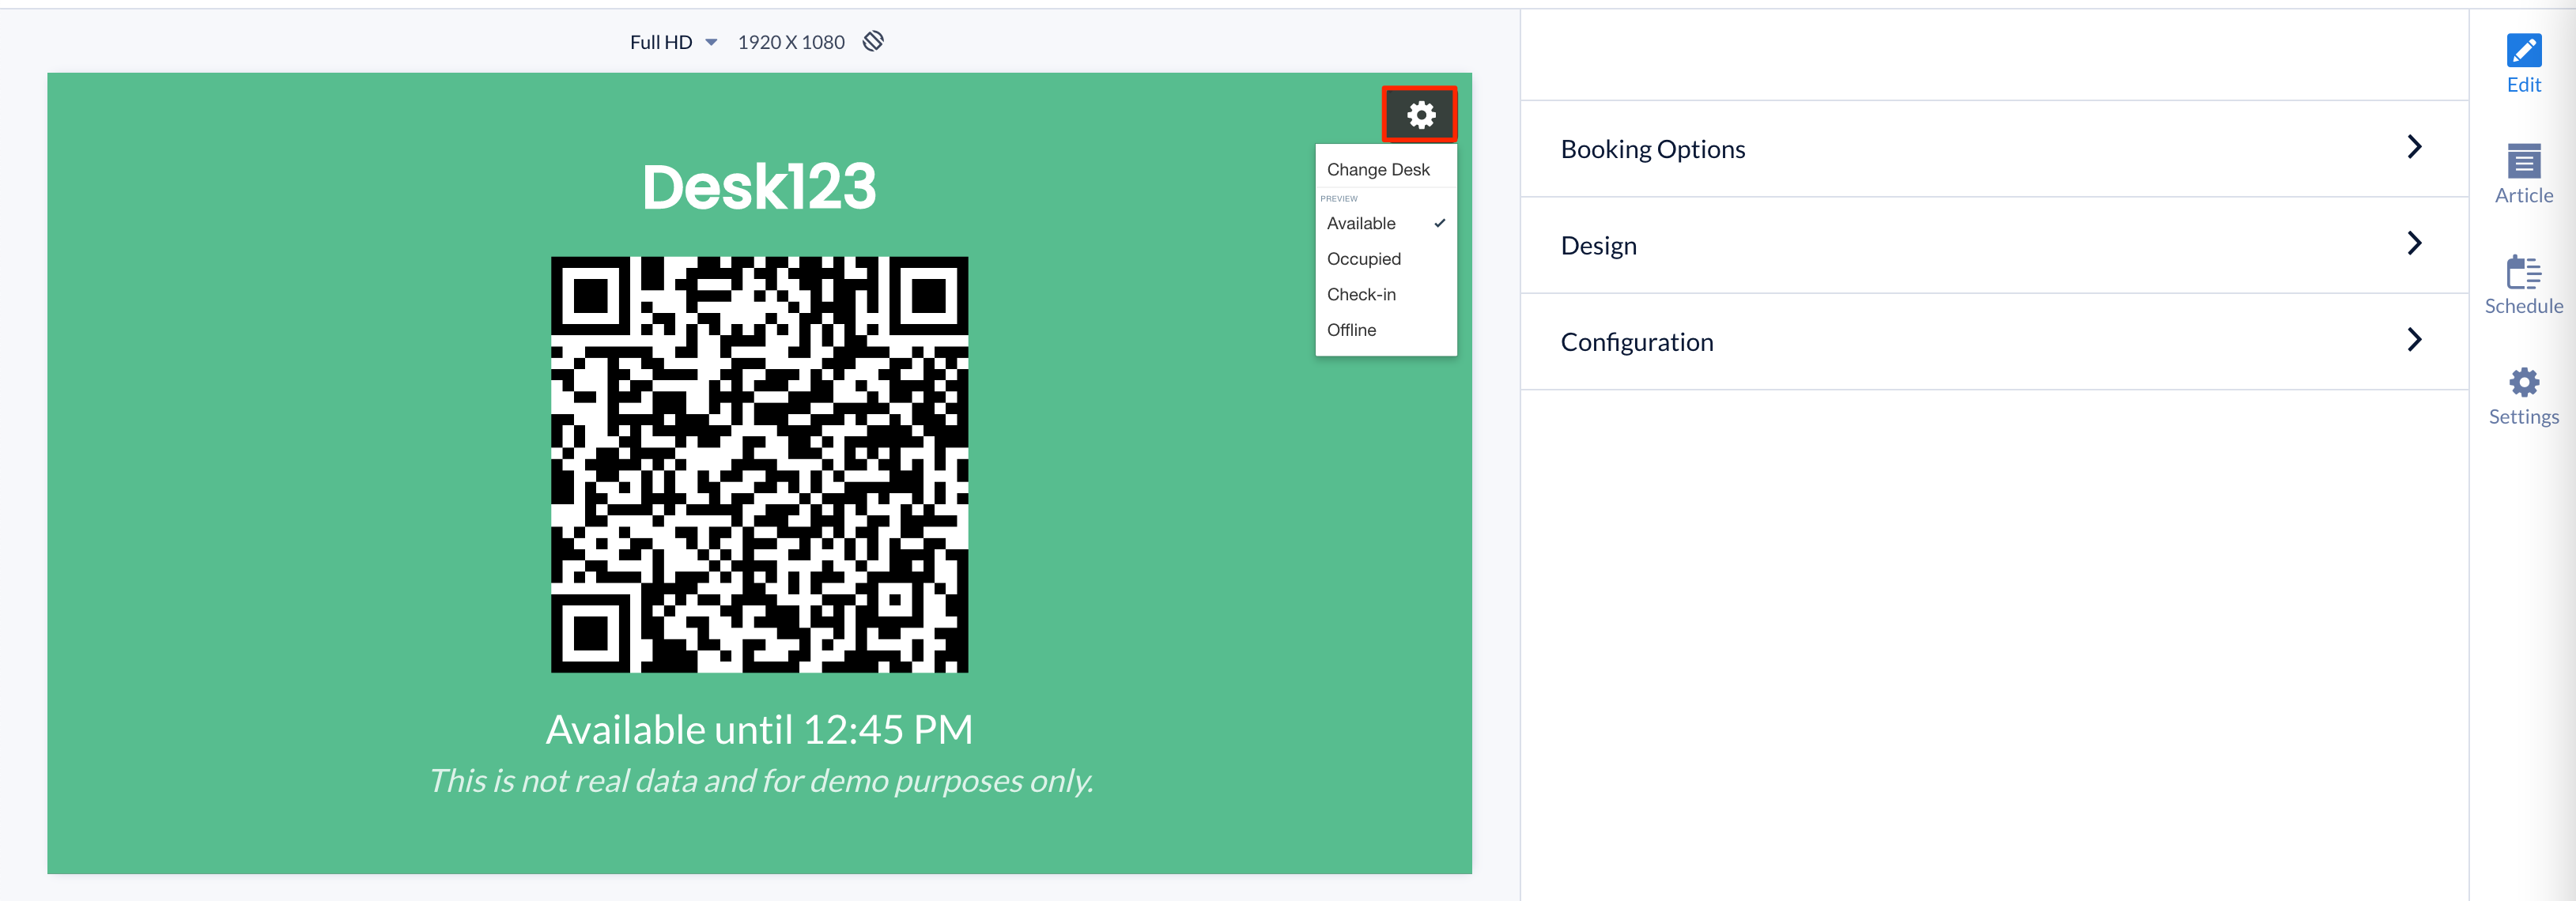
- The Card preview section on the right displays how the Desk Booking card will look like when displayed. You may click the Gear icon to preview the Available, Occupied, Check-in, or Offline status of the card, and Change Desk of the card.
NoteThe booking status of the desk is only a preview, and is not indicative of the real status in this preview.
- In the Article tab:
-
- Include an Article or Caption to accompany the content item when being displayed on mobile apps, tablets, and other social collaboration apps.
- Enter a Referral Link to link more information to the content.
-
- In the Schedule tab:
- You may add the content to a channel by selecting the channel from the Add to channel drop-down menu, or leave it unassigned to be added later.
- When the content is assigned to a channel, the SCHEDULING and DISPLAY PROPERTIES options are displayed. Refer to the Configure Content Playback Properties: Dayparting, Frequency, Scheduling, in a Playlist Channel article for detailed configuration instructions.
- In the Settings tab:
- The Name field will be auto-populated to match the Title of the content which will also act as the filename for the content. This is a mandatory field.
- Select the Content Category from the drop-down menu to match the focus of the message, or leave it at the default content category.
- Enter any relevant Tags for the content. (Optional)
- Select a folder for the content in the Library Location drop-down menu to change the default folder location.
- Select an expiry date for the content from the Auto Delete Content from Library drop-down menu. (Optional)
- Upload an image to be used as the Thumbnail for the content.
ImportantPlease do not set an expiry date for the Desk Booking card.
- Once done, click SAVE.
Edit Desk Booking Card
The instructions below show you how to edit a Desk Booking card.
- Select and click the Desk Booking card to edit, and select the desired tab to edit or view.
- In the Edit, Article, and Settings tabs:
- You may edit the content the same way as it was configured. For detailed instructions on how to do this, please refer to the Create Desk Booking Card section above.
- In the Preview tab:
- Preview how the content is displayed on your device.
- In the Channels tab:
- You may add the content to a channel by selecting the channel from the Add to channel drop-down menu, or leave it unassigned to be added later.
- When the content is assigned to a channel, the SCHEDULING and DISPLAY PROPERTIES options are displayed. Refer to the Configure Content Playback Properties: Dayparting, Frequency, Scheduling, in a Playlist Channel article for detailed configuration instructions.
- In the Analytics tab:
- View the individual content analytics in this tab. For more information, please refer to the Individual Content Analytics section of the Analytics article.
- In the Edit, Article, and Settings tabs:
- Once done, click SAVE.
Book Desks via Appspace Employee App for Mobile
For booking instructions, please refer to Reserve Workspace QR Codes on Qbic Devices.
Was this article helpful?