The Facebook card allows users with a Meta (previously Facebook) account to access and display Facebook posts, keeping employees engaged while increasing the organization’s social media presence. The card is built using the new Appspace integration with third-party systems that leverages standard technologies to create long-lived, authenticated, and secure connections.
An initial connection must be established between Appspace and a Meta service account, which is then stored in a virtual passport in Appspace and can be used until the service account revokes or cancels the integration. The passport will allow the card to establish a connection with the third-party system at runtime.
With the introduction of Content Categories in Appspace 8.0 ac.22, the Social card template is assigned with the Culture & Values content category.
This article provides instructions to create, configure, and customize the Facebook card, which is built with the Social card theme:
Features released in Appspace 8.6 Aquarius
- The functionality of social cards has been enhanced to include the ability for users to define a specific time period for displaying Facebook posts. This ensures that the posts shown are current and not limited by the maximum number of posts that can be displayed.
Prerequisites
- Appspace App 2.20 and later.
- Appspace 8.0 and later.
- A Meta (Facebook) account.
- Ensure your device is compatible. Refer to the Supported Appspace Cards article.
NoteThere is a limitation, in which Samsung Tizen devices do not support Meta Inc. video playback.
- Account Owner, Publisher, or Author role to create or edit card in the Library.
- Account Owner or Publisher role to configure account authentication in Integrations > Passport.
Authenticate Meta Inc. (Facebook) Account
Follow the instructions below to authenticate a Meta Inc. service account with Appspace.
- Log in to the Appspace console.
- Click the ☰ Appspace menu, and then click Integrations.
- Click the Passports tab, and click the +ADD button.
- Select the Facebook passport, and click CONNECT. Proceed to authenticate the passport, and grant permissions to access the Facebook account. You may be required to sign-in with your Facebook credentials if you are currently signed out.
- Follow the on-screen instructions to continue to configure the Facebook passport.
- Once authenticated, in the Account Settings tab, you may perform the following actions:
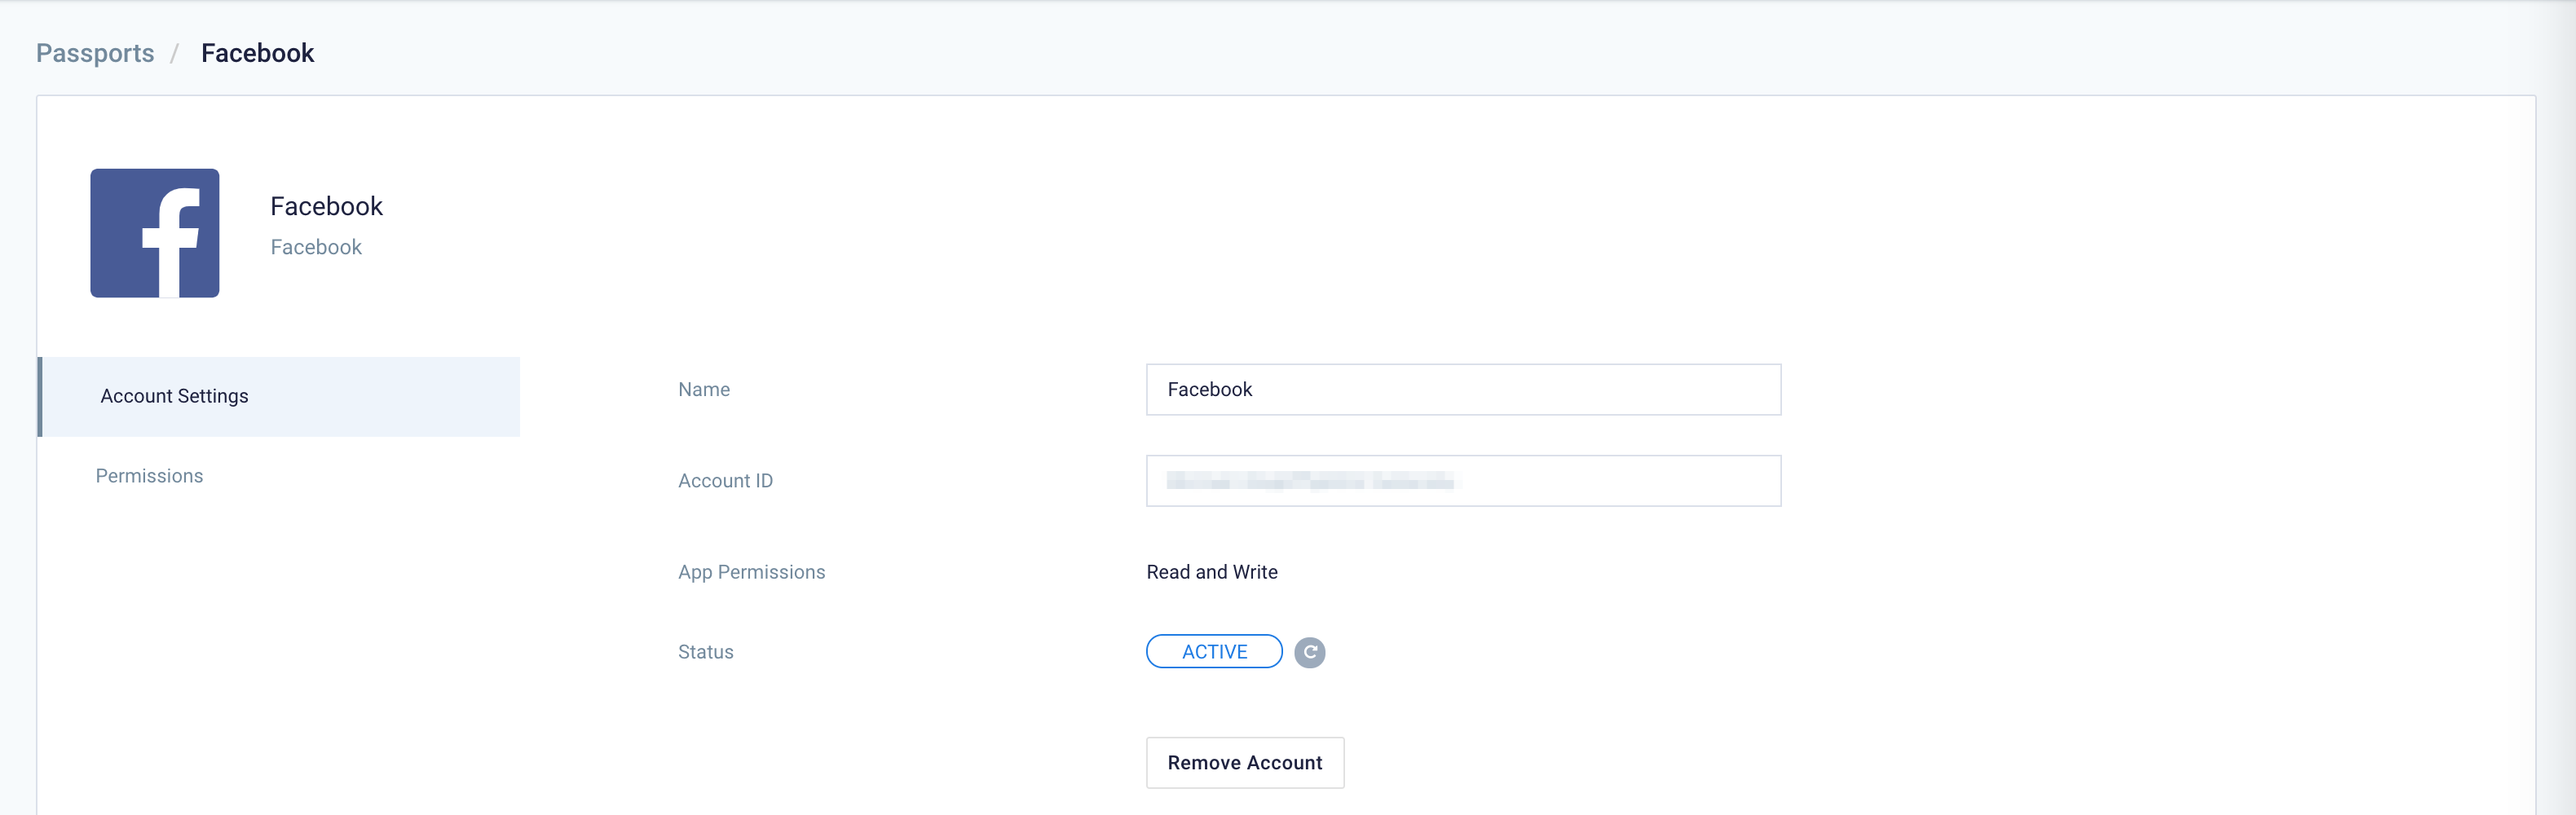
- Change the name of the passport, by entering a different name in the Name field.
- View the Account ID of the passport.
- View the App Permissions granted to the passport.
- View and refresh the Status of the passport.
- Remove the passport, by clicking the Remove Account button.
- In the Permissions tab, you may grant the following users or user groups permissions to view or edit this passport configuration at any time:

- Enter and select the user(s) or user group(s) from the drop-down list, or click the Find users or user groups link, and select the desired user(s) or user group(s). Proceed to grant either Can Manage or Can View permissions by clicking the Select permissions drop-down menu.
- You may also view or remove the user(s) or user group(s) that have already been granted permissions, by clicking the delete icon.
- You may proceed to the Create and Configure Facebook Card section below.
Create and Configure Facebook Card
Follow the instructions below to display Facebook posts:
- Log in to your Appspace console.
- To create this card, select one of the following options:
- Click +Quick Action from the Appspace menu bar on the top right, and select Create Card.
- Click Library from the ☰ Appspace menu, and select a library or folder you wish to create the content in. Click +CREATE, and select Card.
- To create and add the card directly to an existing channel, refer to Add Content to Playlist Channels.
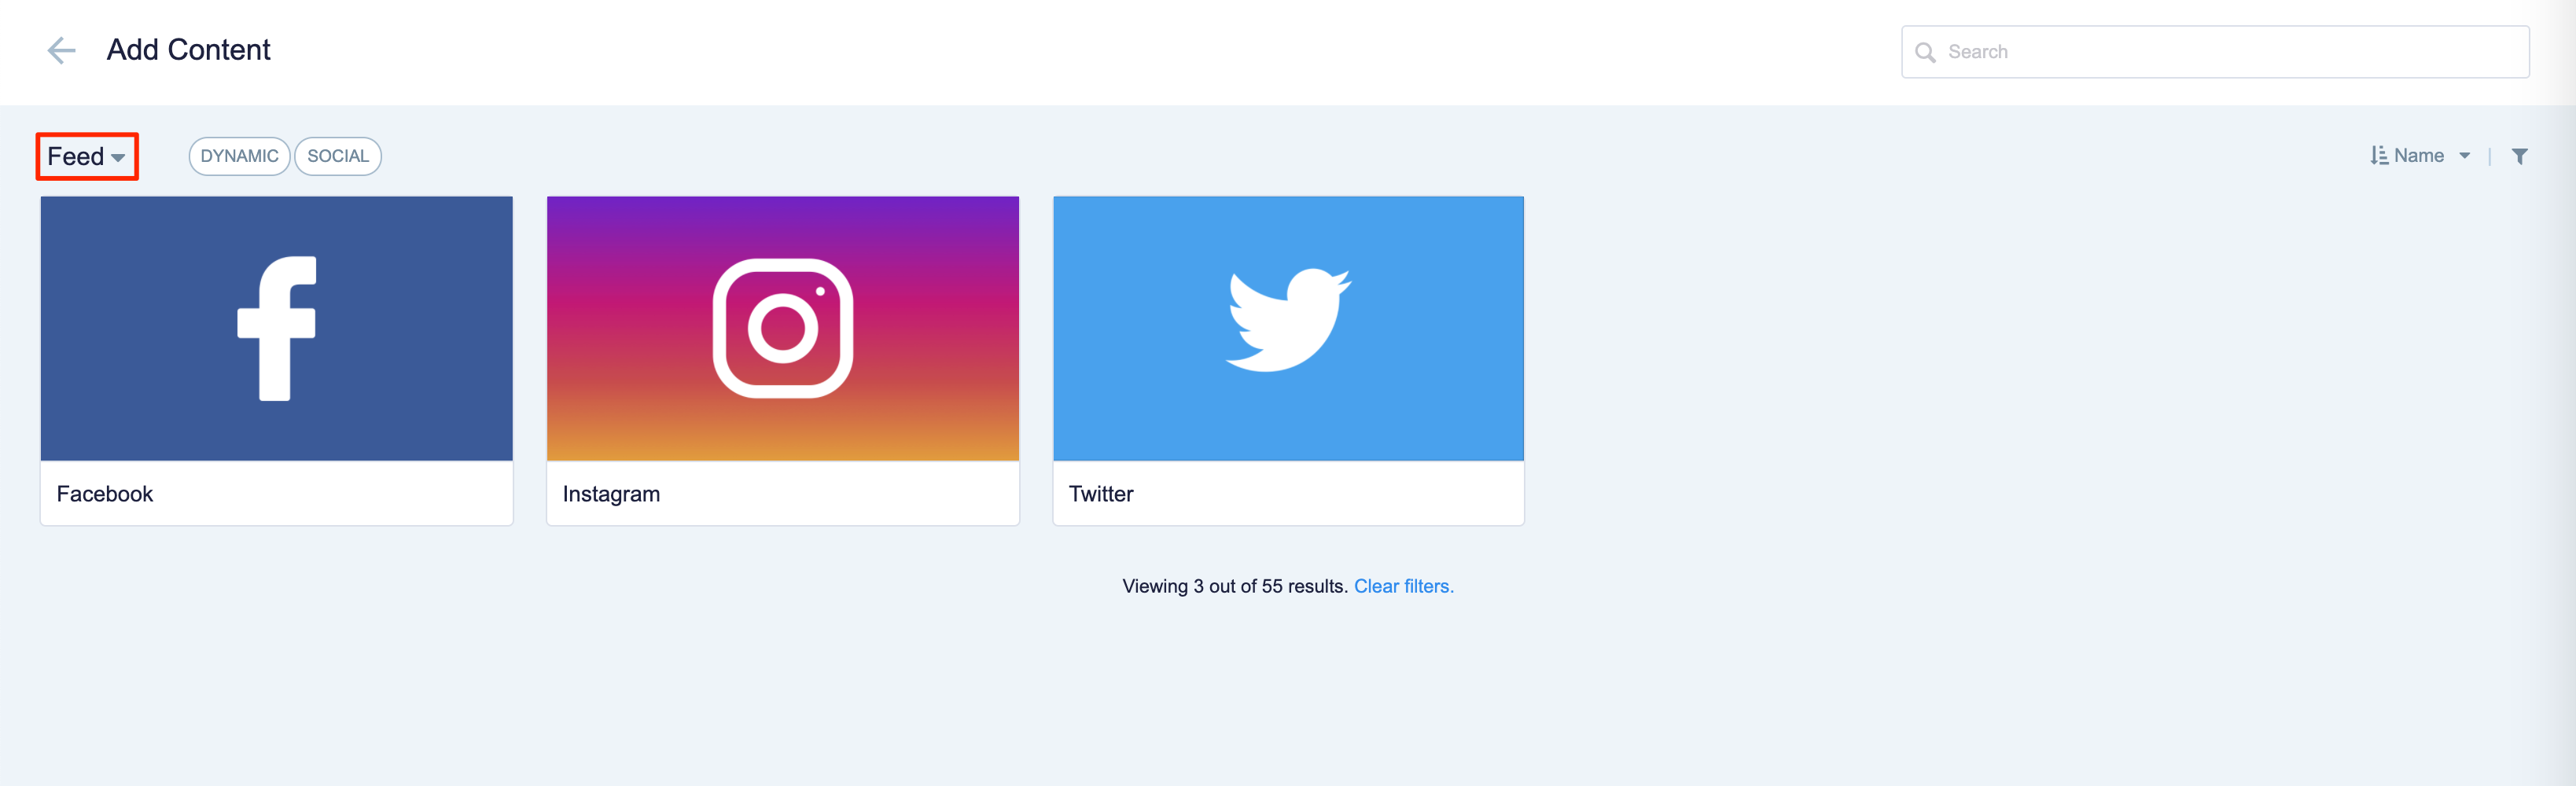
- Select the Social tag, and select Facebook.

ImportantIf you are unable to locate the content, try using either the Search bar, the Order by, or Filter icon to narrow down the content that you are looking for. - Enter the Title of the content as this will also act as the filename for the content. This is a mandatory field.
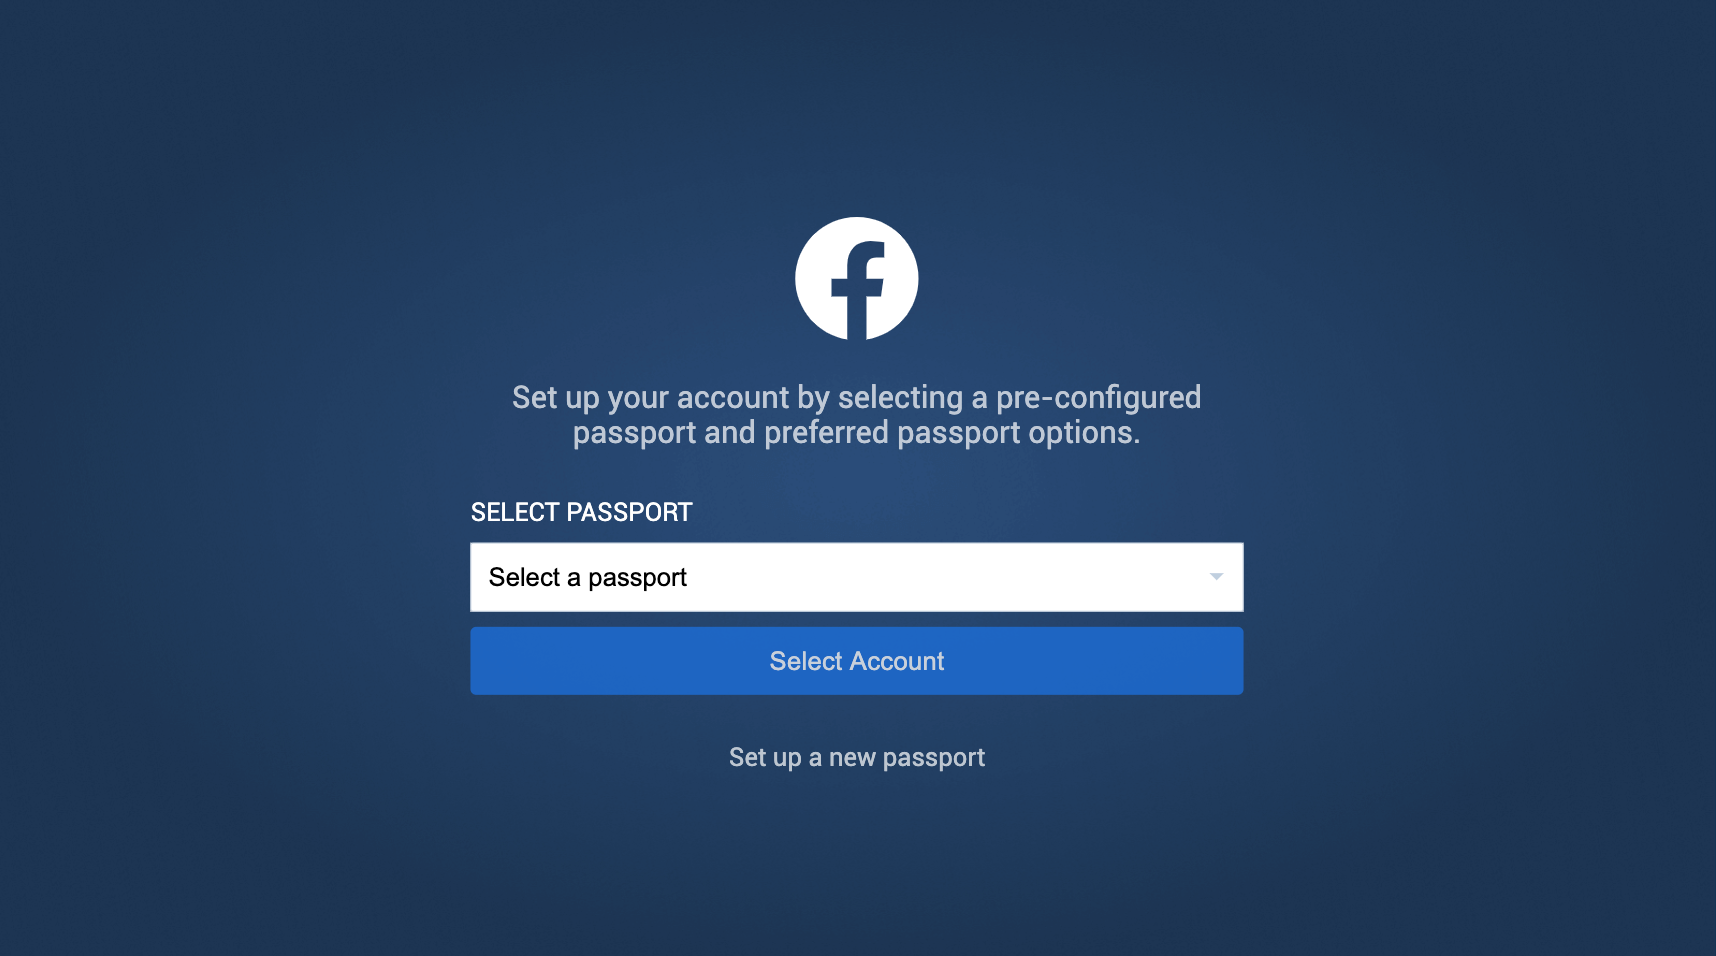
- In the Card section, select the Facebook passport created earlier, or you may click the Set up a new passport to create one.

NoteIf you are creating a new Facebook passport, proceed to follow the on-screen instructions to authenticate the passport, and grant permissions to access the Facebook account. You may be required to sign-in with your Facebook credentials if you are currently signed out. - Select the source of the Facebook postings from the drop-down menu:
- Select Page – Displays public posts from a Facebook Page that is managed by the Facebook account used to create the authentication passport earlier. Select the desired page the public posts will originate from.
- Click Select Account to confirm.
NotePossible errors:
- If the service does not have the appropriate permissions when querying an external Twitter account, the following message is displayed, ‘The current user has not granted Appspace access to any Accounts.‘ Check the passport configuration.
- When loading My pages/My account, if empty results are returned, the following message is displayed, ‘You have not allowed Appspace to access any of your pages. Please revoke and re-authenticate your passport.’
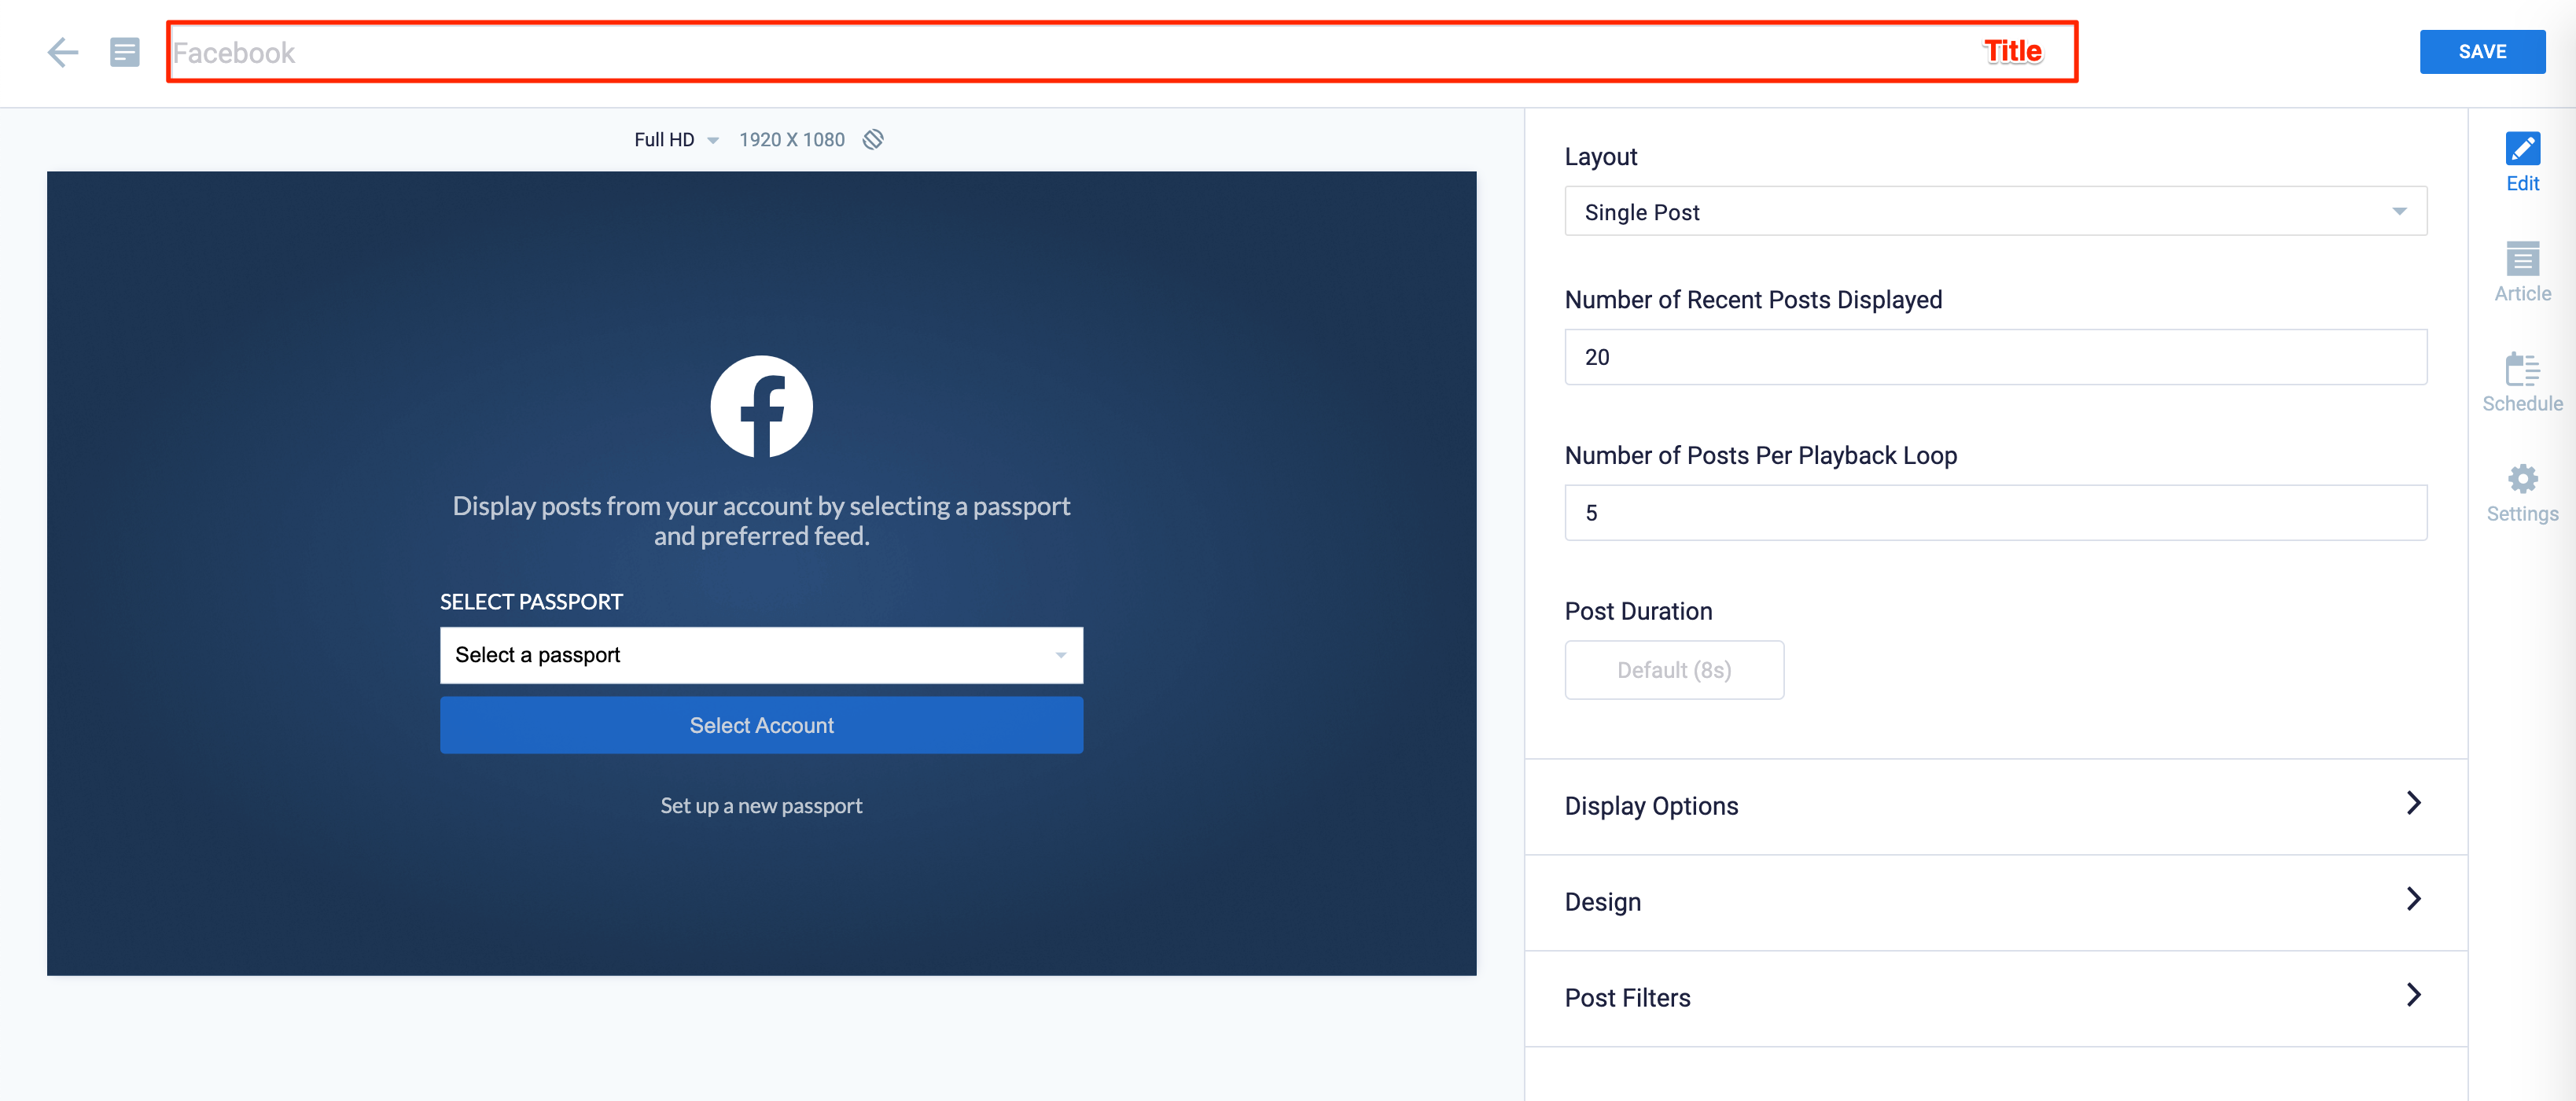
- In the Edit tab:
- Select the Layout that will be displayed:
- If Single Post is selected:
- Enter the Number of Recent Posts Displayed to set the total number of recent posts that will be retrieved from the account.
- Enter the Number of Posts Per Playback Loop to set the number of posts displayed within each playlist channel playback loop.
- Enter the Post Duration to set the duration of each post displayed.
- If Gallery is selected:
- Enter the Number of Recent Posts Displayed to set the total number of recent posts that will be retrieved from the account.
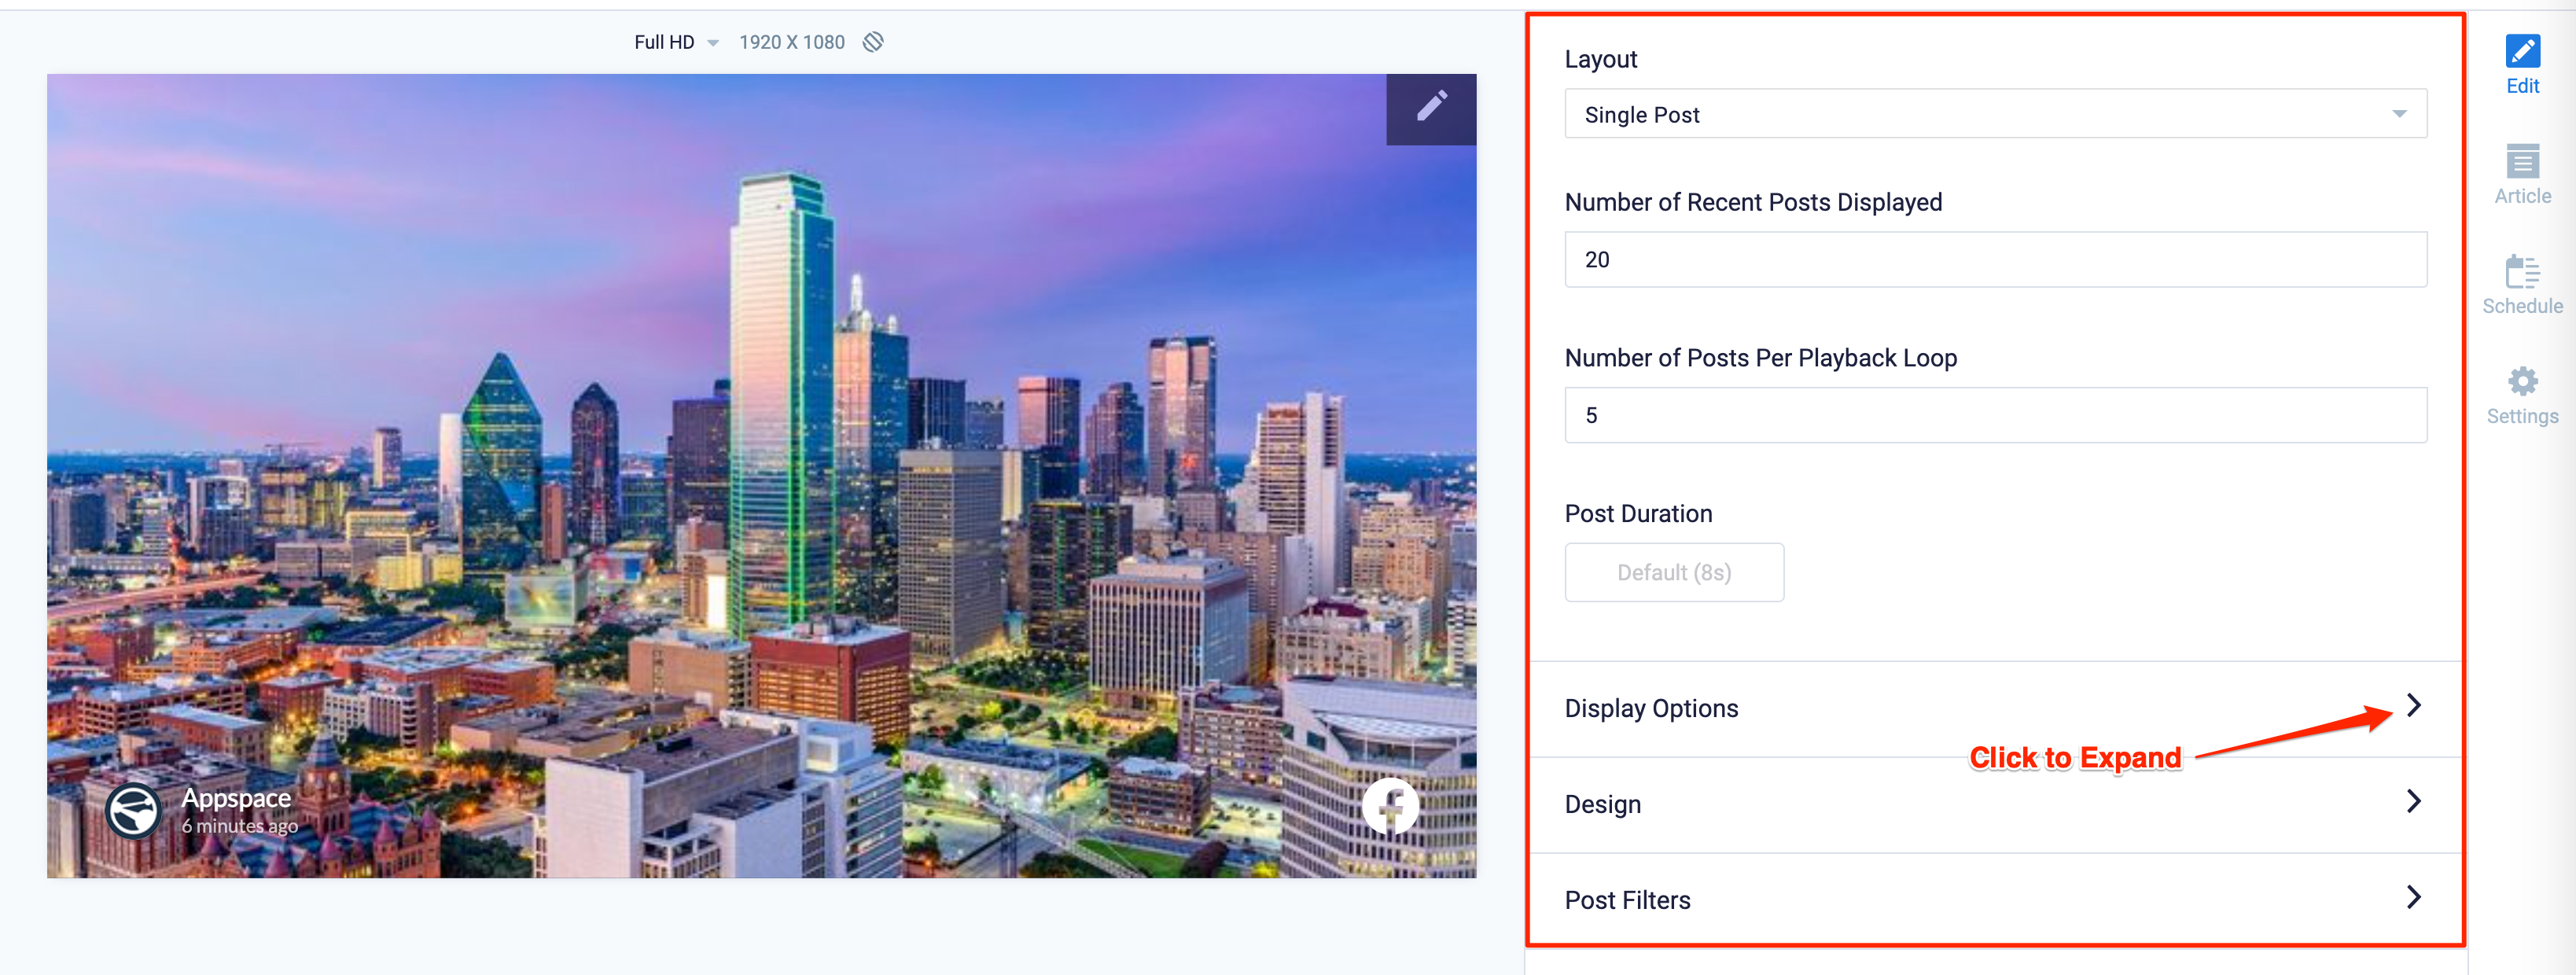
- If Single Post is selected:
- In the Display Option section: click the arrow to expand.
Enable or disable the desired display options below by moving the slider:
- Enable Video – Allows posts with videos to be displayed. Enabled by default.
- Show Logo – Displays the Facebook logo. Enabled by default.
- Show Post Timestamp – Displays the timestamp of the post. Enabled by default.
- Keep Media Aspect Ratio – Disabled by default.
- If enabled in Single Post layout, the image or media is displayed in its original aspect ratio, with the background being a blurred version of the image or media.
- If enabled in Gallery layout, the image or media fills the width of the post, with the height while maintaining aspect ratio.
- Enable Transition – Allows transitions between posts. Enabled by default.
- Select one of the following transitions from the drop-down menu:
- Slide Bottom
- Slide Random
- Swoop Left
- Swoop Right
- Swoop Top
- Swoop Bottom
- Swoop Top-Left
- Swoop Top-Right
- Swoop Bottom-Left
- Swoop Bottom-Right
- Swoop Random
- Select upto two Transition Colors
- Select one of the following transitions from the drop-down menu:
- In the Design section: click the arrow to expand:
- Customize the Text Color and Hashtag Color.
- Customize the Card Color. Only available in Gallery layout.
- Customize the Background Color or Media.
- In the Post Filters section: click the arrow to expand.
- Enable Profanity Filter – ON by default.
- Enter the keywords in the Posts must contain field, to display posts containing only those keywords.
- Enter the keywords in the Posts cannot contain field, to hide posts containing those keywords from the display.
- Expand the Filter post by date range option, to enable of the post range. By default, the filter post configuration is set to All time. The date range options:
- All Time: Encompasses everything from the beginning until the current date.
- Today: Extends from 12 AM to 11:59 PM of the current date.
- Past 2 days: If the current date is Jan 6th, 2 days ago was Jan 4th.
- Past week: If the current date is Jan 2nd, 2024, the past week covers the period from Dec 26th, 2023, to Jan 2nd, 2024.
- Past 2 weeks: If the current date is Jan 2nd, 2024, the past 2 weeks cover the period from Dec 19th, 2023, to Jan 2nd, 2024.
- Past Month: If the current date is Jan 2nd, 2024, the past month covers Dec 2nd, 2023, to Jan 2nd, 2024 (considering a month of approximately 30 days).
- Past 6 Months: If the current date is Jan 2nd, 2024, the past 6 months cover the period from Jul 2nd, 2023, to Jan 2nd, 2024.
- Past Year: If the current date is Jan 2nd, 2024, the past year covers the period from Jan 2nd, 2023, to Jan 2nd, 2024.
- Select the Layout that will be displayed:
- In the Article tab:
- Include an Article or Caption to accompany the content item when being displayed on mobile apps, tablets, and other social collaboration apps.
- Enter a Referral Link to link more information to the content.
- In the Schedule tab:
-
- You may add the content to a channel by selecting the channel from the Add to channel drop-down menu, or leave it unassigned to be added later.
- When the content is assigned to a channel, the SCHEDULING and DISPLAY PROPERTIES options are displayed. Refer to the Configure Content Playback Properties: Dayparting, Frequency, Scheduling, in a Playlist Channel article for detailed configuration instructions.
-
- In the Settings tab:
-
- The Name field will be auto-populated to match the Title of the content which will also act as the filename for the content. This is a mandatory field.
- Select the Content Category from the drop-down menu to match the focus of the message, or leave it at the default content category.
- Enter any relevant Tags for the content. (Optional)
- Select a folder for the content in the Library Location drop-down menu to change the default folder location.
- Select an expiry date for the content from the Auto Delete Content from Library drop-down menu. (Optional)
- Upload an image to be used as the Thumbnail for the content.
-
- Click SAVE.
- Proceed to the edit section below to add the card to a channel, preview the card, or view analytics once available.

Edit Facebook Card
The instructions below show you how to edit a Facebook card.
- Log in to your Appspace console.
- Click Library from the ☰ Appspace menu, and select a library or folder containing the content you wish to edit.
- Select and click the Facebook card to edit, and select the desired tab to edit or view.
- In the Edit, Article, and Settings tabs:
- You may edit the content the same way as it was configured. For detailed instructions on how to do this, please refer to the Create and Configure section above.
- In the Preview tab:
- Preview how the content is displayed on your device.
- In the Channels tab:
- You may add the content to a channel by selecting the channel from the Add to channel drop-down menu or leave it unassigned for later.
- When the content is assigned to a channel, the SCHEDULING and DISPLAY PROPERTIES options are displayed. Refer to the Configure Content Playback Properties: Dayparting, Frequency, Scheduling, in a Playlist Channel article for detailed configuration instructions.
- In the Analytics tab:
- View the individual content analytics in this tab. For more information, please refer to the Individual Content Analytics section of the Analytics article.
- In the Edit, Article, and Settings tabs:
- Click SAVE.