Users are now able to convert content such as word documents, spreadsheets, presentation slides, and also PDFs, into HTML-friendly cards directly in the Appspace Library. Appspace currently supports the conversion of the following file formats, with each document containing not more than 30 pages:
- .docx – Word document file format
- .doc – Word document file format
- .xlsx – Excel document file format
- .xls – Excel document file format
- .pptx – PowerPoint file format
- .ppt – PowerPoint file format
- .pdf – Portable Document File format
- .dwg – AutoCAD file format (via API only)
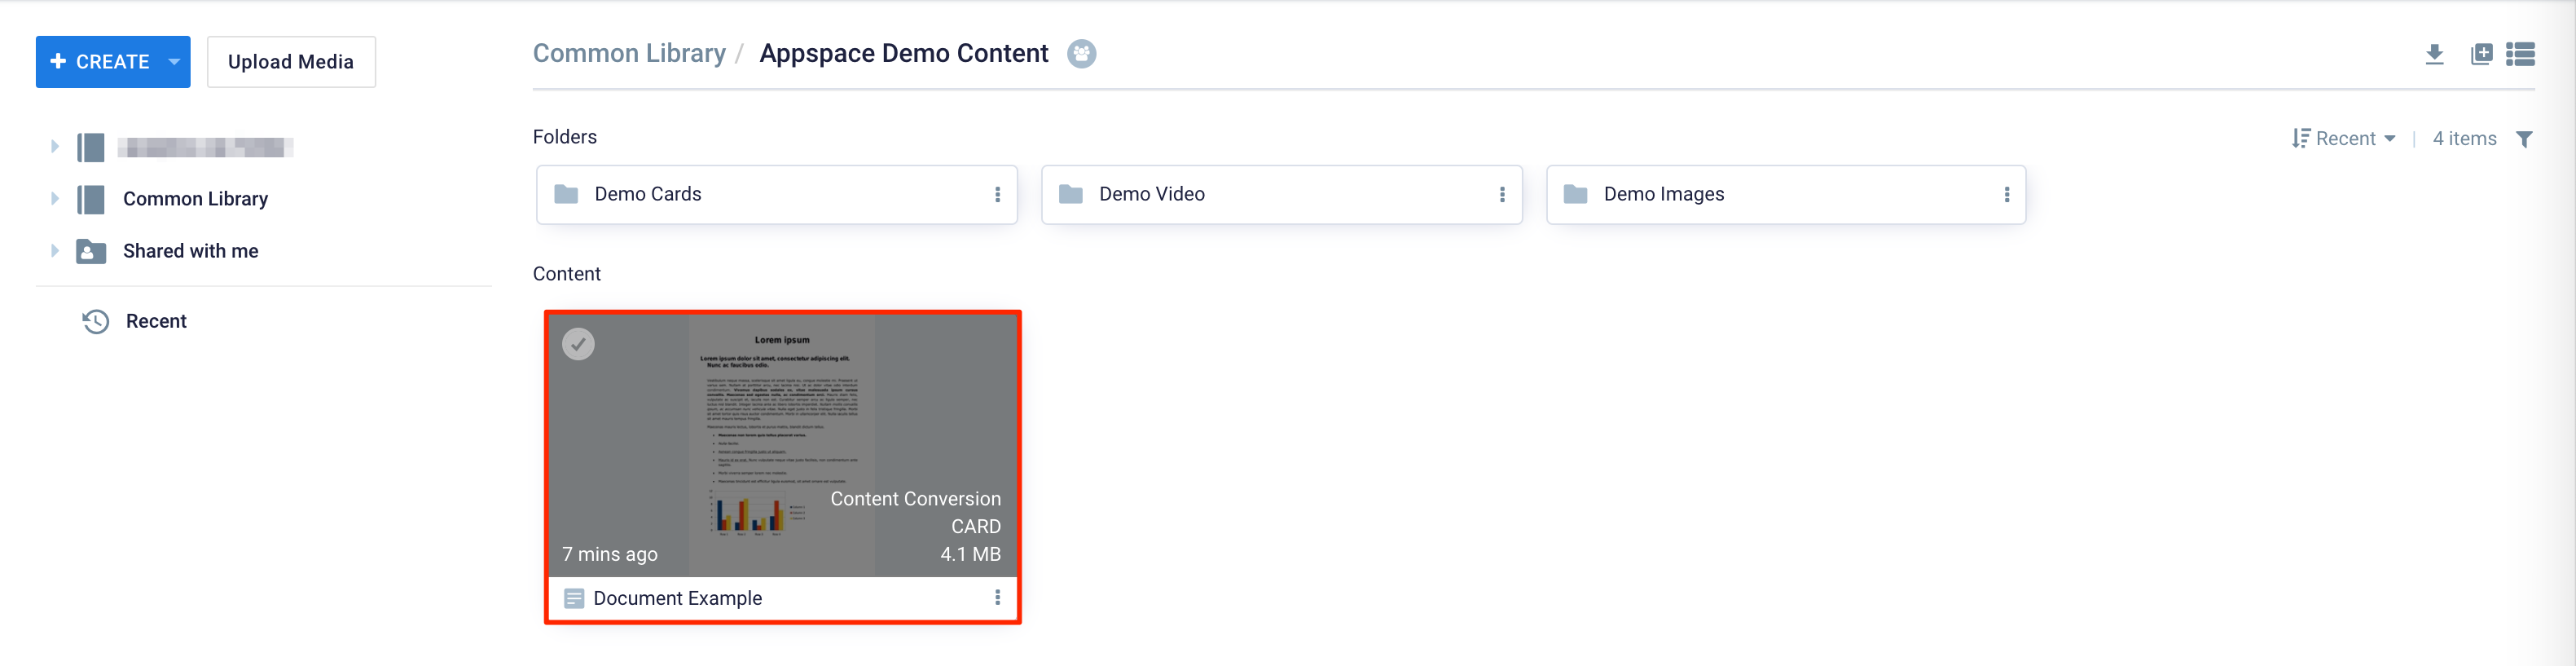
The Appspace conversion service converts and transposes all content from any of the supported file formats above that are uploaded to the Library, automatically into an Appspace Content Conversion card with multiple pages. The first page of the original document will be shown as the thumbnail of the card by default, but users are able to change this later. The card can be added to a playlist channel or advanced channel.
Unlike other Appspace cards, the content within this card is not editable. The card only acts as a container to display content file types in a format that is functional on Appspace App devices. The document will be converted as is in its original landscape or portrait mode; the card will not auto-rotate the content during conversion.
This article provides instructions to upload supported content into the Library, which will then be automatically converted into a Content Conversion card for that specific content.
Prerequisites
- Account Owner, Publisher, Editor, or Content Producer (Author) role to add or edit content in Library.
- Content file names must only be alphanumeric. Filenames containing special characters will automatically fail during the upload process.
- This feature is only supported on devices that support Appspace Cards and the Appspace App.
- The maximum document size is 30 pages of each document type.
Upload Content For File Conversion
Follow the instructions below to upload supported media to the Library right from your computer:
- Log in to the Appspace console.
- To upload content, select one of the following options:
- In the Files section, do one of the following:
- Drag-and-drop content file(s) from a folder on your computer.
- Click the browse link, and select the content file(s) to upload from your computer.

- Once the content file(s) has been uploaded, the conversion service process begins automatically, converting the content files to the Content Conversion card format and saves in the folder.
- During the conversion process, you may continue with completing other tasks that a required within the Appspace platform, and do not have to wait until the uploaded files have completed processing.
- The card will be saved with the same filename as the original file.
- The first page of the original document will be shown as the thumbnail of the card.
- File size must not exceed 30 pages of each document type.
- Proceed to edit the content of the card. See next section below.
- Add the card to either a playlist channel or an advanced channel, as desired.

Edit Content Conversion Card
Follow the instructions below to edit the Content Conversion card content:
- Log in to the Appspace console.
- Select Library from the ☰ Appspace menu, select a library or folder, and double-click the content.
- In the Edit tab:

- Enter the Title of the content as this will also act as the filename for the content. This is a mandatory field.
- If there is more than one converted page, you click the arrow on the preview window to flip through the pages.
- Select how the content fits on screen from the Image Fit drop-down menu.
- Select the duration each page is displayed from the Image Duration drop-down menu.
- Select the transitions from the Image Transition drop-down menu.
- Select Background Color.
- In the Article tab:

- You may edit the Title of the content, as this will also act as the filename for the content. This is a mandatory field.
- You may skip this section, or include an Article or Caption to accompany the content item, which will be displayed on mobile apps, tablets, and enterprise messaging apps.
- Enter a Referral Link to link more information to the content.
- In the Channels tab:
- Assign the content to a playlist channel. Select a channel from the Add to channel drop-down menu. Optionally, you may skip this section and leave the content unassigned and add it to a playlist channel later.
- When the content is assigned to a channel, the SCHEDULING and DISPLAY PROPERTIES options are displayed. Refer to the Configure Content Playback Properties: Dayparting, Frequency, Scheduling, in a Playlist Channel article for detailed configuration instructions.
- In the Analytics tab:
- View the individual content analytics in this tab. For more information, please refer to the Individual Content Analytics section of the Analytics article.
- In the Settings tab:
- The Name field will be auto-populated to match the Title of the content which will also act as the filename for the content. This is a mandatory field.
- Enter the Tags for the content. (Optional)
- Select an expiry date for the content from the Auto Delete Content from Library drop-down menu (Optional).
- Upload an image to be used as the Thumbnail for the content. By default, the thumbnail image is taken from the first page of the document.
- Click Save once complete.
Known Issues
In the current release, we are unable to convert files that have Unicode filenames, found mainly in Arabic and Asian fonts. We are currently working on a fix, which shall be released in our upcoming update.
As a workaround, we recommend renaming files containing Unicode, to non-Unicode characters for the conversion service to convert files successfully.
Was this article helpful?