Communities bring people together and allow the sharing of common interests, forming project teams, building business networking groups, sharing knowledge, etc.
To create a community, go to the startpage.
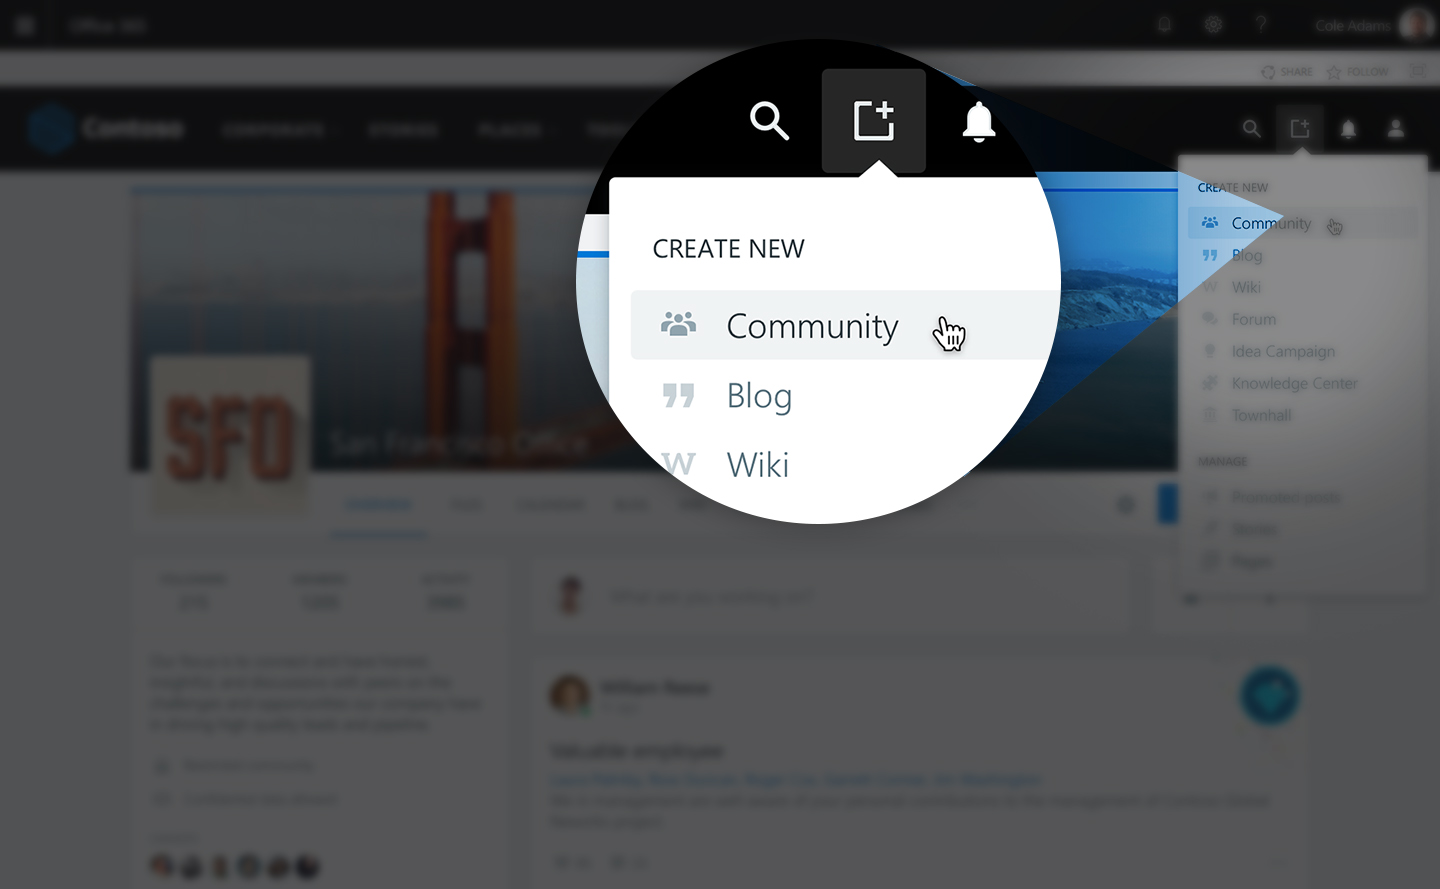
Click the Create a new Community link on the Create icon on the navigation bar.
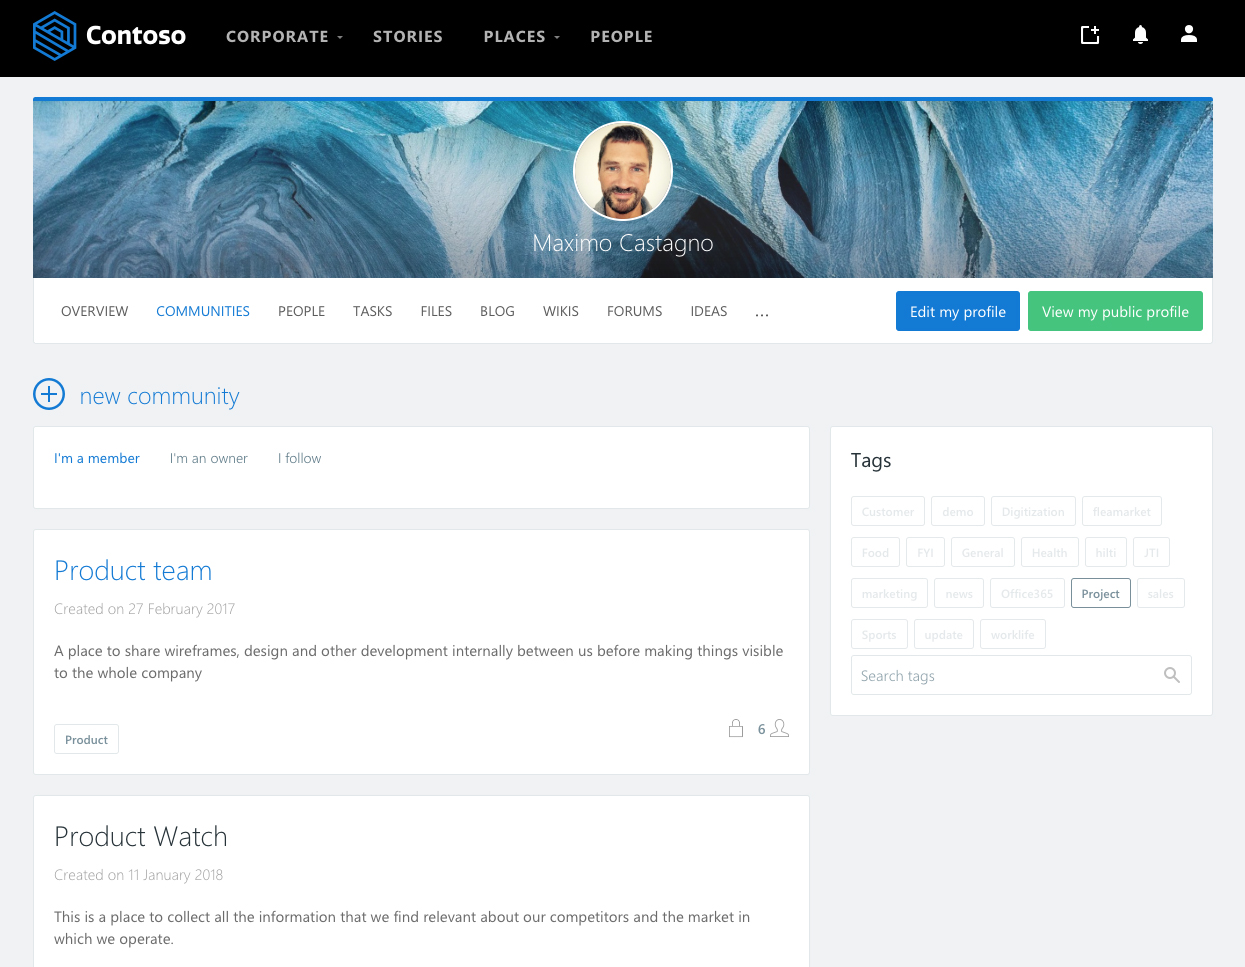
Another way to create communities is from the User profile under the Communities tab.
Once you click on “Create a new community” a page with the basic settings is showed. More advance settings will be configurable once the community is created.

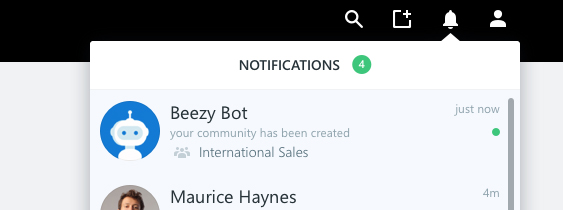
On Microsoft 365 installations, the creation of the community can take a few minutes, but meanwhile the user can already starting to set up the design, tools, etc. A notification will be sent when the community is created.

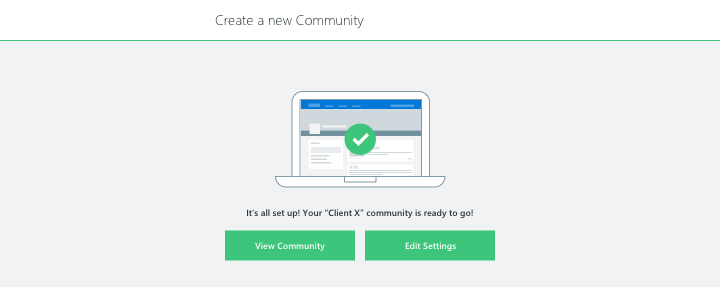
For on-Premises installation, the creation of the community takes only a few seconds and the user will land directly in the confirmation screen.
Here’s some useful information regarding the basic fields:
Title
The community title ensures that all communities will have a unique name.
Description
Users can add a short description to explain the purpose of the community.
This information is especially useful for open and moderated communities to provide other users context as to whether they should join that specific community.
If your company has enabled the community creation workflow, this field is crucial for community mangers to better understand if they should approve or decline the requested community.
Tags
Adding tags to a community will help users discover related communities that revolve around a similar topic. These tags will be visible in community listings and also in the community summary widget – allowing users to navigate to a list of all the communities that share a common tag.
Please note: These tags are not connected in any form to the tags used for content.
Was this article helpful?