This article provides instructions to configure and register Universal Windows Platform (UWP) based devices with Appspace App.
What’s in this article:
Prerequisites
- The device must meet the manufacturer’s minimum hardware and technical specifications. Please refer to Supported Devices & Operating Systems. WarningIt is highly advisable for you to ensure any chosen device will fit seamlessly into your environment, and meet the needs of your specific use case. Please test your UWP devices with the Appspace App before you choose to deploy to your production environment. Do contact us for any questions and we’ll be happy to make some introductions.
- We recommend using Windows 10 version 1909 or higher.WarningIf the same Windows image is being deployed to multiple devices, it is best to install Appspace App after the image has been deployed.
Deploying an image with Appspace App installed will cause conflicts, and registrations issues.
ImportantWe recommend that customers install the UWP WebView2 runtime as a prerequisite to use the UWP app. - An active Appspace account, with sufficient device licenses to register the device.
- Account Owner or Location Admin user roles with sufficient platform licenses.
- An active Internet connection.
- A USB keyboard for activation.
- It is recommended that the device clock is set to automatically retrieve time from a Network Time Protocol (NTP) server, with the correct time zone, in order for it to sync correctly with the Appspace server.Note
- Appspace cloud servers by default retrieve time from a NTP server. If an Appspace on-premises server is used, ensure the server time is automatically retrieved by a NTP server.
-
Appspace has updated the timezone configurations, which now includes timezones other than GMT. This enables users with daylight savings to adjust the time accordingly.
For more information, please refer to the Appspace 7.1-ac.8 Release Notes
- Please ensure your network is configured to allow Appspace Approved URLs and the relevant network ports.On your proxy server, ensure our approved URLs are listed in the ‘How to set up networks with SSL content filters’ section in the following article: https://support.google.com/chrome/a/answer/3504942#sslinspection.
Client System Requirements
The table below lists the minimum system requirements of the desktop PC or notebook to run Appspace App.
| Microsoft Surface Pro 4 | ||
|---|---|---|
| Hardware | CPU | 6th Generation Intel i5 2.6 GHz processor |
| RAM | 4GB DDR3 memory | |
| GPU | Intel HD Graphics 520 | |
| HDD | 128GB SSD | |
| Software | OS | Windows 10 Pro, Enterprise, or Education |
| Desktop PC or Notebook | ||
|---|---|---|
| Hardware | CPU | 6th Generation Intel i7 3.4 GHz processor (or AMD equivalent) |
| RAM | 8GB DDR3 memory | |
| GPU | Integrated Intel HD Graphics 530 (or equivalent) | |
| HDD | 128GB, 7200 RPM | |
| Software | OS | Windows 10 Pro, Enterprise, or Education |
Install Appspace App
Follow the instructions below to download and install the Appspace App.
- Launch the Windows Store from your device, and search for Appspace App.
- Select the Appspace App, and click the Get button.
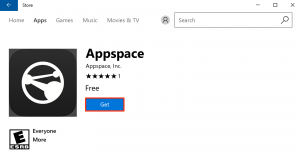
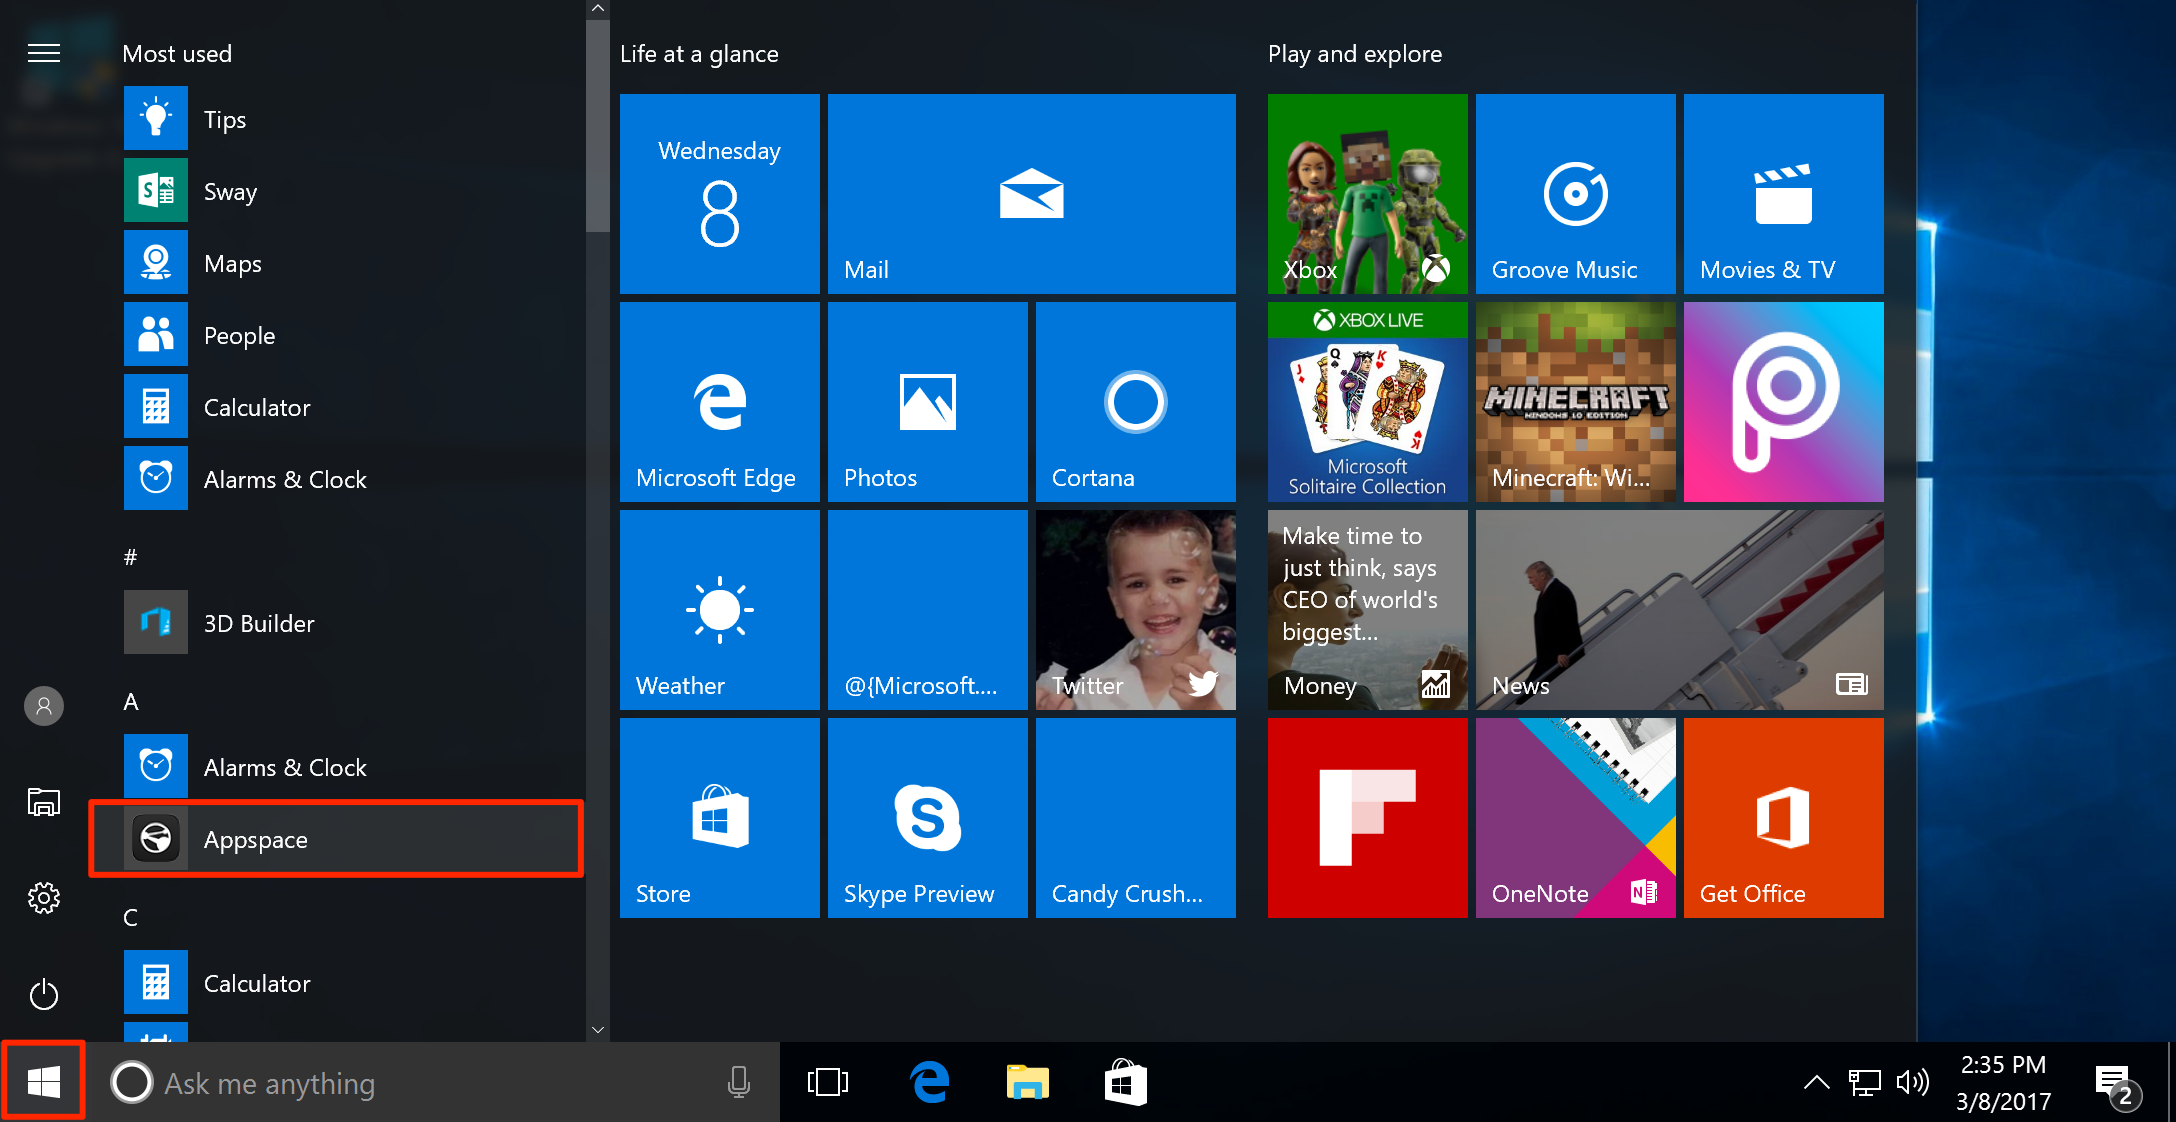
- Once installed, the Appspace App is visible in Windows.

- You can launch the Appspace App in the following modes:
- Desktop Mode
- Click the Appspace App icon to launch the app.
- Tablet Mode
- Configure the UWP device to run in Tablet mode by following the instructions in the Use your PC like a tablet article: https://support.microsoft.com/en-us/help/17210/windows-10-use-your-pc-like-a-tablet
- Once in tablet mode, click on the Appspace App icon to launch the app.
- Desktop Mode
-
Once Appspace App is launched, register your device.

Install Appspace App for Kiosk Mode
Follow the instructions below to download and install the Appspace App for Kiosk mode:
We recommend creating one account in the UWP device that will be used specifically for the Kiosk mode configuration. We will call this the Kiosk account.
- To create the Kiosk account, follow the instructions in the Create a local user or administrator account in Windows 10 article: https://support.microsoft.com/en-my/help/4026923/windows-10-create-a-local-user-or-administrator-account
- Log out, and log in to the UWP device using the Kiosk account credentials.
- Launch the Windows Store from your device, and search for Appspace App.
- Select the Appspace App, and click the Get button.
- Once installed, the Appspace App is visible in Windows.
- Log out, and log in to the UWP device using the UWP Administrator credentials.
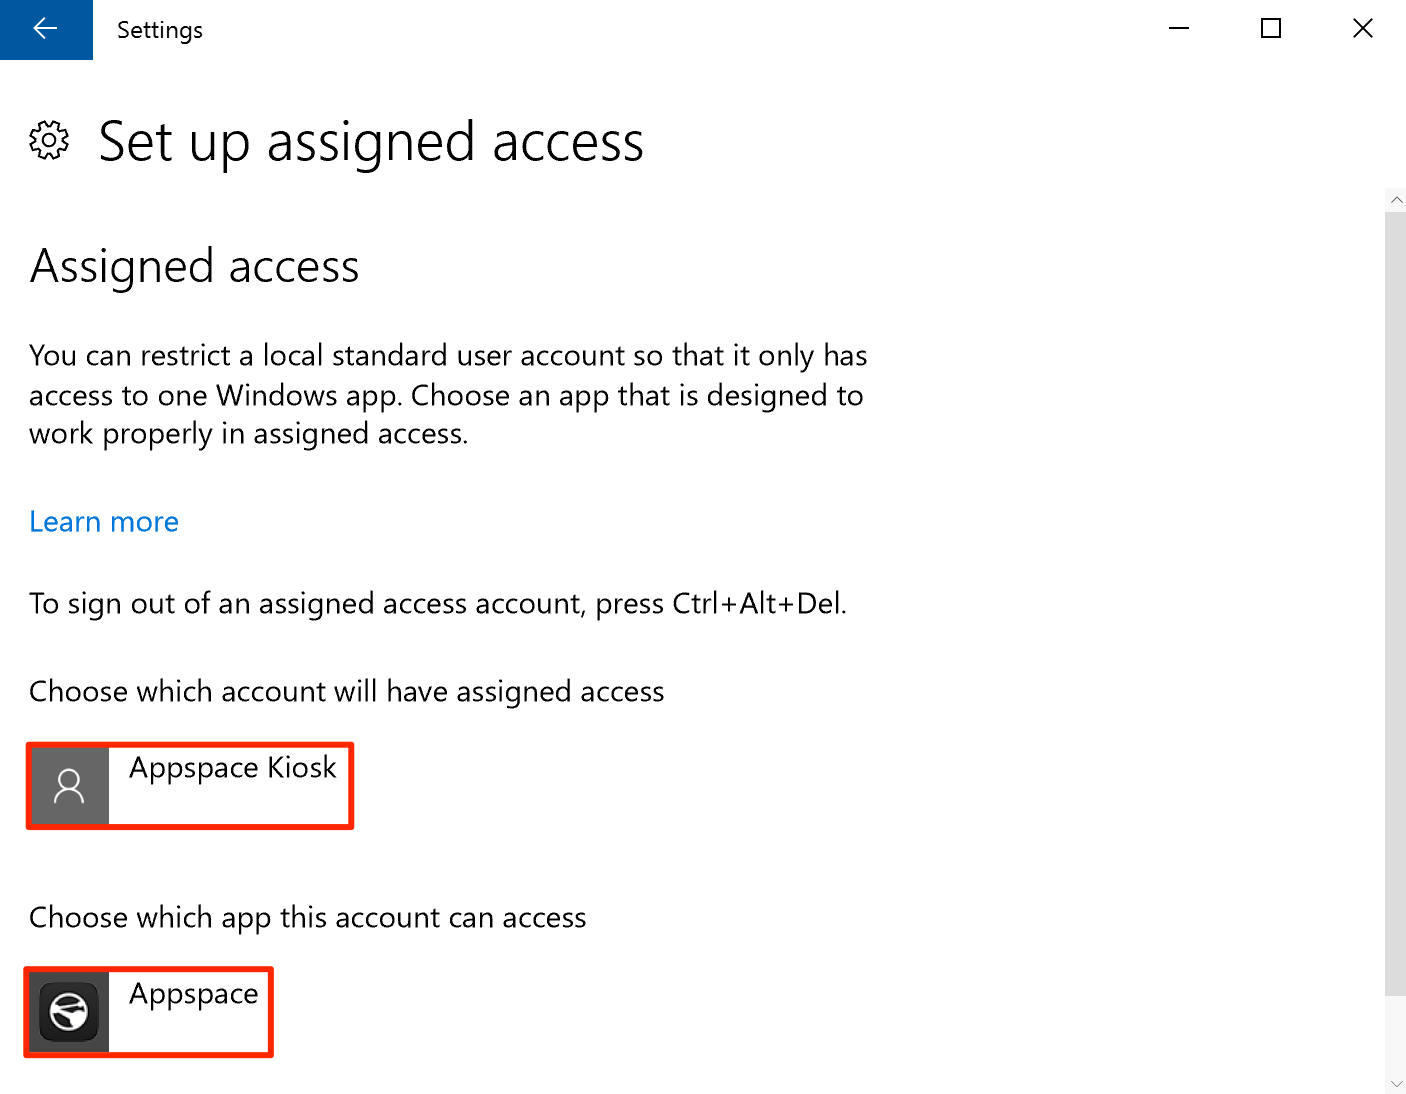
- Configure the UWP device to run in Kiosk mode by following the instructions in the Set up a Kiosk on Windows 10 Pro, Enterprise, or Education article: https://technet.microsoft.com/en-us/itpro/windows/manage/set-up-a-kiosk-for-windows-10-for-desktop-editions NoteSelect the kiosk account, and Appspace App when selecting an account and app for Assigned access.

- Once the kiosk configuration is complete, log out and login using the Kiosk account credentials. The Appspace App will launch automatically. NoteTo access the Device menu in Kiosk mode, press Alt + Tab, or touch the screen first to ensure the Appspace App is active. Next press Ctrl + Alt + M to bring up the Device menu.
- Once Appspace App is launched, register your device.
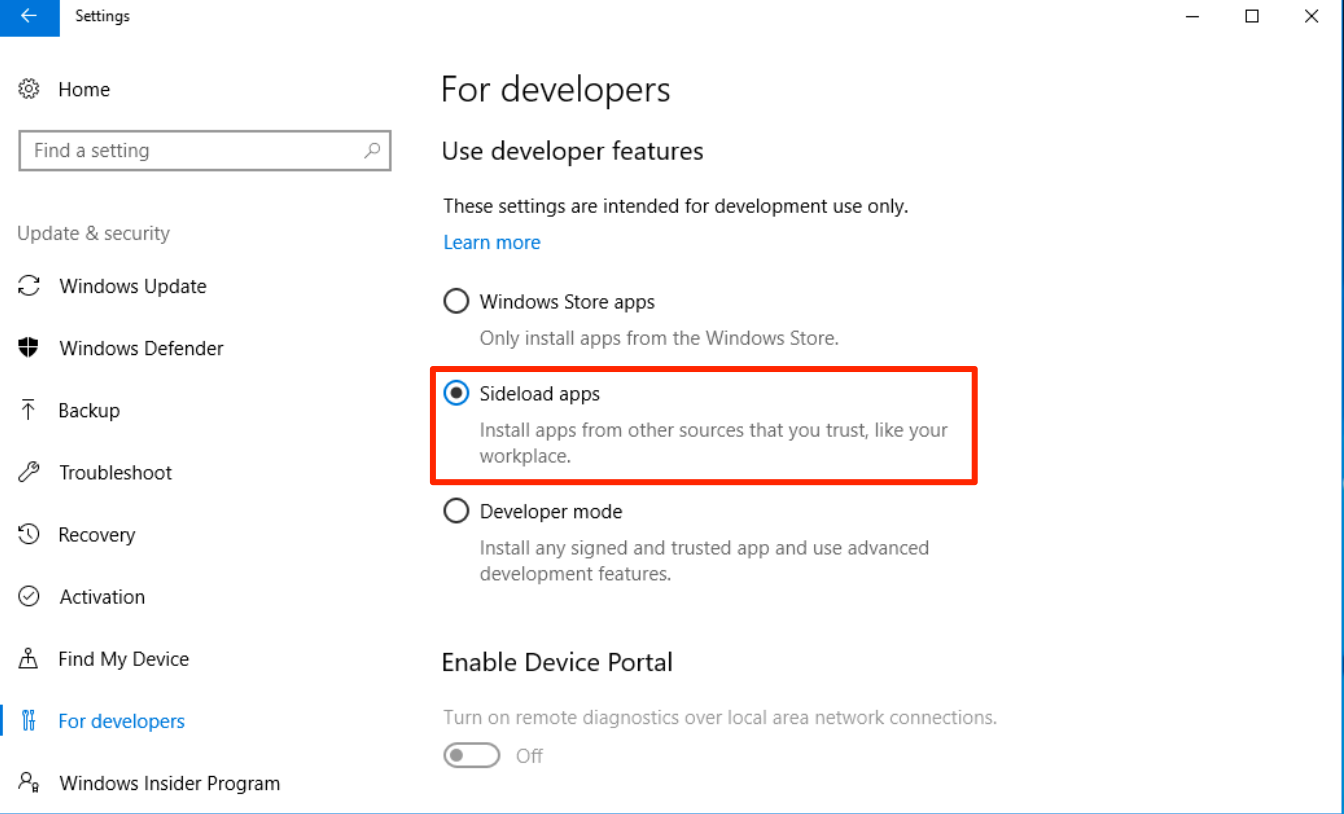
Install Appspace App via Sideload Apps
- The Sideload app developer option must be enabled.
- The App Installer from Windows Store must be installed.
Follow the instructions below to download, and install the Appspace App.
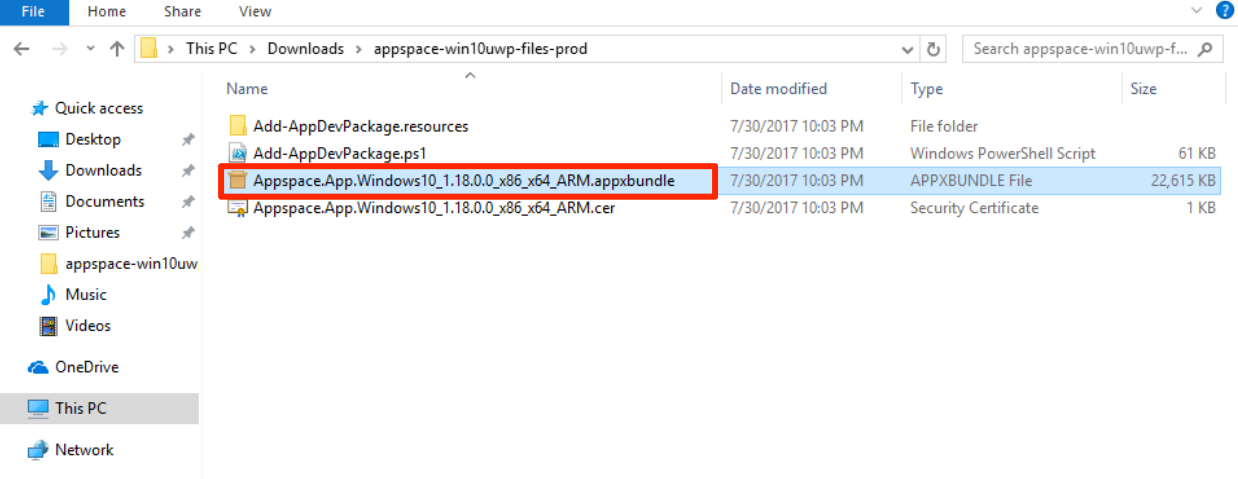
- Navigate to Devices > Settings > App Downloads tab, and download the Appspace App for UWP client (win10uwp-files-prod.zip) to your device.
- Once downloaded, extract the win10uwp-files-prod.zip file.
- Double-click the Appspace.App.Windows10_1.18.0.0_x86_x64_ARM.appxbundle file, and click Install.
- Once installation is complete, launch Appspace App via the Windows menu.
- Register your device.
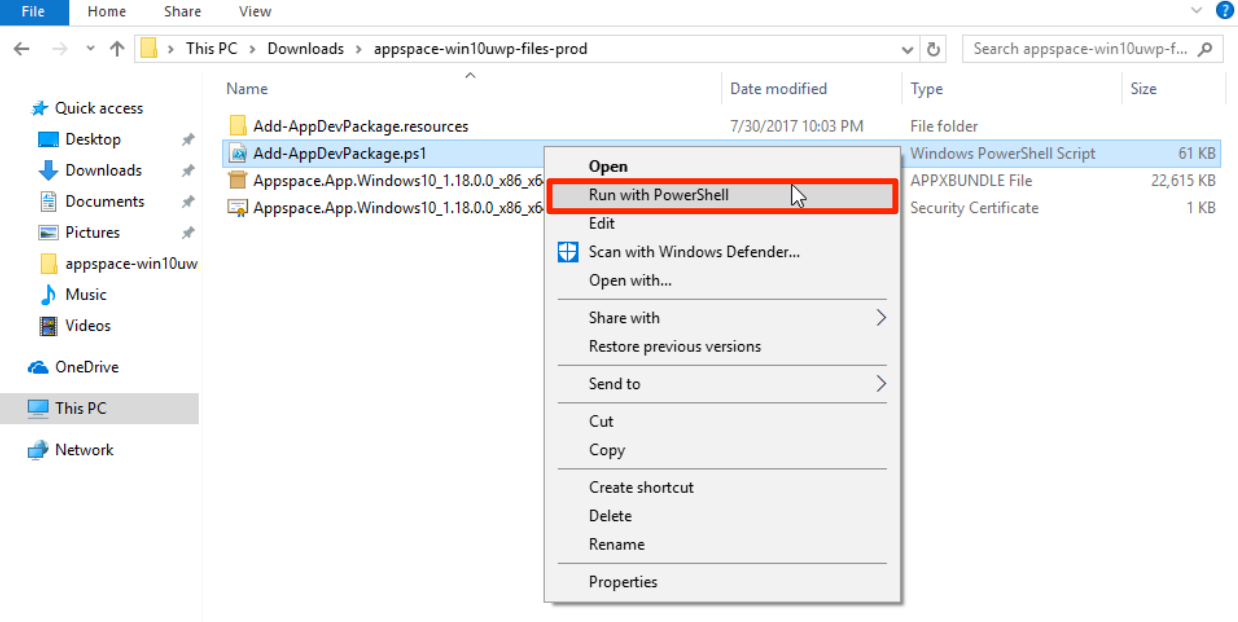
Install Appspace App via Windows PowerShell
Follow the instructions below to download, and install the Appspace App.
- Navigate to Devices > Settings > App Downloads tab, and download the Appspace App for UWP client (win10uwp-files-prod.zip) to your device.
- Once downloaded, extract the win10uwp-files-prod.zip file.
- Right-click the Add-AppDevPackage.ps1 file, and select Run with PowerShell.
- Once installation is complete, switch back to Sideload apps mode.
- Launch Appspace App via the Windows menu.
- Register your device.
Known Issues
Unable to register
If the Appspace App is unable to register your desktop PC or notebook, your firewall may be blocking outbound connections of the Appspace App.
Follow the instructions below to configure the firewall and re-register your computer:
- Launch the Windows Firewall from the Windows Control Panel.
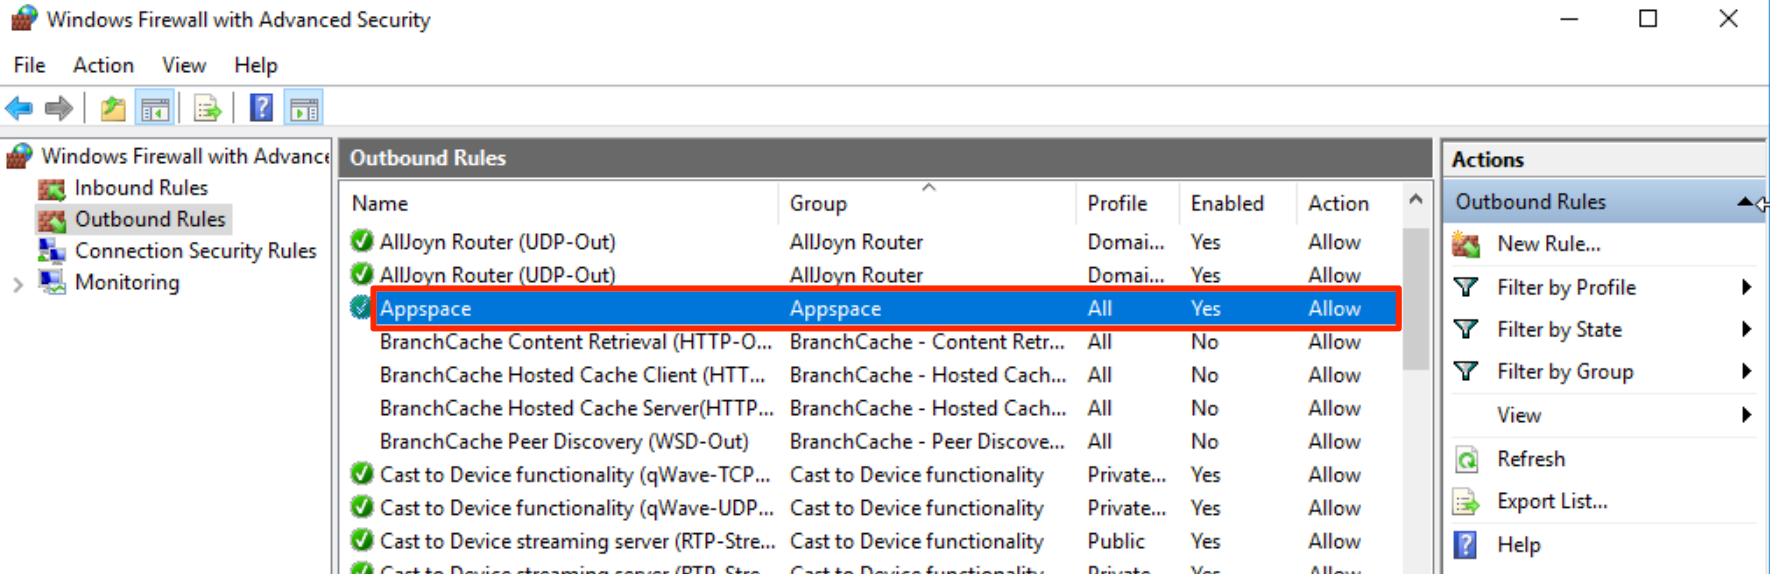
- Click Advanced Settings.
- Select Outbound Rules on the left. You should be able to see a list of installed Windows Apps.
- Right-click Appspace from the list and select Properties.
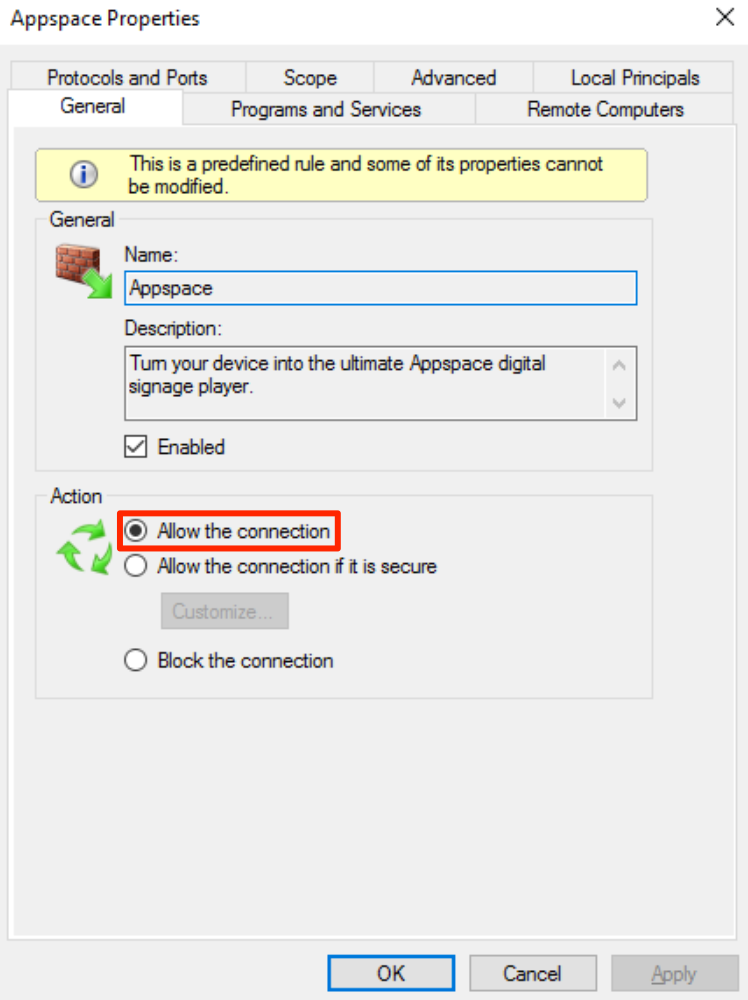
- In the Appspace Properties window, select the General tab.
- Select Allow the connection in the Action section, and click OK.
- Launch Appspace App.
- Register your device.
Update Appspace App
Appspace App is automatically updated by default on Universal Windows Platform devices. However, if the app does not update, please follow the instructions to enable automatic updates in the following Turn on automatic app updates article: https://support.microsoft.com/en-us/help/15081/windows-turn-on-automatic-app-updates
Uninstall Appspace App
To uninstall Appspace App from a device, follow the instructions in the following Repair or remove programs article: https://support.microsoft.com/en-us/windows/uninstall-or-remove-apps-and-programs-in-windows-4b55f974-2cc6-2d2b-d092-5905080eaf98
Was this article helpful?