This article provides the instructions to register devices with serial numbers, an advanced device registration method ideal for bulk-registering devices in your local network. However, this method is only limited to devices that embed serial numbers to the device fingerprint.
This method supports pre-provisioning devices offline using serial numbers, MAC addresses, or device identities (which may be unique IDs) allowing users to register devices even before receiving them. The device will be automatically registered once the device is connected (online) to the network.
Administrators may bulk-register multiple devices offline to the same account instance during the device registration process, using one of these methods:
- adding one or more serial numbers, MAC addresses, or device identities (which may be unique IDs) directly in the Serial / Mac / Vendor ID(s) field. This is ideal for a few devices.
- uploading a .xlsx file, ideal for registering a very large number of devices. Appspace includes a downloadable .xlxs file template with the required columns included. You just have to download the file, populate it, and upload in the same device registration window.
Prerequisites
- An Appspace App supported device installed and configured with the Appspace App, as follows:
- Supported devices for Serial Numbers
- BrightSign
- ChromeOS (CDM managed)
- LG webOS
- Logitech
- MacOS
- iOS via MDM
- Neat
- Poly
- QBic
- Samsung Tizen
- Supported devices for MAC Addresses
- BrightSign
- Crestron (Desk Puck / TSS / TSW / AM3K)
- Logitech
- MacOS
- Microsoft Windows
ImportantThis advance registration feature is not supported on Universal Windows Platform (UWP) apps. - Ubuntu Linux
- Neat
- Supported devices for Vendor IDs (Appspace App 2.22 and later):
- Cisco Webex Board
- Google Meet
- Supported devices for Serial Numbers
- An active Appspace account, with sufficient Device IDs to register the device.
- Account Owner or Network Administrator privileges in Appspace.
- Ensure the device has an embedded serial number to the device fingerprint.
- Ensure the device is switched ON, and connected to an active Internet connection.
Register Device(s)
Follow the instructions below to register one or more devices by directly adding the serial numbers, MAC addresses, or device identities (which may be unique IDs) in the Appspace Device Registration window.
- Log in to the Appspace console.
- Launch the device registration page via one of the following methods:
- Click the Quick Actions menu and select Register a Device.
- Go to the Device Registration widget on the Dashboard.
- Click the ☰ Appspace menu, select Devices, and click the Add button in the Devices tab.
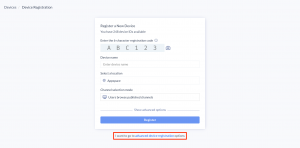
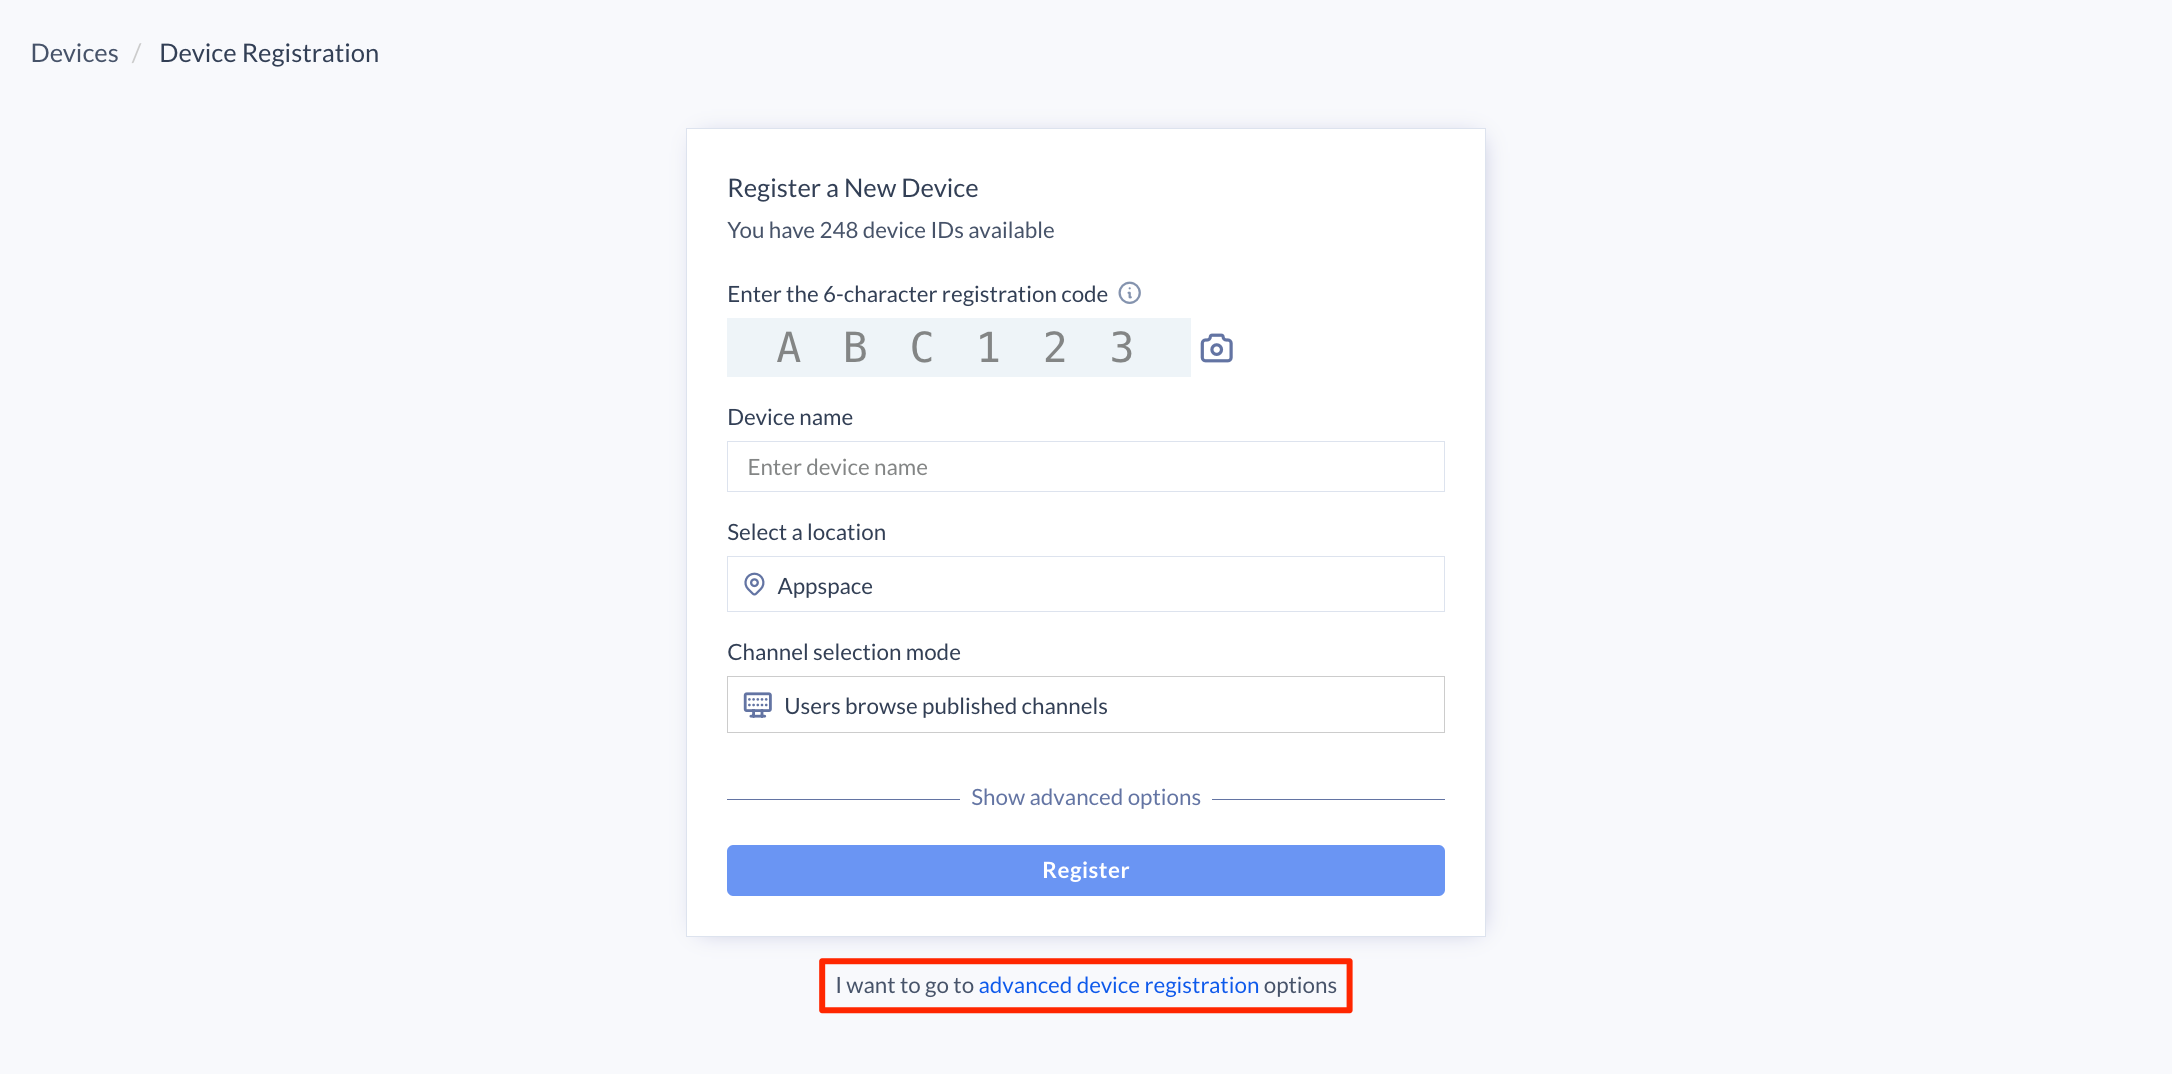
- In the Register a New Device window, click the advanced device registration link.
- In the Configure Advanced Registration window, select Register with Serial Number(s) for the Deployment method drop-down menu.

- In the Serial / Mac / Vendor ID(s) section, enter the serial number, MAC address, or device vendor ID(s) to be registered.
NoteMultiple serial numbers, mac addresses, or device vendor IDs from different manufacturers may be added together.
- Proceed to Select a location. If a location has not been created, you may skip this step and assign a location later.
- In the Channel selection mode field, select one of these playback options and assign a channel (if already created):
- Users can browse published channels – this is the interactive mode or channel browsing mode, ideal for TVs or displays with touch-screen, or with a mouse/keyboard attached.
- Channels will autoplay sequentially – this option is currently available only for playlist channels. Channels with autoplay based on the playlist sequence or any scheduling or dayparting settings configured.
- Administrators can select a single channel – ideal for signage, you may select either a playlist channel, an advanced channel or a live channel. However, to select a channel here, the channel must already be created prior to this registration. If the channel has not been created, you may skip this step and assign a channel later.
- Click the Save button.
- Back in the Register a New Device window, click Show advanced options and enter:
- Device description – type a brief description for the device such as its location or its function.
- Device group – select an existing device group. Skip this step if there is no device group created. You may assign a device group later.
- Device tag – select from existing tags or type in new tags.
- Click the Register button to register the device to the Appspace console.
- Once registration and content syncing is complete, you can view your published channel(s) on the TV, tablet, or on a kiosk.

Register Devices via XLSX File
Bulk-register devices by importing a .xlsx spreadsheet containing the following device registration information in the columns and order below:
- Serial # (unique ID)
- Device Name
- Location
- Channel
- Device Group
- Tags
You may also download an Appspace template from the registration window (step 5).
Follow the instructions below to register devices.
- Log in to the Appspace console.
- Launch the device registration page via one of the following methods:
- Click the Quick Actions menu and select Register a Device.
- Go to the Device Registration widget on the Dashboard.
- Click the ☰ Appspace menu, select Devices, and click the Add button in the Devices tab.
- In the Register a New Device window, click the advanced device registration link.
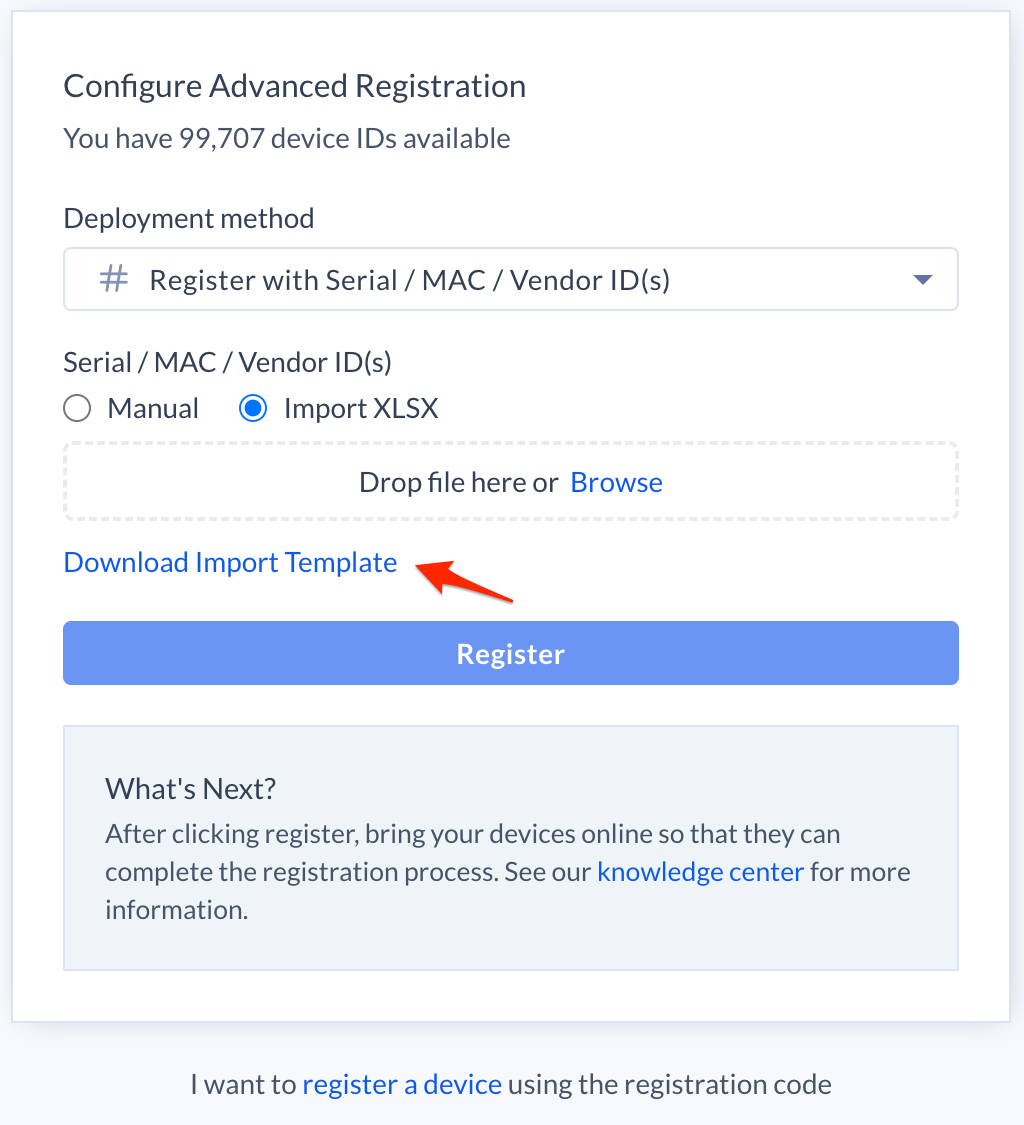
- In the Configure Advanced Registration window, select Register with Serial Number(s) for the Deployment method drop-down menu.
- In the Serial / Mac / Vendor ID(s) section, select Import XLSX, and import an .xlsx speadsheet, or click the Browse link to select the .xlsx speadsheet from your computer.
Please ensure the .xlsx spreadsheet contains the device details in the following column order and format:NoteYou may download a sample import template, by clicking the Download Import Template link, which will download an .xlsx spreadsheet to your computer, with the predefined columns.
- Serial # (unique ID) – Enter the device serial number.
- Device Name – Enter the device name.
- Location – Enter the Location GUID or leave blank.
- If the Location GUID does not match an existing location, the device location will default to the user’s current location.
- If left blank, the device Location will default to the user’s current location.
- Channel – Enter the Channel GUID, channel selection mode, or leave blank.
- To configure channel playback, select the desired channel selection mode:
- “autoplay” – Channels will autoplay sequentially.
- “channelBrowsing” – Users can browse published channels.
- If the Channel GUID does not match an existing channel, the device will not be assigned a channel.
- If left blank, the device will not be assigned a channel.
- To configure channel playback, select the desired channel selection mode:
- Device Group – Enter the Device Group GUID or leave blank.
- If the Device Group GUID does not match an existing device group, the device will not be assigned a device group.
- If left blank, the device will not be assigned a device group.
- Tags – Enter the device Tags or leave blank.
- If the entered Tag does not match an existing Tag, a new device Tag will be created and assigned to the device.
- If left blank, the device will not be assigned with device tags.
- Click the Register button to begin importing the device registration details to the Appspace console for registration.
- An Import Device Preview window will be displayed to notify and confirm the device registration details, and alert of any registration information changes within the columns (highlighted in amber) that are stated differently from the .xlsx spreadsheet. For example columns that are left blank, or values that do not match that will be configured to the default values.
- Once confirmed, click Continue to begin the device registration process, and once the content syncing is complete, you may view your published channel(s) on the TV, tablet, or on a kiosk.
Technical Limitations & Workaround
- In the event the channel’s location is different from the device location, the device will be assigned to the channel’s location.
Was this article helpful?