The Appspace Visitor Management system is used to invite external users (visitors) to a meeting or event held at your company. These visitors could be an employee from another facility, division, or subsidiary within your company or other corporate entities from outside the company.
This article is for visitors who have received an invitation from the Visitor Management system. If you are an employee, you can check-in via the Appspace Employee App or if you are an external user, you can drop-in to the venue and check-in at the kiosk.
Features & Functions
The following lists the main features and functions in the Appspace Visitor Management system that are specific to visitors:
- Host & Visitor Invitation Features
- Invite visitors to a room, space, or building.
- Configurable registration workflows for admins, hosts, and visitors.
- Calendar and email reminders for all visitor registration checkpoints.
- Visitor check-in notifications to email and enterprise messaging apps. If a visitor checks in at a location other than the invitation location (e.g., a different building or campus), the notification to the host will include both the invitation location and the actual check-in location. (New)
- Visitor registration activity completion notifications.
- Manual registration of visitors for last-minute events (drop-in visitors).
- Visitor Registration & Check-in Features
- Submit registration information in advance.
- Submit a photo for visual verification in advance.
- Calendar and email reminders for the completion of registration items.
- Auto-filling of information for returning visitors.
- Option for on-site self-guided registration and check-in.
- Option to complete end-to-end registration on-site without registration.
- Notifications
- Once a visitor has completed registration details, the visitor’s event status becomes confirmed. Visitors will be notified via email.
- Hosts will be notified via email and their configured enterprise messaging app, when a visitor:
- Accepts, Declines, or responds Maybe to an invitation.
- completes registration details and is confirmed for their visit.
- checks out onsite.
- (New) Host notifications will include both the invitation location and the actual check-in location if the visitor checks in at a location other than the invitation location (e.g., a different building or campus).
Workflows
The following describes the key workflows for visitors after they receive invitations to an event:
- Registration:
- Visitors may need to complete several pre-set registration tasks prior to check-in.
- Both the event host and the visitor will have visibility of the completed registration tasks.
- Check-ins cannot be completed unless these tasks are completed.
- Check-In:
- The Visitor Kiosk card will be deployed to kiosk devices and used for self-guided visitor registration and check-in.
- Visitors need to check-in for the event on-site at the facility and complete any last-minute tasks (such as ID confirmation, badge printing, etc.) on the kiosk.
- If the visitor has not completed the Registration activities, the visitor may complete them on-site and then complete the check-in.
- A facilitator will be the initial point of contact for a visitor on-site with a complete view of all upcoming events and visitor details. Facilitators will help verify any/all Registration activities or help complete the registration and check-in processes on-site if needed.
- The host is notified upon completion of the check-in process, allowing them to come to greet the visitors.
This article provides visitors with instructions to complete registration tasks and check in to an event.
- Administrators looking for information on navigating the Visitors module in the console, refer to Browse and Navigate Visitor Management in Appspace 8.x.
- Administrators who would like to configure events, preset registration tasks, and manage visitors, refer to Configure and Manage Visitors – Administrator.
- Administrators who would like to setup the Visitor Kiosk card on a kiosk for self-check-ins, refer to Cards: Visitor Kiosk Check-Ins.
- Hosts and Facilitators looking for guidance to send and manage event invitations, refer to Manage Visitor Invitations – Hosts & Facilitators.
- Visitors looking for guidance for self check-in and registration, refer to Event Check-In and Registration – Visitors.
Complete Registration
Follow the instructions below to complete the registration process that is sent with your visitor invitation via email:
- Log in to your email account, and access the Visitor Invitation email sent by the organization.
- Click the Complete Registration button within the email, which will redirect you to the registration form on the visitor portal.
- In the Visitor Registration screen, click the Complete Registration button to enter additional information required for the invite, and click Save once done.
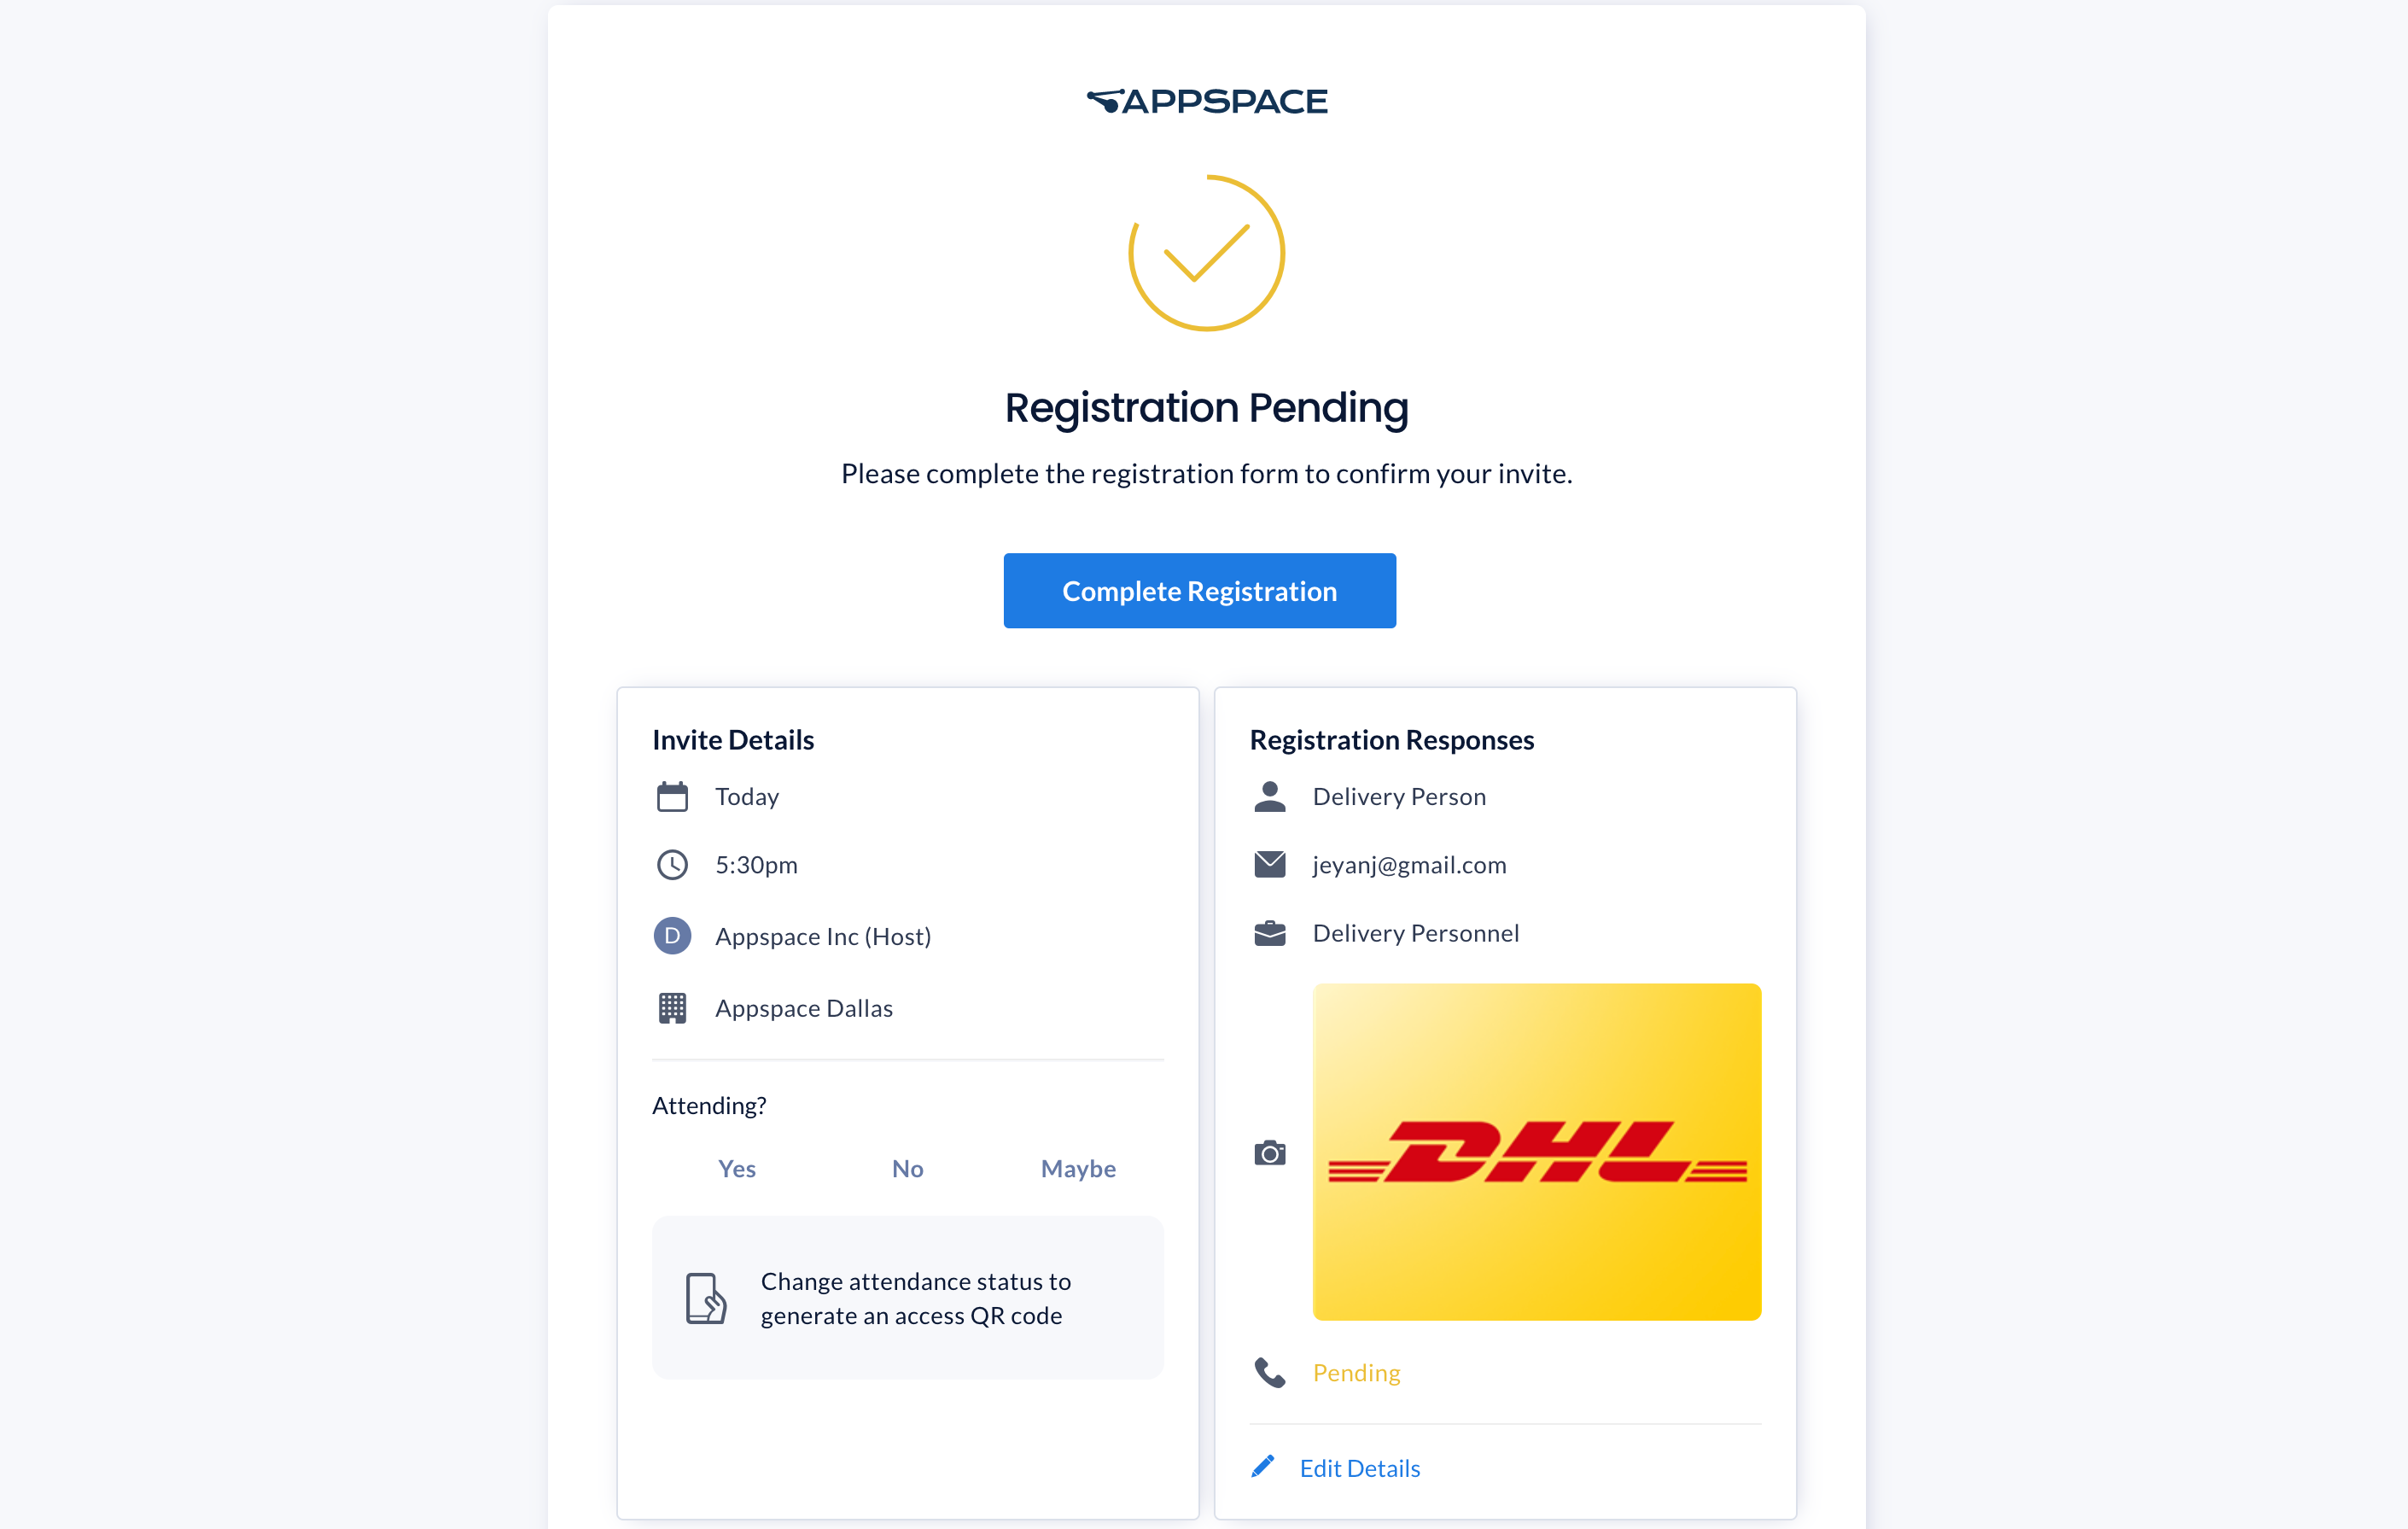
- Confirming your attendance to the invitation will generate a QR code and a 6-digit alphanumeric code, which is to be used at the visitor kiosk to verify and self-check in.
- The kiosk must have a webcam installed to scan a QR code for touchless check-ins.
- The kiosk will allow the following functionality:
- Check-in – Complete registration information if required, and then check-in, for users with an invitation.
- Check-in via Drop-In – Complete registration information if required, and then check-in, for users with an invitation, when the user does not have an invitation.
- Check-out – If the user has already checked in before.
Self Check-Ins with Invitation
Follow the instructions below to perform a self-check-in at a kiosk once you have completed the visitor registration process:
-
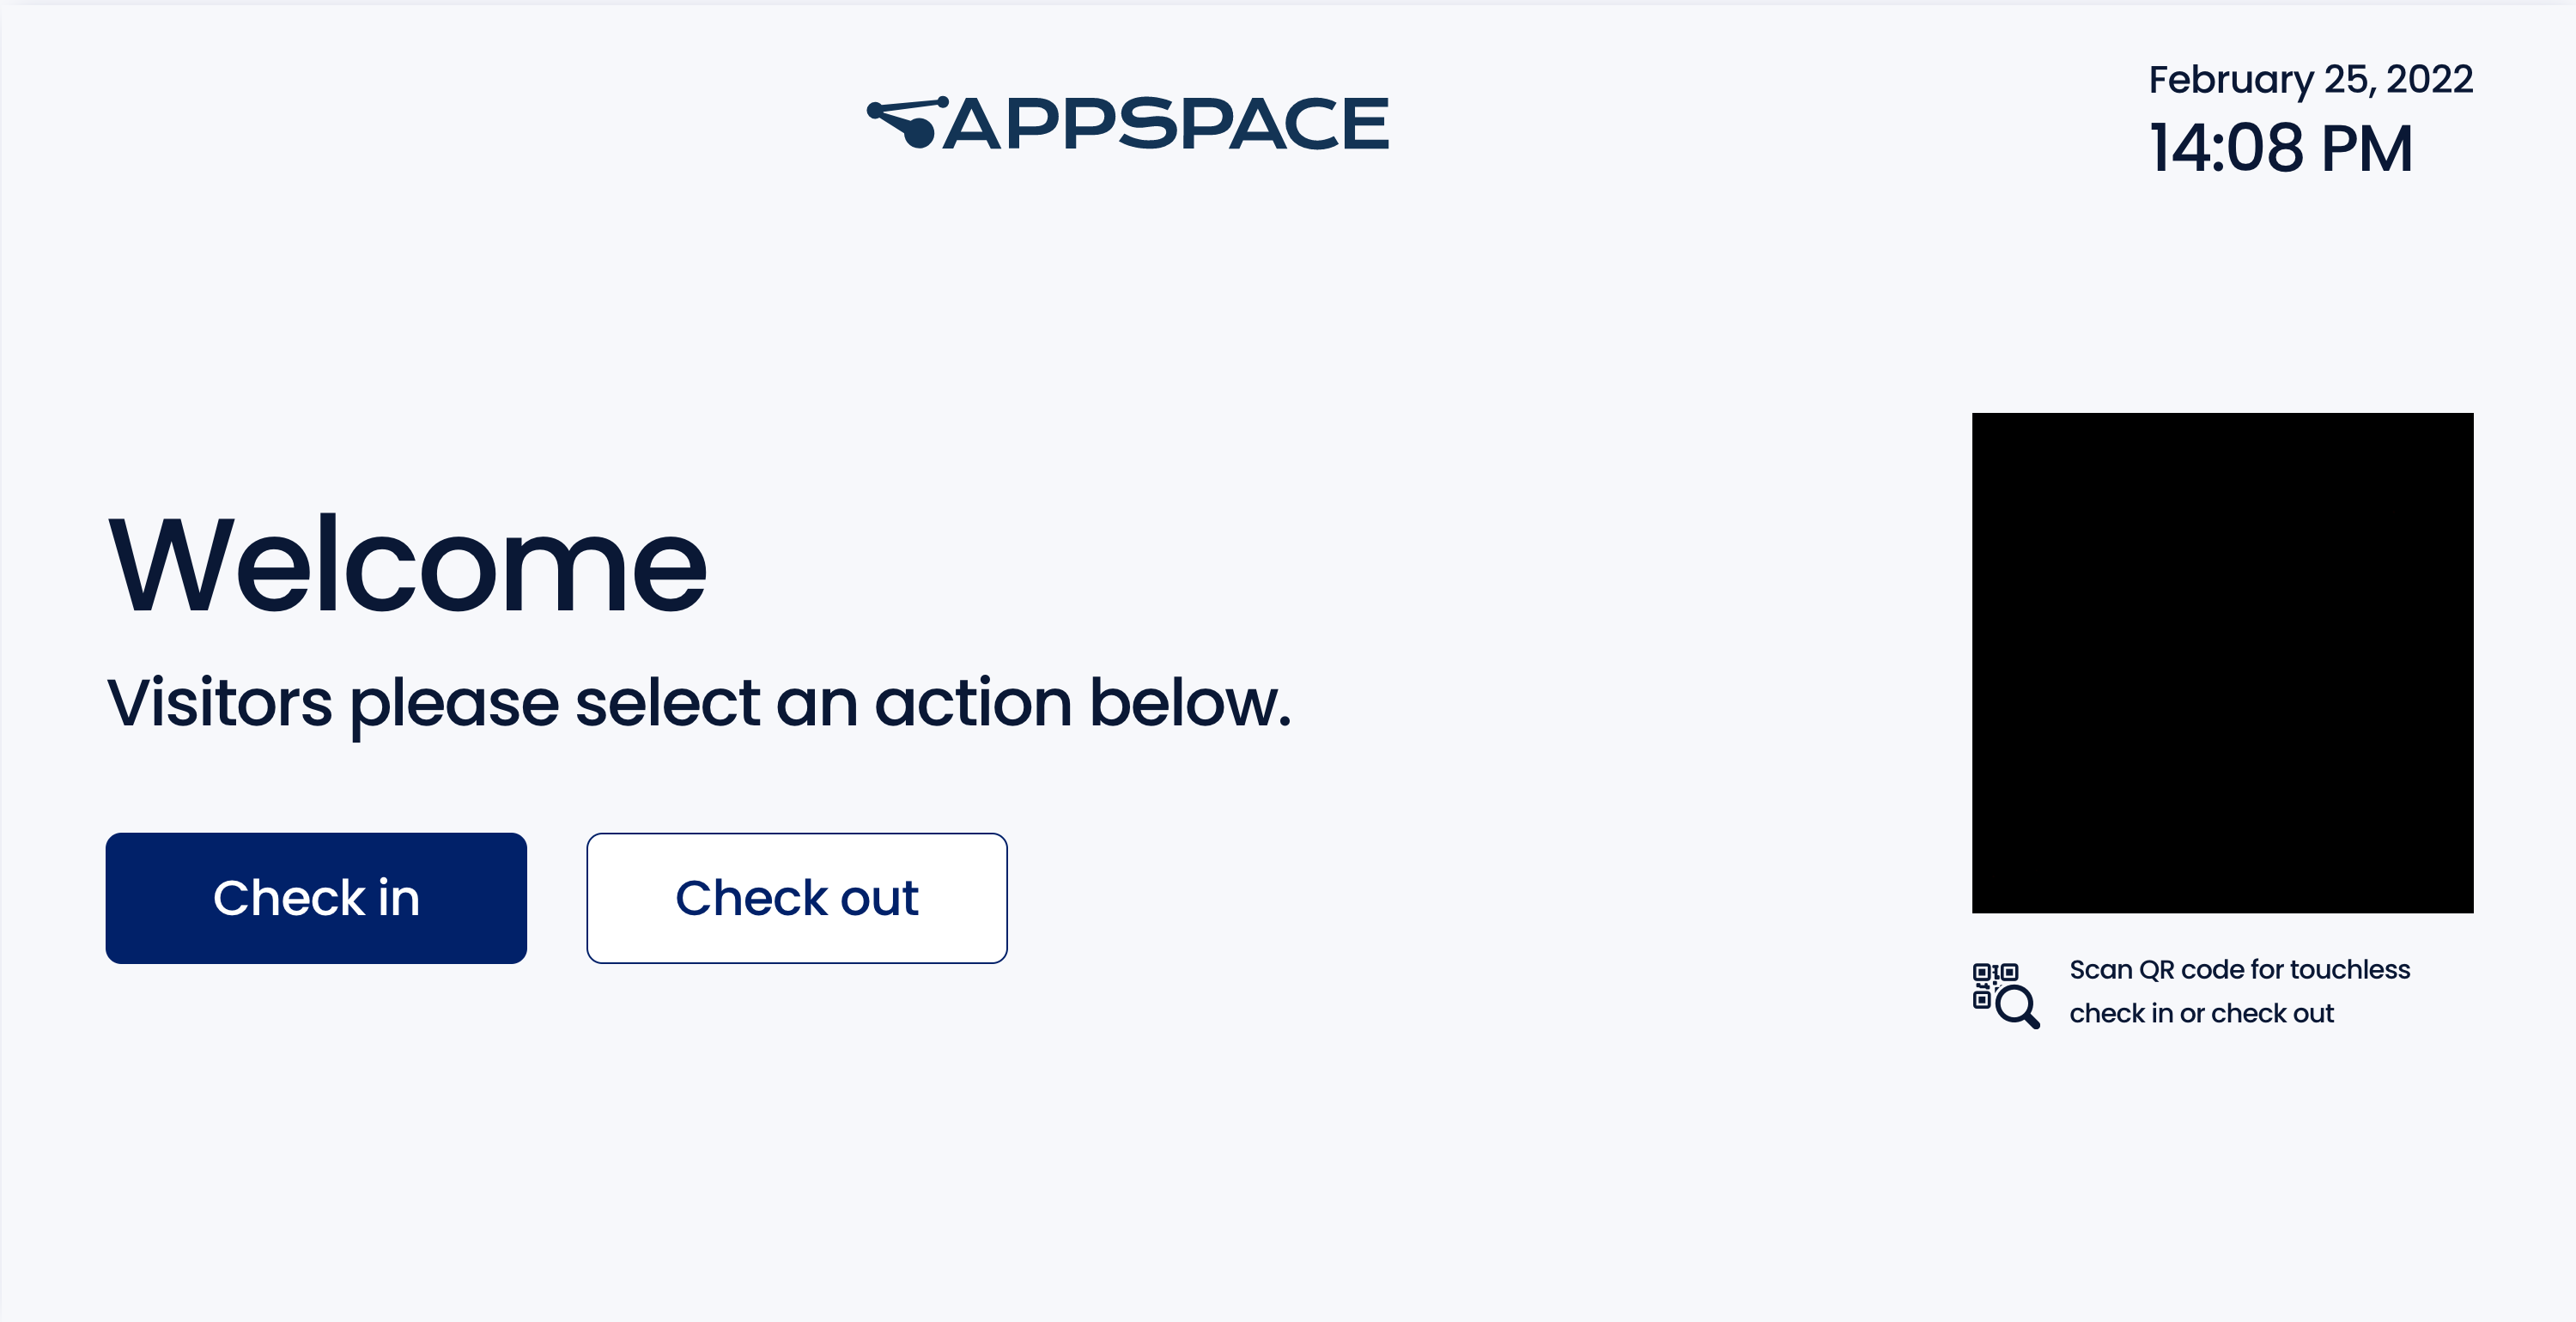
- At the Visitor Kiosk screen, click the Check in button to manually check-in, and proceed to Step 2 below. Alternatively, you may scan the QR Code provided in your visitor invitation email to perform a touchless check-in, and skip to Step 4 below.
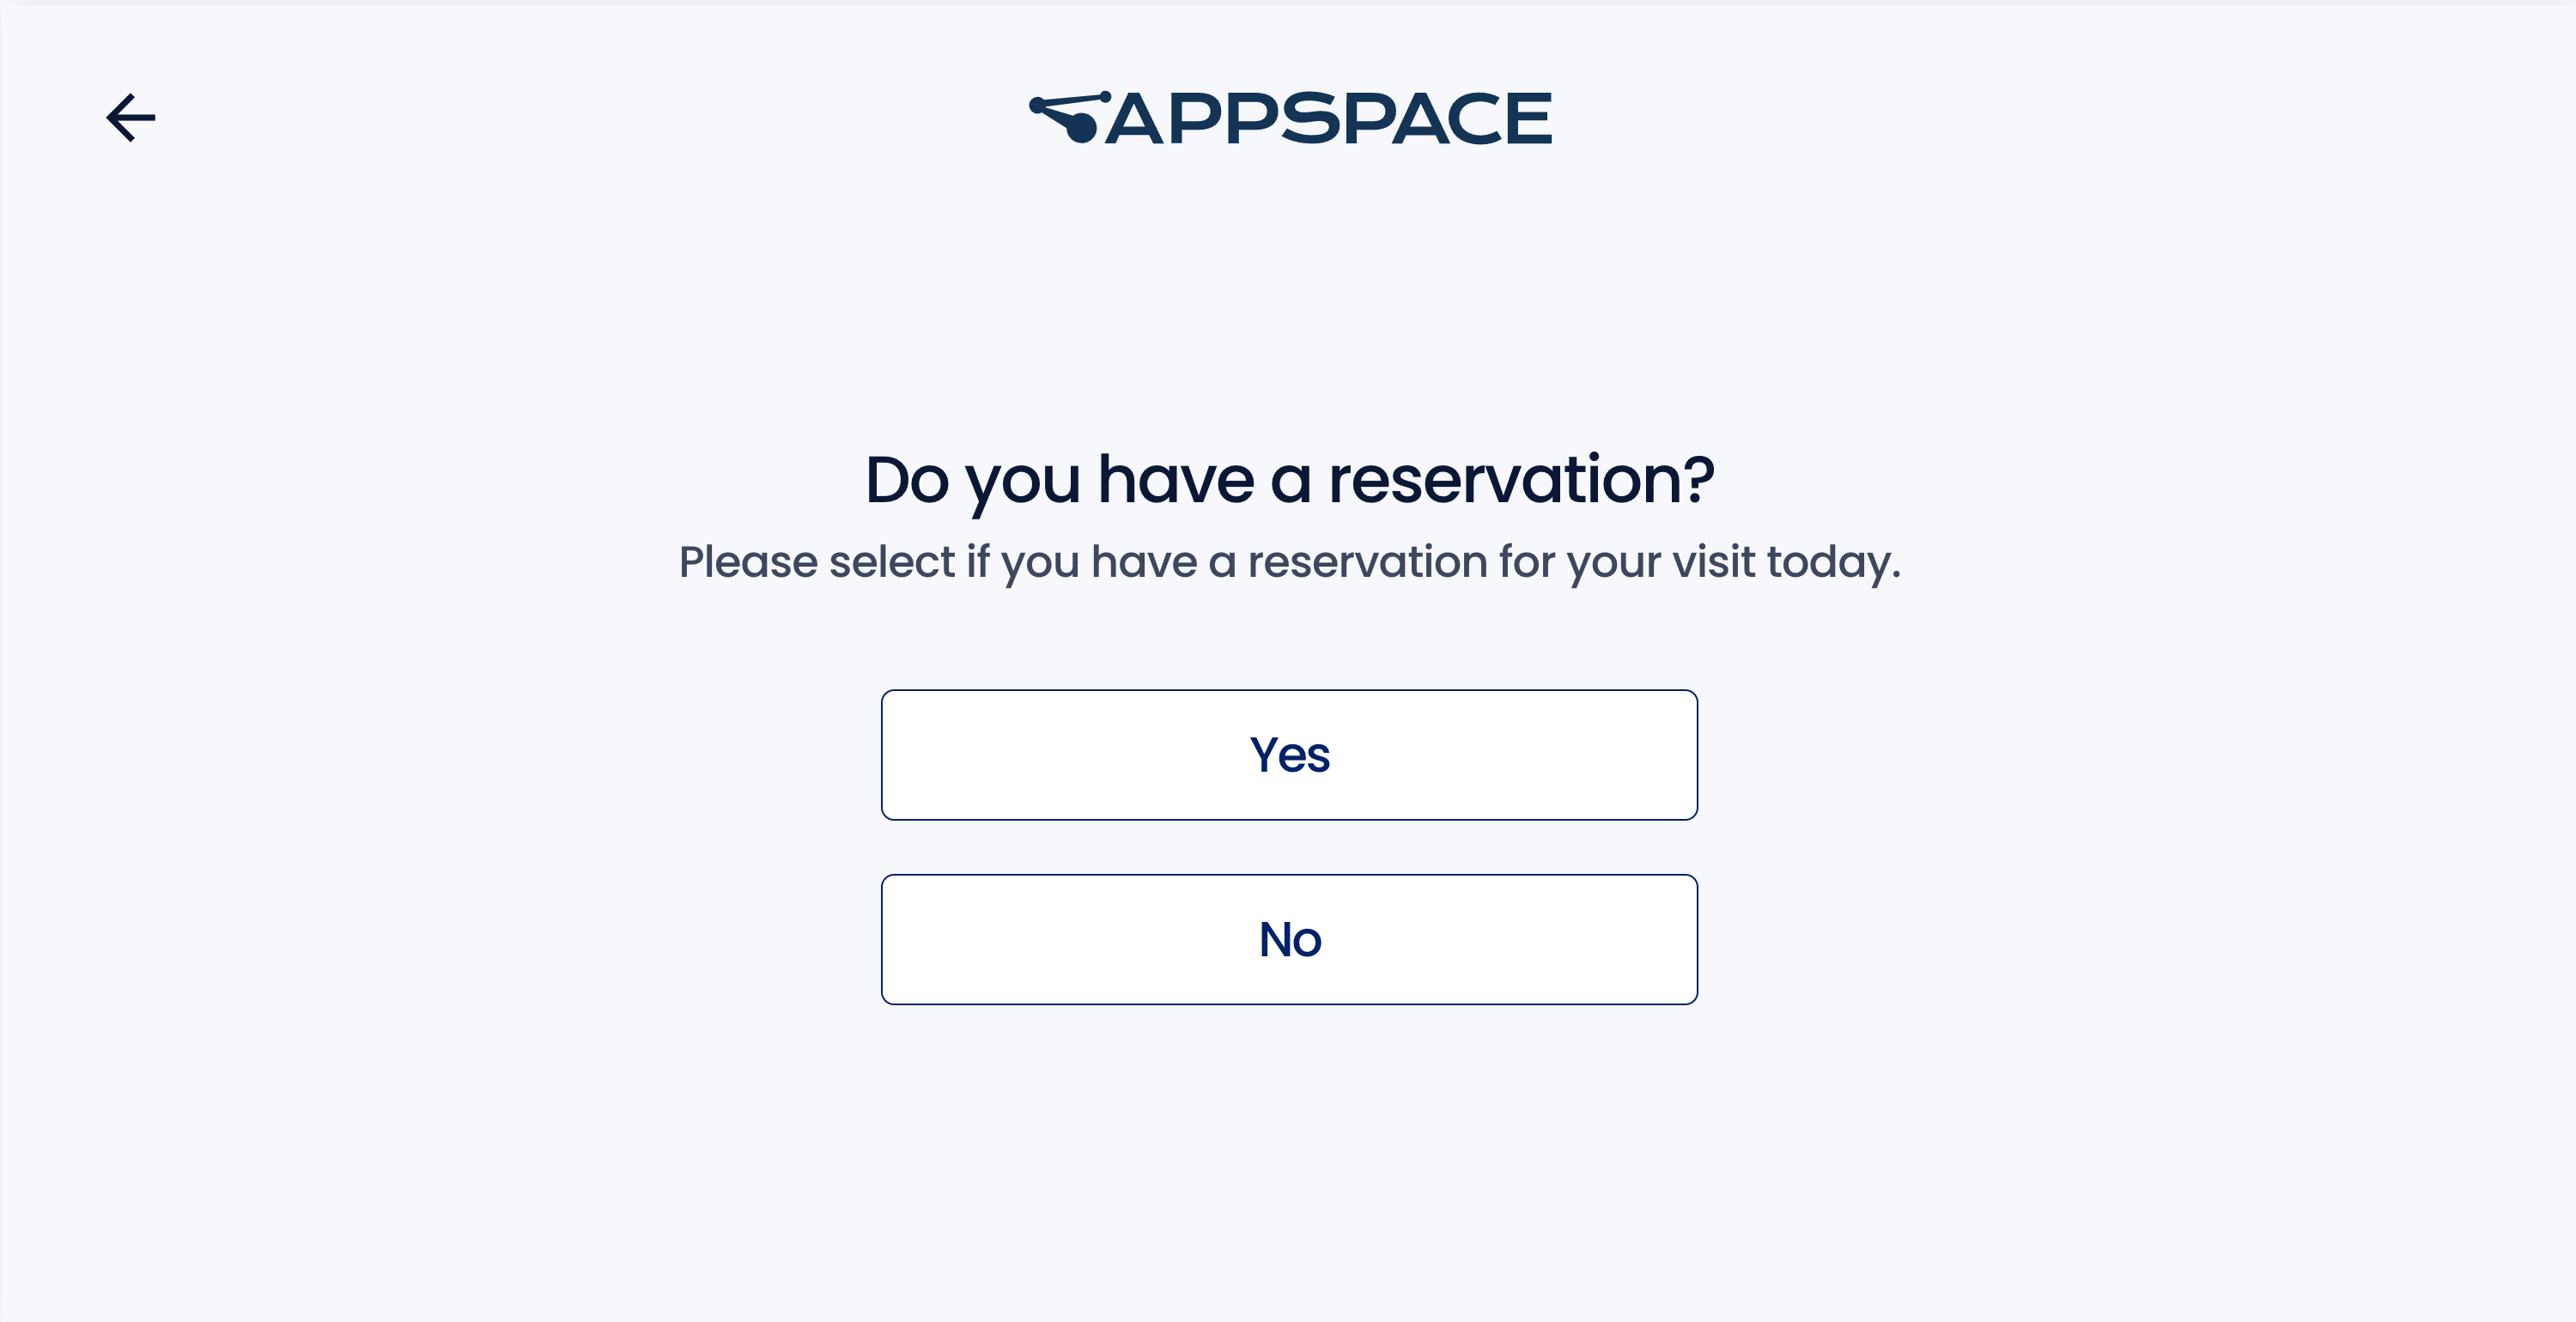
- On the next screen, confirm that you have a visitor invitation or reservation by clicking Yes. If you do not have a visitor invitation, click No and proceed to follow the instructions in the Visitor Drop-Ins section below.
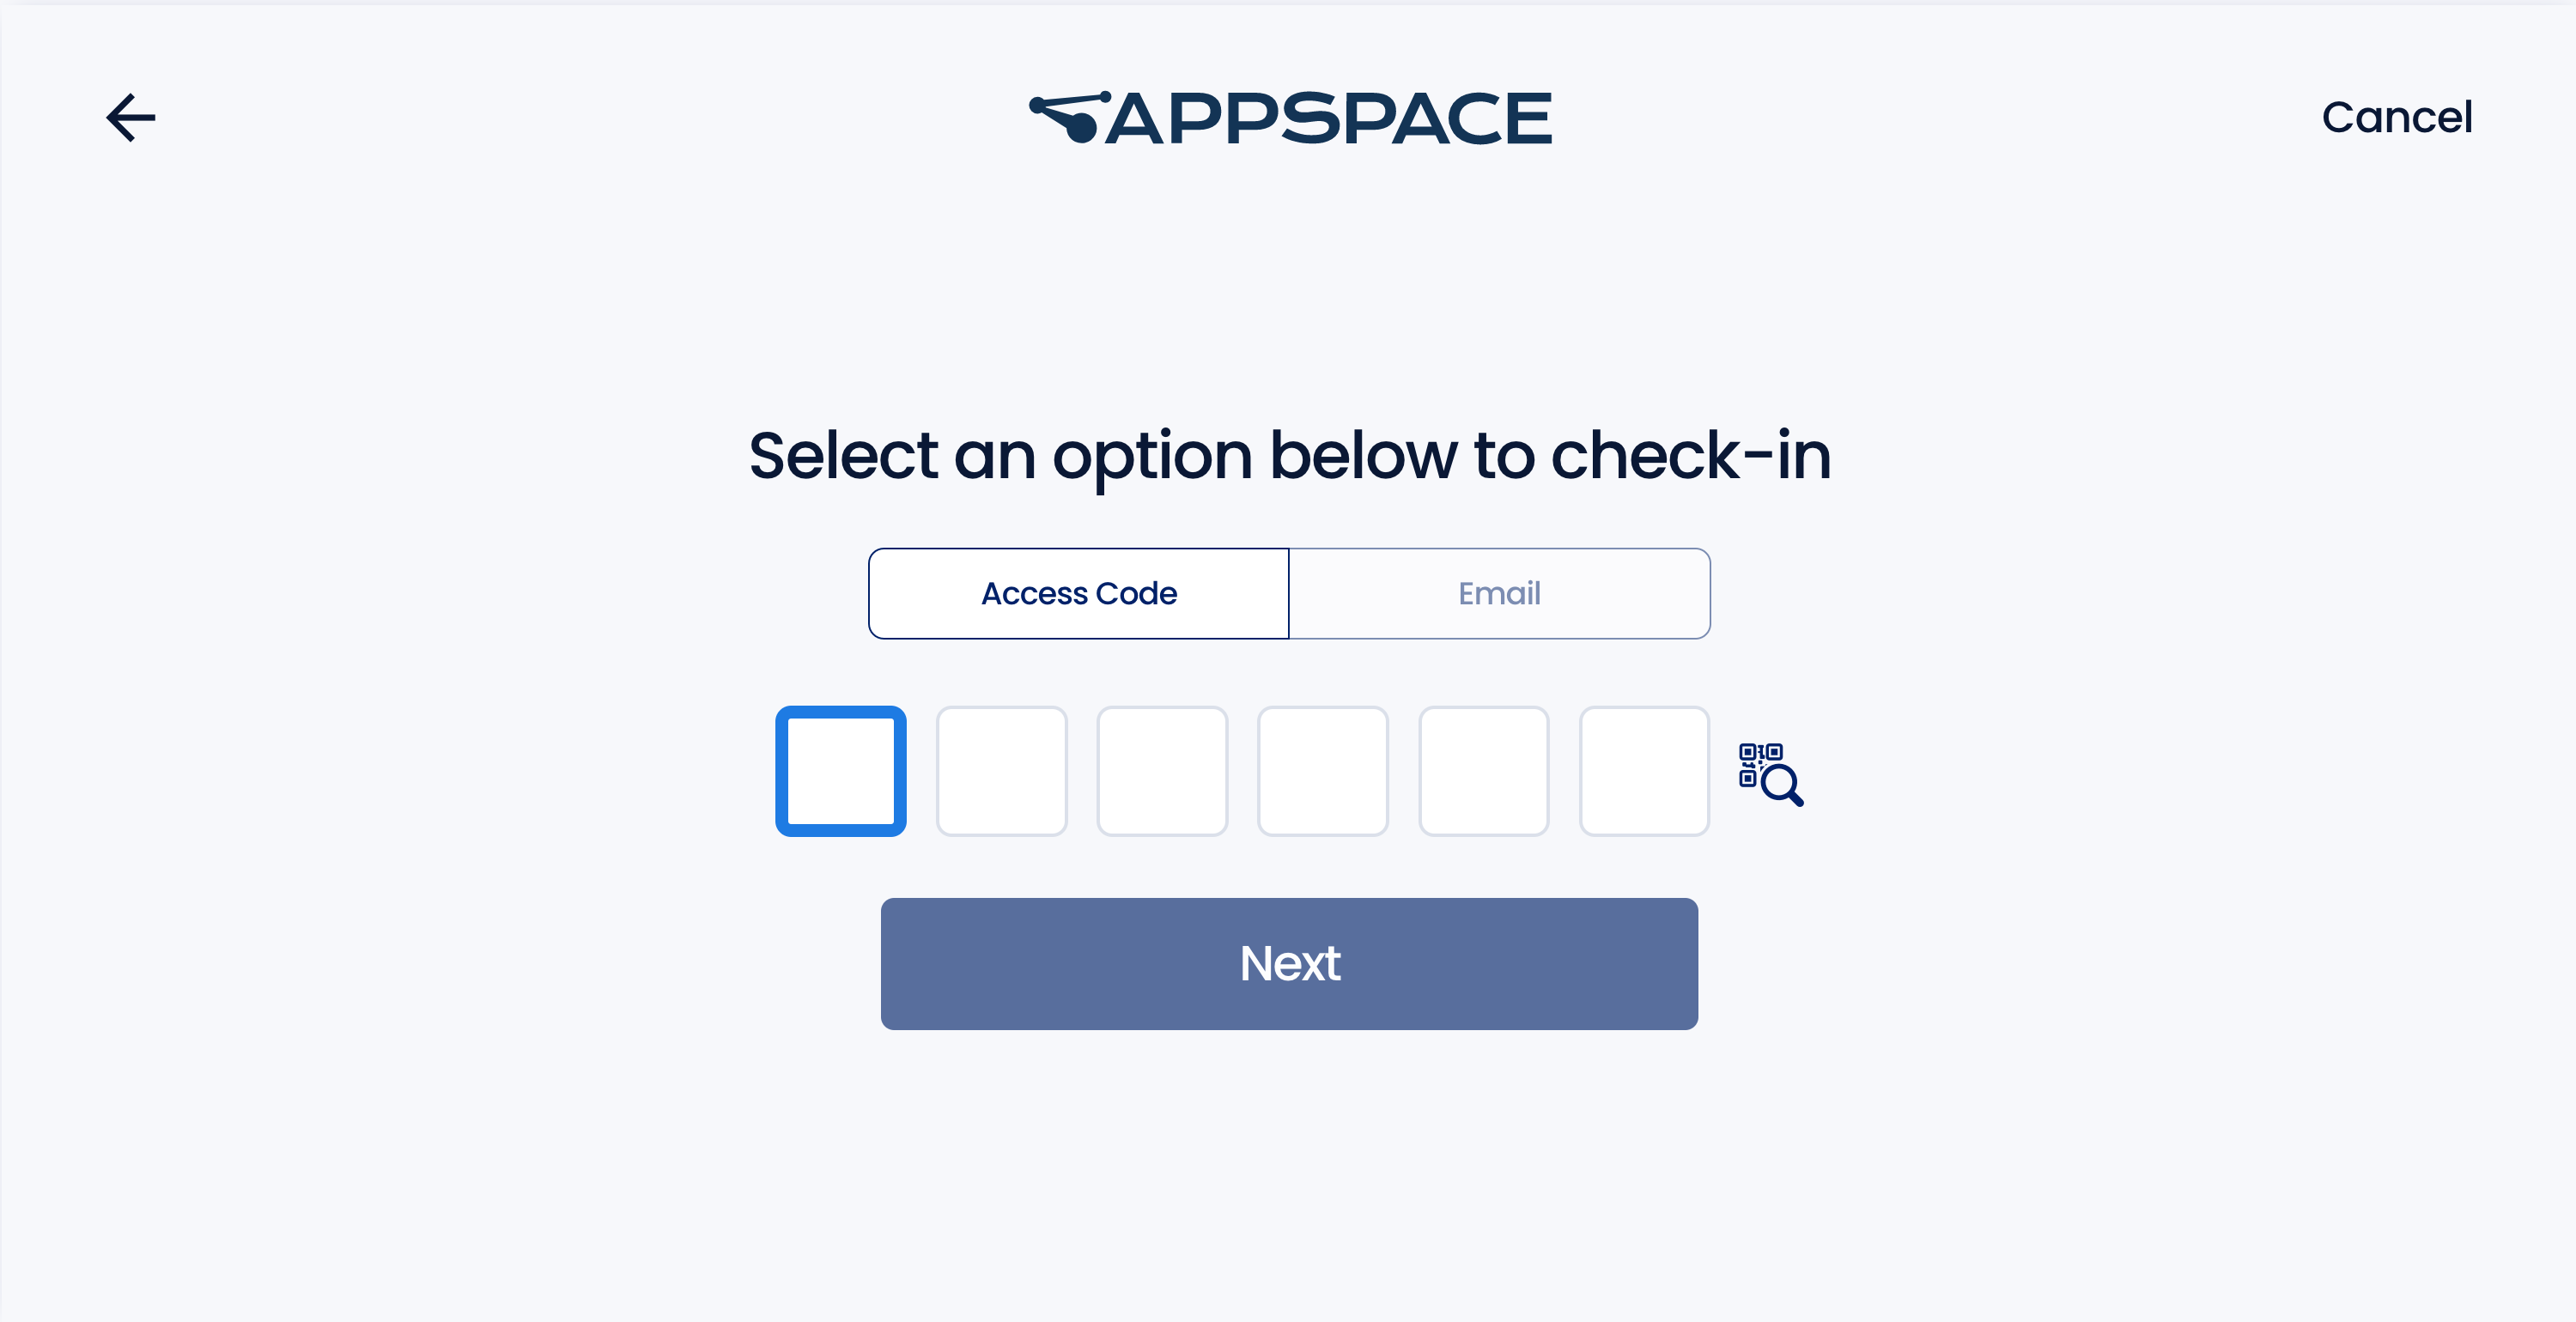
- Enter your 6-digit code obtained in your visitor invitation, or enter the Contact Information for the invitation (such as Email, Phone number, or First name and Last name) and click Next. Optionally, you may also click the QR Scan icon to go back to the initial Visitor Kiosk screen to scan your QR Code.
NoteIf you had not completed the registration process, the Registration Form will be displayed requiring you to complete it before advancing to the next screen. - This completes the visitor self-check-in process, which also notifies your host of your arrival at the premises.
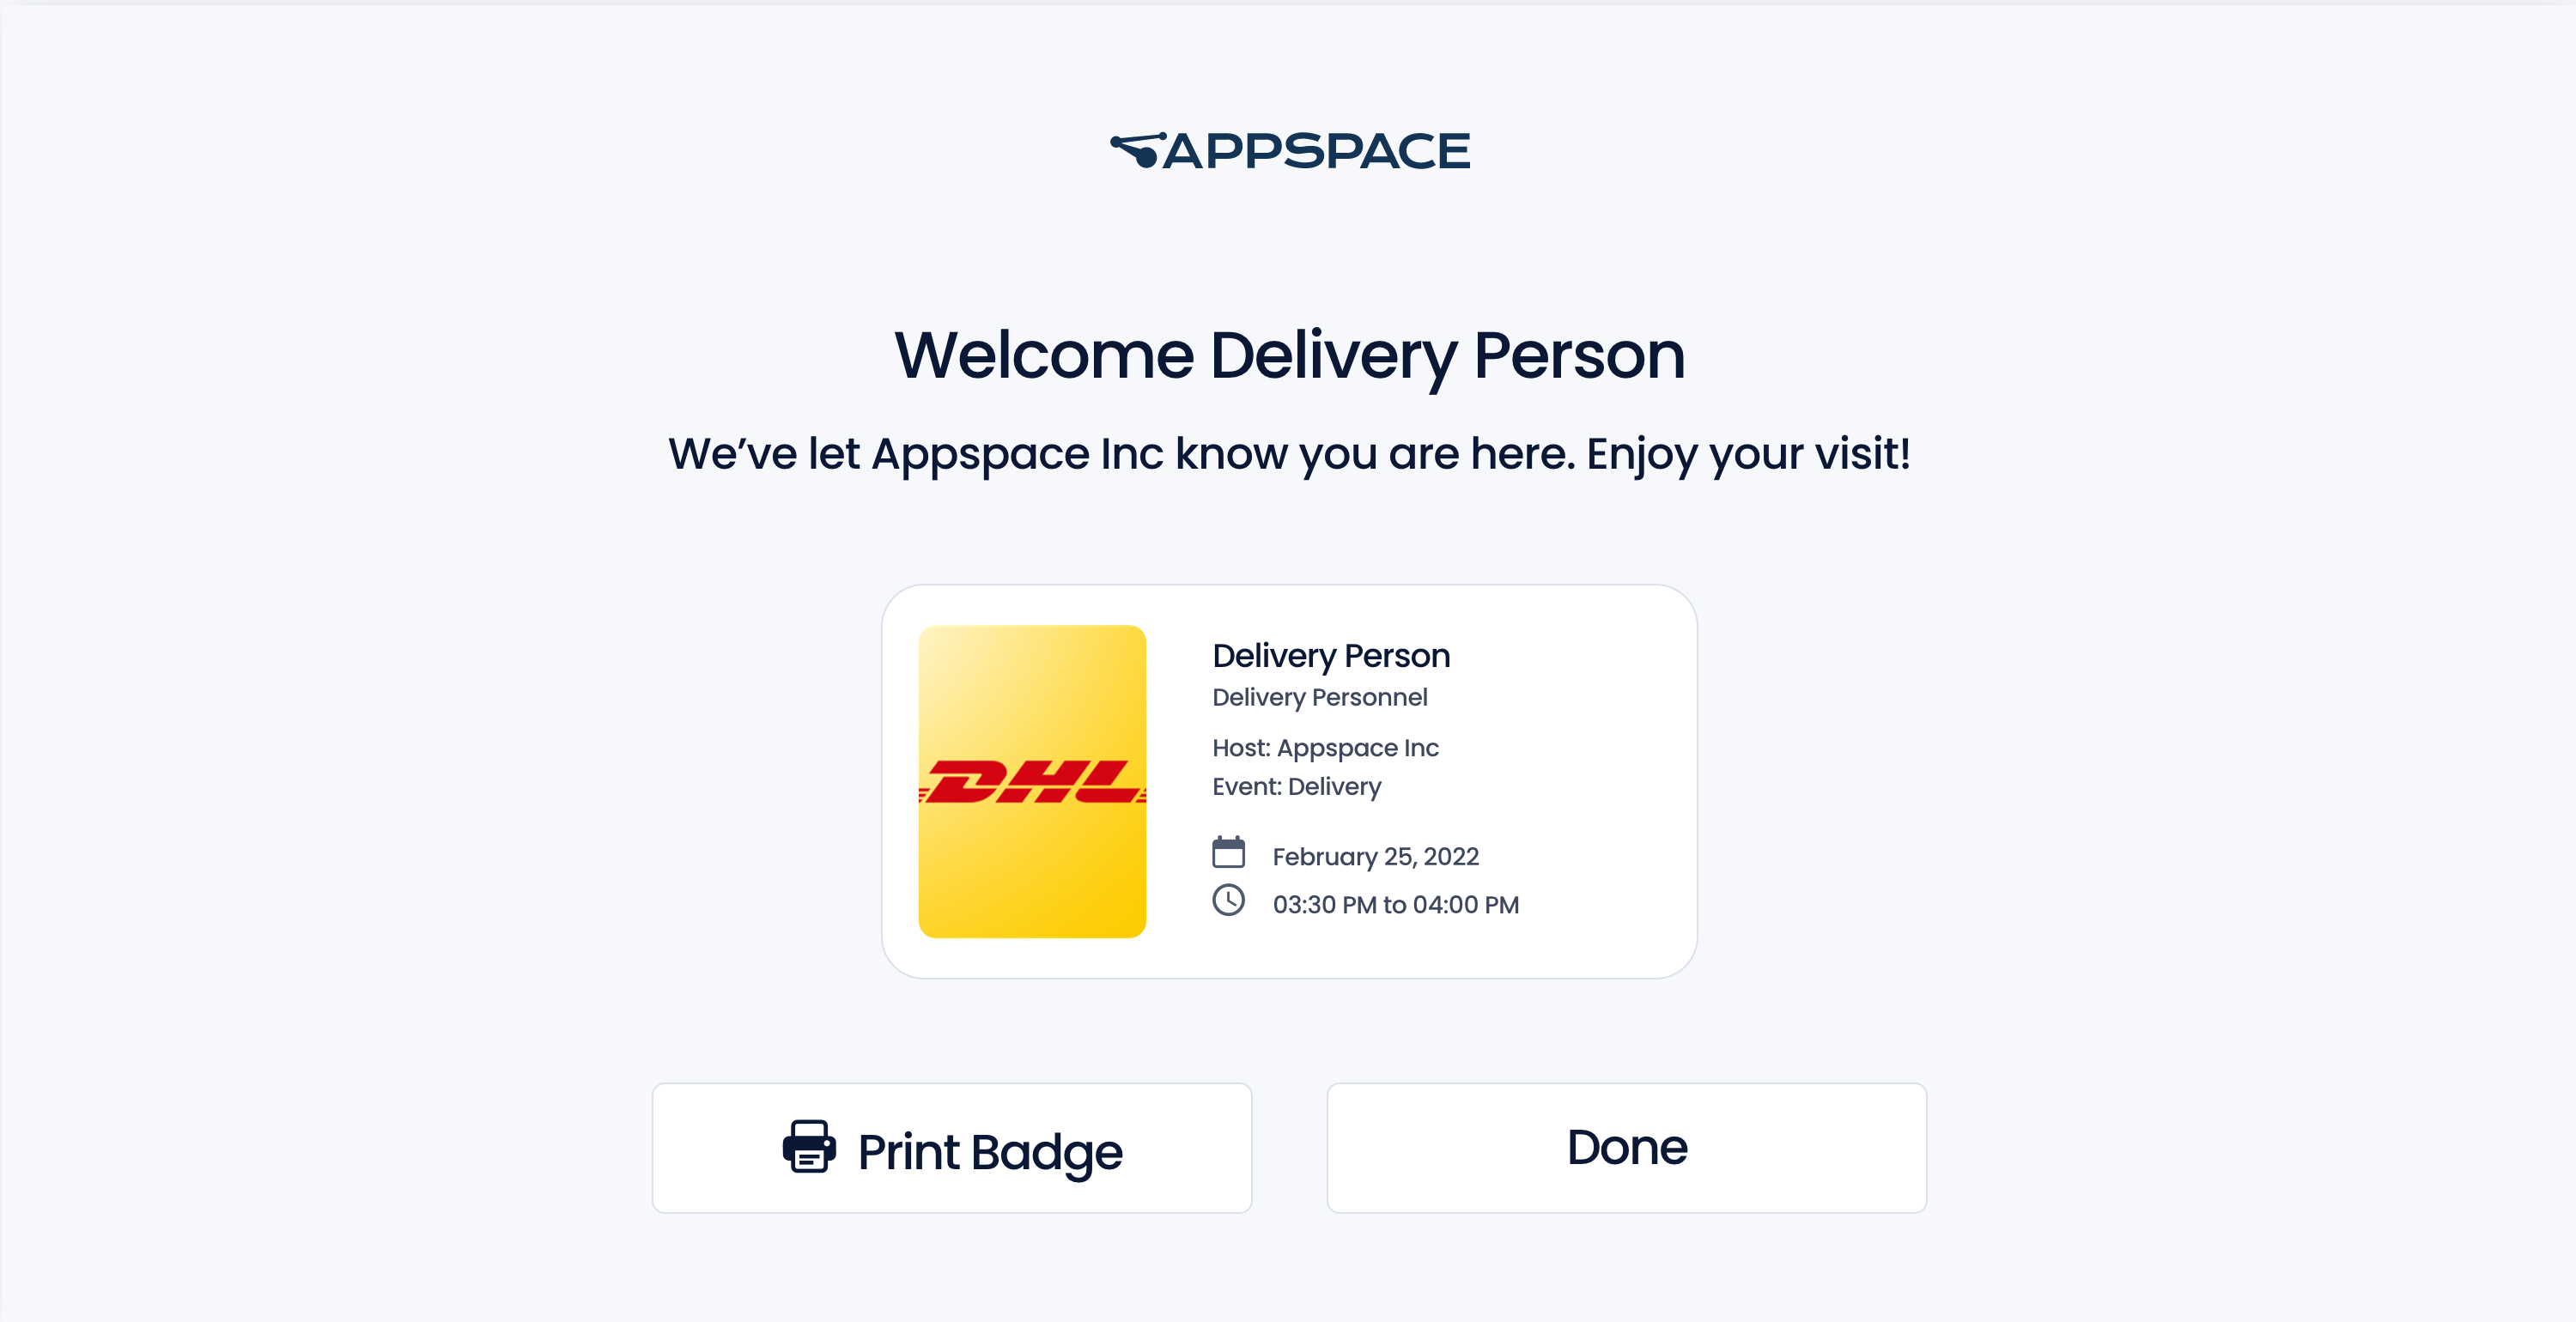
- If you are required to print your visitor badge, click the Print Badge button, and collect your badge from the connected printer, if not, click Done.
- At the Visitor Kiosk screen, click the Check in button to manually check-in, and proceed to Step 2 below. Alternatively, you may scan the QR Code provided in your visitor invitation email to perform a touchless check-in, and skip to Step 4 below.
Self Check-Ins without Invitation (Drop-In Visitors)
The Visitor Management system supports drop-in visitors, allowing visitors without a prior invitation to check-in at a kiosk for an event. The feature must first be enabled by an administrator.
For this workflow to be executed, the following conditions must be met:
- The Visitor must have a valid email address.
- The Visitor must provide a valid Host email address.
- The Host must Accept or Reject the invite initiated by the drop-in Visitor.
In this release, however, the drop-in feature is turned on automatically, with the following capabilities (for testing purposes):
- The drop-in notifications to the host are valid until the event ends.
- Multiple visitors can drop in for the same host and same event.
- The approver can be an admin, host, or gatekeeper.
Follow the instructions below to create an on-the-spot visitor invitation via the drop-in request feature, ideal for visitors who do not have visitor invitations:
-
-
-
-
- At the Visitor Kiosk screen, click the Check in button to manually check-in.
- On the next screen, click No as you do not have a prior invitation.
- Enter the email address that the invitation will be sent to.

- Alternatively, if the organization does not make an email address mandatory, you may choose to enter your first name and last name.

- Proceed to enter the following information regarding your visit, and click Next once done.
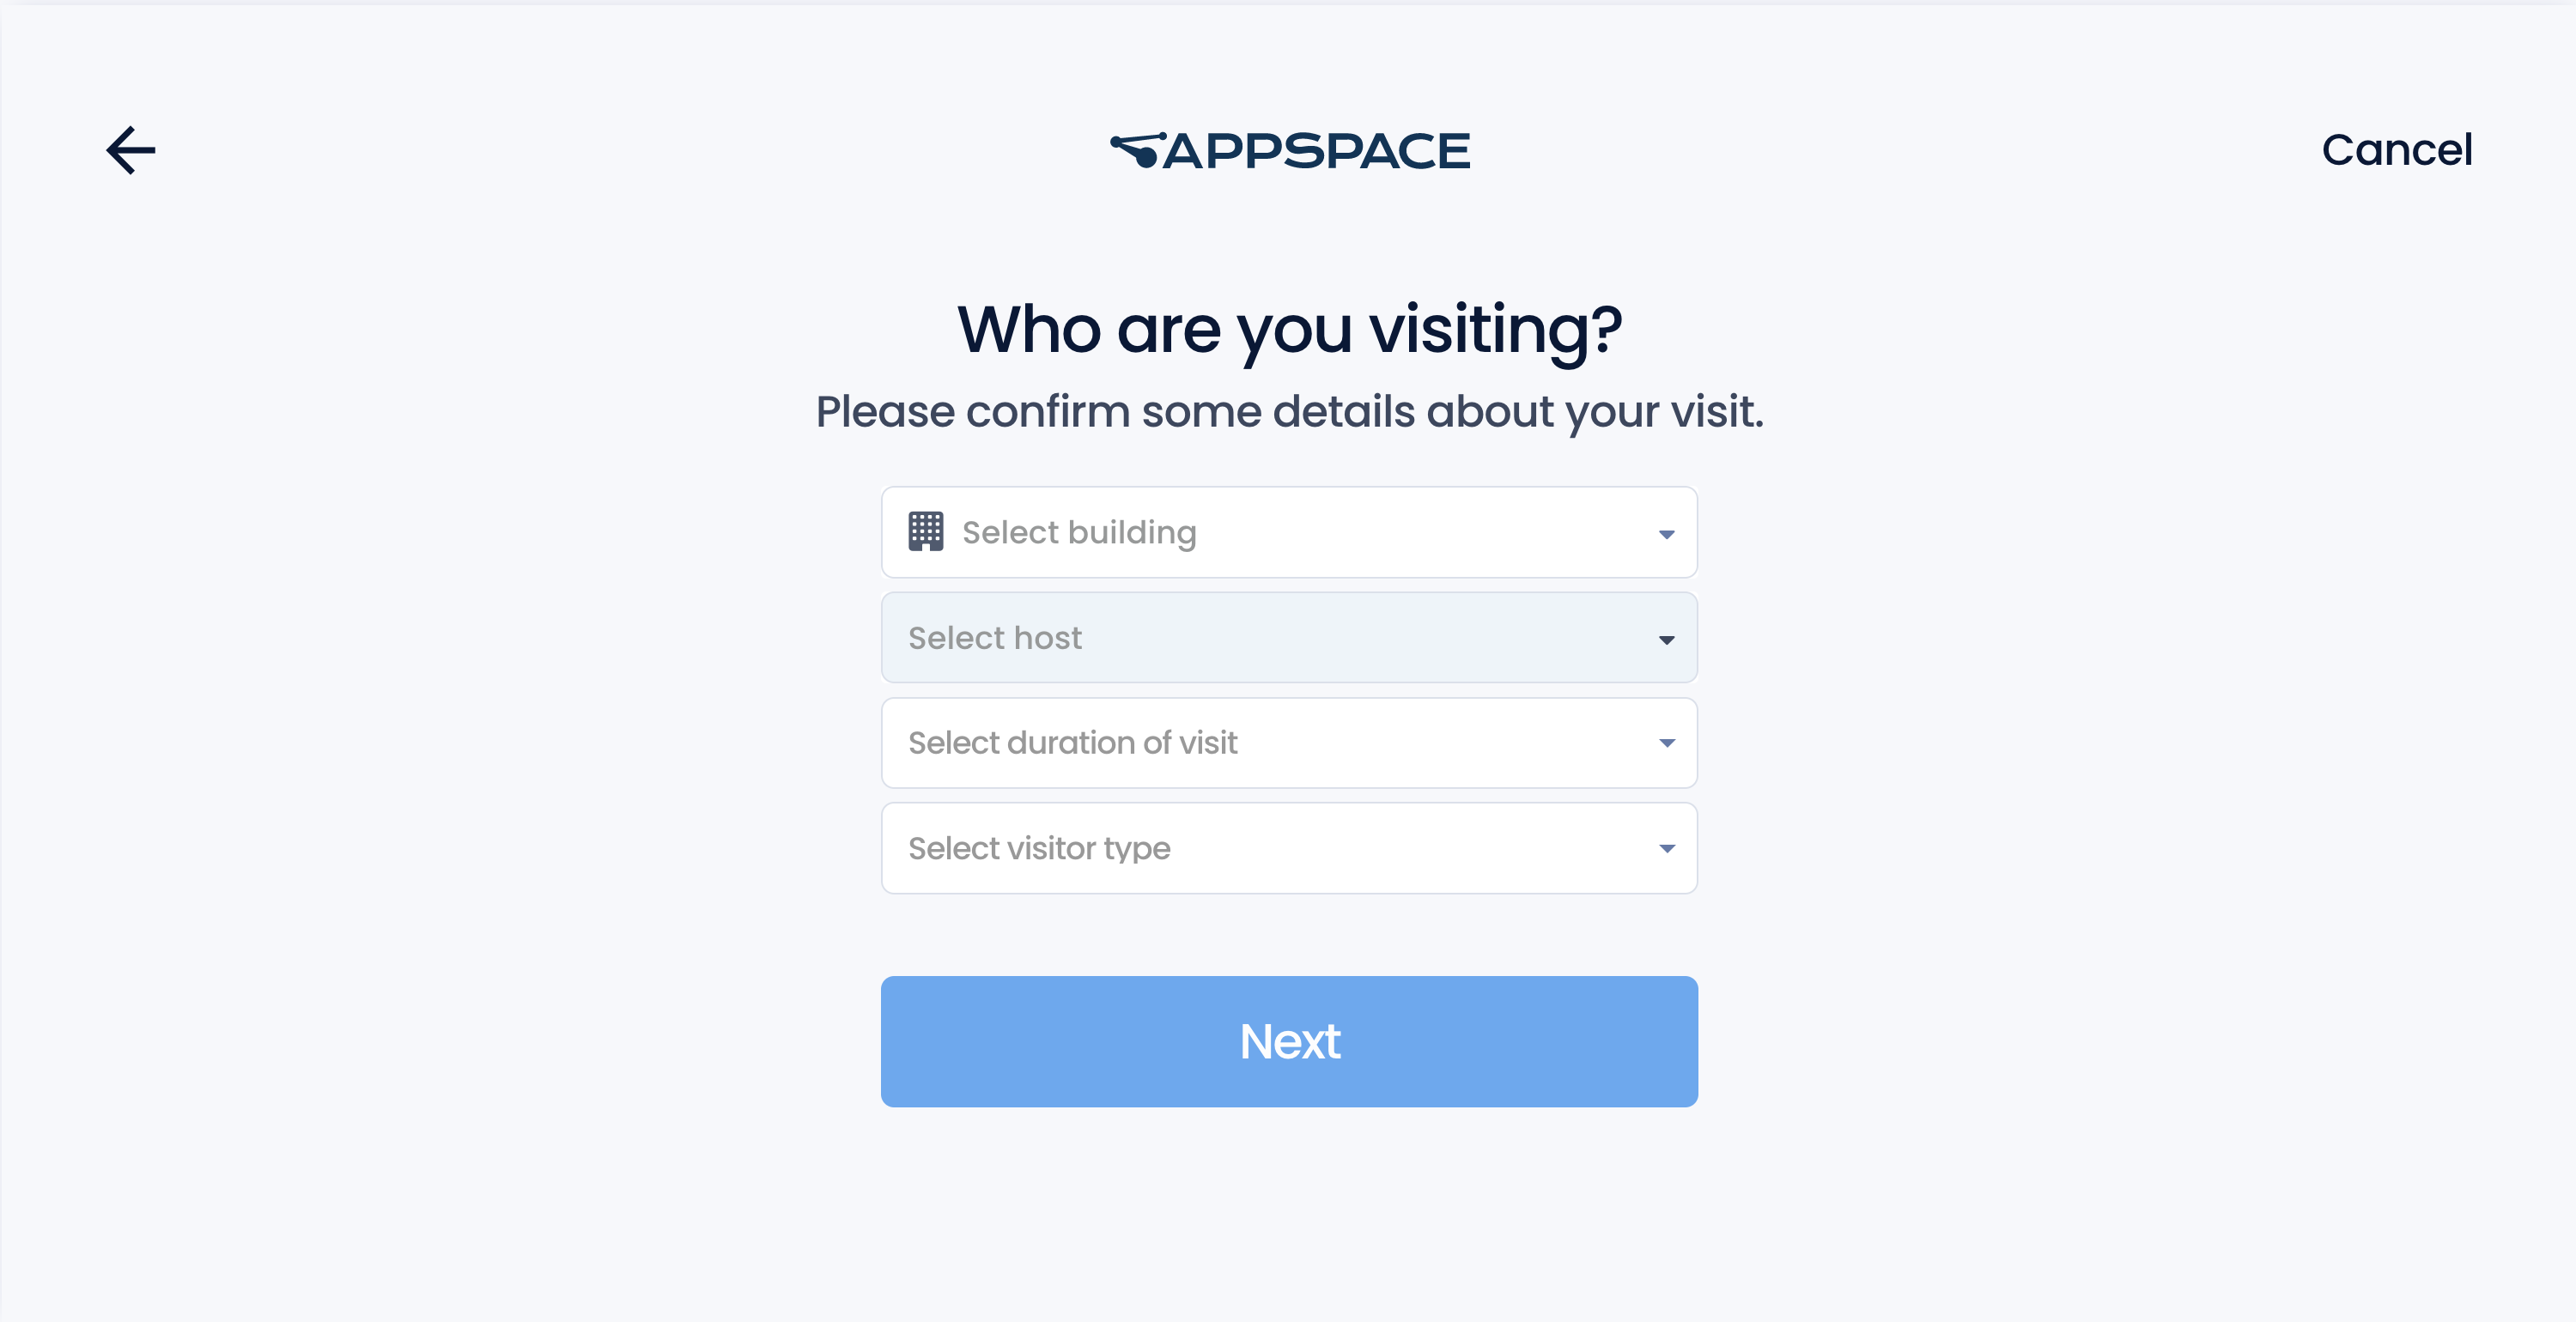
- Select building – Select the building location that you are currently in from the drop-down menu.
- Select host – Select the person that you are visiting. Only hosts with their location set in the building are listed.
- Select duration of visit – If none is selected, defaults to 1 hour.
- Select visitor type – Select if you are a Contractor, Delivery Personnel, Family Member, Business Guest, New Hire, or Other from the drop-down menu.
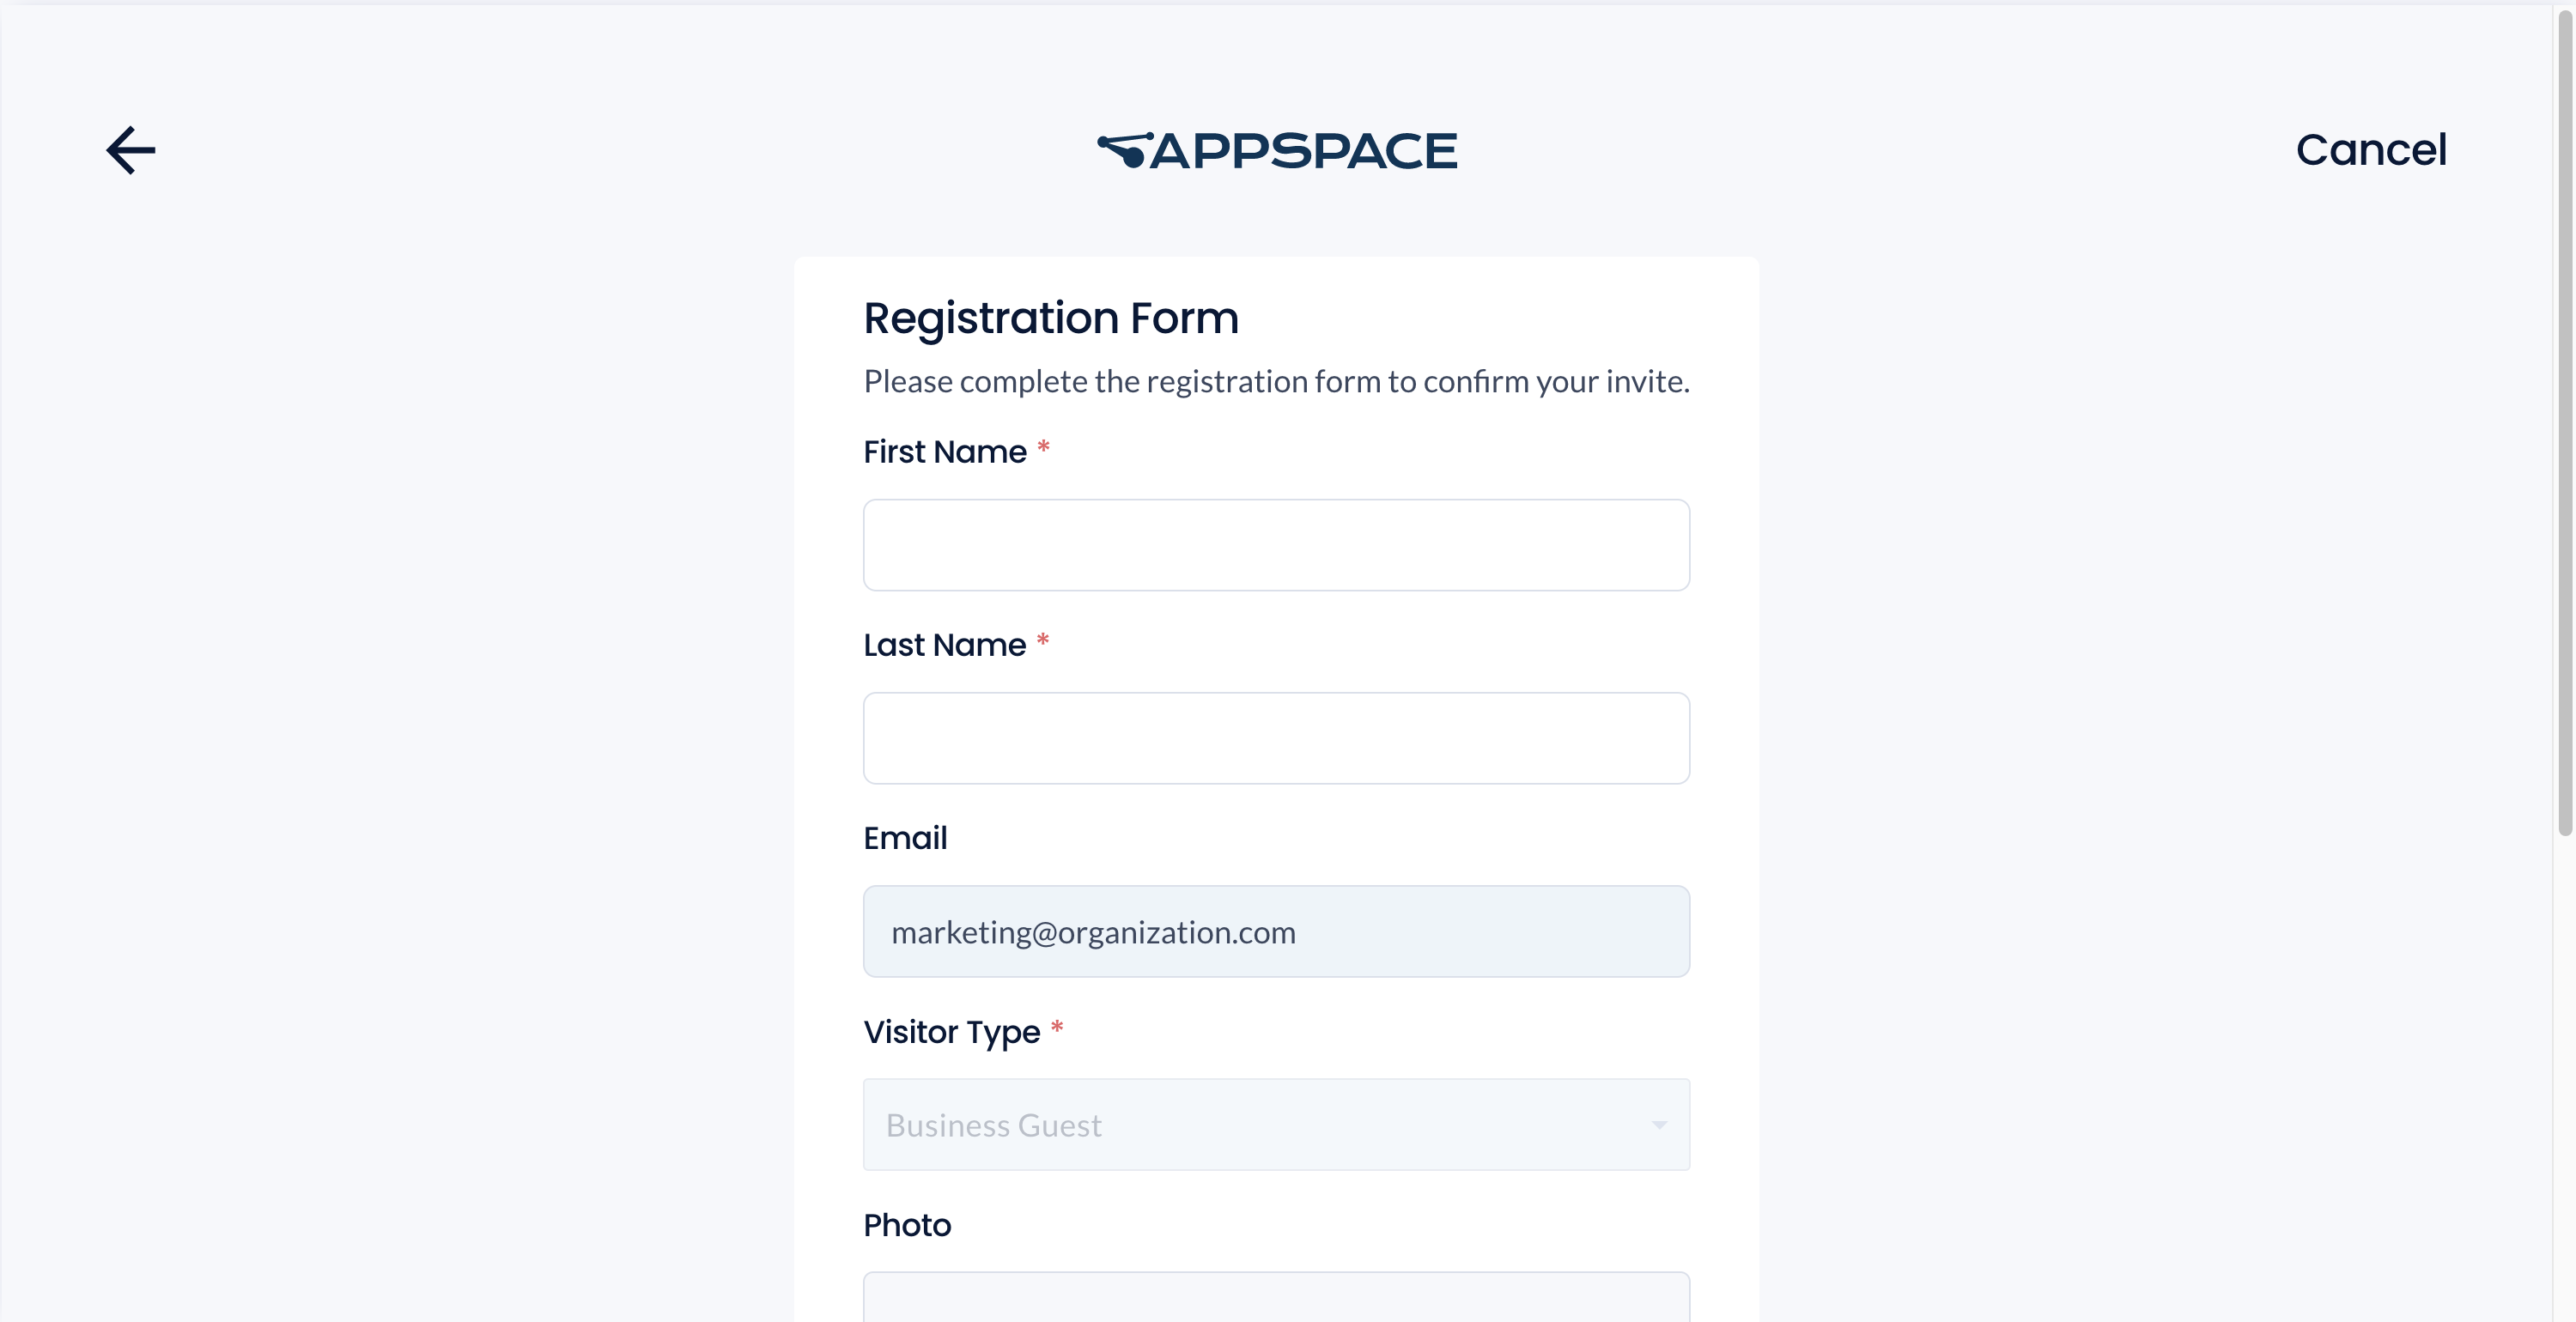
- Proceed to complete the Registration Form, which is used to complete your visitor profile for future visits. Click Next once done.
- Once the registration process has been completed, the event host will be notified that they have a visitor on the premise and they need to confirm or deny your drop-in request.
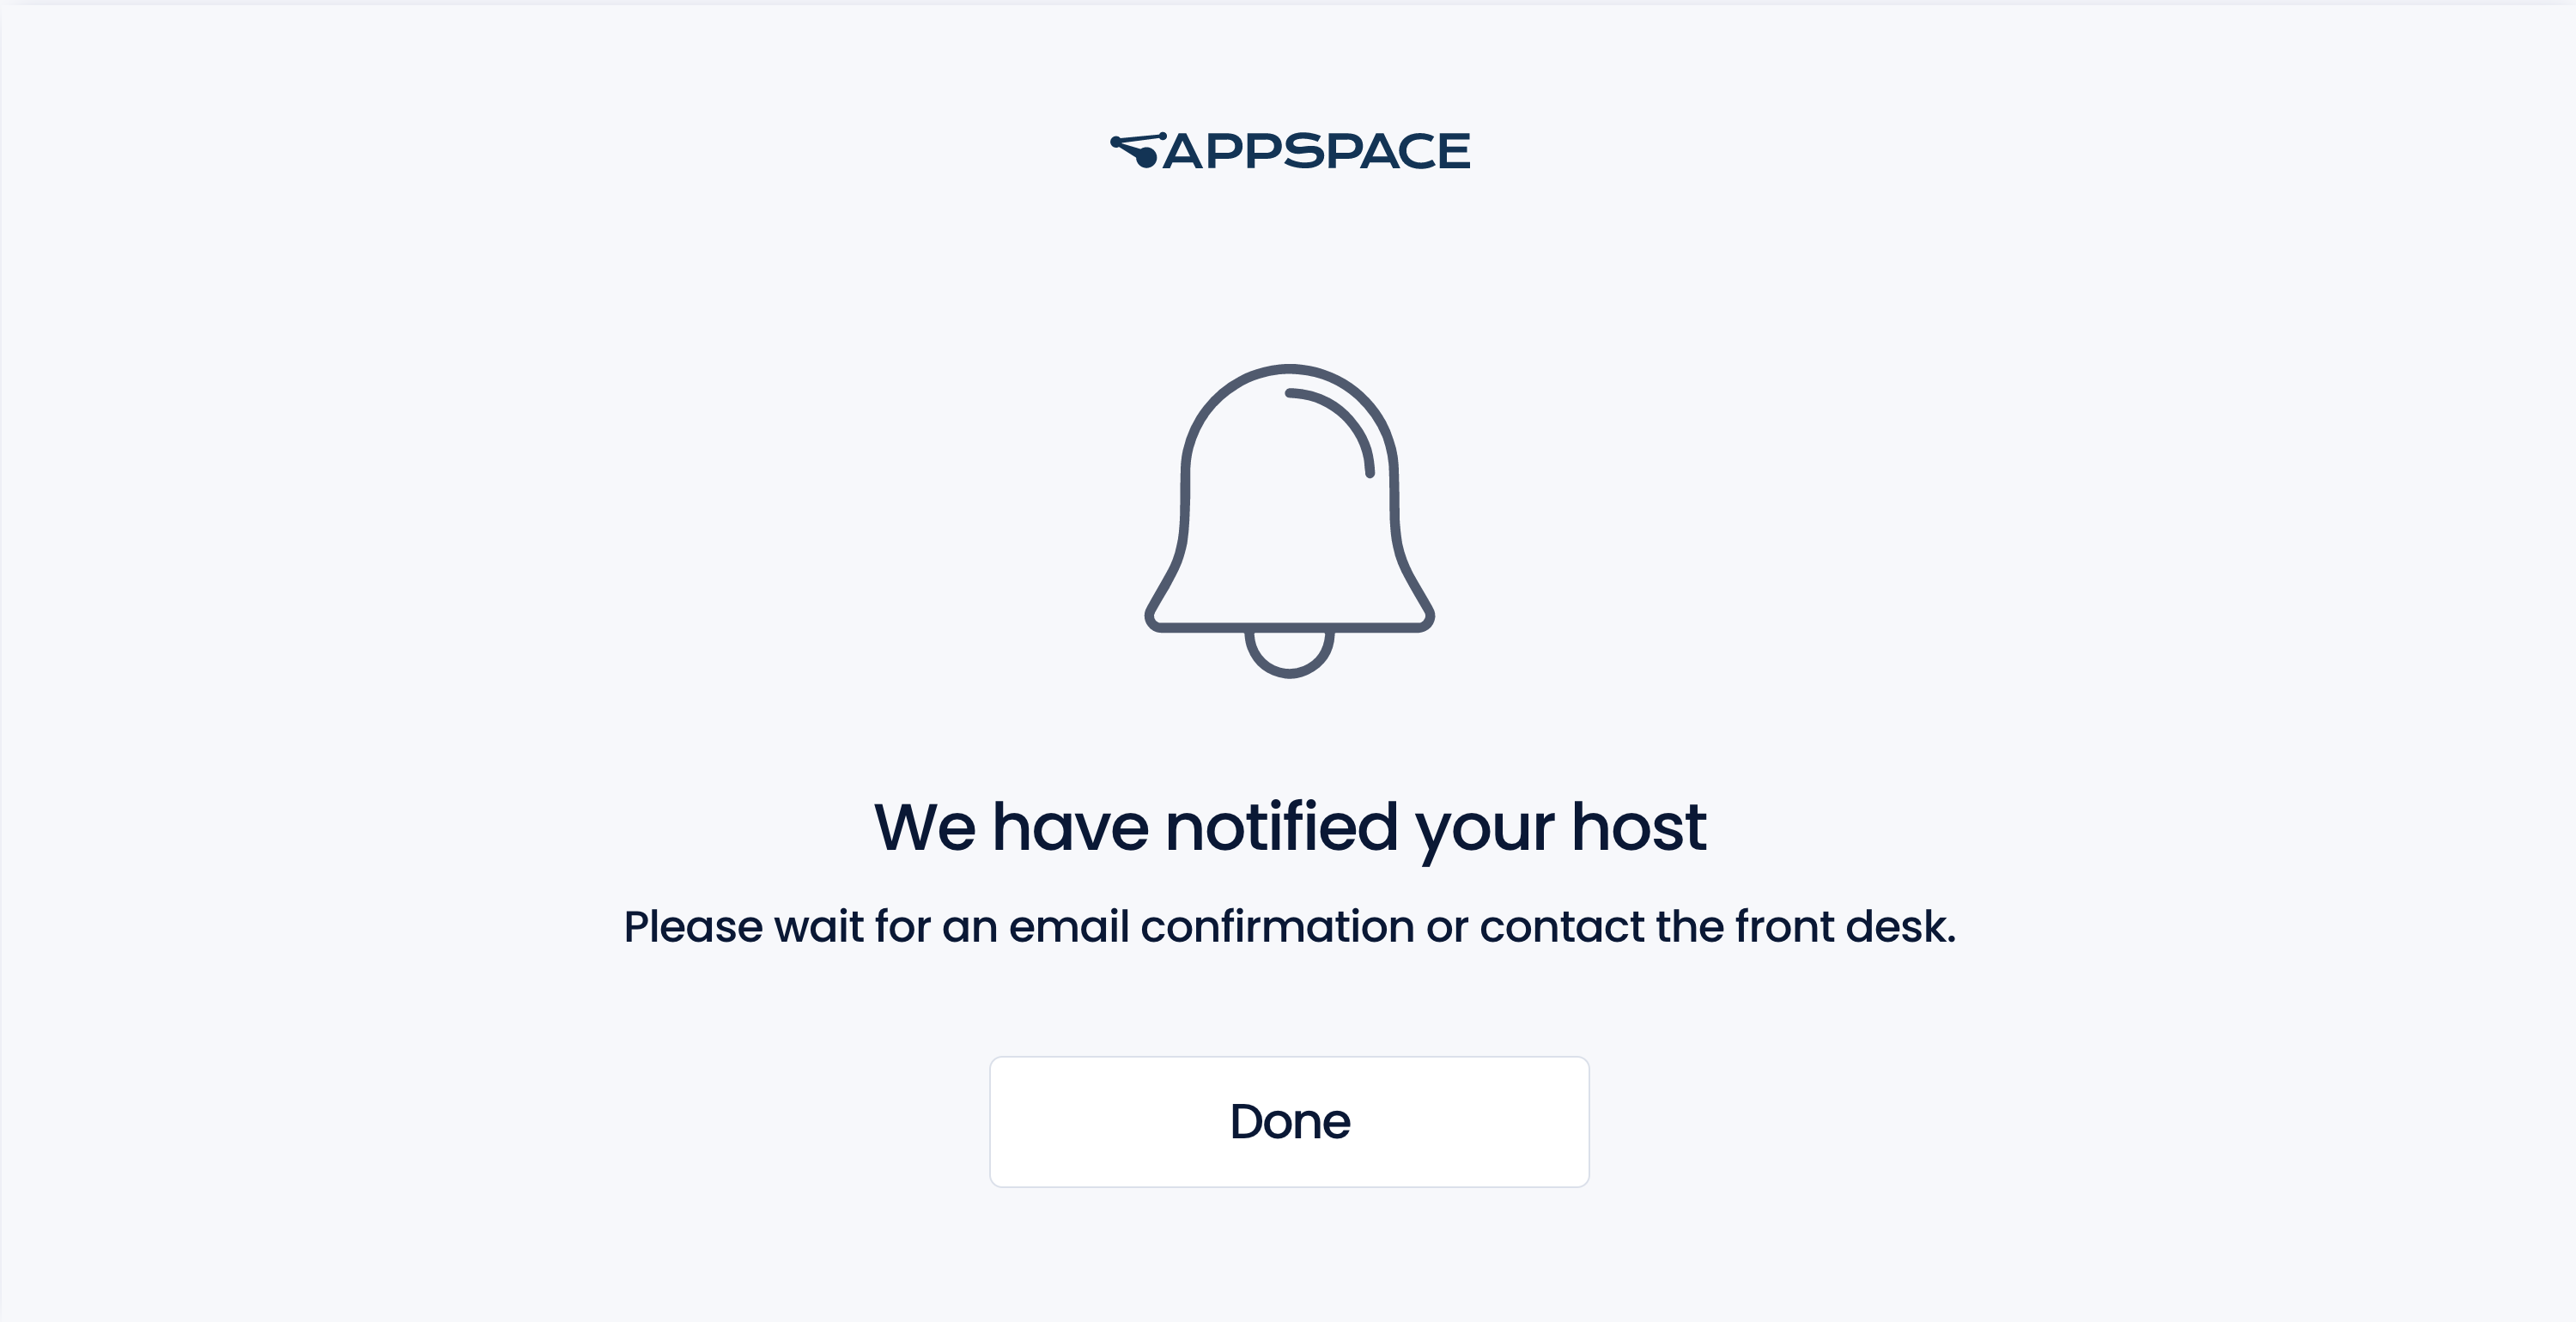
- Once the host confirms your drop-in request, the visitor invitation will be sent to your email address, which contains the QR Code or 6-digit code that you can then use to check-in with.
- At the Visitor Kiosk screen, click the Check in button to manually check-in.
-
-
Self Check-Outs
Follow the instructions below to self-check-out once the visit is over.
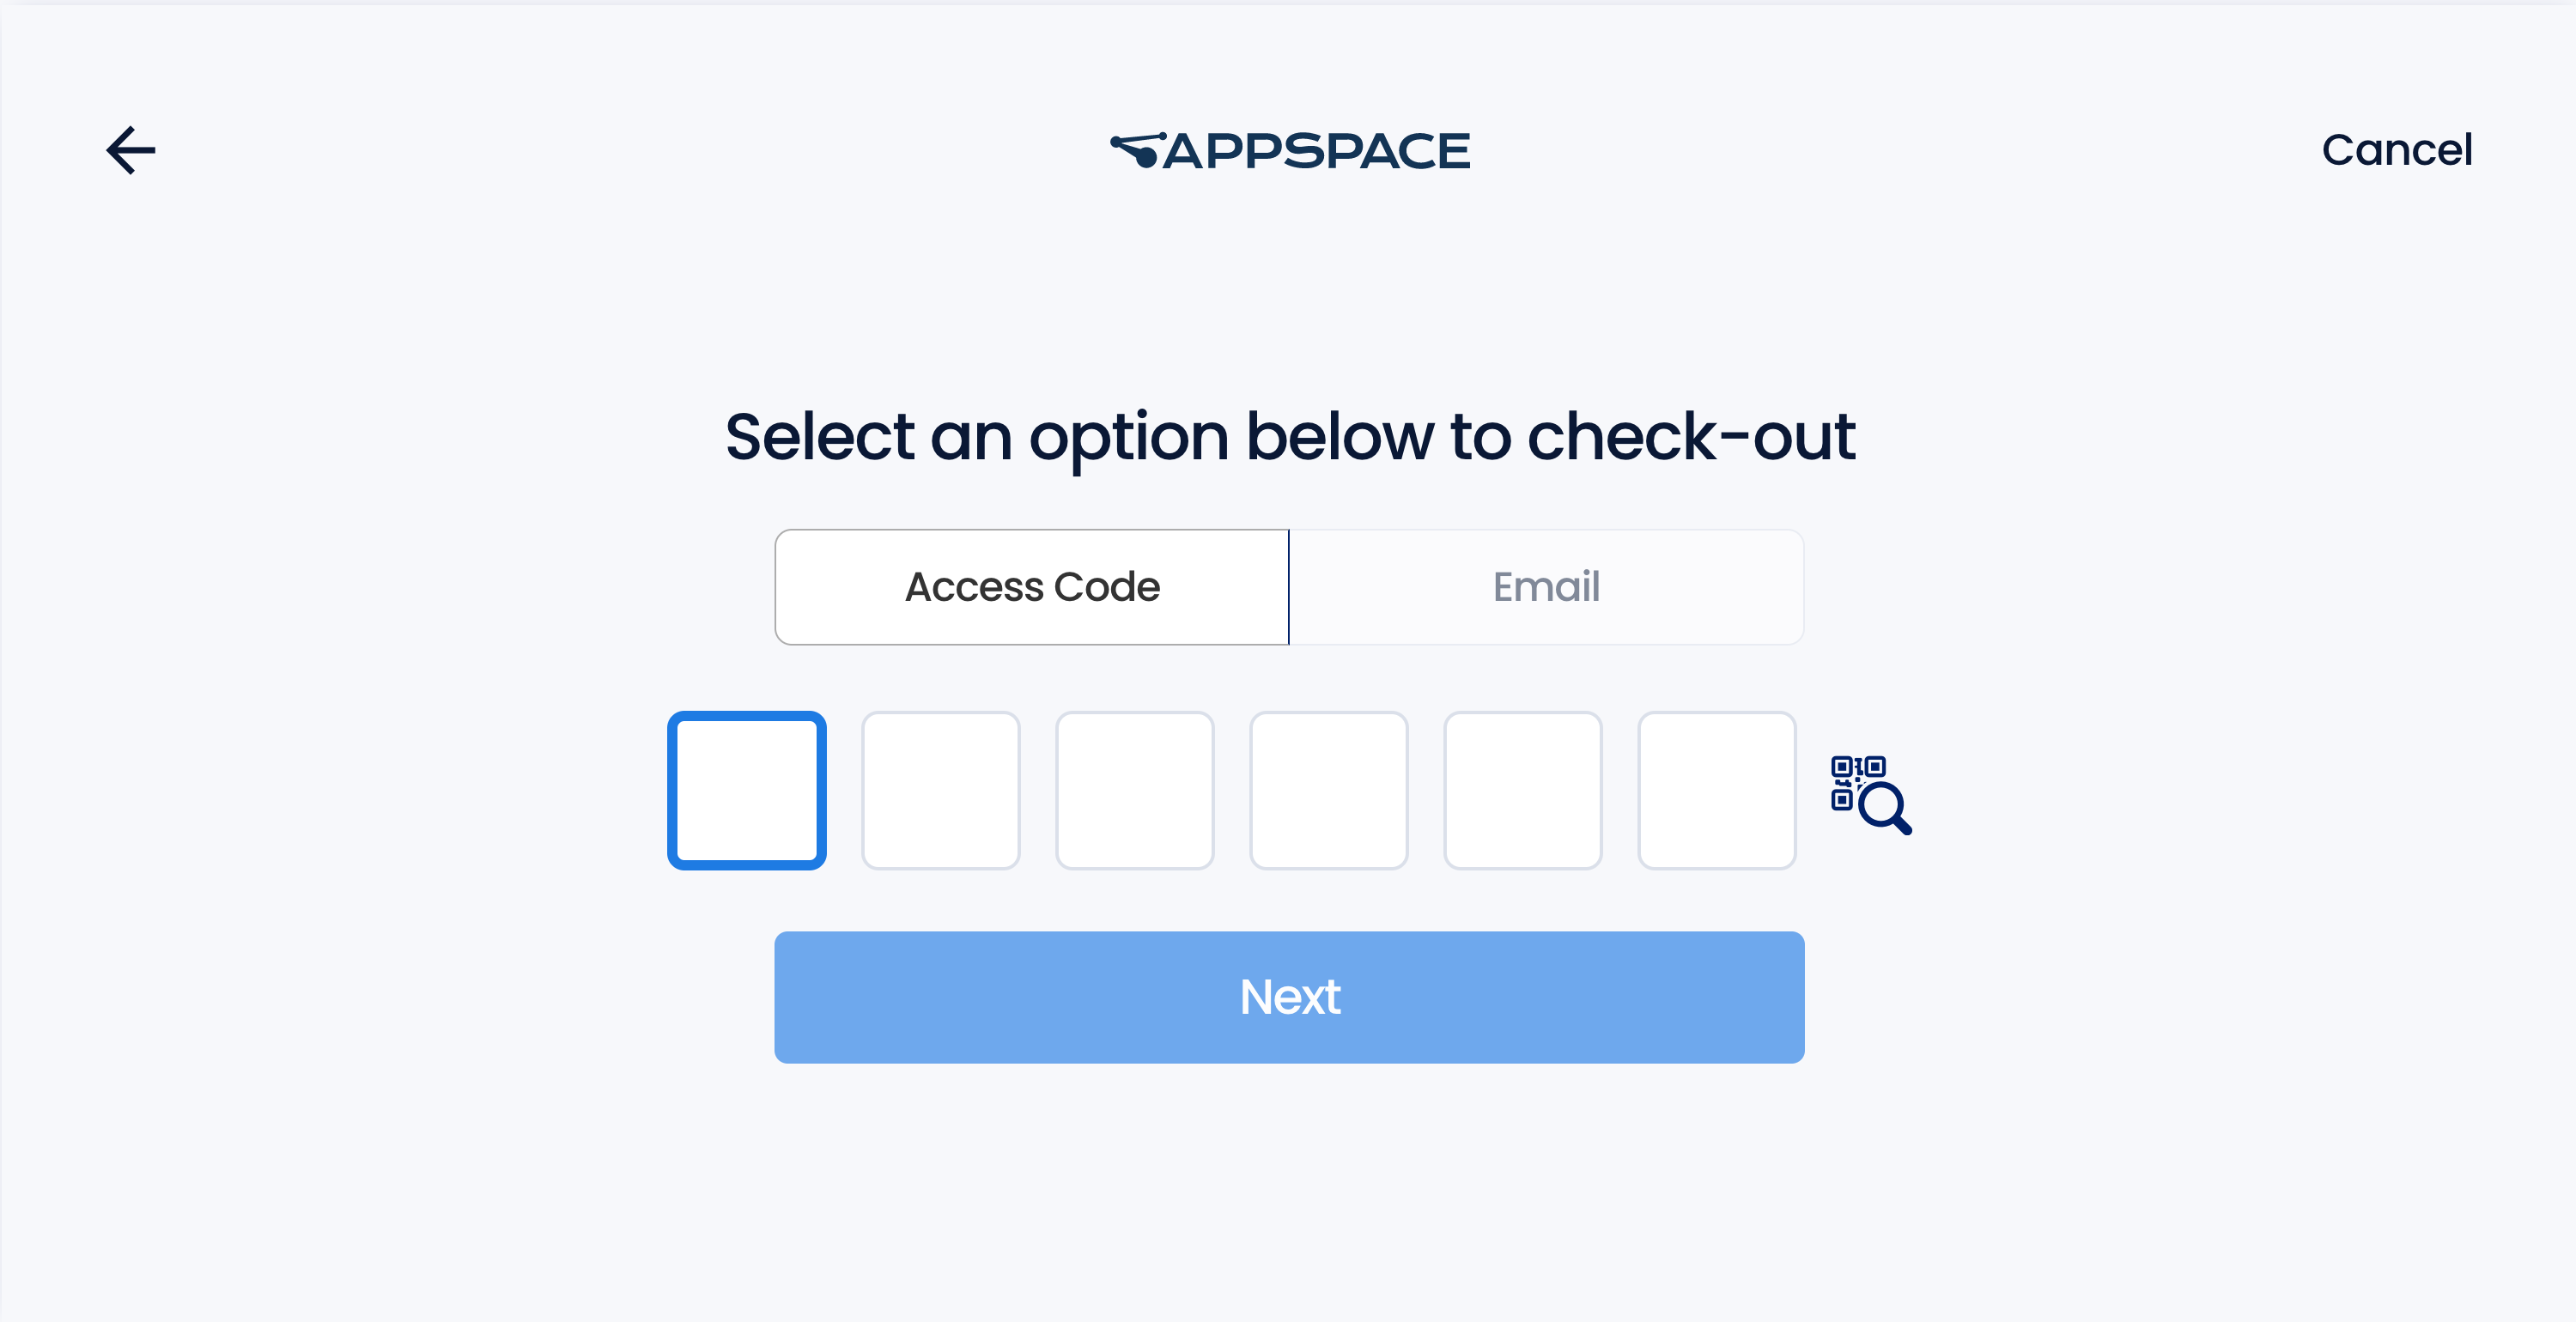
- At the Visitor Kiosk screen, click the Check out button to manually check-out, and proceed to Step 2 below. Alternatively, you may scan the QR Code provided in your visitor invitation to perform a touchless check-out, and skip to Step 3 below.
- Enter your 6-digit code obtained in your visitor invitation, or enter the email address the invitation was sent to, and click Next. Optionally, you may also click the QR Scan icon to go back to the initial Visitor Kiosk screen to scan your QR Code.
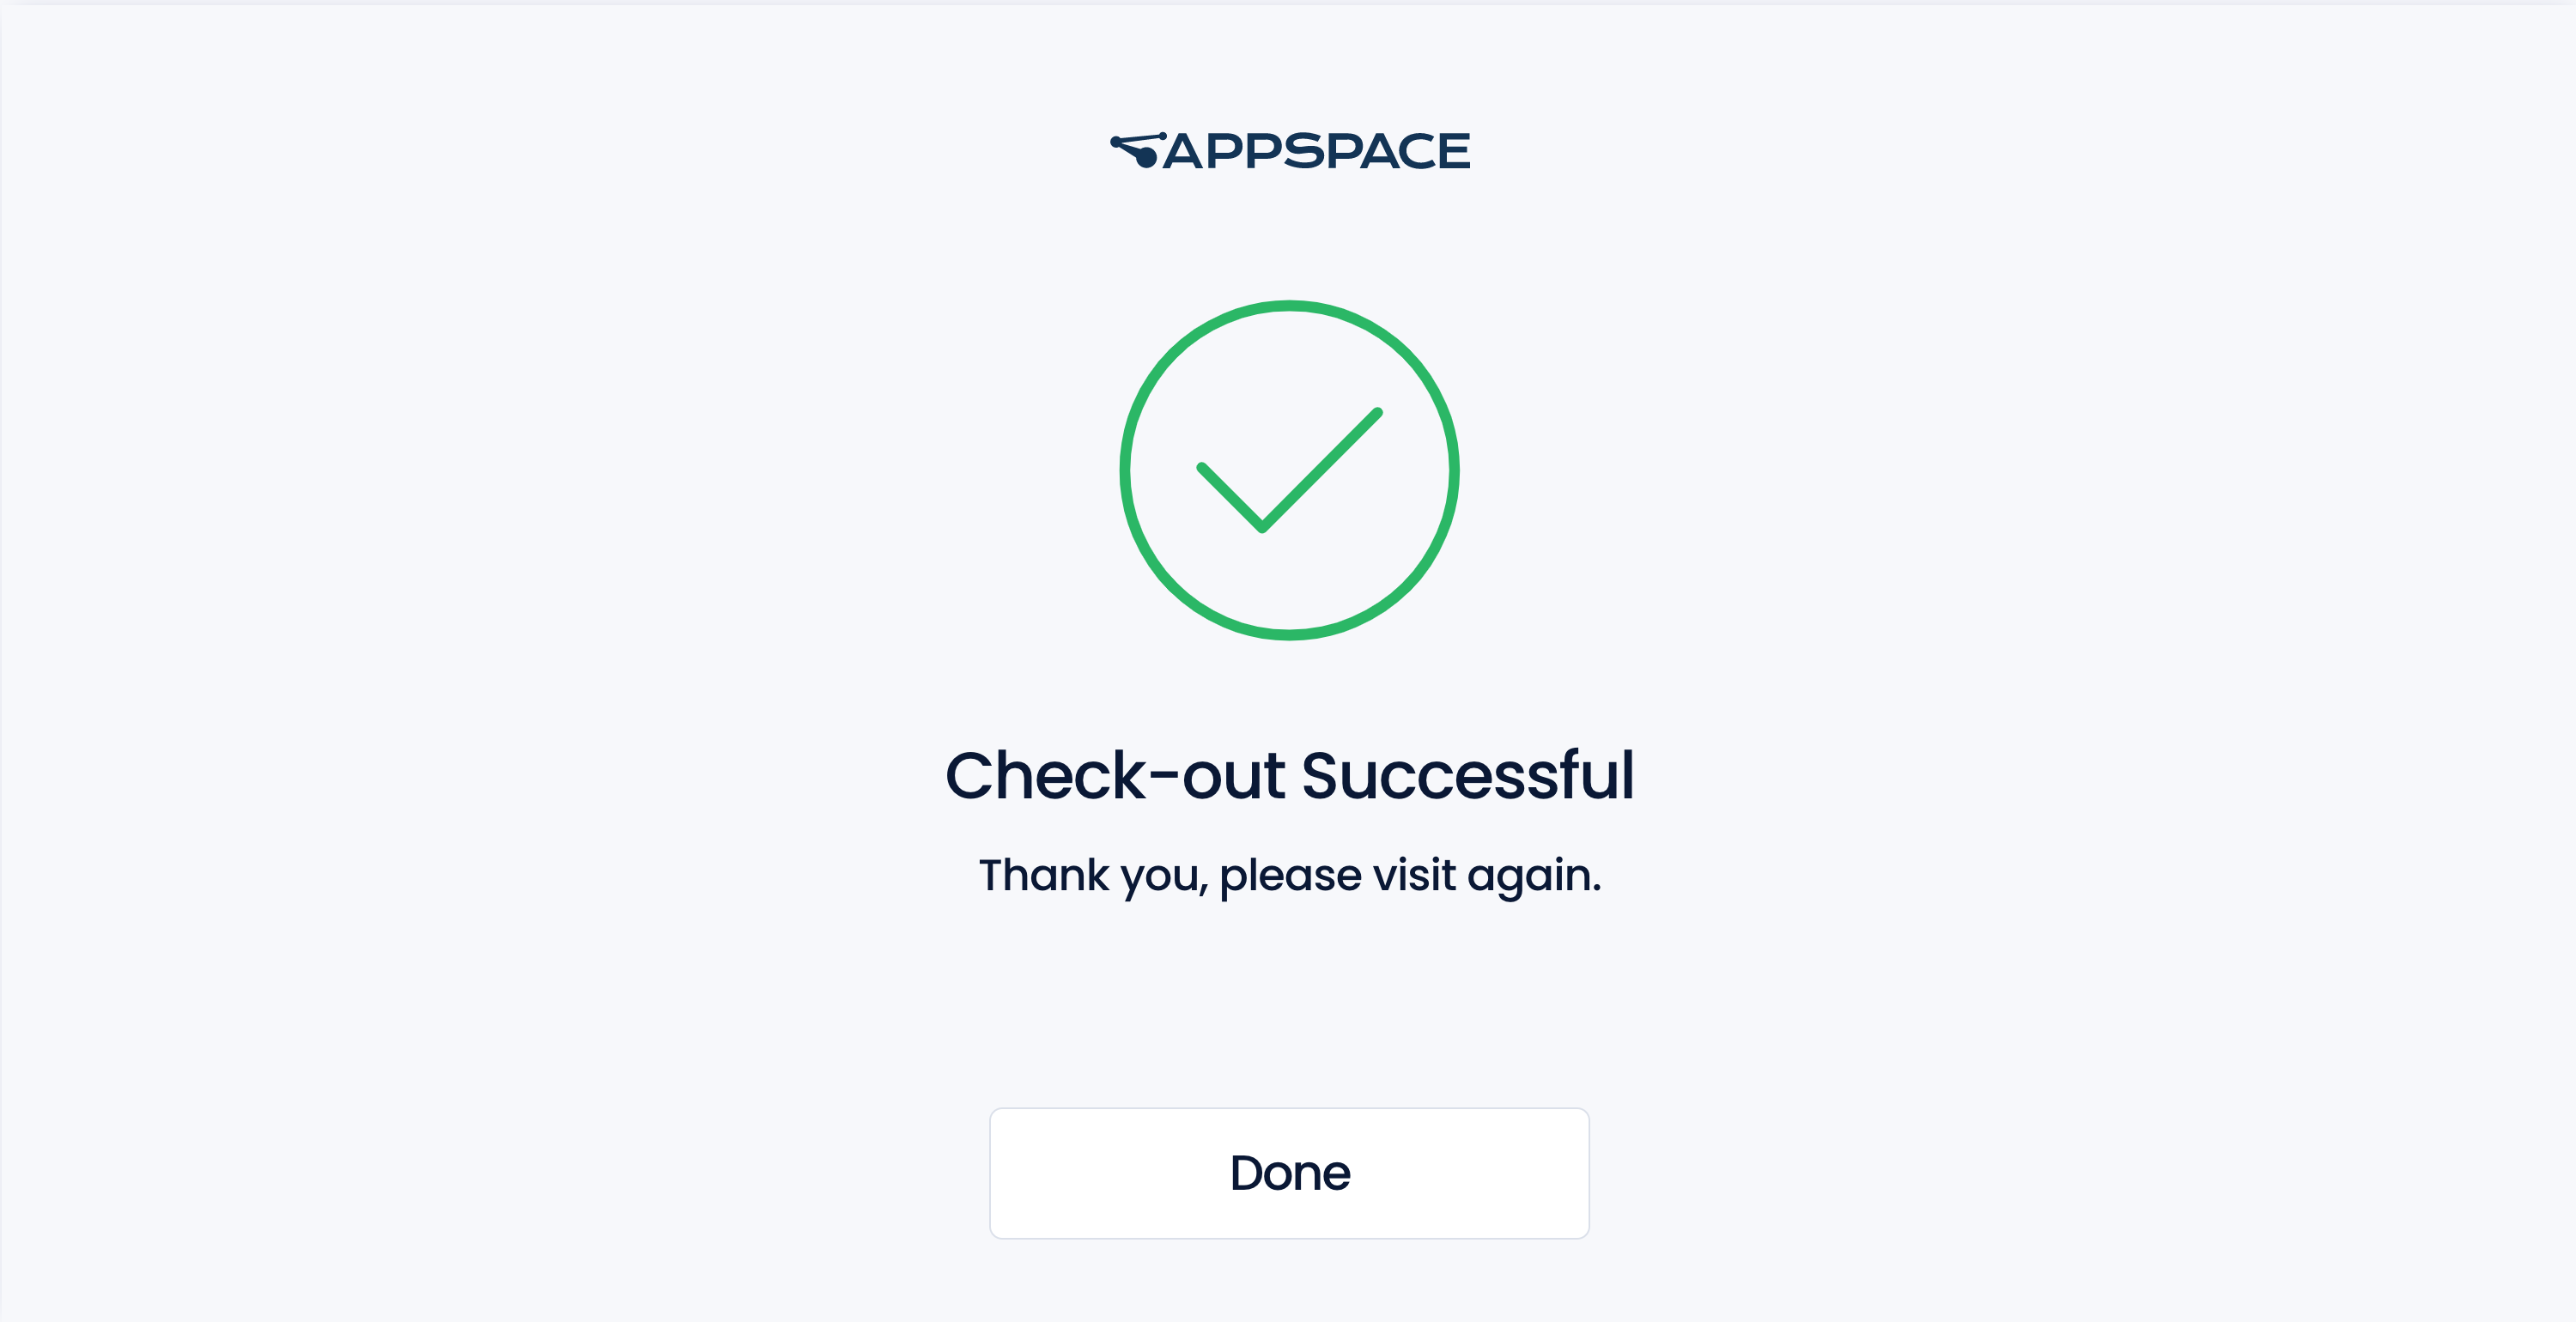
- Once the visitor self-check-out process is completed, you will be check-out from the visitor management system, and your host will be notified of your departure.
-

Was this article helpful?