In the Hero blocks, we can configure a Custom Widget called JSON.
This JSON refers to Adaptive Cards, a Microsoft card UI framework. This means that we cannot use any JSON, but we need to follow the Adaptive Card’s standard. Find more information about the format that our “Template JSON” have to follow, here: https://adaptivecards.io/explorer/
Static and dynamic widgets
The widgets created with Adaptive Cards can be static or dynamic:
- They are static if both layout and data are specified in the “Template JSON”.
- They are dynamic if the layout is specified in the “Template JSON” while the data is in a separate “Data JSON”. This separation allows populating the layout with changing data. For more information read the docs about Adaptive Cards templating here: https://docs.microsoft.com/en-us/adaptive-cards/templating/language
The JSON widget
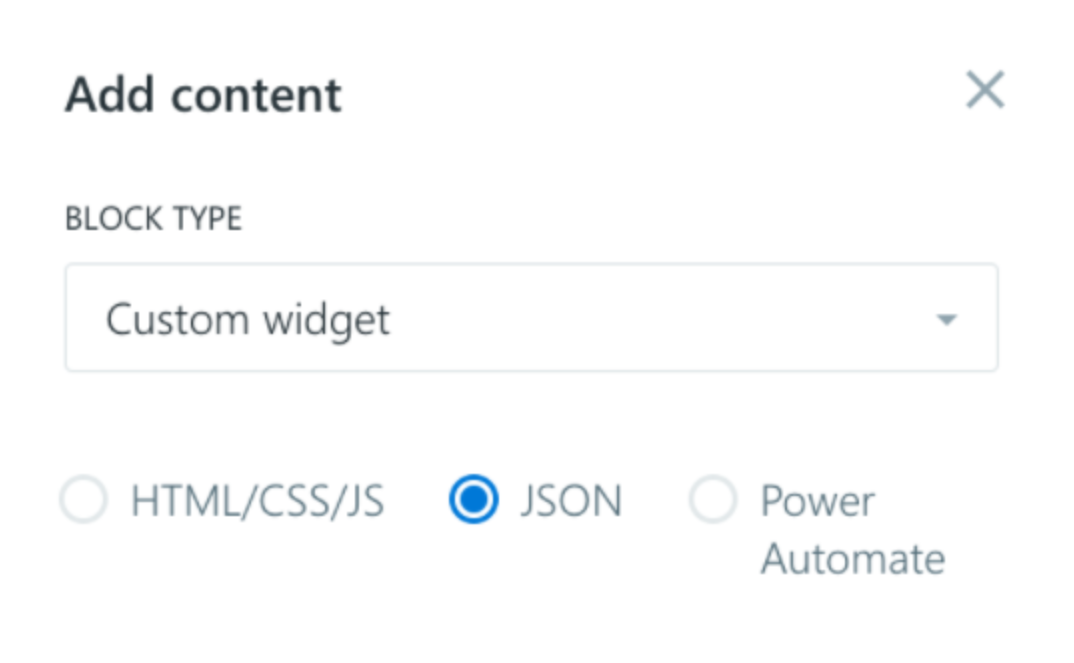
To create a JSON widget, you need to be a Appspace SharePoint Intranet Global/Local Admin, open the Manage Settings, Hero settings, click on the custom block where you want to show the Adaptive Card, select the block type Custom widget and check the JSON option.
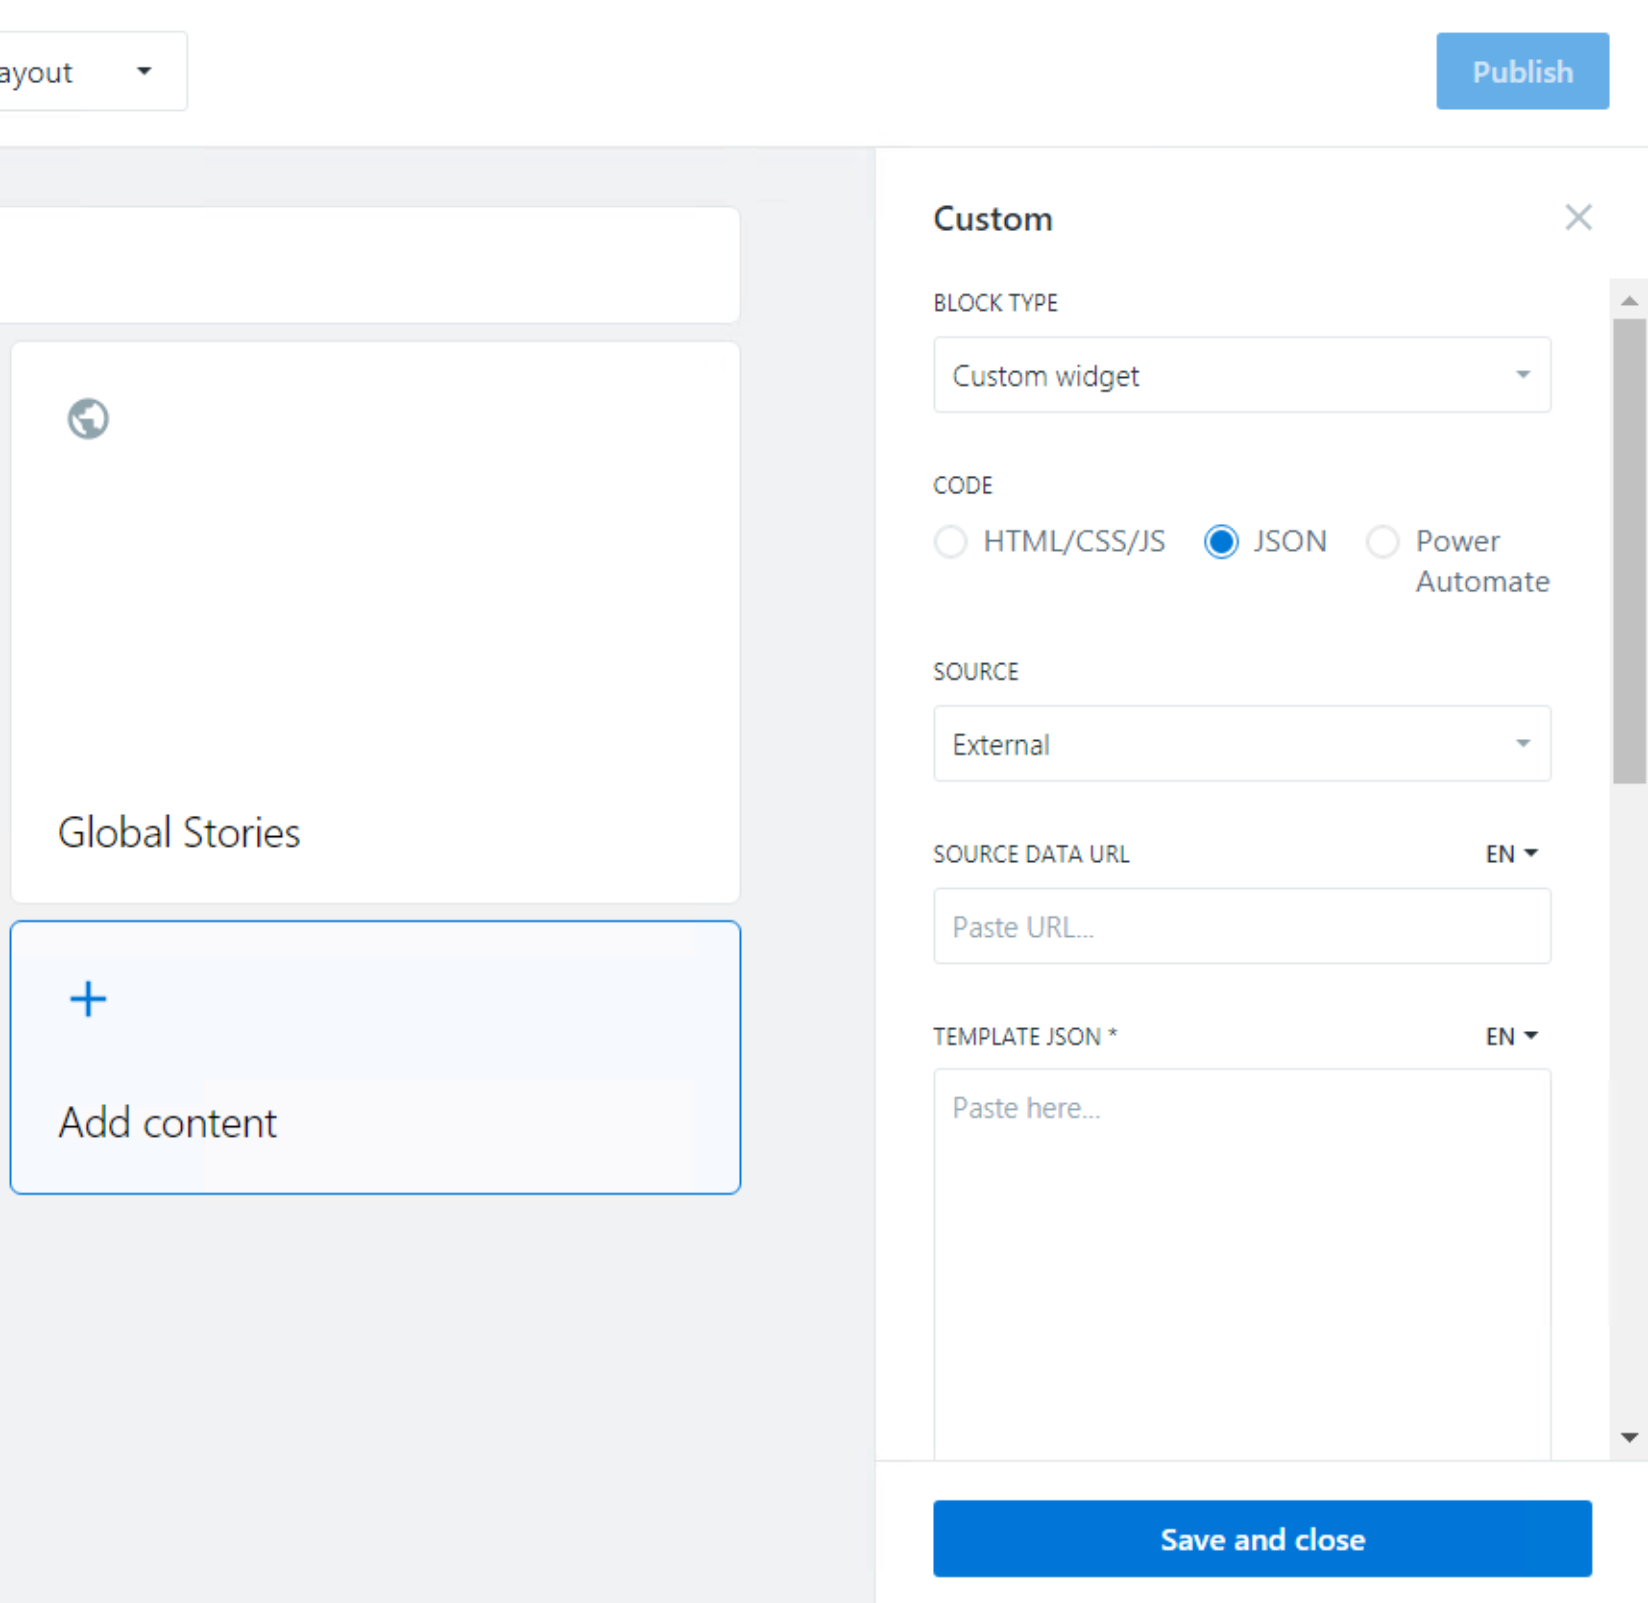
Here you will find the following fields:
- Source
- Source data URL
- Template JSON (mandatory)
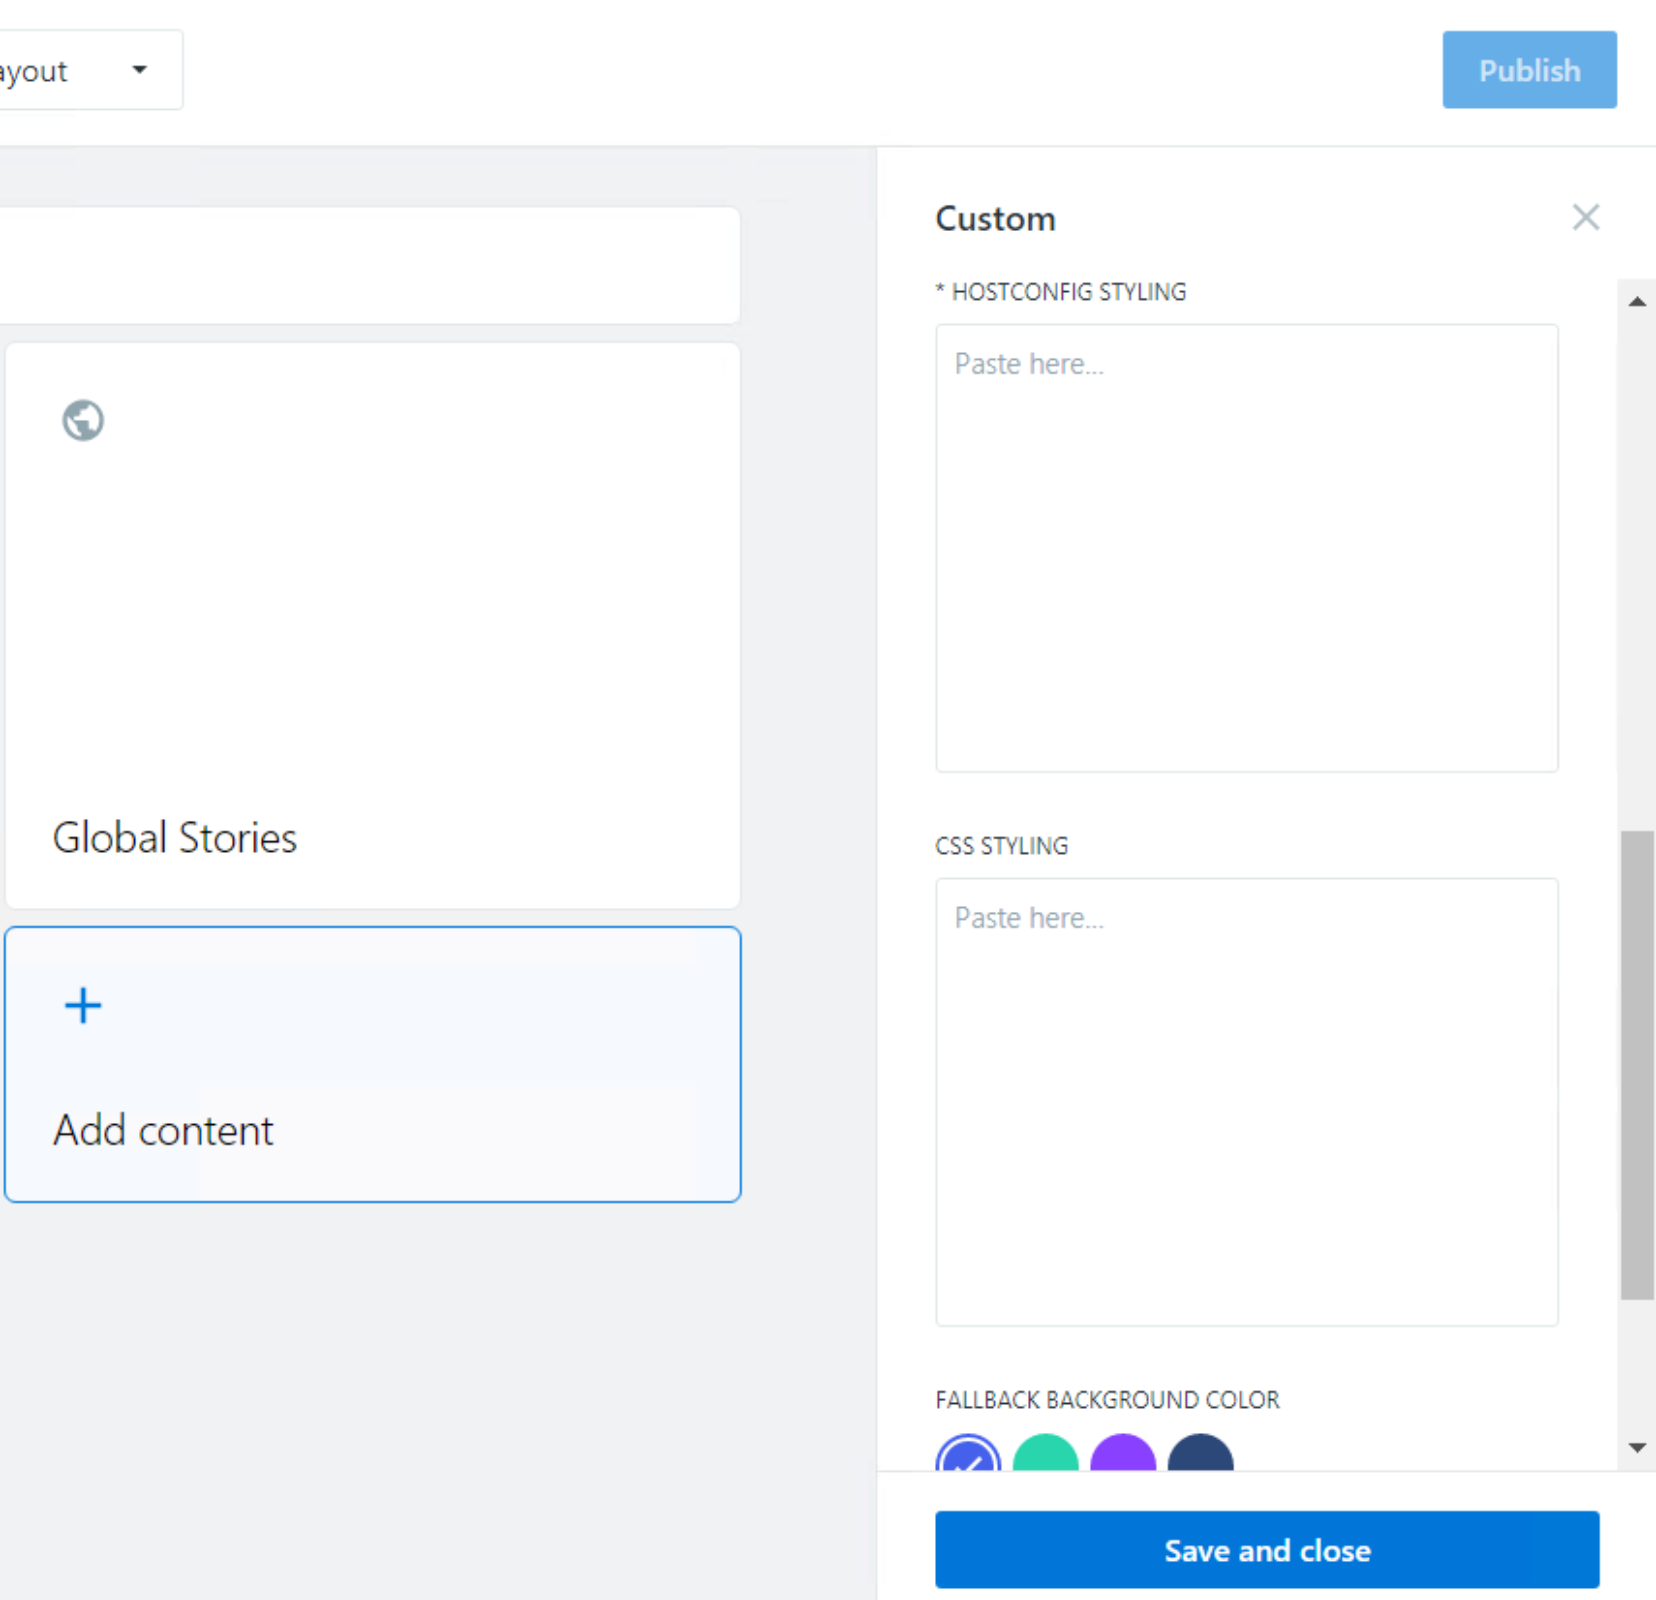
- HostConfig styling
- CSS styling
- Fallback background color
Let’s look at them one by one.
“Source field”
If you are creating a static card and you won’t add a Source data URL (next field), this field will be ignored.
If you are creating a dynamic card, here you need to specify if the Source data URL that you will provide in the next field, is internal (in your SharePoint domain) or external (in a different domain).
“Source data URL” field
Just leave this field empty in case you want a static card.
If you are creating a dynamic card, here you have to paste the URL that will provide the “Data JSON”.
“Template JSON” field
This is the only mandatory field and the most important one. Here we have to add our Adaptive Card JSON template.
You can find some samples here: https://adaptivecards.io/samples/
In the samples page, you will see this option checked by default.

If you decide to add a static card, just uncheck the “Use Adaptive Card Templating”, copy the JSON and paste it in the Template JSON field.
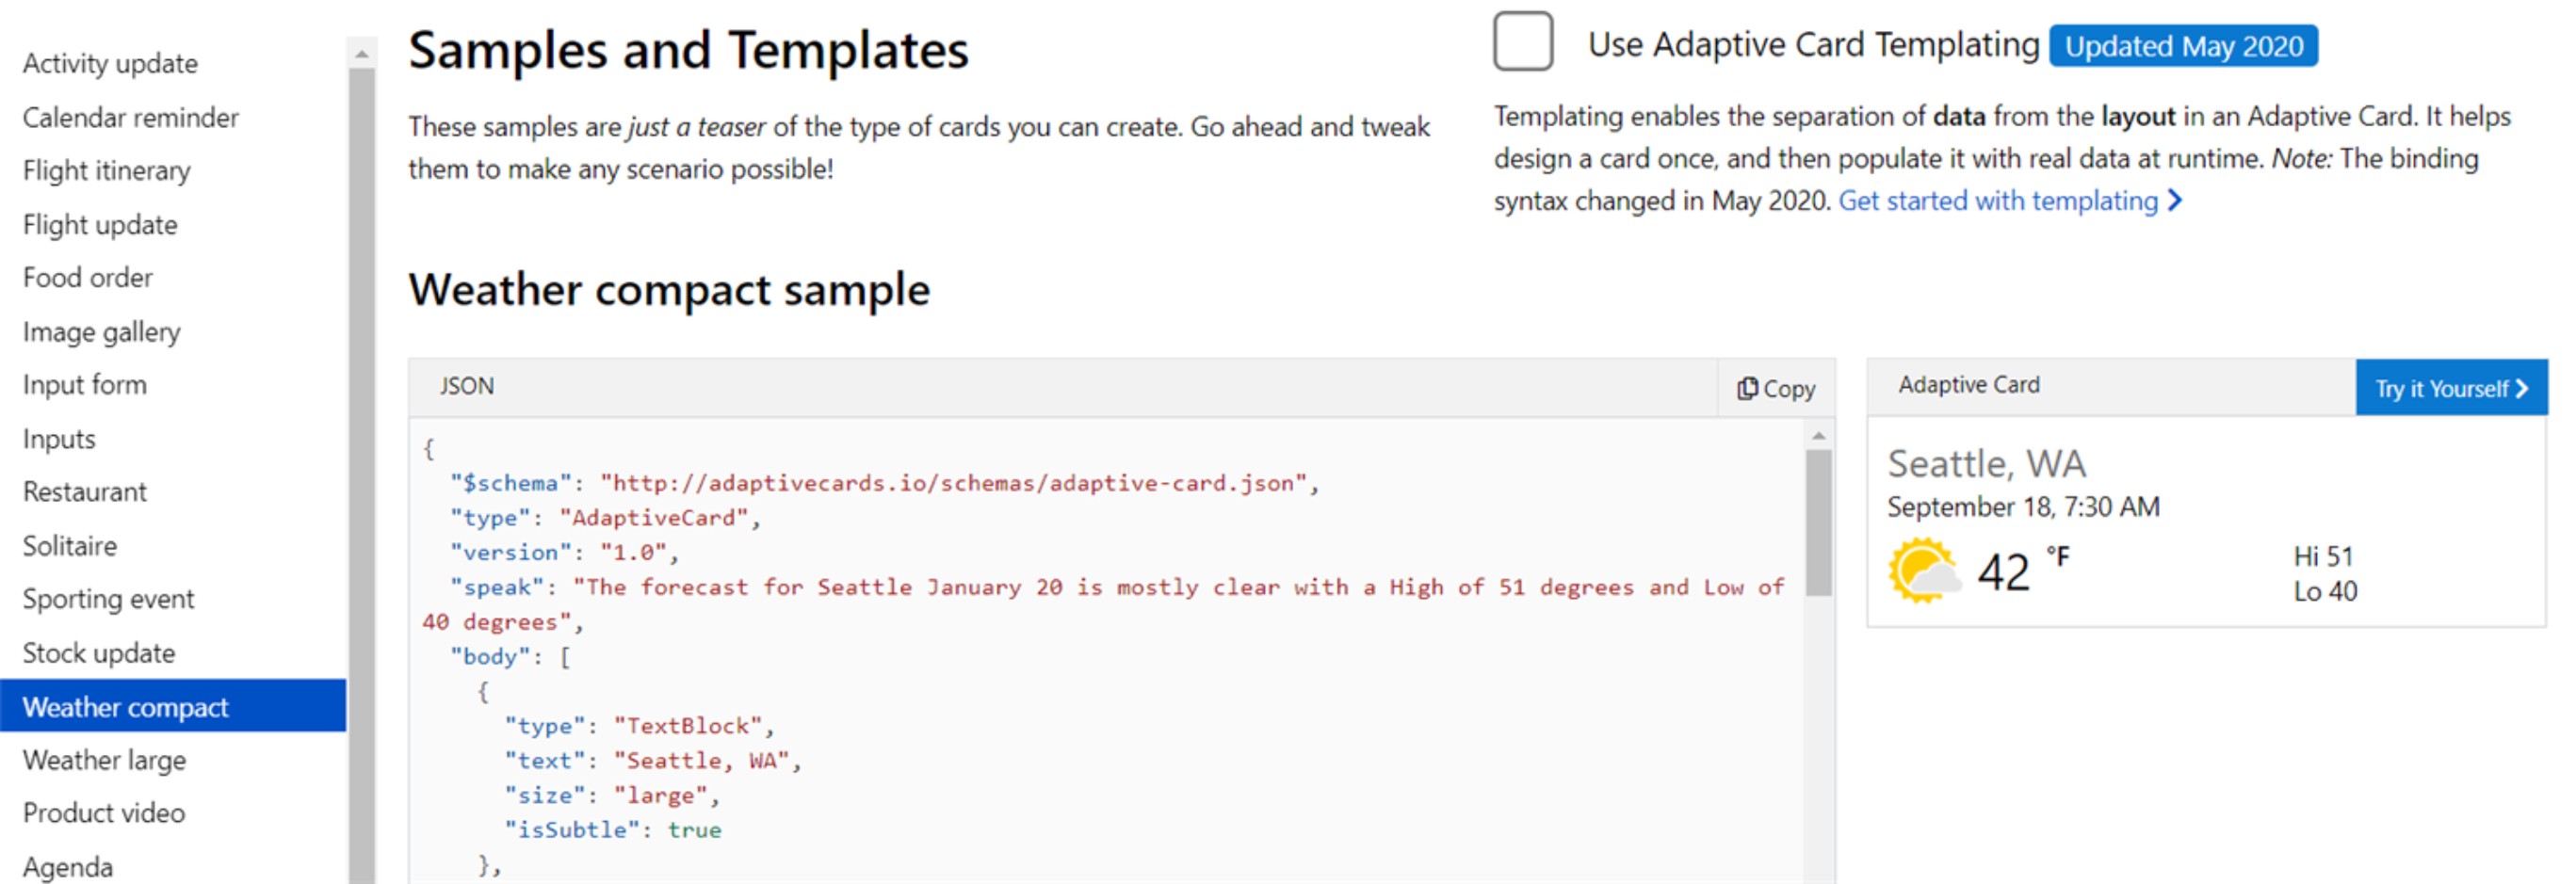
If you do want a dynamic card, then you need to check the “Use Adaptive Card Templating”. You will see two JSON:
- copy/paste the Template JSON in the Template JSON field in the block.
- copy the Data JSON, paste it in a .txt file, change the extension to .json, then you should upload it in SharePoint (internal) or an external provider, and paste the URL in the Source data URL field.
HostConfig & CSS styling JSON fields
Please read the guide: How to style Adaptive Cards (WIP) to learn more about these two fields.
Fallback background color
This is the color that will appear in your widget if you do not set any background color (neither in the HostConfig nor the CSS styling fields)
It is also the color of the widget loading state.

Once you have filled every field you need, click the Save and Close button, and go to the Preview or directly click on Publish/Update the Hero and check it on the start page.
Examples
Simple static widget
- Go to https://adaptivecards.io/samples/SportingEvent.html
- Uncheck the Use Adaptive Card Templating option

- Copy the JSON and paste it in the Template JSON field of your custom widget block (in Manage Settings => Hero)
- Save and Close
- Publish/Update Hero
- Check the Hero in the start page

Dynamic widget with HostConfig & CSS styling
- Go to https://adaptivecards.io/samples/SportingEvent.html
- Check the Use Adaptive Card Templating option

- Copy the Template JSON and paste it in the Template JSON field of your custom widget block (in Manage Settings => Hero).
- Copy the Data JSON, paste it in a .txt file, change the extension to .json, upload it here: https://firebase-image.vercel.app/ and copy/paste the resulting URL in the Source data URL field in the block.
- Set the Source field to “external”.
- Copy the HostConfig sample here: https://github.com/microsoft/AdaptiveCards/blob/main/samples/HostConfig/webchat.json and paste it in the HostConfig field in the block.
- Copy/Paste the following CSS to the CSS styling field in the block: html, body, .ac-adaptiveCard { height: 100%; } body { margin: 0; overflow: hidden; } .ac-adaptiveCard:focus { outline: 0; }
- Save and Close
- Publish/Update Hero
- Check the Hero in the start page

Was this article helpful?