Building passes are configured in the Reservations module, which is ideal for configuring space reservations in a flexible, hybrid workplace. The Appspace Space Reservation system is used for reserving rooms, workspaces, desks, and building passes.
The Building Pass feature allows organizations to monitor and limit the number of users who can access the building in a single day, week, or month.
Building passes are automatically applied for users who make a reservation on a resource, however, the building pass can also be applied on its own and used only for visitor registration to a building.
Once the system is set up, building pass check-ins can be made via the web using our Employee App portal, or the Appspace Employee App on a mobile device (Android or iOS).
This article provides you with instructions to configure building passes in the Reservations module.
- Administrators looking for instructions to configure the Appspace Reservations system, refer to Configure and Manage Workspace & Desk Reservations – Administrators.
- Administrators looking for information on navigating the Reservations module in the console, refer to Browse and Navigate Reservations Module in Appspace 8.0.
- Administrators who would like to reserve a space directly in the Reservations module in the console for themselves or on behalf of someone else, refer to Reserve Workspace & Building Pass in Console – Administrators.
- Employees looking for guidance on making a reservation, refer to Reserve a Workspace, Desk, or Room – Employees.
- Employees looking for guidance for reserving building passes, refer to Reserve A Building Pass – Employees.
- Administrators looking for instructions to configure the Schedule Board card with Appspace built-in provider settings to enable space, room, or desk reservations, on the card, refer to Cards: Schedule Board (Multi-Rooms) with Appspace Reservations.
Prerequisites
- An Appspace Platform user license.
- An active Appspace public/private cloud user account.
- Account Owner or Location Admin role.
- Buildings created in Locations for resource mapping.
- Appspace App 2.20.2 or later for using QR codes to check-in to a building.
To configure building passes you may choose to connect to a calendar provider used by your organization to import, configure, and enable building passes.
However, buildings don’t typically exist as a resource in calendar provider configurations, thus you can create the resource directly in the reservations system (using Appspace as a calendar provider).
Add Calendar Provider
If you wish to use an external calendar provider such as Office 365 or G Suite, a provider must first be added into the Reservation resources module by creating an authentication passport to enable a secure connection between Appspace and the calendar provider.
Please follow the instructions below to add and authenticate a calendar provider:
- Log in to the Appspace console.
- Click Reservations from the ☰ Appspace menu, and click the Resources tab.
- Click the dropdown arrow next to the + CREATE button, and select + Add Provider.
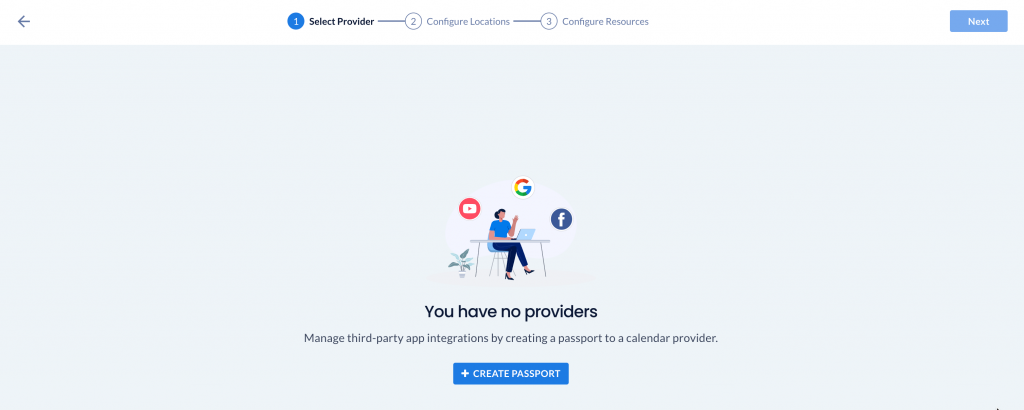
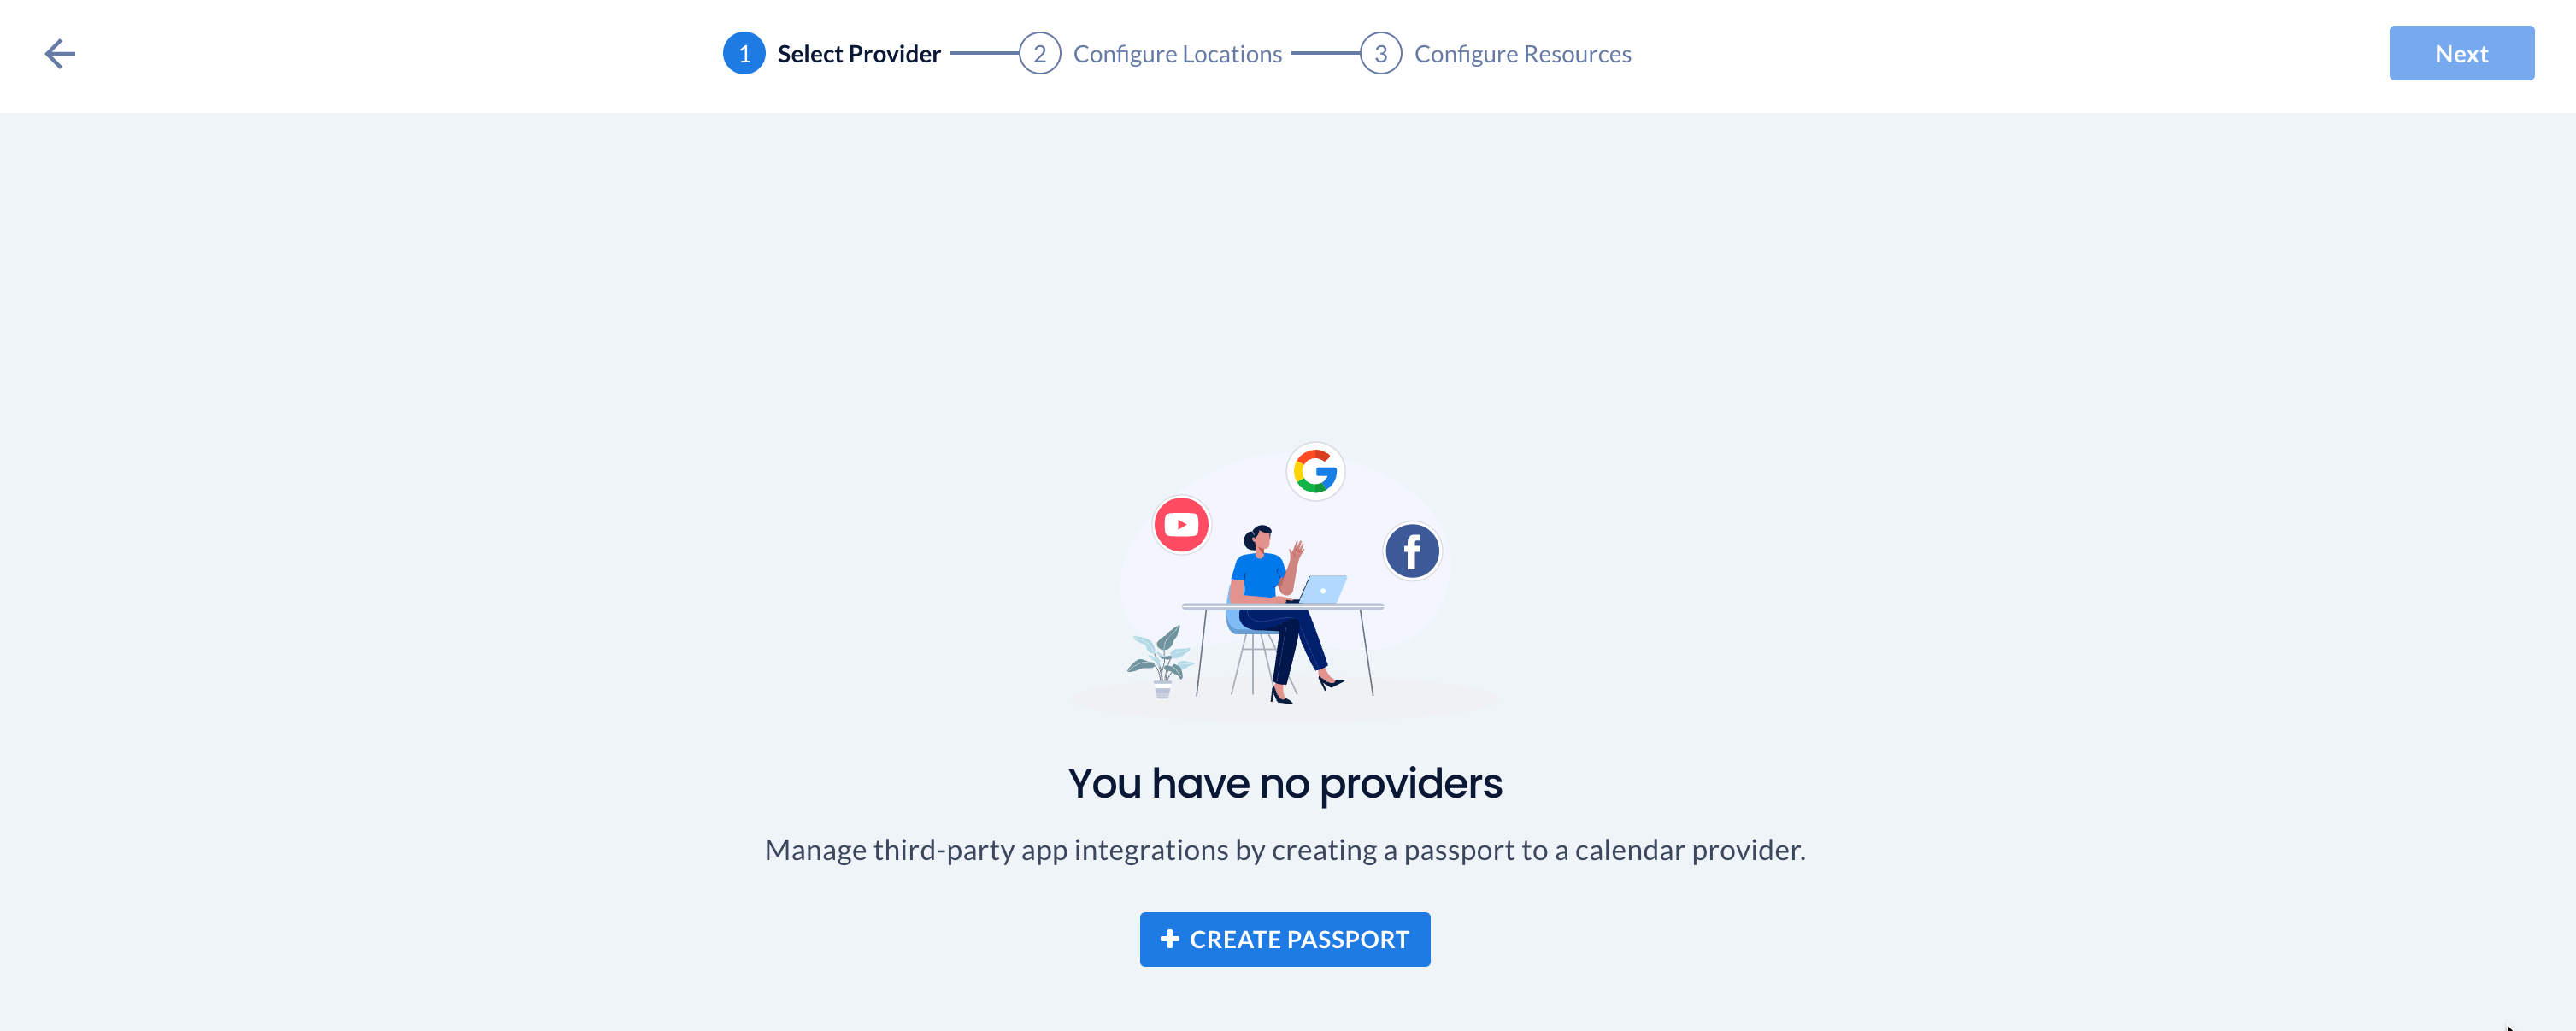
- Click + CREATE PASSPORT to create a new calendar provider.
- In the Connect to an App to create a Passport window, select a calendar provider and click Next.
- In the Permissions dropdown, select the type of permission that is required, click Connect.NoteOnce you click Connect you will be redirected to an authentication window for your calendar provider. Here you must provide your credentials to authenticate your calendar provider.
- Proceed to Configure Locations, by selecting one of the following options for the building resources:

- Do not Import
- Import as a new building – If this option is selected, proceed to select the location the building will be created in.
- Import to an existing location – if this option is selected, proceed to select the building the resources will be imported to.
NoteEach building displays the number of floors and resources it has been configured with. When importing the resources, you have the option to import the resources from a particular floor, and to either have these resources newly created or added to an existing floor in your building in Locations.
- Once done, click Next.
- The Configure Resources section displays all resources that will be added. Optionally you may use the filter to further narrow the resources to be imported.
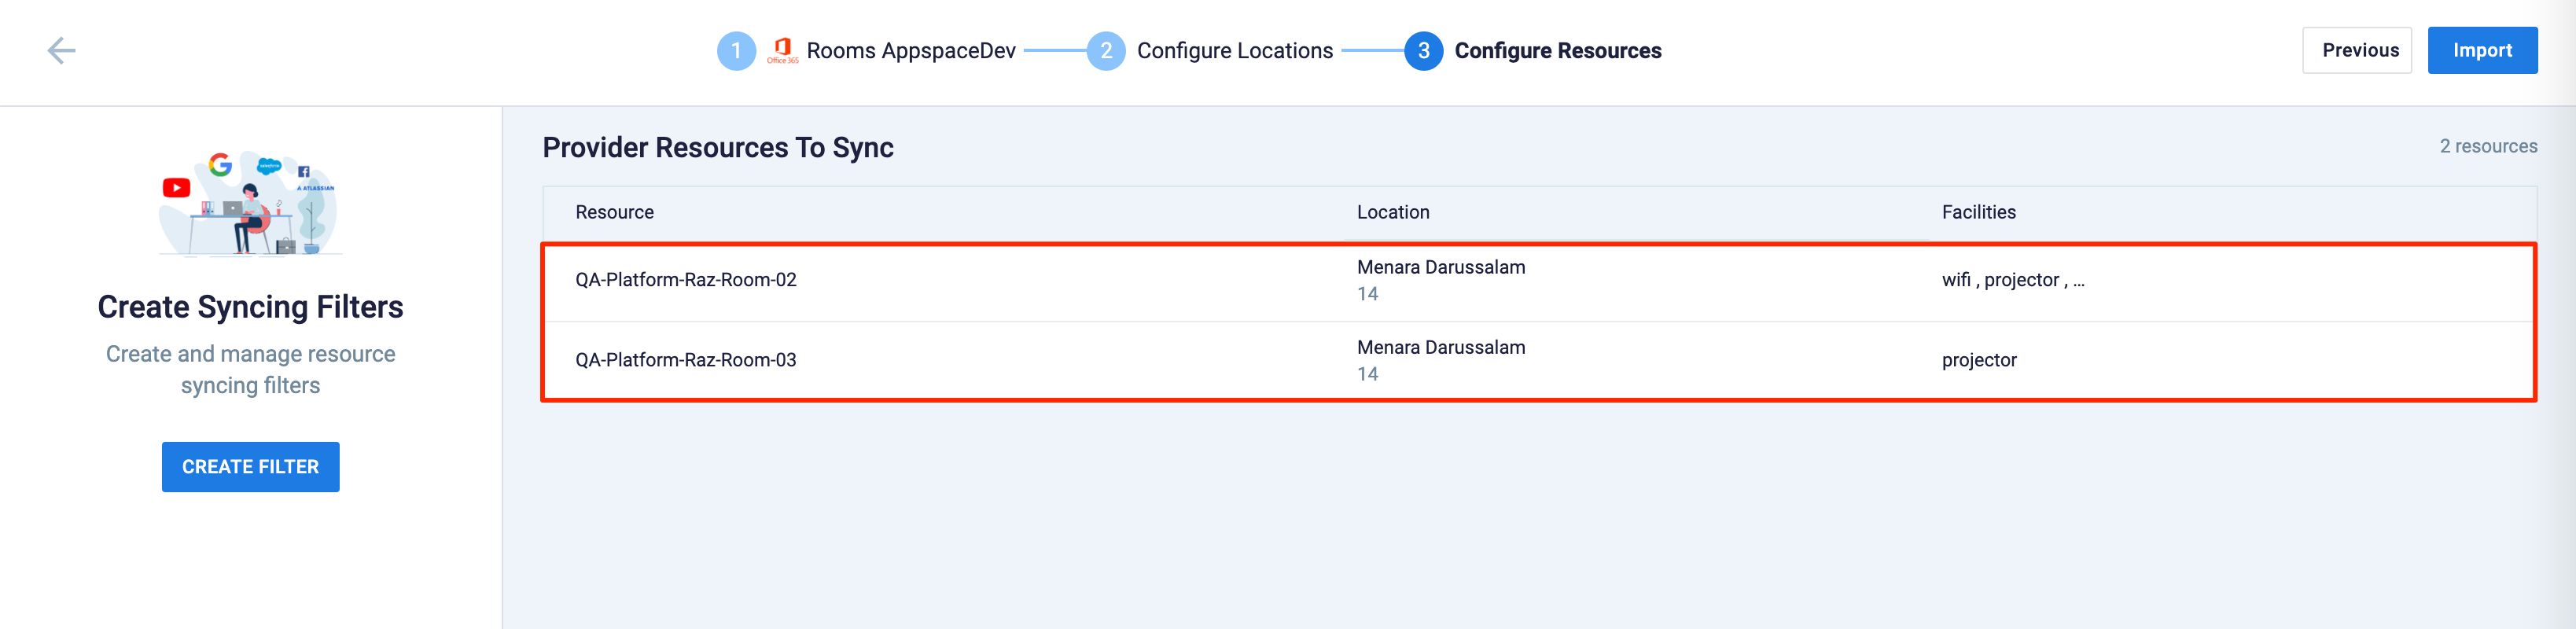
- Once all resources have been confirmed, click the Import button. The imported resources will be displayed in the Resources tab.
Enable Building Pass
Building passes are automatically applied for users who make a reservation on a resource, however, the building pass can also be applied on its own and used only for visitor registration.
Follow the instructions below to enable a building pass for a resource:
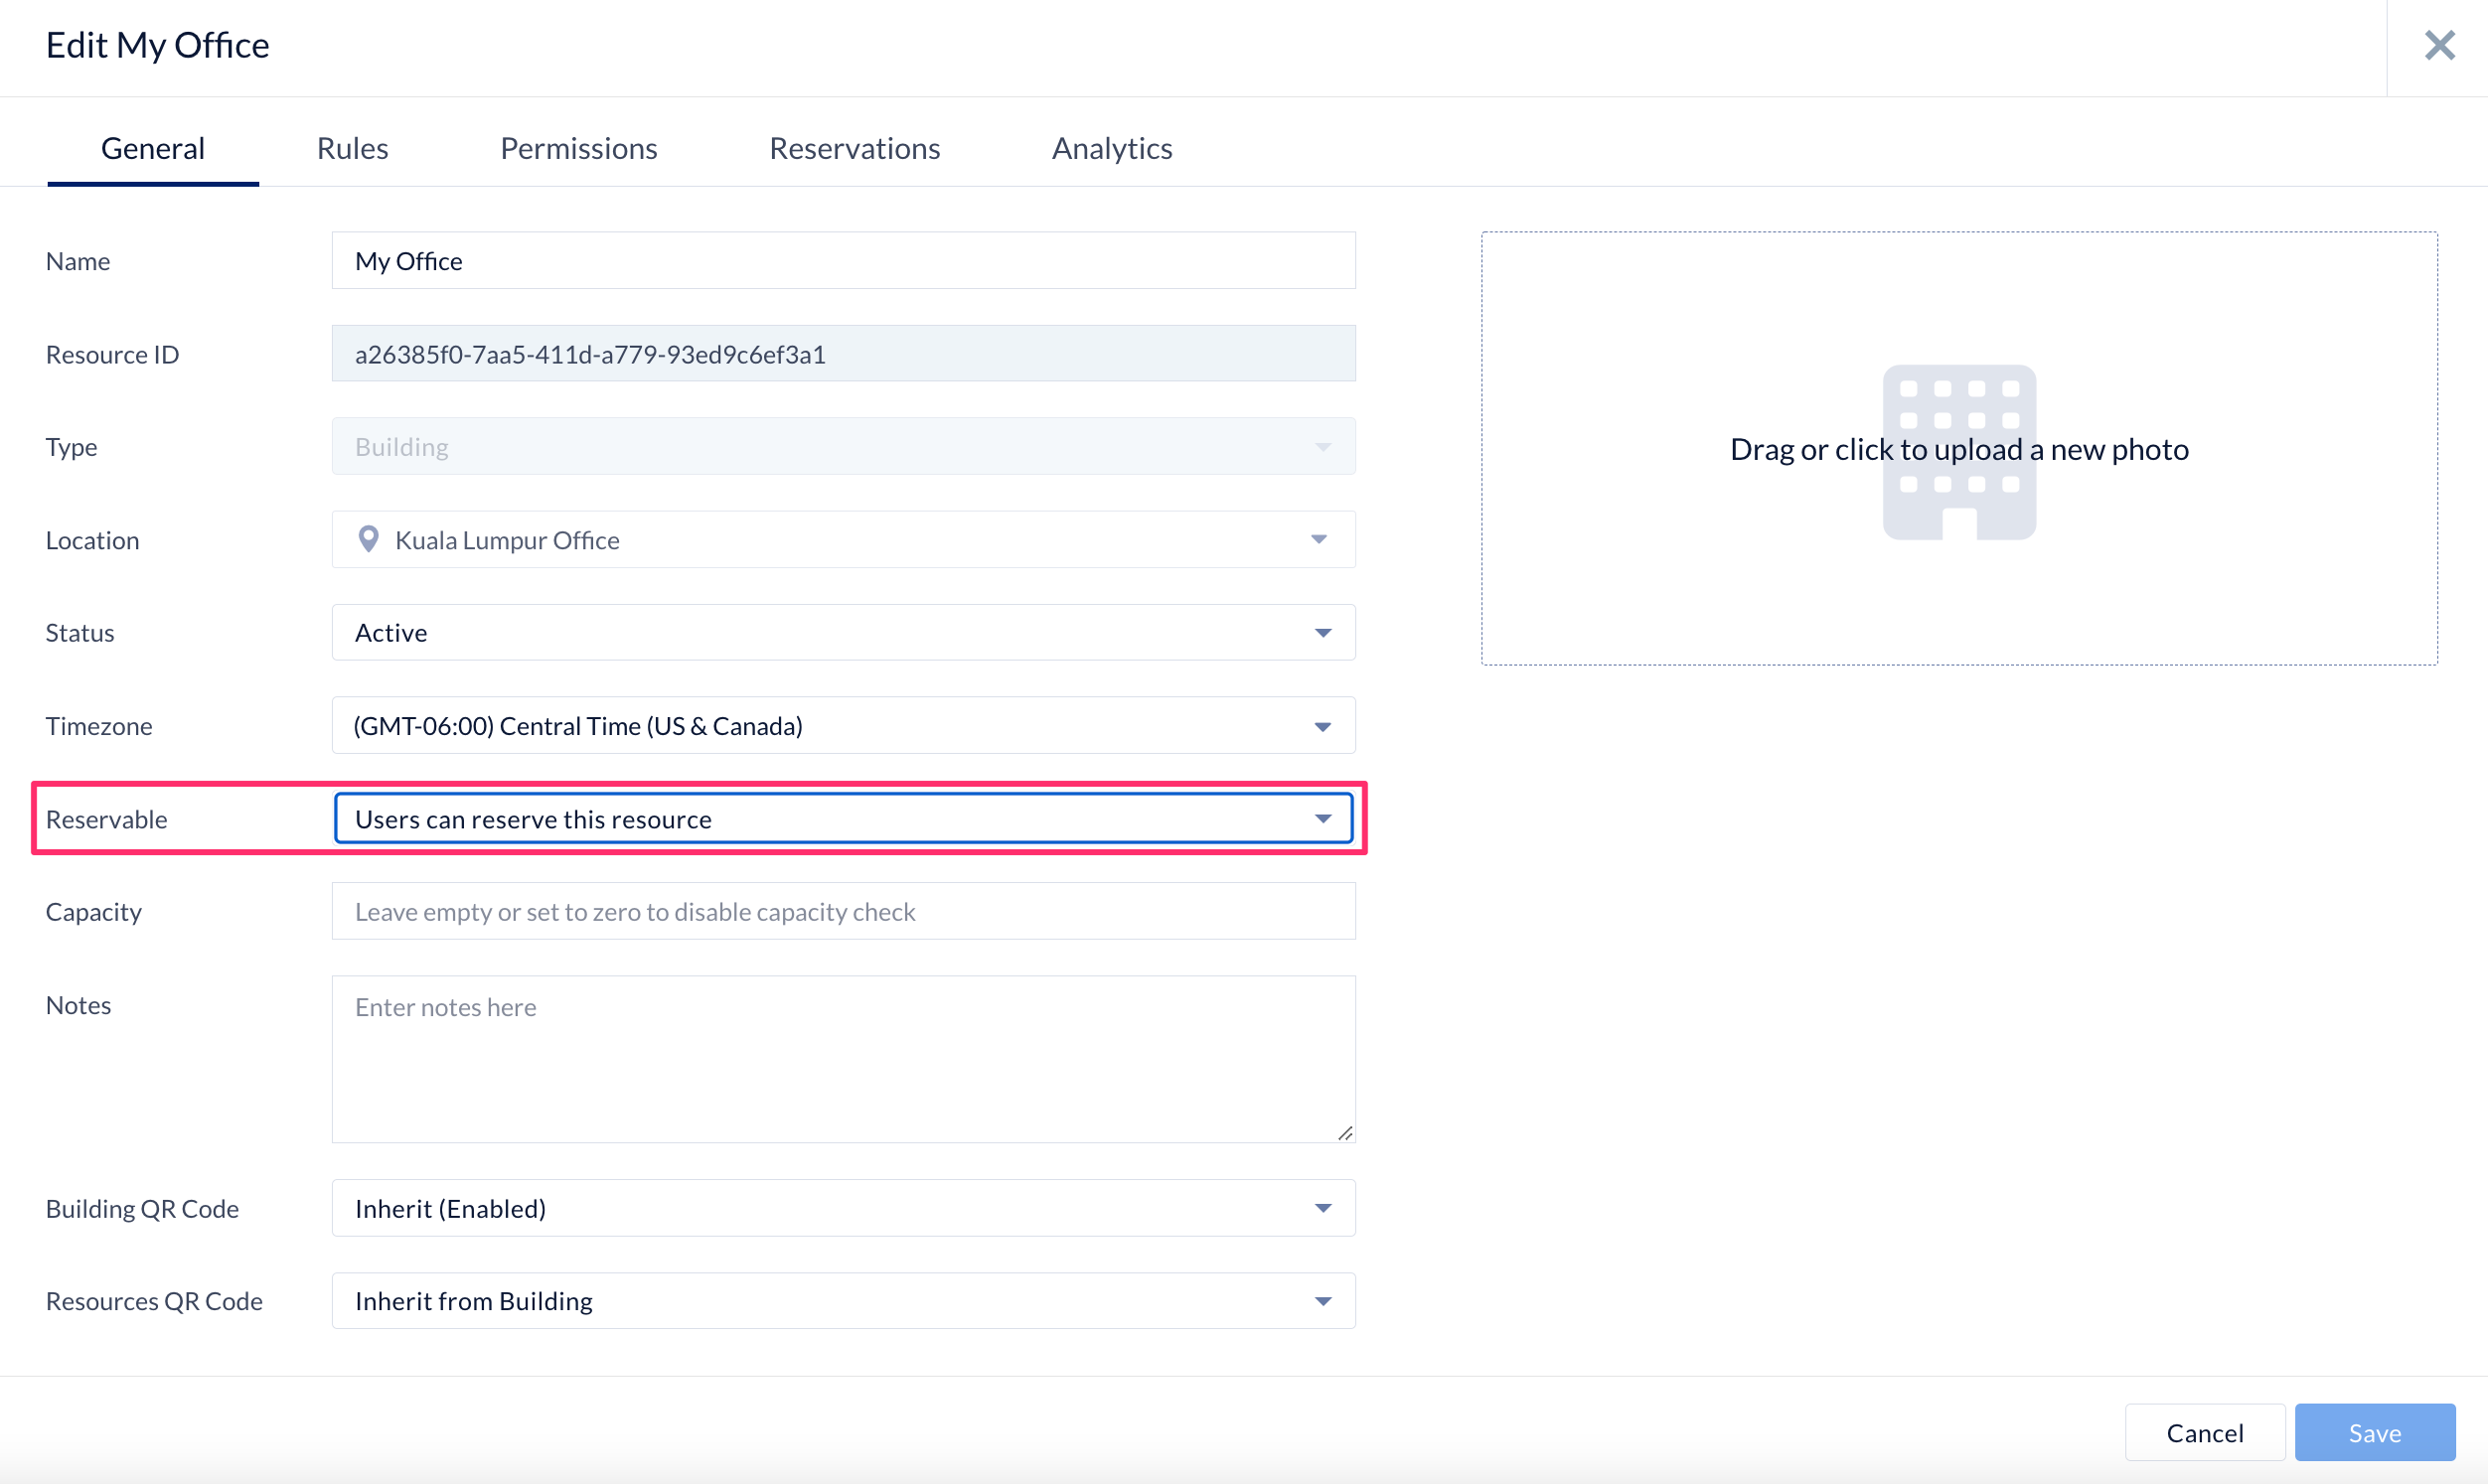
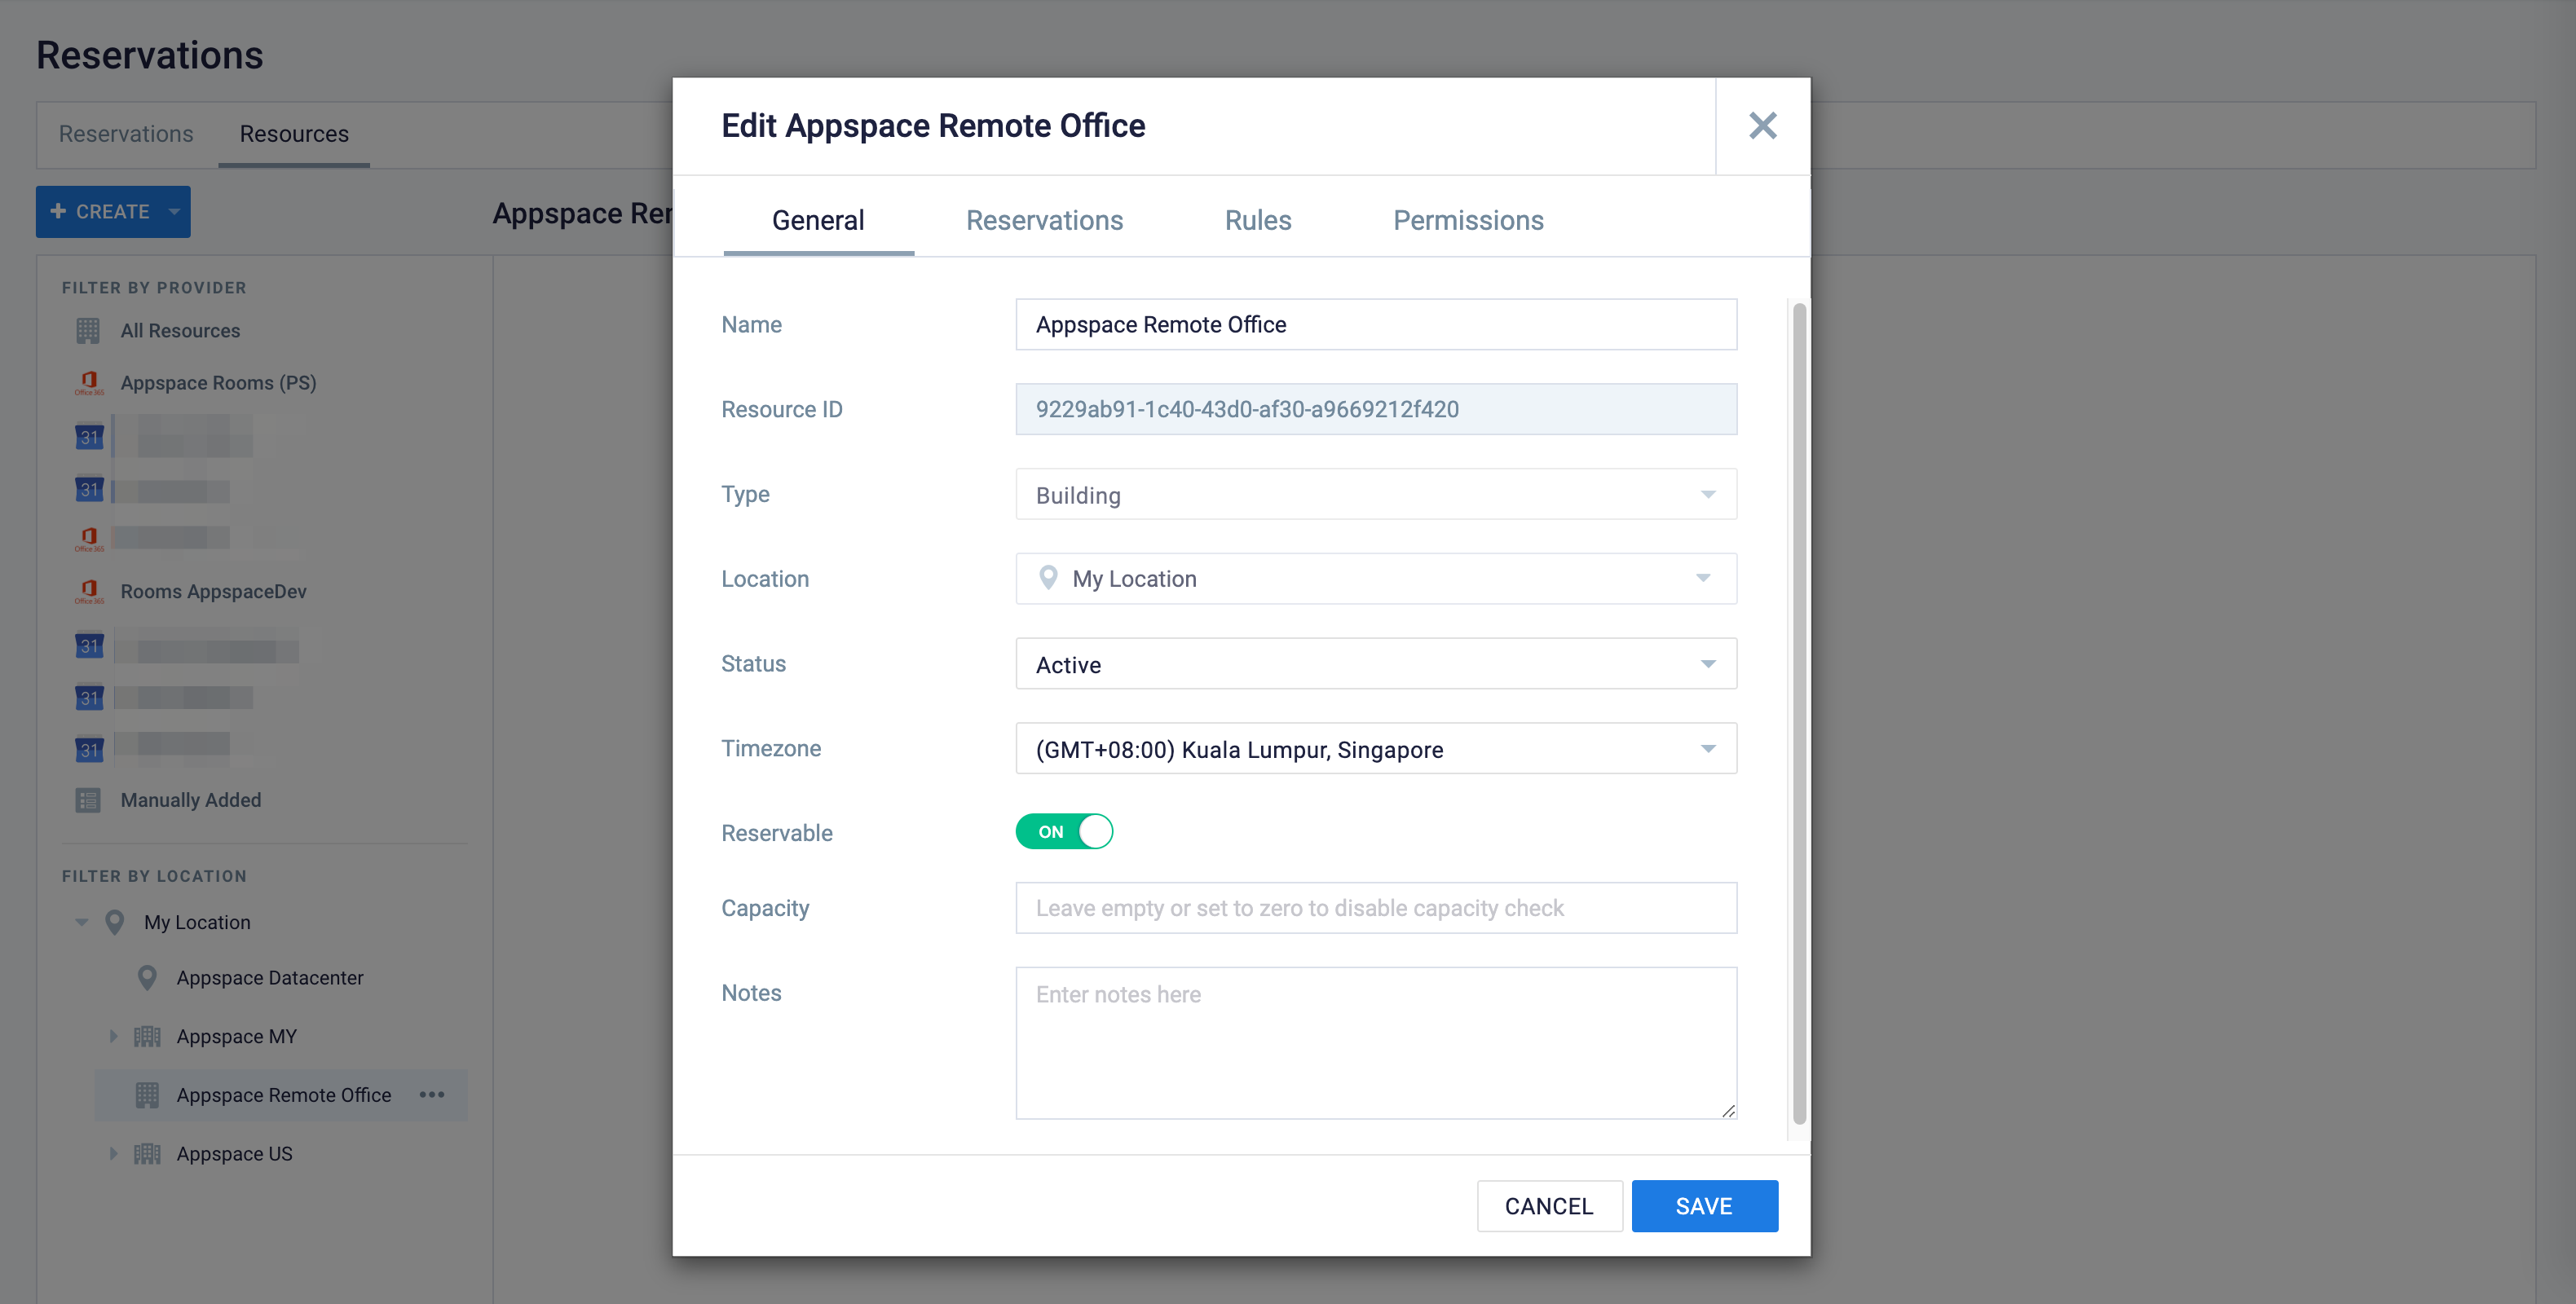
- In the Resources tab, select and click the ellipsis of the building from the Filter by Locations tree, and select Edit.
- In the General tab, under Reservable, select Users can reserve this resource from the dropdown list.

- Optional, but highly recommended that a user Capacity be added to limit the number of users that are able to access the building/resource in a single day.
- Click SAVE.
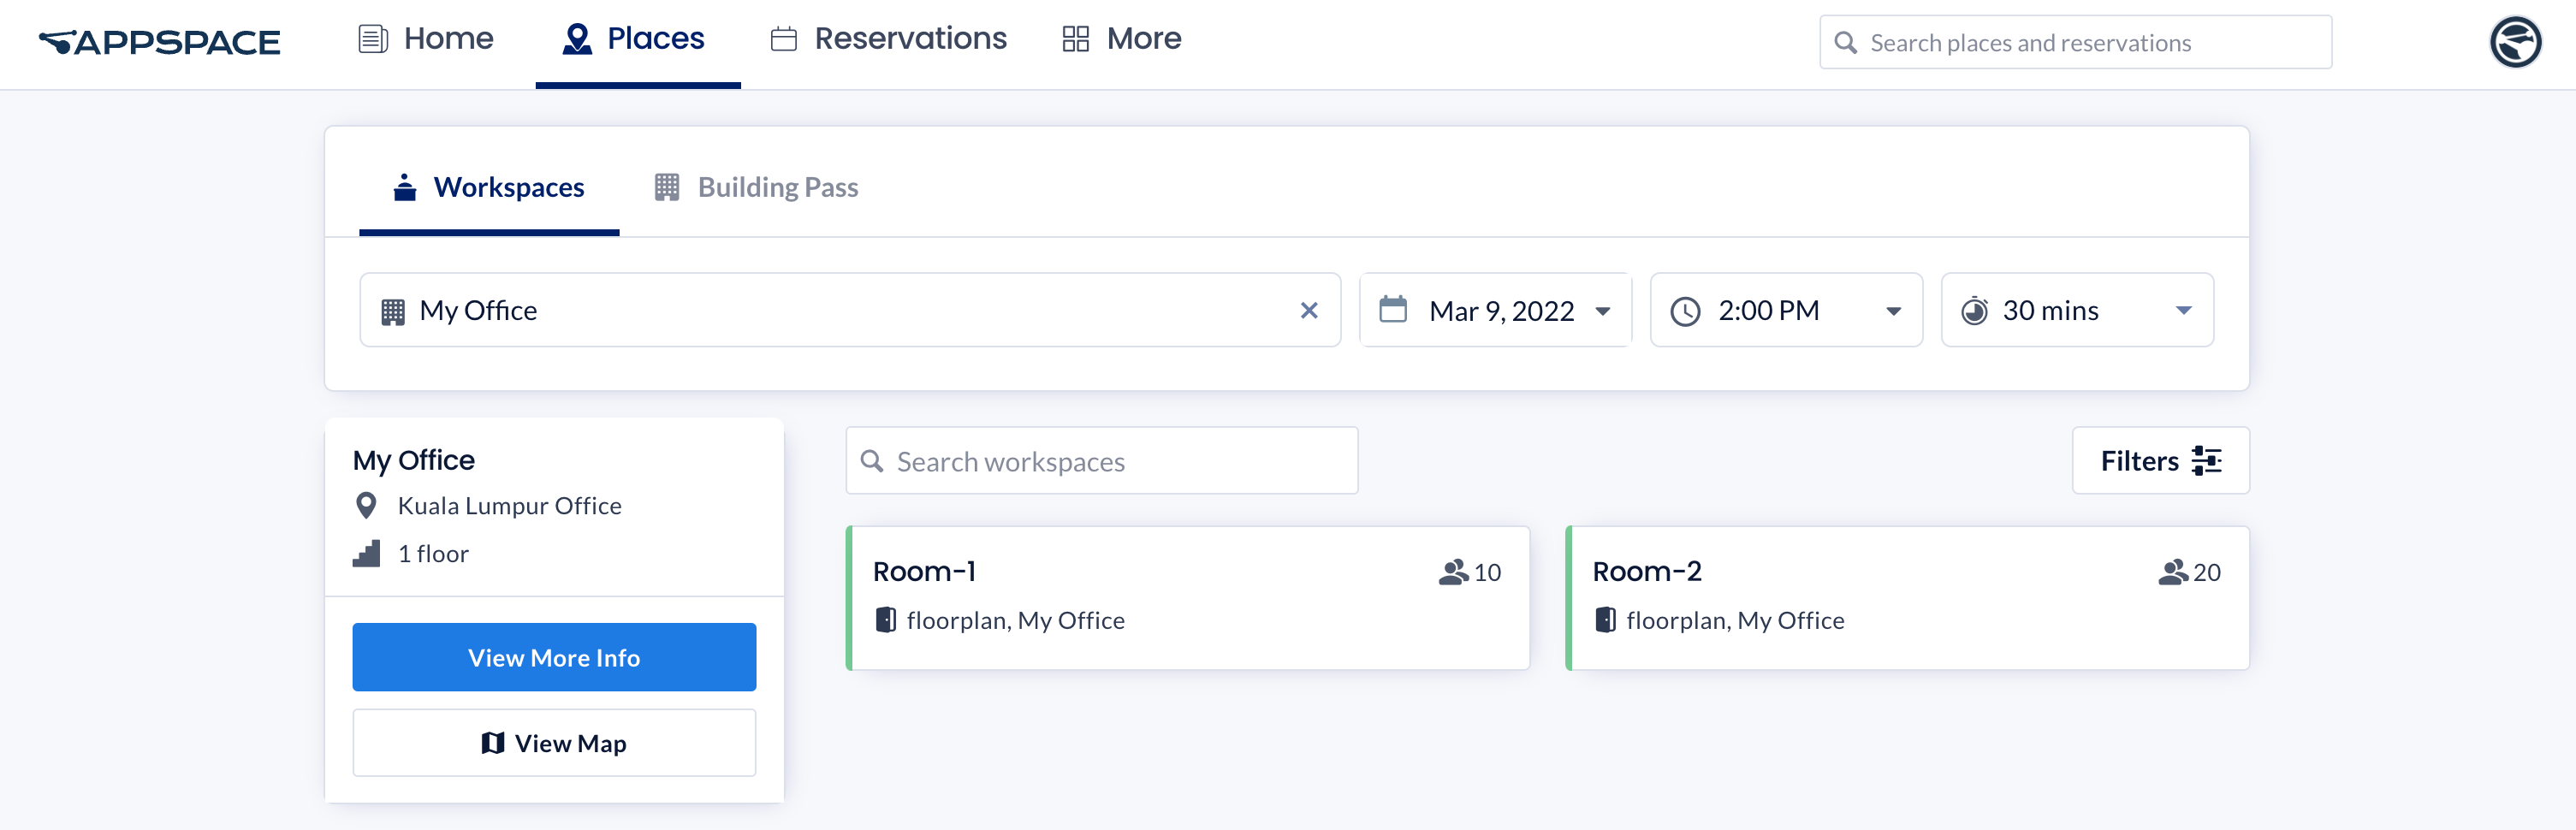
- Employees may now reserve a building pass via the Employee App portal on a browser, or the Appspace Employee App on a mobile device.
Configure QR Reader Device to Scan Building Pass
Configure any device (typically a tablet) running the Appspace for Devices app, with a custom device task, to act as a QR code reader/scanner. This device’s camera will be used to scan a user’s building pass QR code that is generated during a reservation, to confirm the reservation and allow access to the resource or building.
This device is to be placed at the entrance of the building.
Prerequisites
- Chrome OS, Android, or iOS device (tablet) running Appspace for Devices 2.20.2 or later.
- The Reservation: Verify QR reservation status device task package.
Configure Device Task
Follow the instructions below to assign the QR scanner device task to the desired devices:
- Navigate to Devices > Device Tasks from the ☰ Appspace menu.
- Click the Advanced Tasks tab, and click the +ADD button.
- Select the Reservation: Verify QR reservation status device task, and click Select.
- In the Common Parameters section, configure the following:
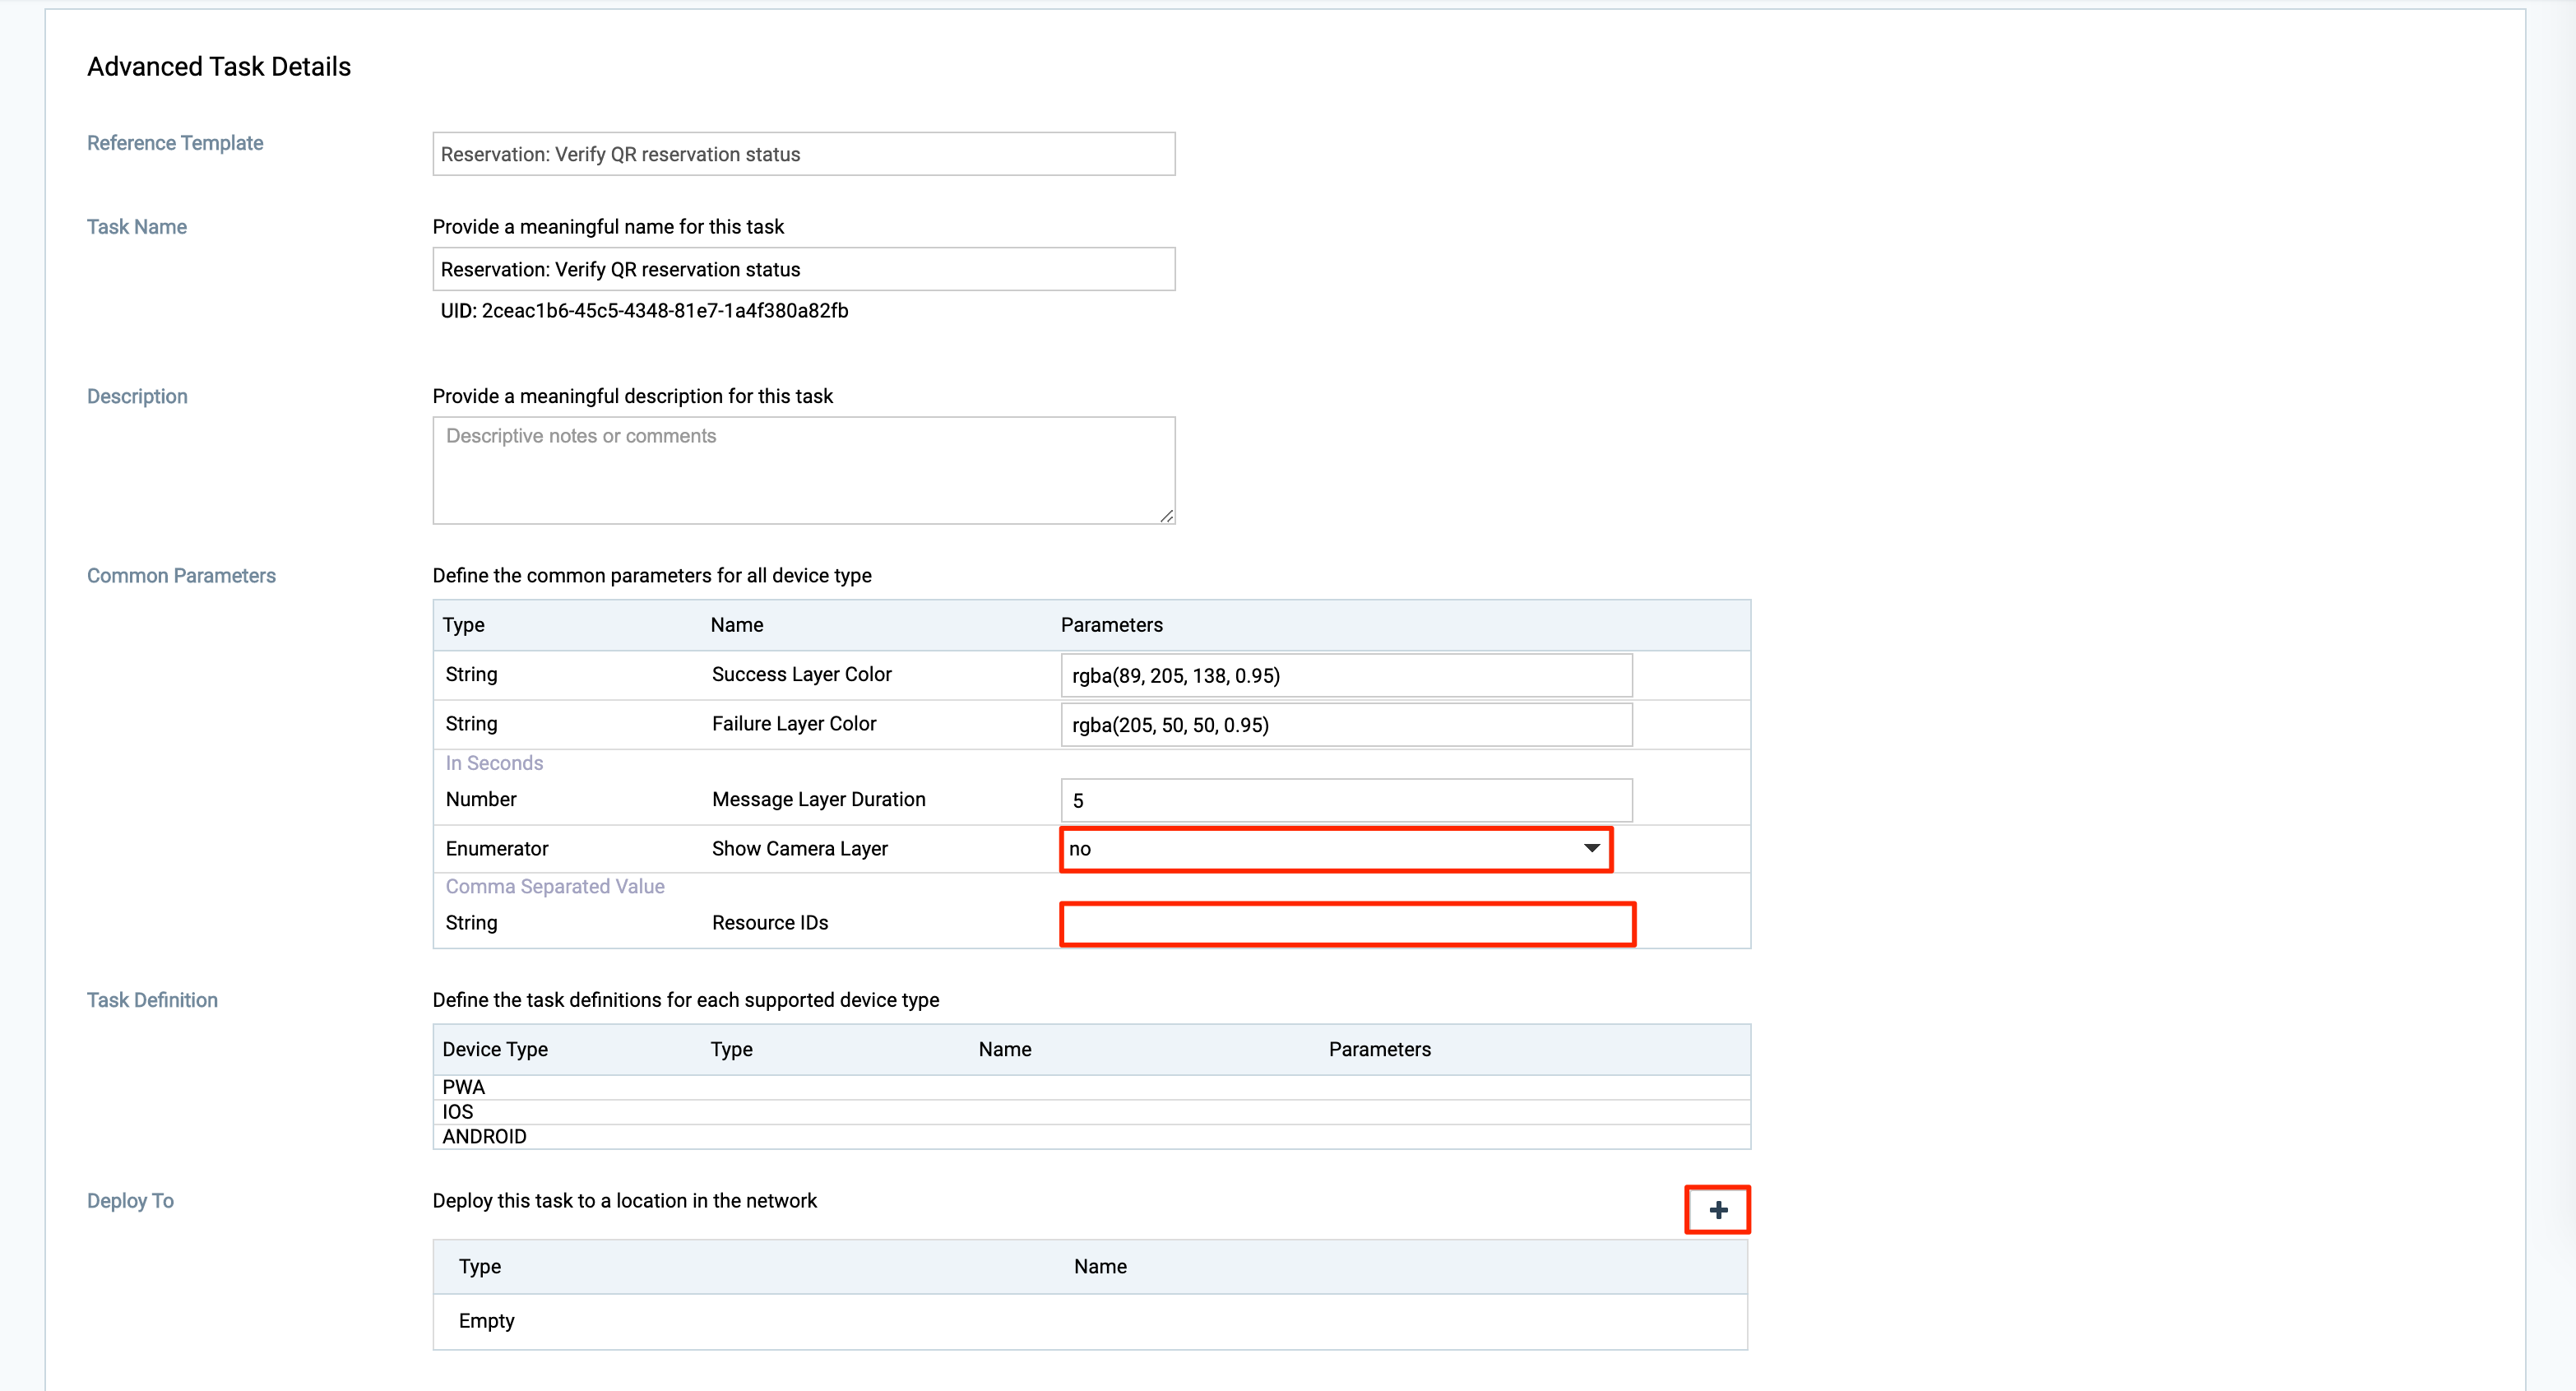
- Select one of the options in the Show Camera Layer drop-down menu:
- No – Does not display the camera on screen.
- Yes – Displays the camera on screen.
ImportantPlease note that this feature only enables or disables the camera screen that is displayed on the device, and not the camera itself. The camera will always be turned ON, even during content playback.
- Enter the Device ID in the Resource ID field.
- Select one of the options in the Show Camera Layer drop-down menu:
- In the Deploy To section, click the + icon.
- In the Select Location window, select a location, select one or more devices that you wish to deploy this device task to, and click the Select button.
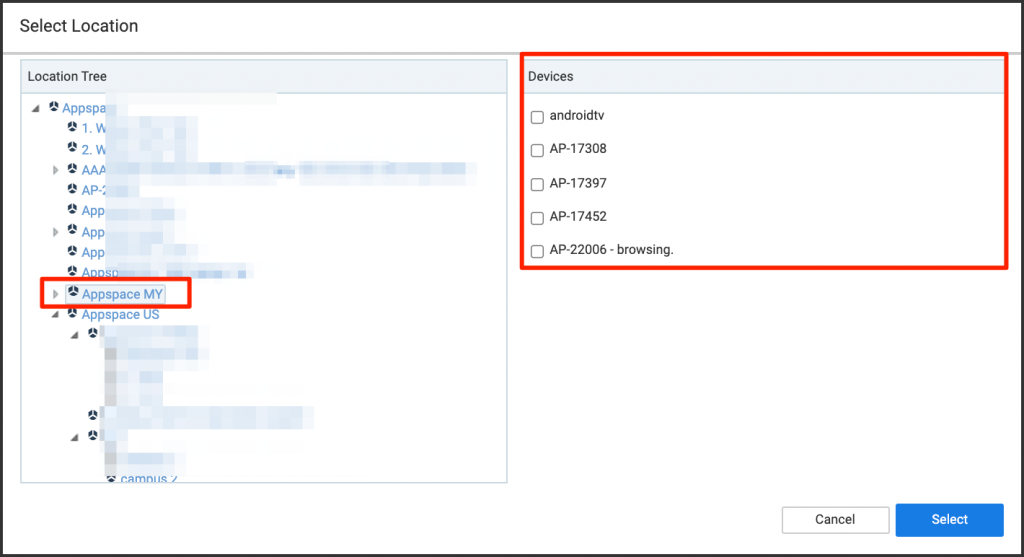
- The selected devices will be listed in the Deploy To section.
- Configure the Schedule.
- Click Save on the Advanced Task Details window.

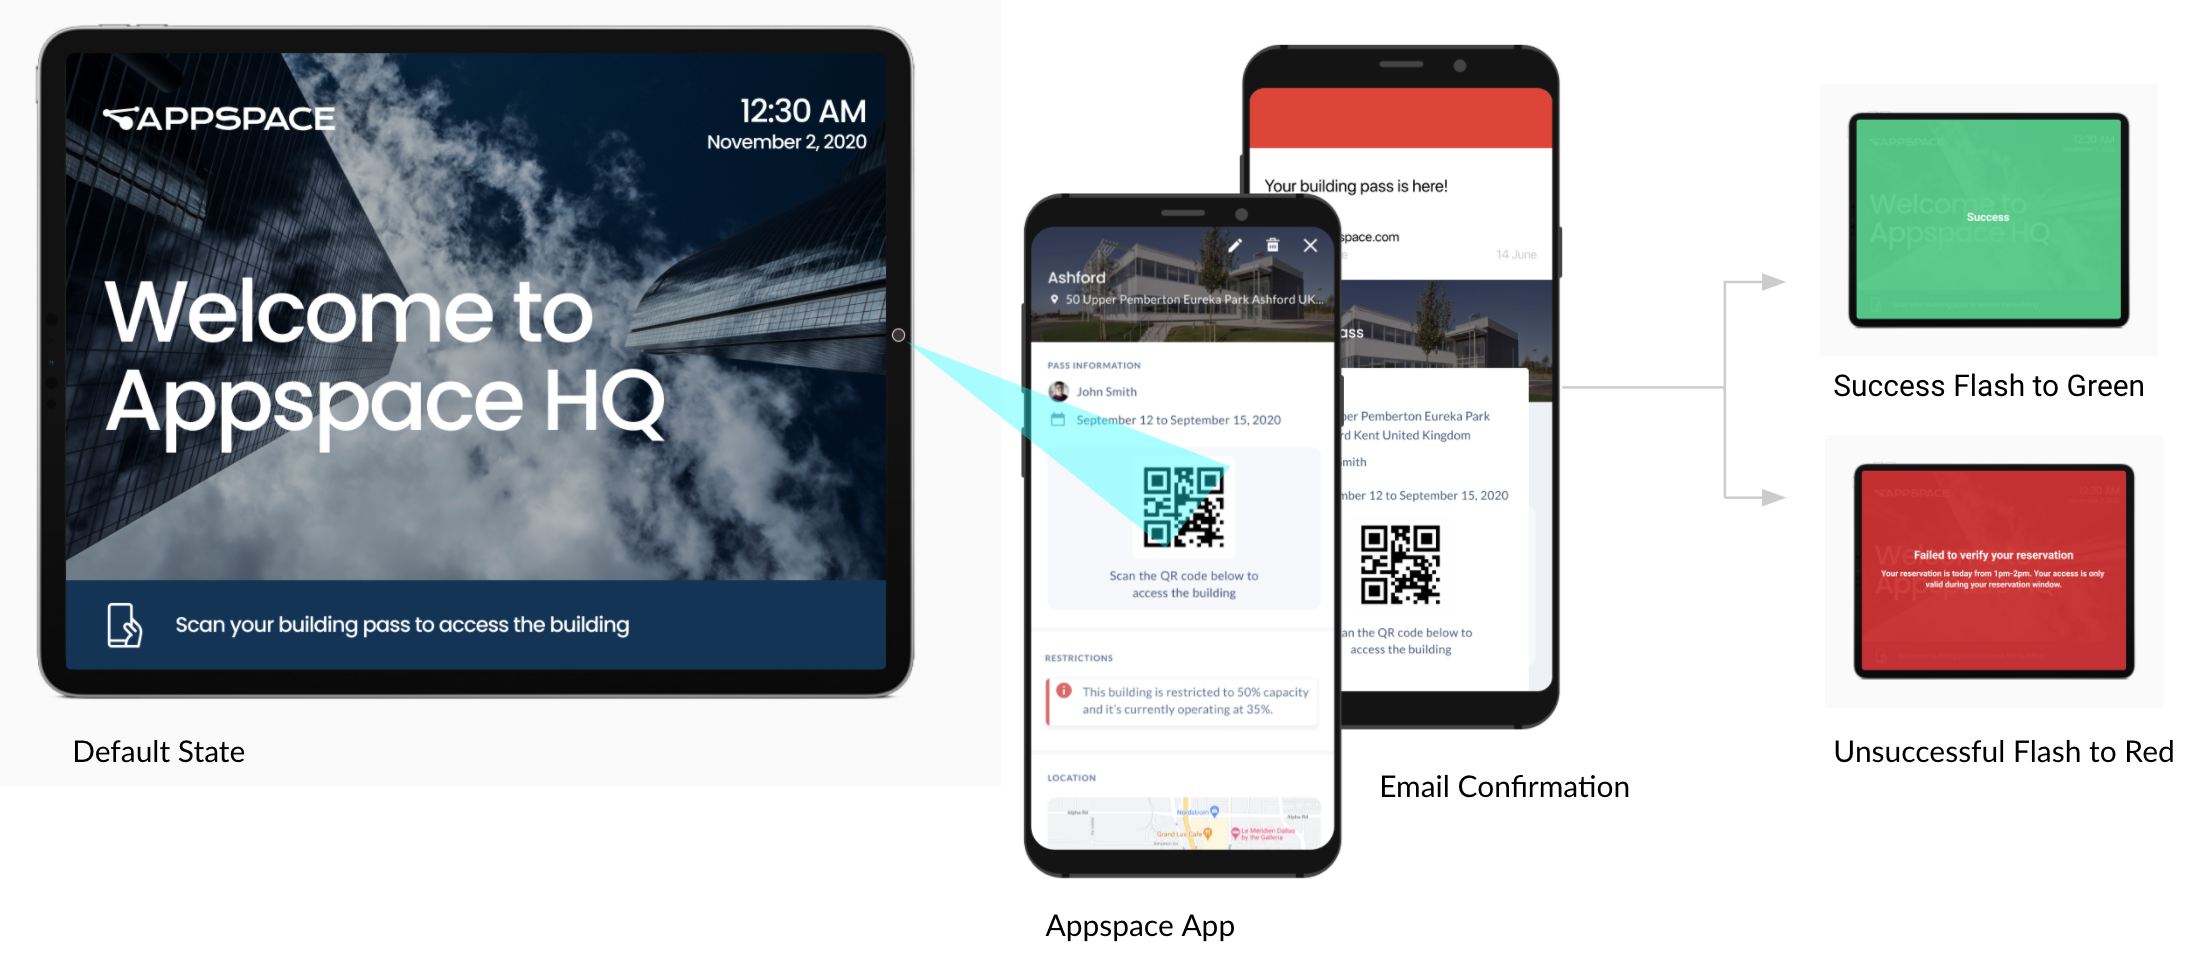
The selected devices will now be able to utilize the device camera to scan the building pass QR code (as in the image below) displayed on a mobile device running the Appspace Employee App.
Was this article helpful?