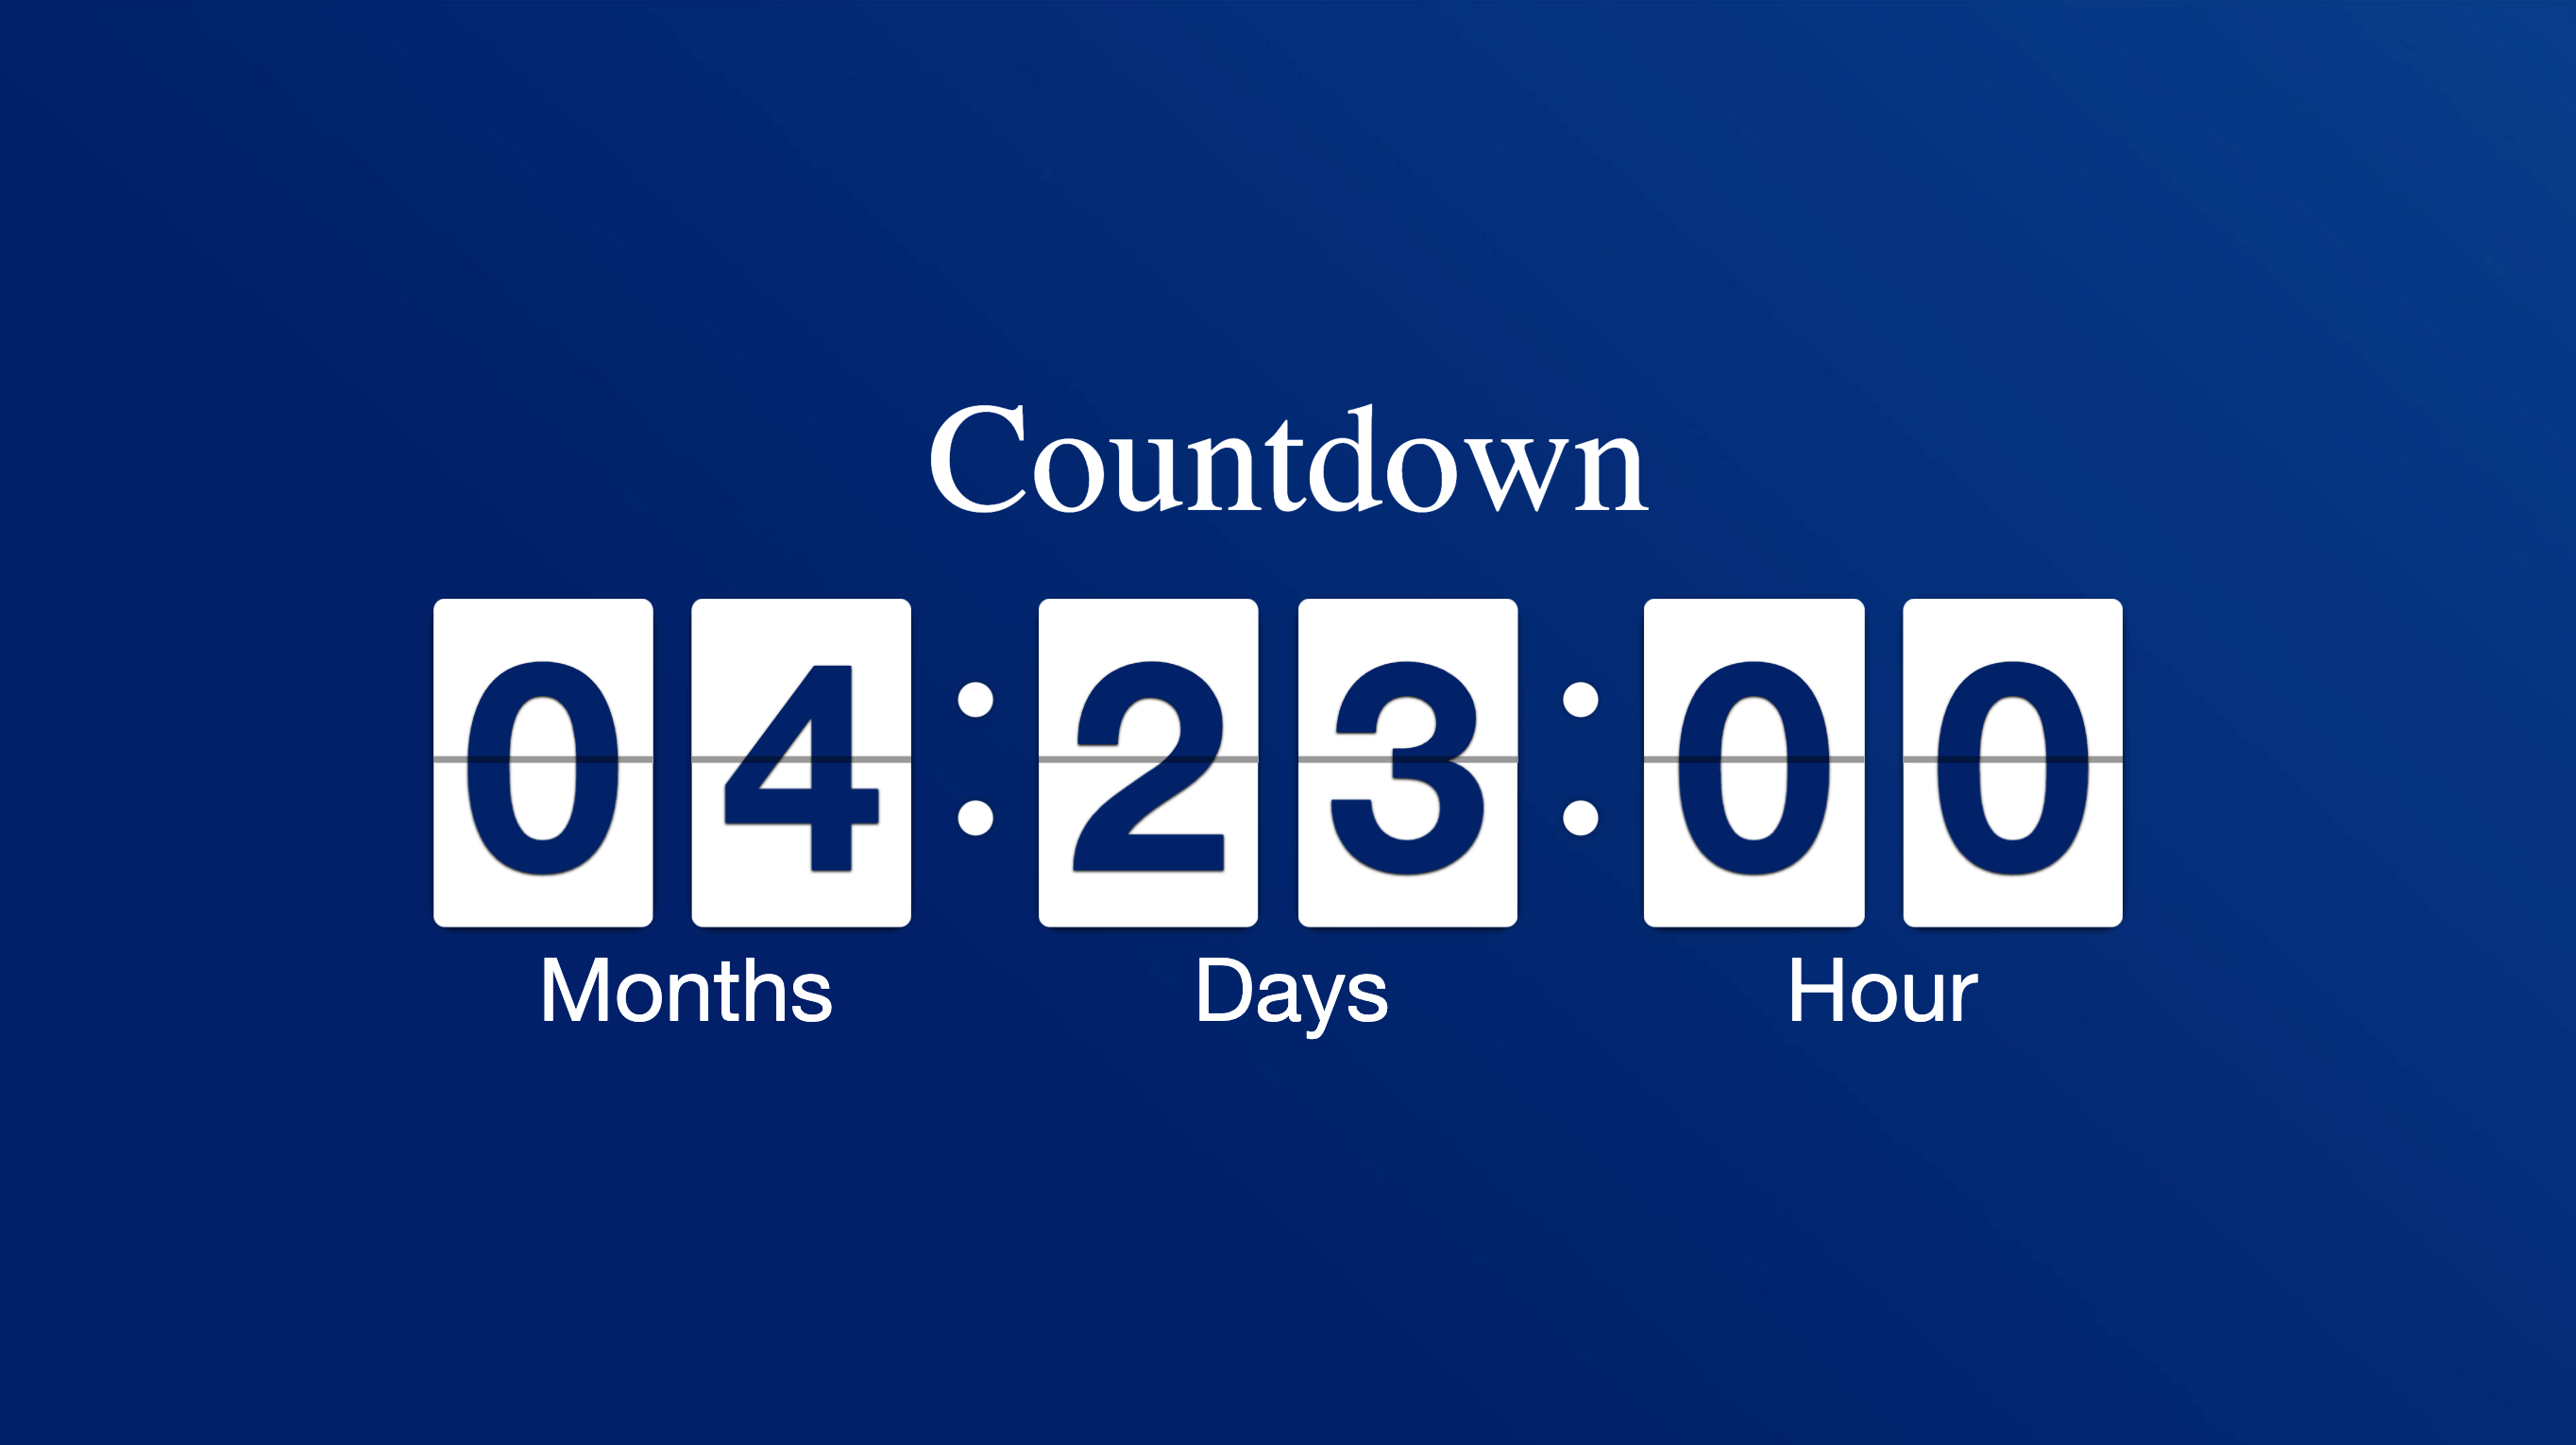
The Countdown card is ideal for businesses looking to display a countdown clock to a specific event such as project launches, task deadlines, or counting down to the new year. Apart from counting down, the Countdown card can also count up, which allows messaging such as “Days without Incident” at factories or warehouses can be displayed.
The Countdown card is an Appspace supported card, which is officially created and periodically updated by Appspace with new templates and features.
Visit our Appspace Card Gallery to find the perfect card to deliver your message.
Apart from the basic card customizations, the following customizations are available on the Countdown card:
- Display a message with a countdown or count up timer.
- Customize the clock style as either Flipboard or Digital.
- Configure the clock timer to display years, months, days, hours, minutes, or seconds.
- Choose the auto or manual clock formatting options.
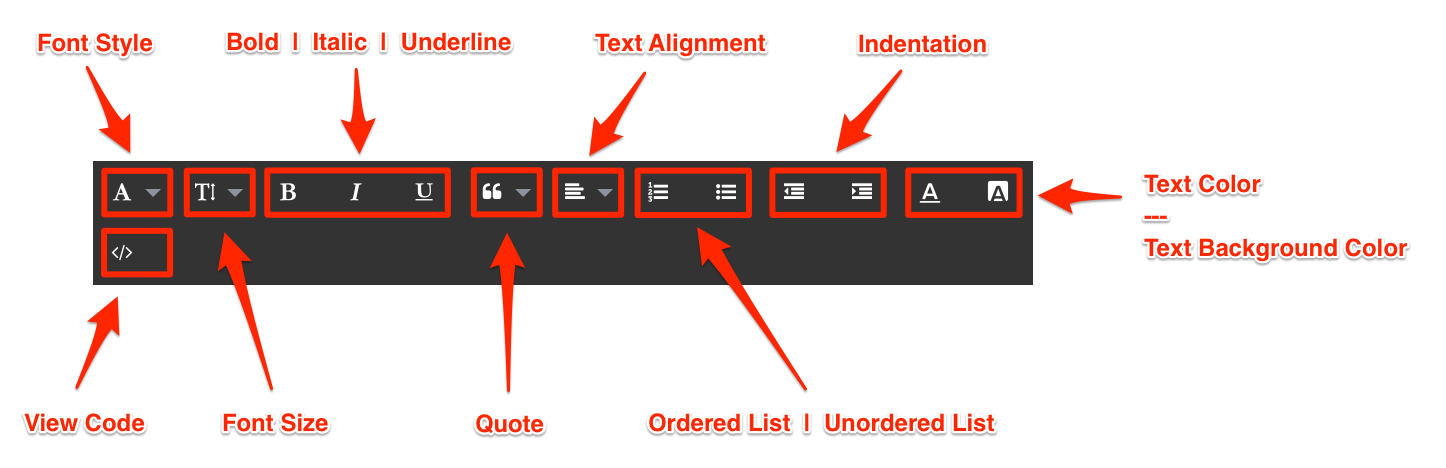
- Configure clock color.
- Configure text color.
- Configure card background color or image.
- Flip the layout order.
- Display a final message once the countdown has been reached. This message will not be available for a count up.
This article provides the instructions to create and configure a Countdown card, which allows you to quickly and easily display a live count-down or count-up to a specific date and time.
What’s in this article:
Prerequisites
- Cards are only supported on devices with the Appspace App. Legacy devices are not supported.
- Ensure your device is compatible. Refer to Compatible Appspace Cards.
- Account Owner, Publisher, or Editor (author) role in Appspace.

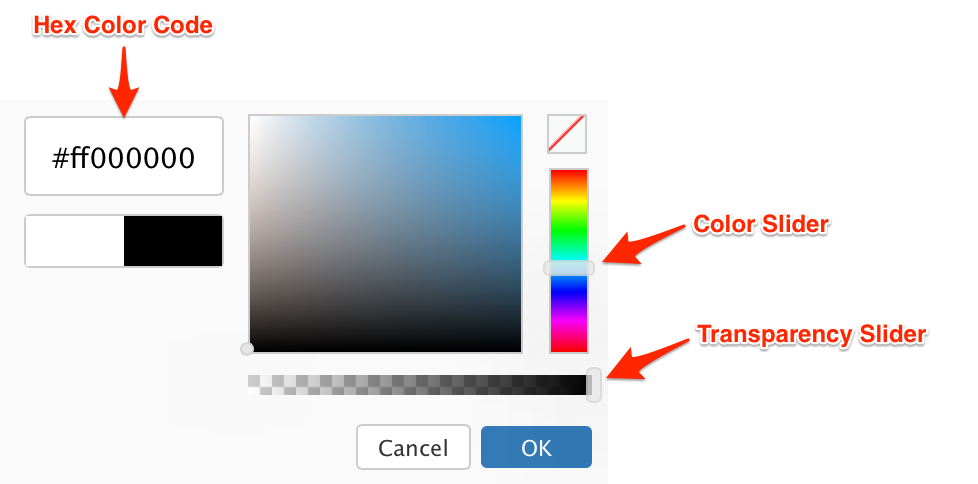 The first two characters in the Hex color code is the transparency value, while the next six characters are the color values. Please be mindful when including a custom Hex color code.
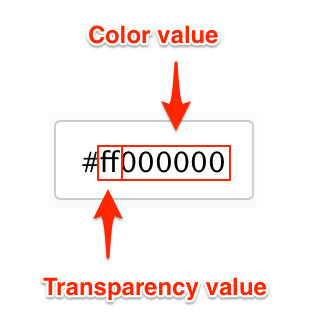
Create and Configure Countdown Card
Follow the instructions below to create and configure the card:
- Log in to the Appspace console.
- Click the QUICK ACTION menu on the top-right and select Create Card, and proceed to step 4 below. Or click Library from the Appspace menu navigation bar on the left, and proceed to step 3 below.
- Select the desired folder in the library, and click the ADD button, and select Create Card.
- Select Countdown from the Filter by template menu, and select a desired card theme.
- Select the Clock Style:
- Flipboard.
- Digital.
- Click the clock icon on the far right of the card preview to edit the date and time, and select either the count down or count up option. Click Save. Once you have selected the date and time, you may flip the layout of the countdown timer.

- Enter in the countdown message in the Title field, and message to be displayed once the countdown ends in the End of Countdown Message field.
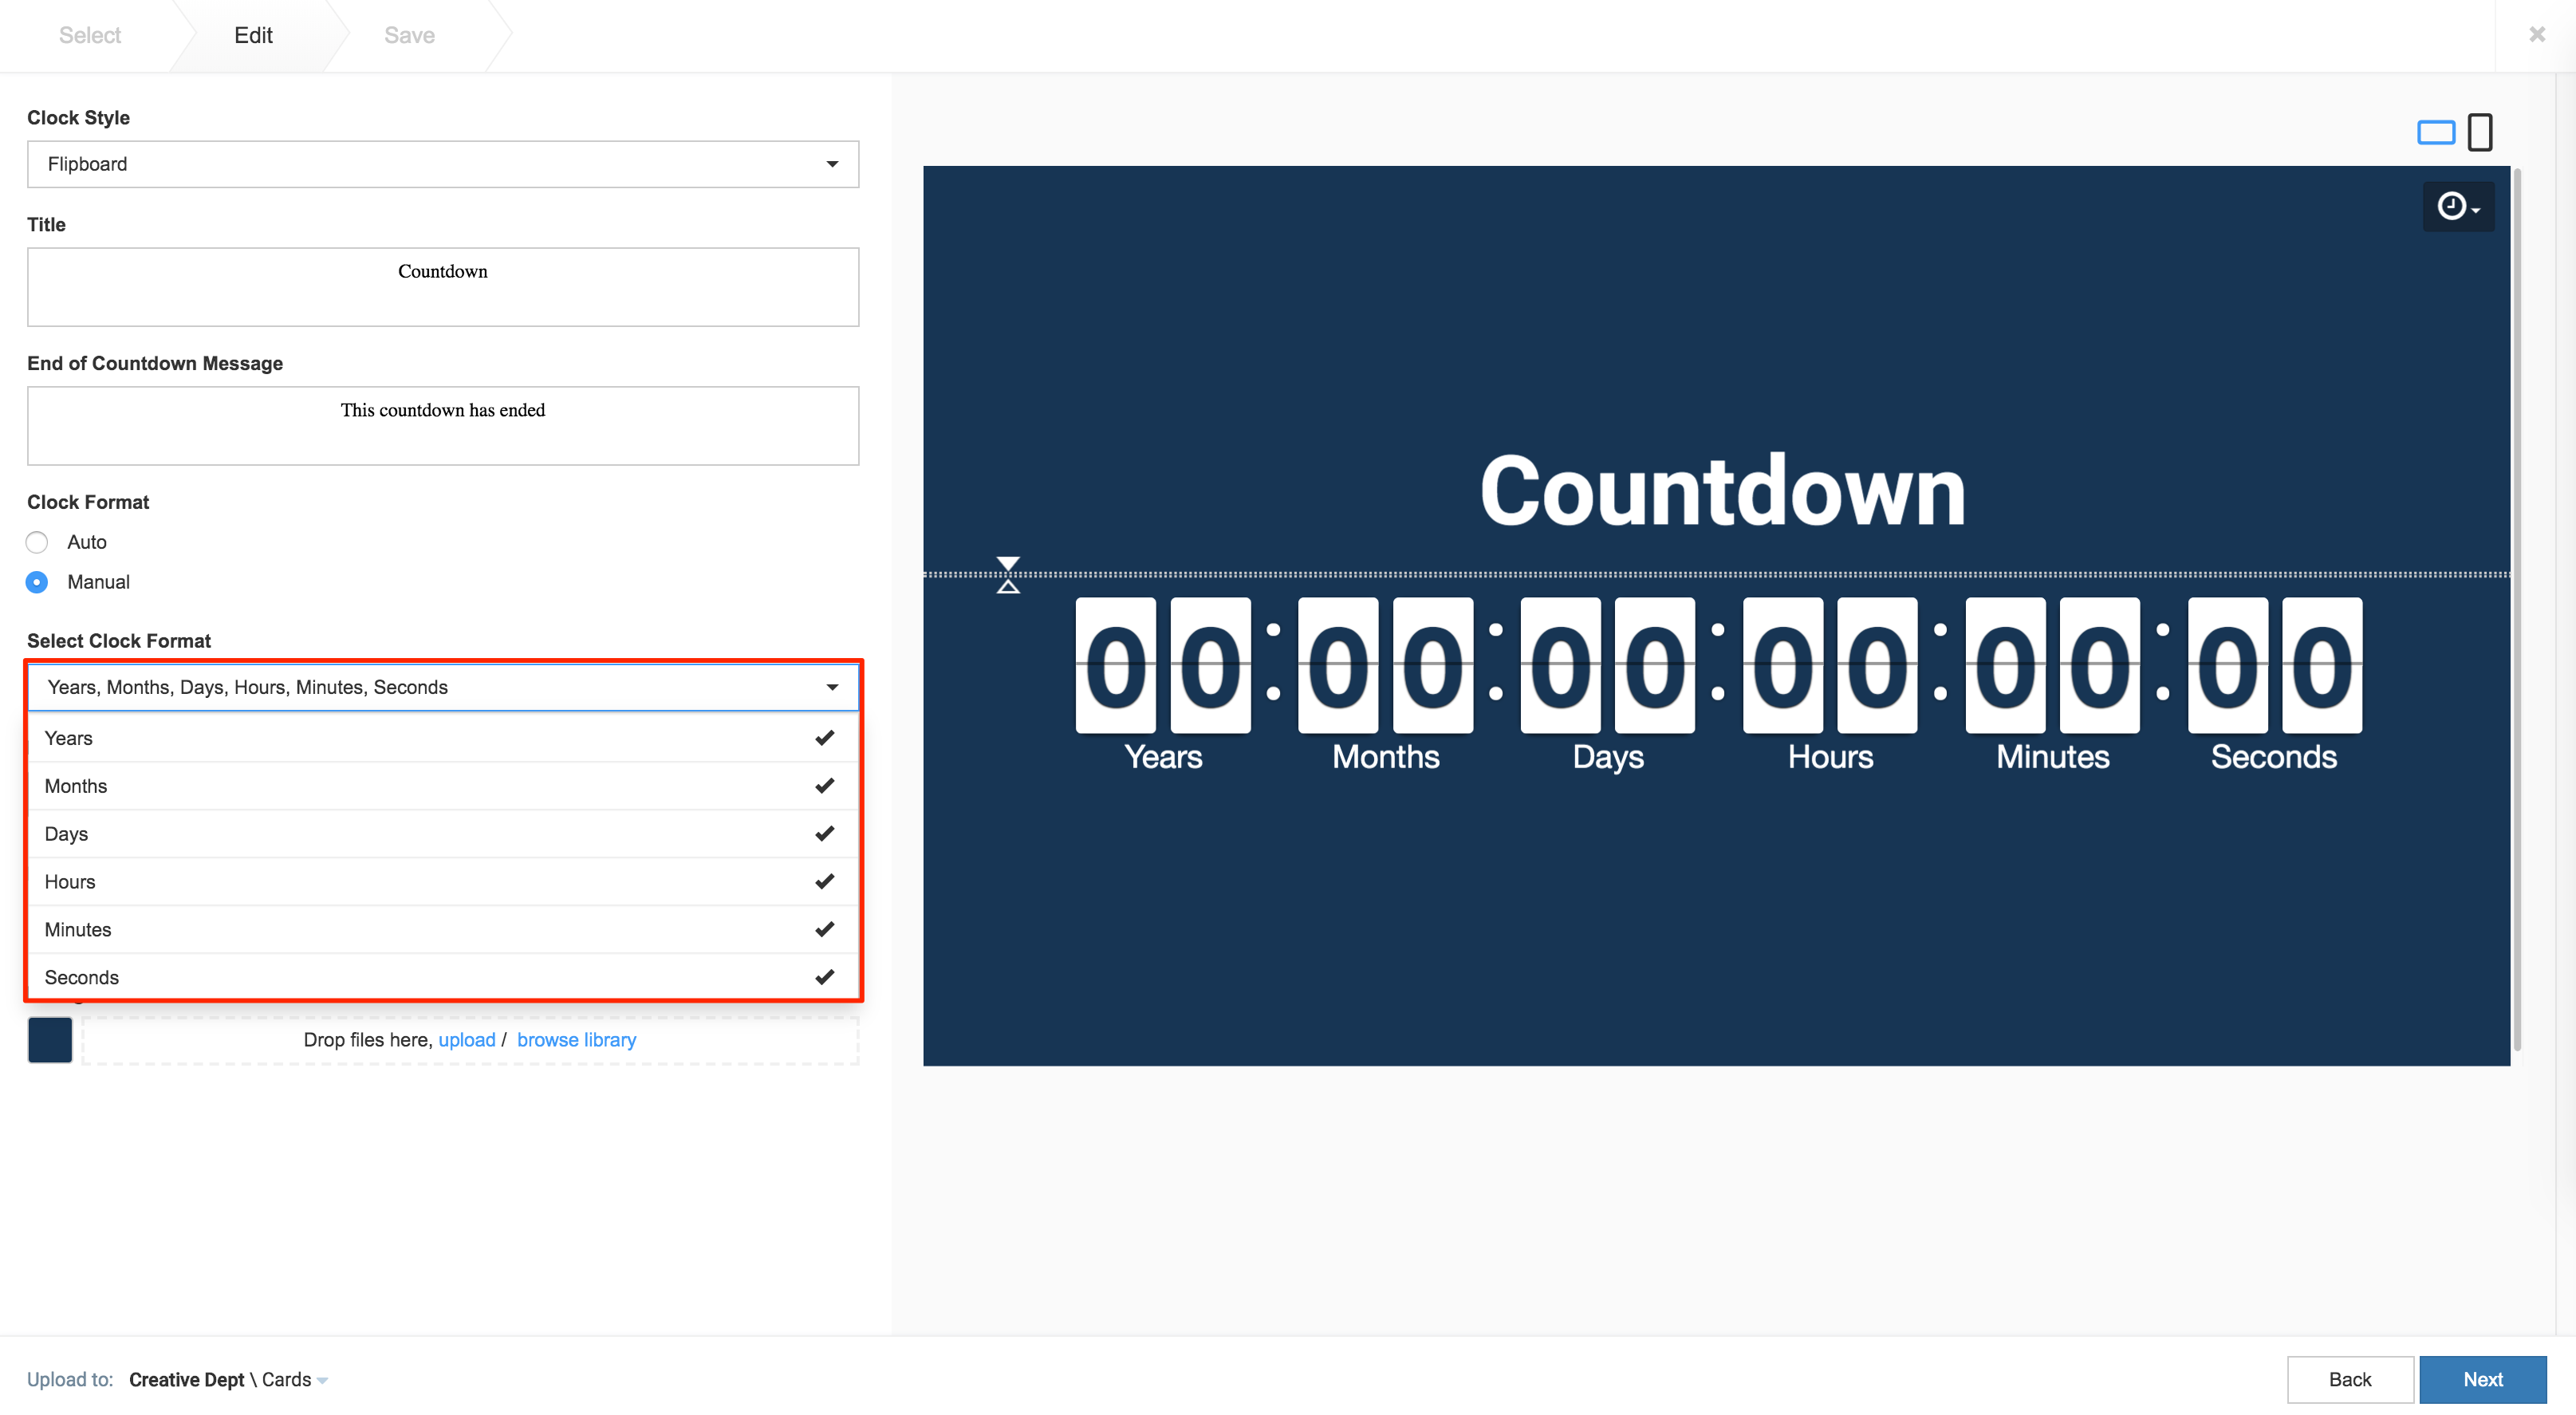
- Select the Clock Format to be displayed:
- Auto
- Manual – Allows you to select the Clock Format options from the drop-down menu.
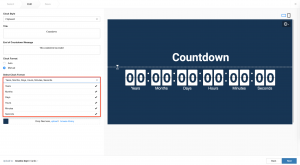
- The following customization options are available:
- Customize the Flipboard and Clock Color.
- Customize the clock Labels.
- Customize the card Background Color or Media.
- Once customizations have been made, click Next.
- In the Save tab, enter in the Title, as this is a mandatory field. Optionally, you may enter in the Article, Caption, Content Expiry, Content Tags and even upload a custom thumbnail for the content.
- Click Save to complete, and you may now proceed to add the card into a playlist channel.
Was this article helpful?