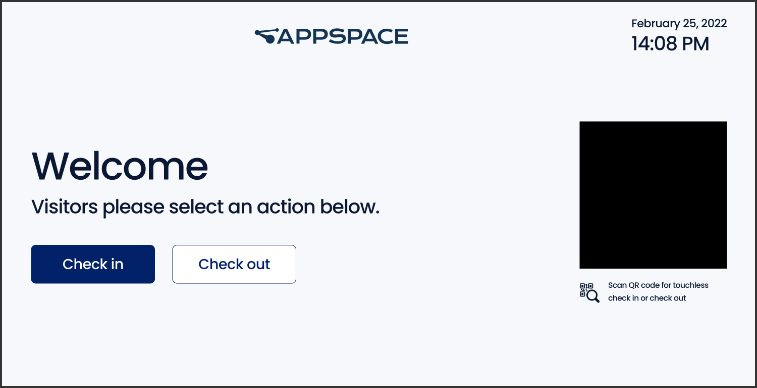
This article provides the instructions to create and configure a Visitor Kiosk card in the Appspace console. The Visitor Kiosk card is used for kiosk check-ins with the Appspace Visitor Management system.
The Appspace Visitor Management system is used to invite external users (visitors) to a meeting or event held at your company. These visitors could be an employee from another facility, division, or subsidiary within your company or other corporate entities from outside the company.
Follow the instructions below to create and configure a Visitor Kiosk card.
- Administrators looking for information on navigating the Visitor Management module in the console, refer to Browse and Navigate Visitor Management in Appspace 8.x.
- Administrators who would like to manage visitors in the Visitor Management module, refer to Configure and Manage Visitors – Administrator.
- Host and Facilitators looking for guidance to manage visitor invitations, refer to Manage Visitor Invitations – Hosts & Facilitators.
- Visitors looking for guidance for self check-in and registration, refer to Event Check-In and Registration.
Prerequisites
- Appspace 8.1 and later.
- Account Owner, Publisher, or Author role to create or edit card in the Library.
- Appspace App 2.43 and later. (Preferably running on touch screen (interactive) devices).NotePlease refer to our Appspace Supported Devices and Operating Systems article, and Compatible Appspace Cards article.
- Appspace Visitor Management system configured.
- iOS 15 enabled devices with camera to scan QR codes actively.
- Camera photo capture is currently only supported on iOS 15 devices.
- If badge printing is required, please ensure a supported printer is connected to the visitor kiosk, or to the device the facilitator dashboard is displayed on. Visitor badge printing is currently only supported on Brother QL Series printers.
Create and Configure Visitor Kiosk Card
Follow the instructions below to create and configure the Visitor Kiosk card:
- Log in to your Appspace console.
- To create this card, select one of the following options:
- Click +Quick Action from the Appspace menu bar on the top right, and select Create Card.
- Click Library from the ☰ Appspace menu, and select a library or folder you wish to create the content in. Click +CREATE, and select Card.
- To create and add the card directly to an existing channel, refer to Add Content to Playlist Channels.
- Select Workplace from the All Templates panel, and click Visitor Kiosk. ImportantIf you are unable to locate the content, try using either the Search bar, the Order by, or Filter icon to narrow down the content that you are looking for.
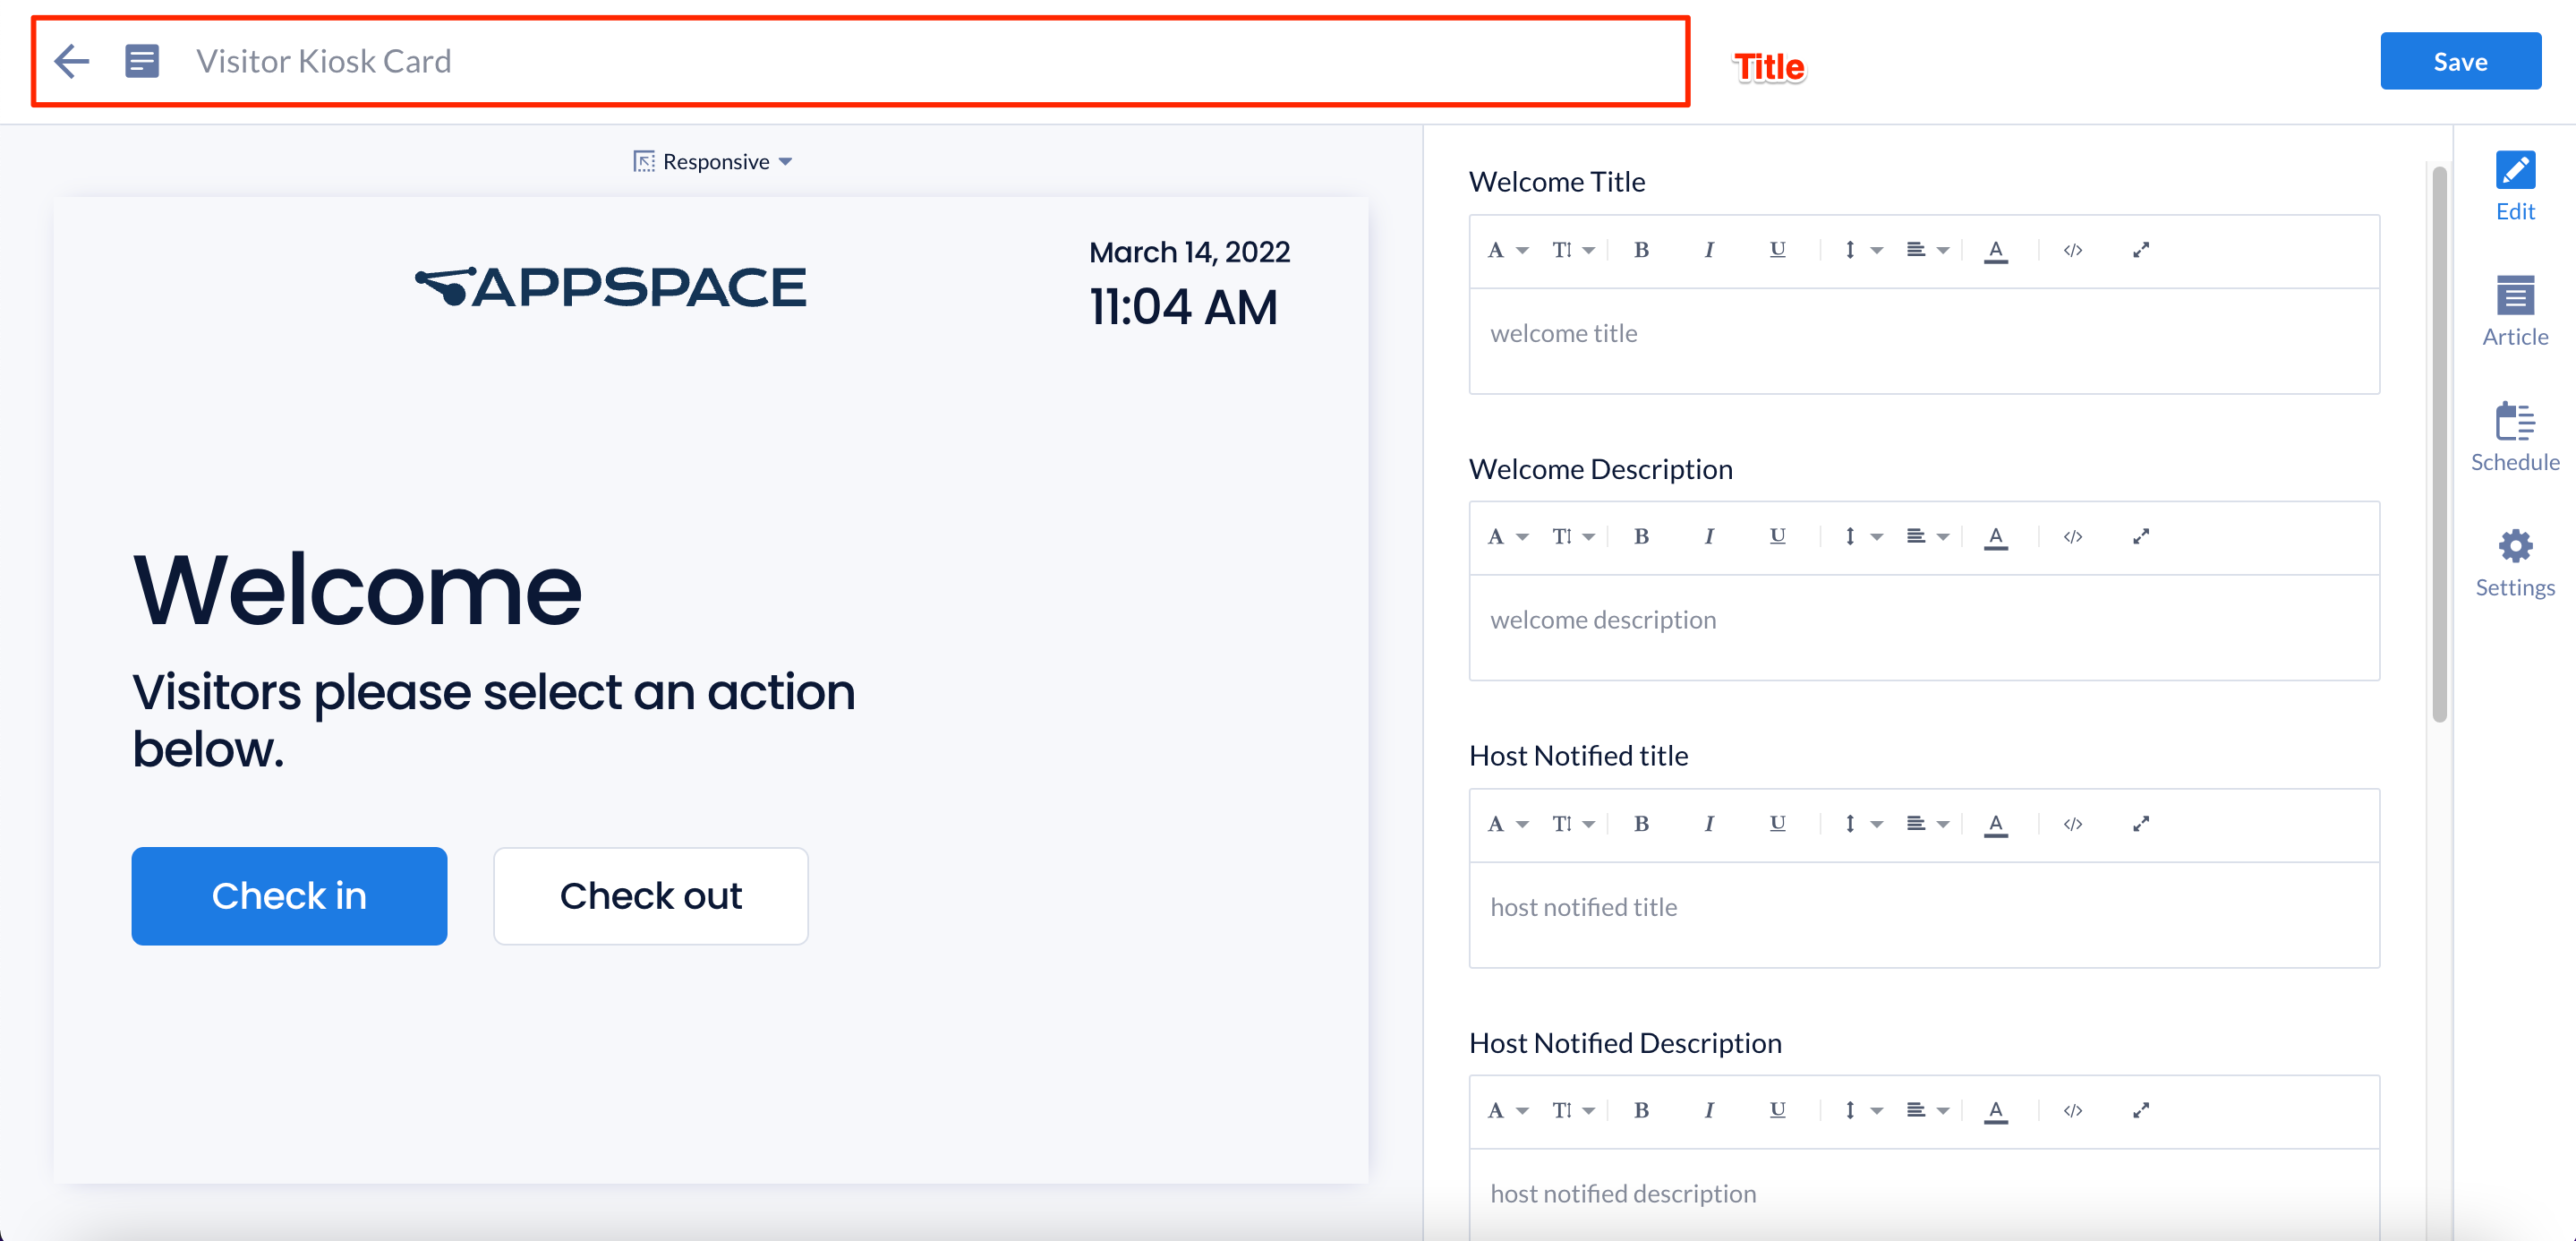
- Enter the Title of the content as this will also act as the filename for the content. This is a mandatory field.
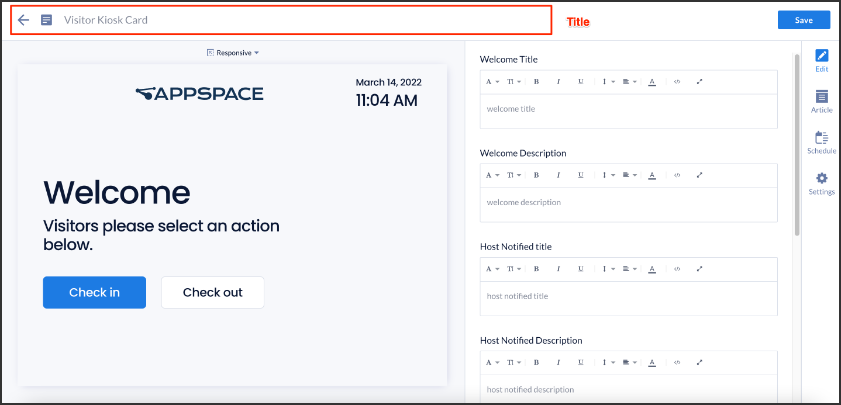
- In the Edit tab, you may configure the following:
- Change the card’s default background colors and default text in the following areas:
- Welcome title, welcome description, host notified title, host notified description, check-in title, check-in description and background color.
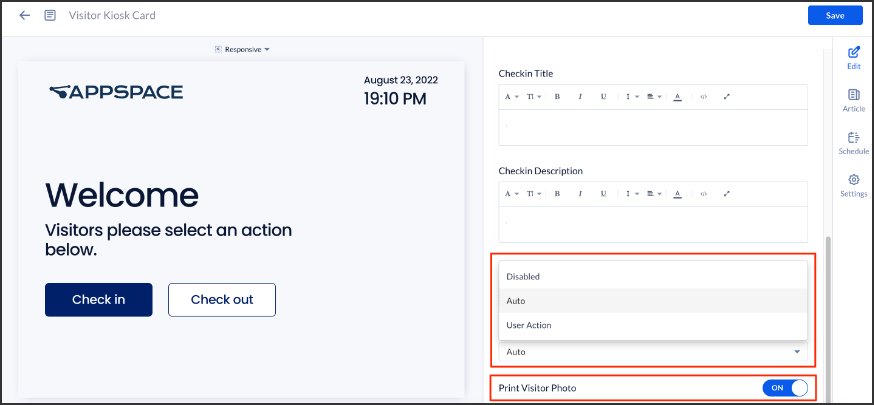
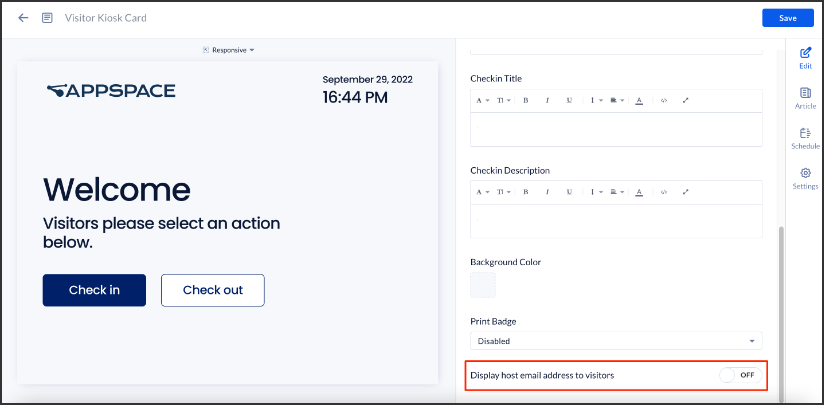
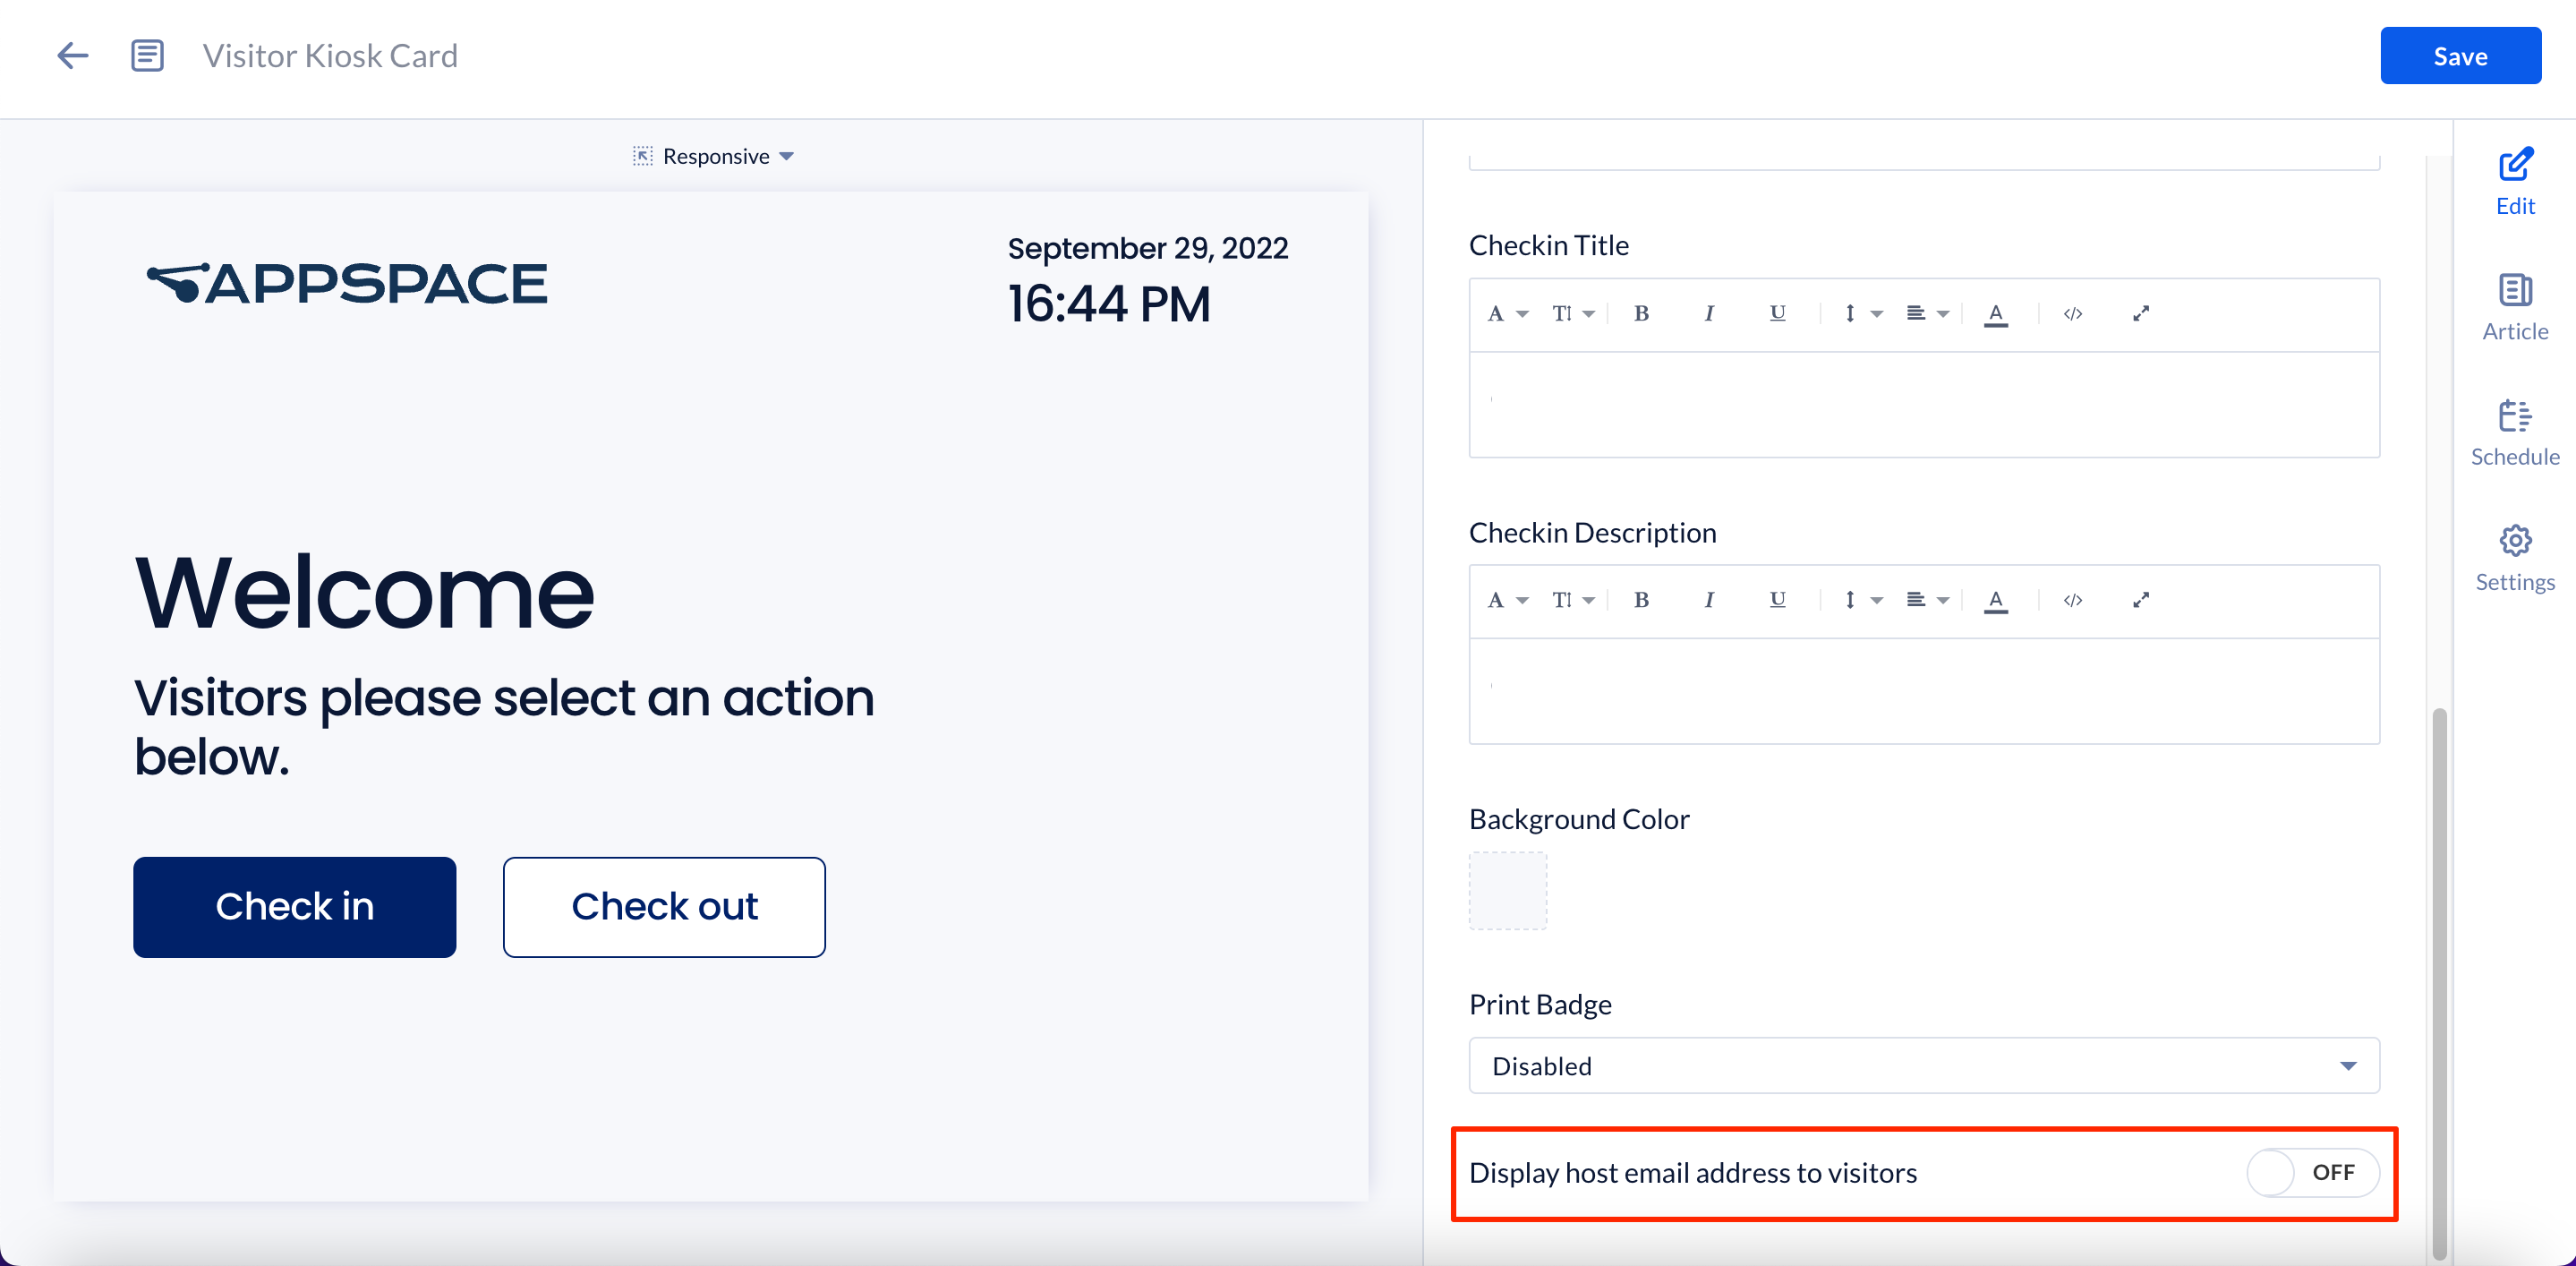
- Select your preferred Print Badge options:
- Disabled: If you select disabled, the print badge button will not show when you check-in.
- Auto: If you select auto, after you check-in the badge is printed automatically without the need to click the print badge button.
- User Action: If you select user action, once you check-in the print badge button is shown, you will need to click the print badge button to do the printing.NoteFor the Print Badge Auto and User Action options, users can turn ON or OFF the option to Print Visitor Photo.
 ImportantAs for now, the printing functionality only supported on iOS Devices. If the user use non-iOS device for the kiosk , they need to select the “Disable” option.
- Select ON or OFF to determine whether the host email address is shown or hidden when a drop-in visitor searches for a Host.NoteWhen searching for a host, only hosts with their location set in the building will appear in the search results.
- Change the card’s default background colors and default text in the following areas:
- In the Article tab: This section may be skipped.
- Include an Article or Caption to accompany the content item when being displayed on mobile apps, tablets, and other social collaboration apps.
- Enter a Referral Link to link more information to the content.
- In the Schedule tab: This section may be skipped.
- You may add the content to a channel by selecting the channel from the Add to channel drop-down menu, or leave it unassigned to be added later.
- When the content is assigned to a channel, the SCHEDULING and DISPLAY PROPERTIES options are displayed. Refer to the Configure Content Playback Properties: Dayparting, Frequency, Scheduling, in a Playlist Channel article for detailed configuration instructions.
- In the Settings tab, you may configure the following:
- The Name field will be auto-populated to match the Title of the content which will also act as the filename for the content. This is a mandatory field.
- Select the Content Category from the drop-down menu to match the focus of the message, or leave it at the default content category.
- Enter any relevant Tags for the content. (Optional)
- Select a folder for the content in the Library Location drop-down menu to change the default folder location.
- Select an expiry date for the content from the Auto Delete Content from Library drop-down menu. (Optional)
- Upload an image to be used as the Thumbnail for the content.
- Once done, click SAVE.
- Proceed to the edit section below to add the card to a channel, preview the card, or view analytics once available.
- In order to display the Visitor Kiosk card content on a device, do the following:
- Assign the playlist channel from Step 7 above to an Appspace registered device. Follow the instructions in this Assign Channel to Device article.
Configure Branding for Visitor Kiosk Card
The branding options for the Visitor Kiosk card follow and match what has been configured for the Employee App. For more information, and configuration instructions, please visit the Configure Employee App Theme, Branding, & Third-Party App Links article.
Was this article helpful?