Quick Start: Create channels and publish to a web browser
New to Appspace? With our brand-new publishing workflow, we have simplified how you create content and channels in the Appspace console, and then quickly view it via your web browser.
You must first publish your channel(s) and then log in to the Appspace App with your user credentials. When you log in with your Appspace credentials, one User ID is consumed per user from your central pool of Appspace IDs. You will then be able to browse the App and view all published channels that your User ID has access to.
Below is an overview of the general workflow to create channels and publish on a web browser:
What you will need
- An Appspace cloud account. Don’t have one? Sign up for an Appspace Free Account.
- A desktop computer with a compatible browser. Click here to view compatibility: Appspace App requirements
- Content files such as images or cards added to the Appspace Library. Don’t know how? Click here: Create a card or Upload content to Library.
Follow this quick start guide to create and publish your content and view on a web browser.
Login with your Appspace credentials at https://cloud.appspace.com.
Click the Quick Actions menu and select Create Channel to create a playlist channel. Refer to Create a playlist channel article for more information.
Click the Add Content button to add images, videos, or a card to this playlist.
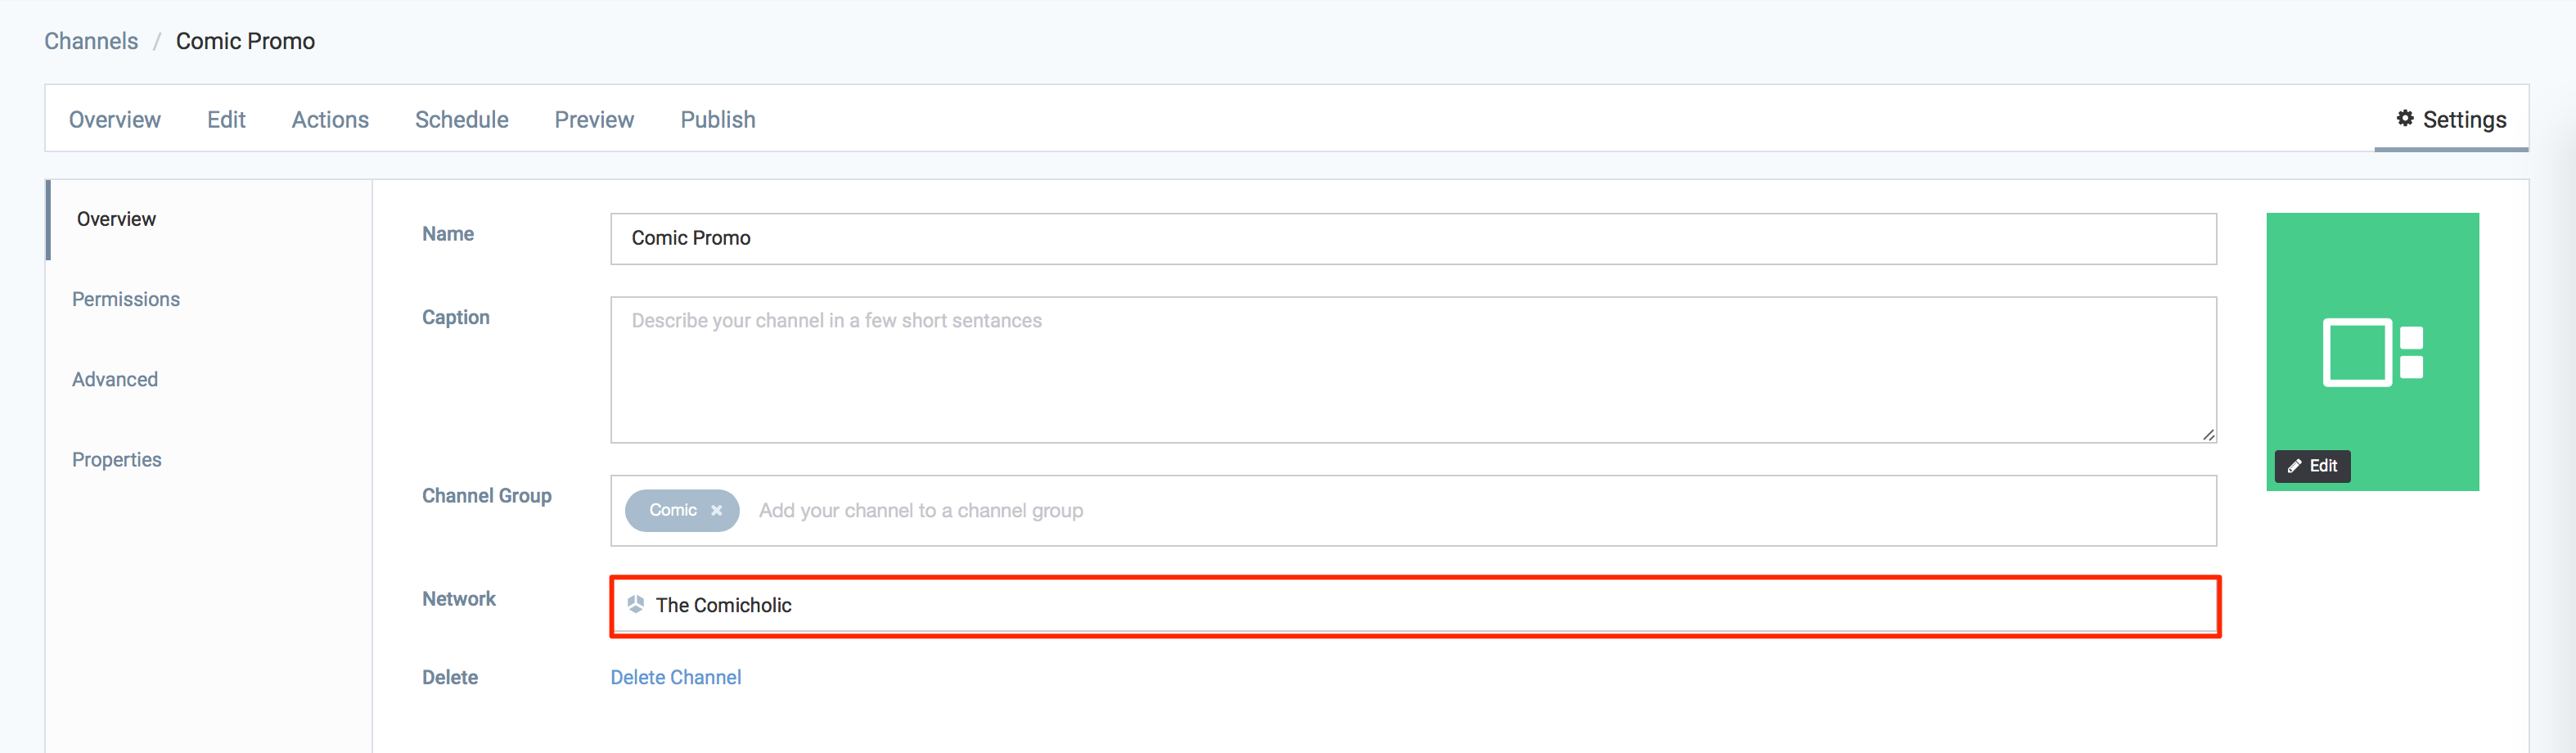
Select the Publish tab and click the No slider to turn on the YES option.
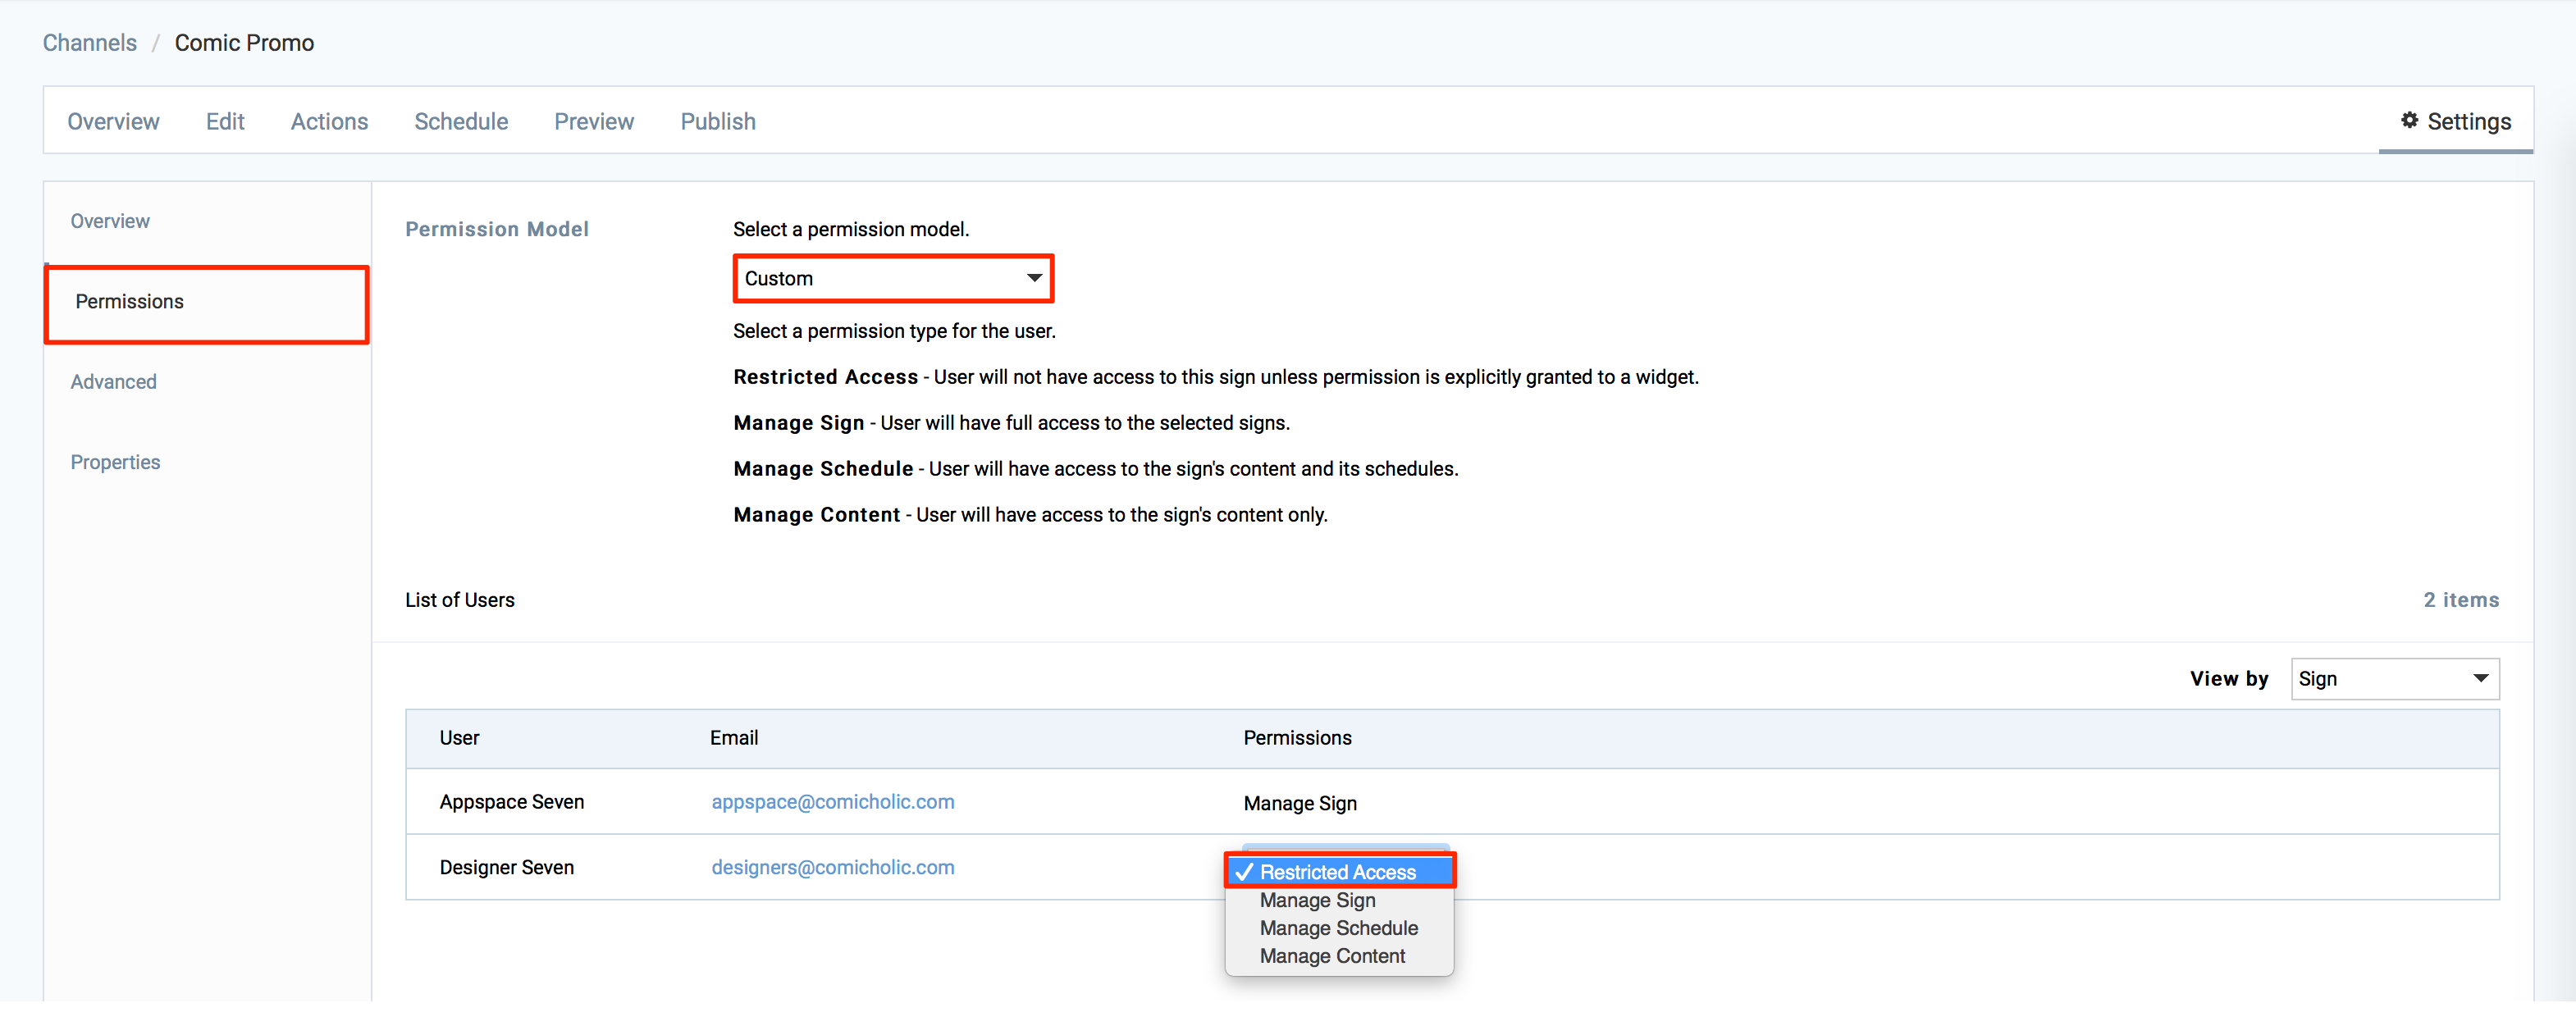
Select your audience that need access to this channel. For this demo, select All users.
Note
For more details about publishing, please refer to the Publish a channel article.
Go to the following link and sign in with your Appspace credentials to view your channels:
- Cloud: https://play.appspace.com
- On-premises: https://{appspace-server-domain}/play or http://{appspace-server-domain}/play