Manage multi-tenancy accounts
This article provides the instructions to add and manage multi-tenancy accounts and groups. Multi-tenancy allows you to configure multi-tenant capabilities on a provisioned on-prem Appspace server, leveraging a single installation of Appspace to serve multiple client organizations (tenants), each with their own secure account.
In a multi-tenant scenario, the data and configuration details are virtually partitioned, allowing multiple clients to share the same application platform, running on the same operating system, on the same hardware, with the same data-storage mechanism. The distinction between clients is made during application design, thus clients do not share or see each other’s data, with each client having their own customized virtual application to manage their networks, users, devices, and channels.
Features:
- Serve multiple secure and independent accounts through a single Appspace installation.
- Flexible provisioning of resources per account.
Prerequisites
- Portal Administrator privileges on your Appspace server.
- Multi-Tenancy installed.
- Appspace server e-mail configured.
- Administrator mode is enabled.
Note
By default, the Administrator mode is disabled.
To enable the Administrator mode, navigate to Network properties and insert the following network property:
features.legacy.admin-mode.enable = false
Warning
Multi-tenancy is not supported when using AD/LDAP authentication.
Creating a New Account Group
Note
The Administrator interface works best on Internet Explorer 7 and above.
Account groups represent the virtual location from which accounts are placed together (forming tenants), separate from other accounts that are not of the same organization.
Follow the instructions below to create a new account group.
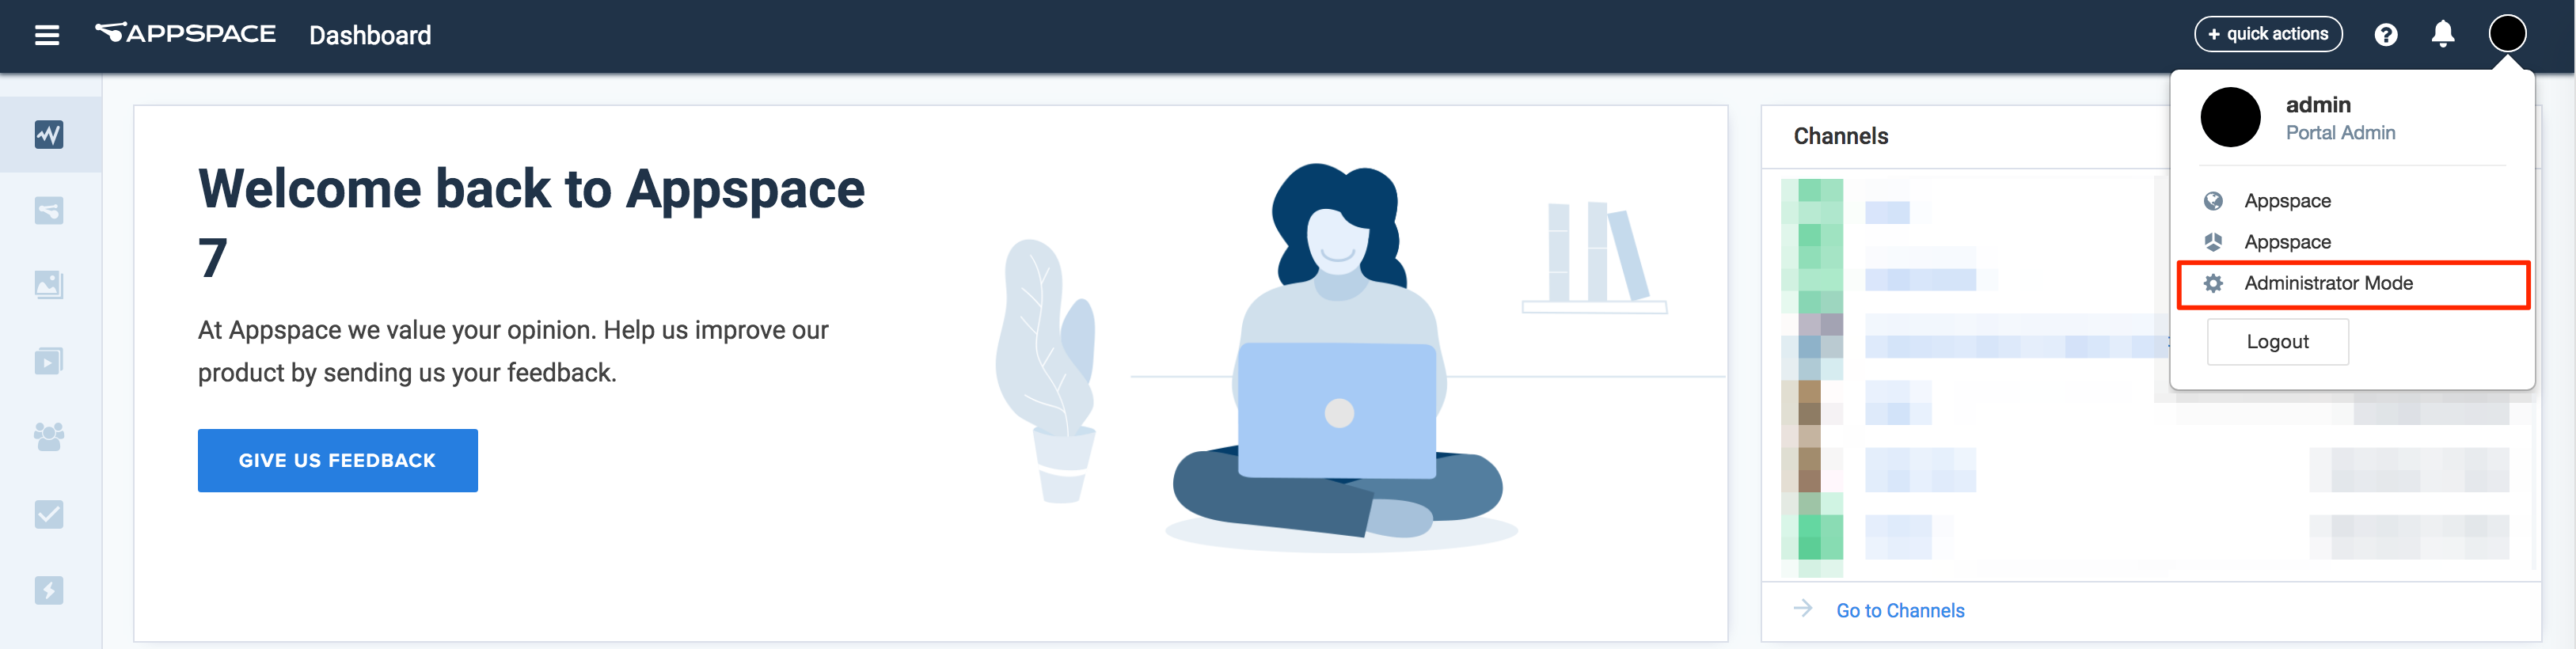
Click the User profile icon on the Appspace menu bar, and click Administrator mode. Click Yes to confirm.
In Administrator Mode, click the ACCOUNT tab, and select Account Management. Click the New Group link.

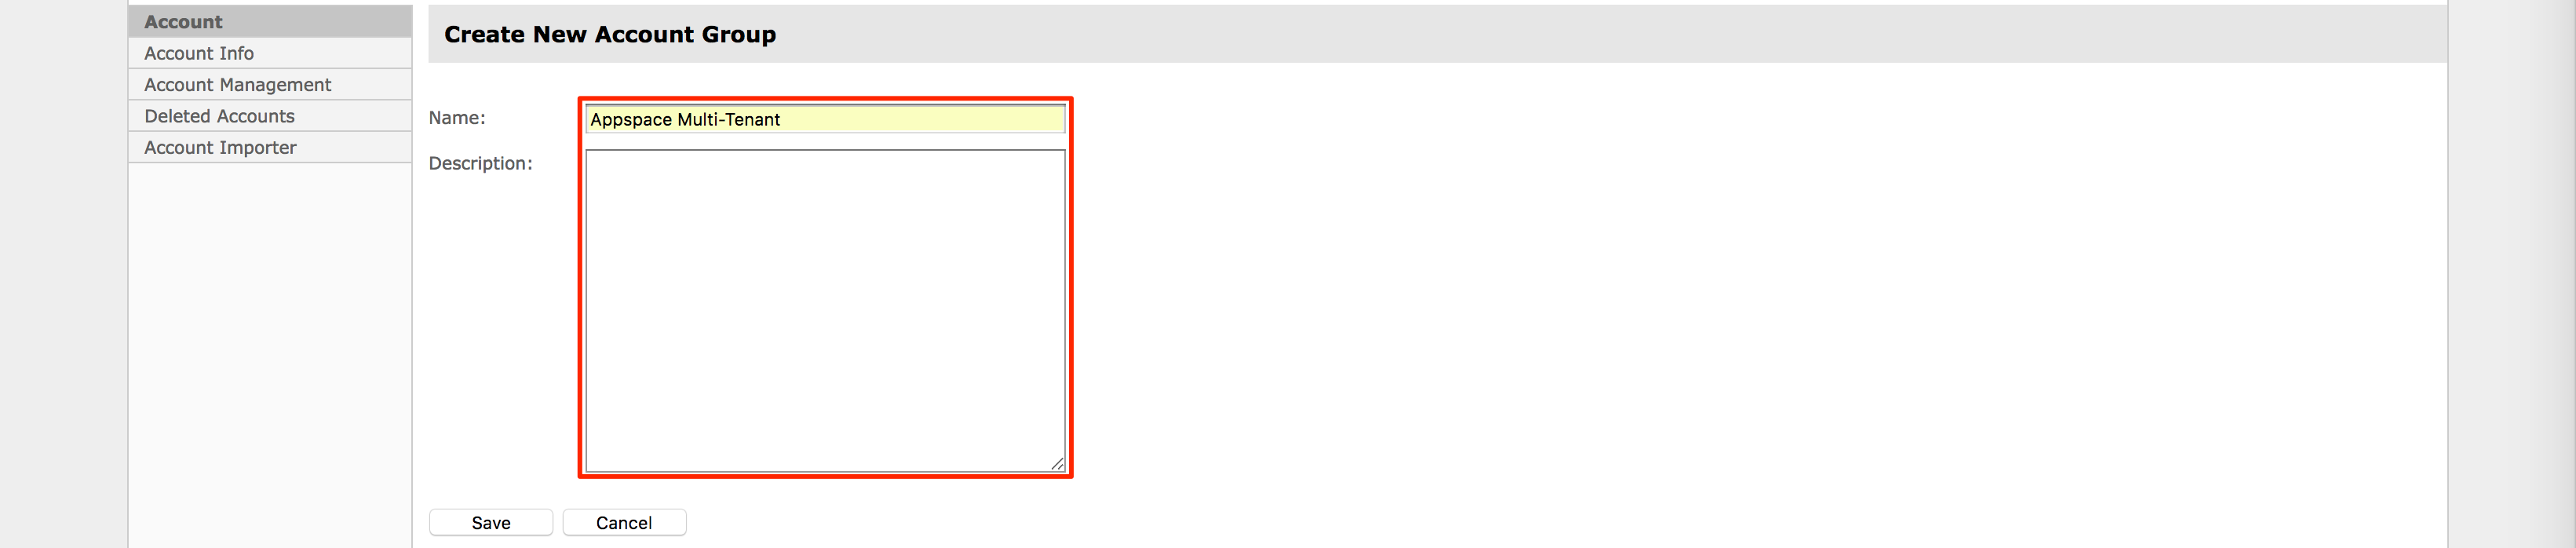
In the Create New Account Group page, enter in the Name and Description of the tenanted account, and click Save.
Once system returns to the Account Management page, the newly created group wiil be listed in the Account Management page listing and Group drop-down menu.

Creating a New Account
Multi-Tenancy allows you to create up to 10 accounts on a single Appspace on-prem instance.
Important
You must configure the E-mail notifications first.
In Administrator Mode, click the ACCOUNT tab, and select Account Management. Click the New Account link.

In the Create Account window, enter in the following:
- Enter in all the various details for the user account.
- Select the correct Group to allocate the new account to.
- Ensure that the Send Registration To field contains the correct email address for sending the registration link.
- The API key is a code that can be generated by Appspace to allow users to access their Appspace API (Application Programming Interface).
- Date Commenced is the commencement date of the account upon registration or as desired.
Select the Account Type, as follows:
- Full Account: grants an option to either set a maximum value for the resource usage or set it to Unlimited.
- Trial Account: allows a maximum value to be set for the resource usage for the account.
Select the desired options to restrict resource usage by defining the value for max players, max networks, etc. Click the Save button to finish creating the account.

Once the Create Account Successful page is displayed, click Back to return to the 8Account Management* page.
A confirmation email will be sent to the email address provided in the Send Registration To section above.
Activating An Account
Open the confirmation email containing the activation details of the new account. Take note of the credentials listed in the email (username and password). Click the link in the email to begin the account activation process.
In the Account confirmation page, click the Proceed to Appspace button.
Read the Software License Agreement (EULA) and click Accept.
You will now be on the Appspace Dashboard. To confirm your account name, click the Settings icon. Your account name link will be displayed at the top of the page.
Note
It is highly recommended that you change your password at this point by clicking the account name link and accessing the profile settings.
Deleting An Account
In Administrator Mode, click the ACCOUNT tab, and select Account Management. Select the desired account name to delete, and click the Edit link.
Accounts can be searched via the search bar, and filtered according to Group and Type. Search results are displayed in the account listing table.

Click the Delete Account link, and click OK to confirm deletion.

Once the Delete Account Successful page is displayed, click Back to return to the Account Management page.
Switching Tenanted Accounts
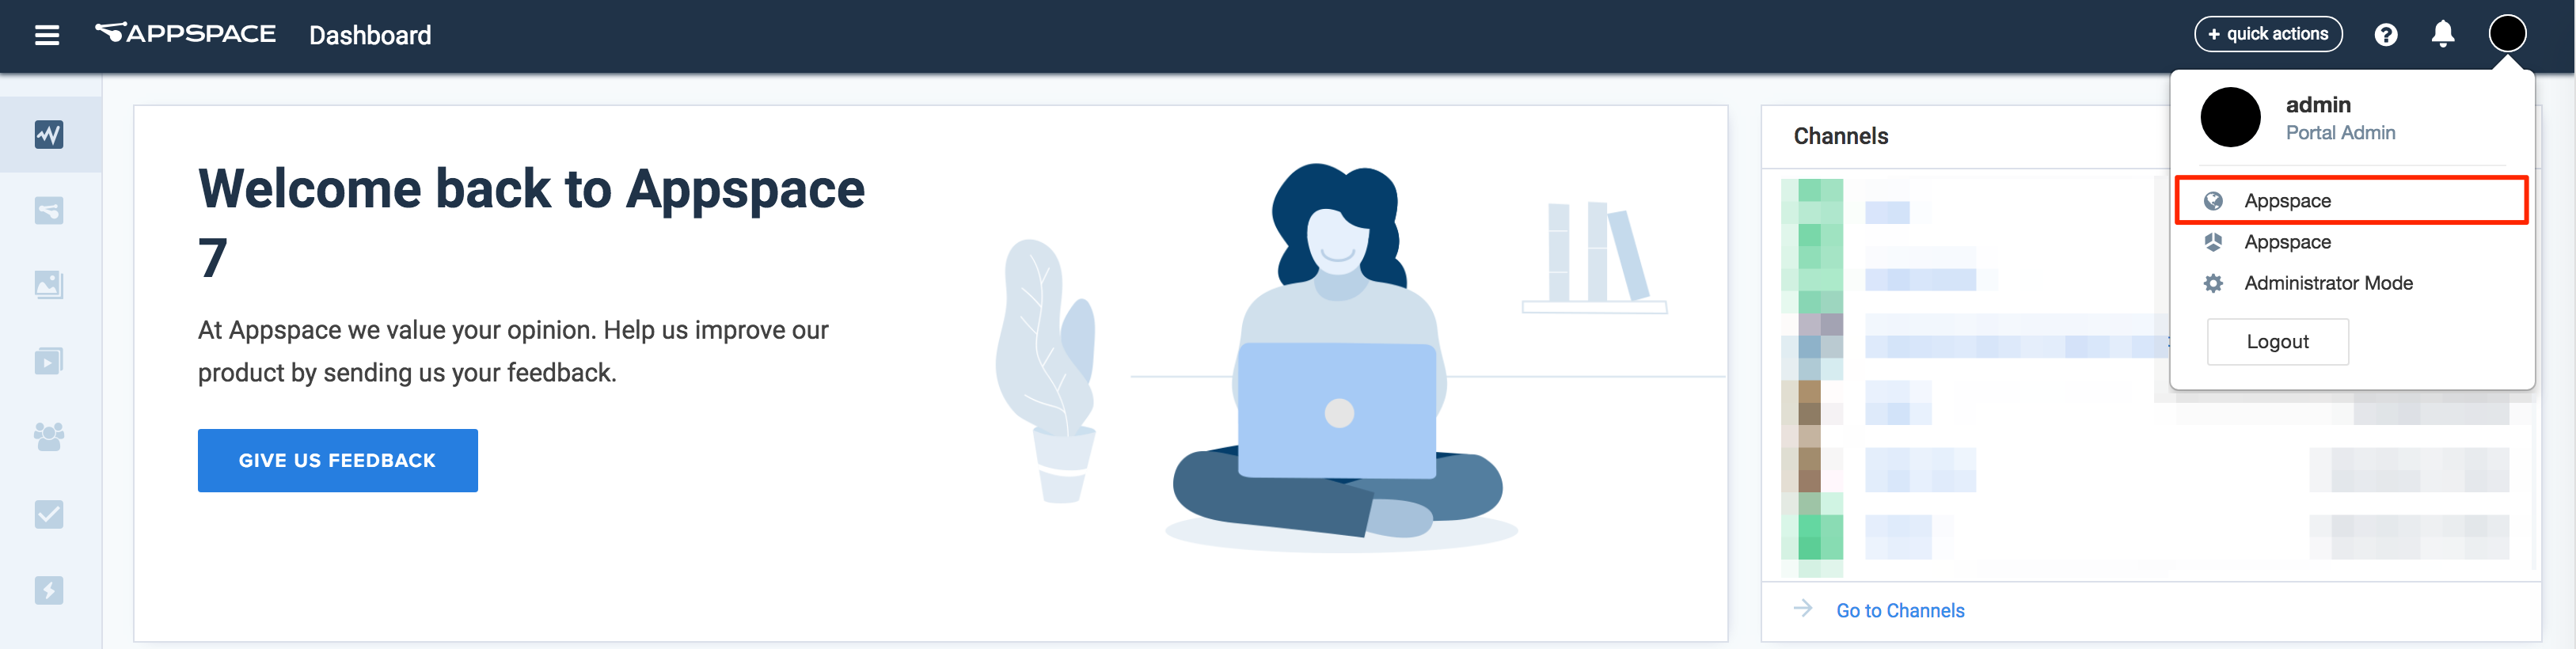
Click the User profile icon on the Appspace menu bar, and click the Account link.
In the Change Account window, select the desired tenanted account and network to switch to.

Click Apply, and the Appspace account switches to the newly selected account, and displays content and widgets relevant to that account.