Create social media cards
This article provides the instructions to creating social media type cards. Social media Cards, also categorized as Community Cards, are basic cards that are created by Appspace but will be customized according to your needs by a third-party community developer using Appspace card APIs.
Important
Community cards will be turned off by default. Contact us to learn more about our developer community.
Social media cards such as the RSS card, Google Slides card, Youtube card, and the Social Media by Seenspire card, allow you to display information in real-time from external social media sites.
Important
Cards are only supported on devices with the Appspace App. To ensure your device is compatible, please refer to the Supported Card Types section in the Compare device media player capabilities article.
Legacy devices are not supported.
Create the card
Note
For more information on the basic functionality of creating a card and types of available cards, please refer to the Create a card article.
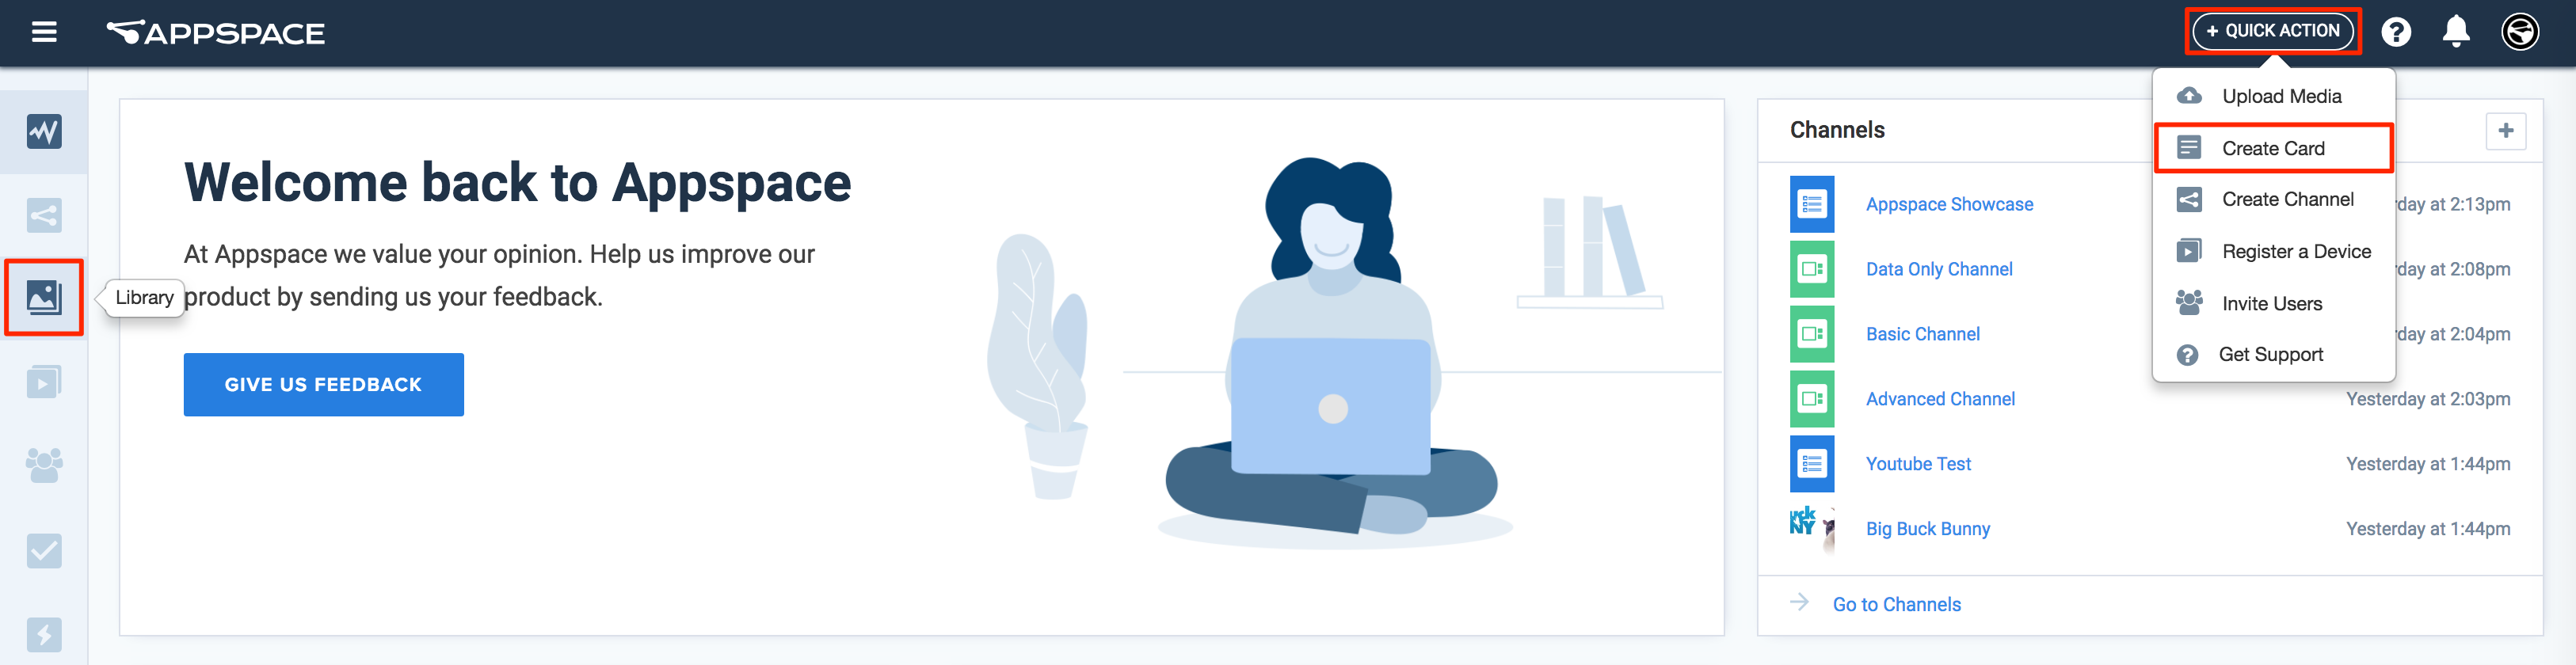
Click the Quick Actions menu on the top right and select Create Card, and proceed to step 3 below.
Or click Library from the Appspace Menu navigation bar on the left, and proceed to step 2 below.
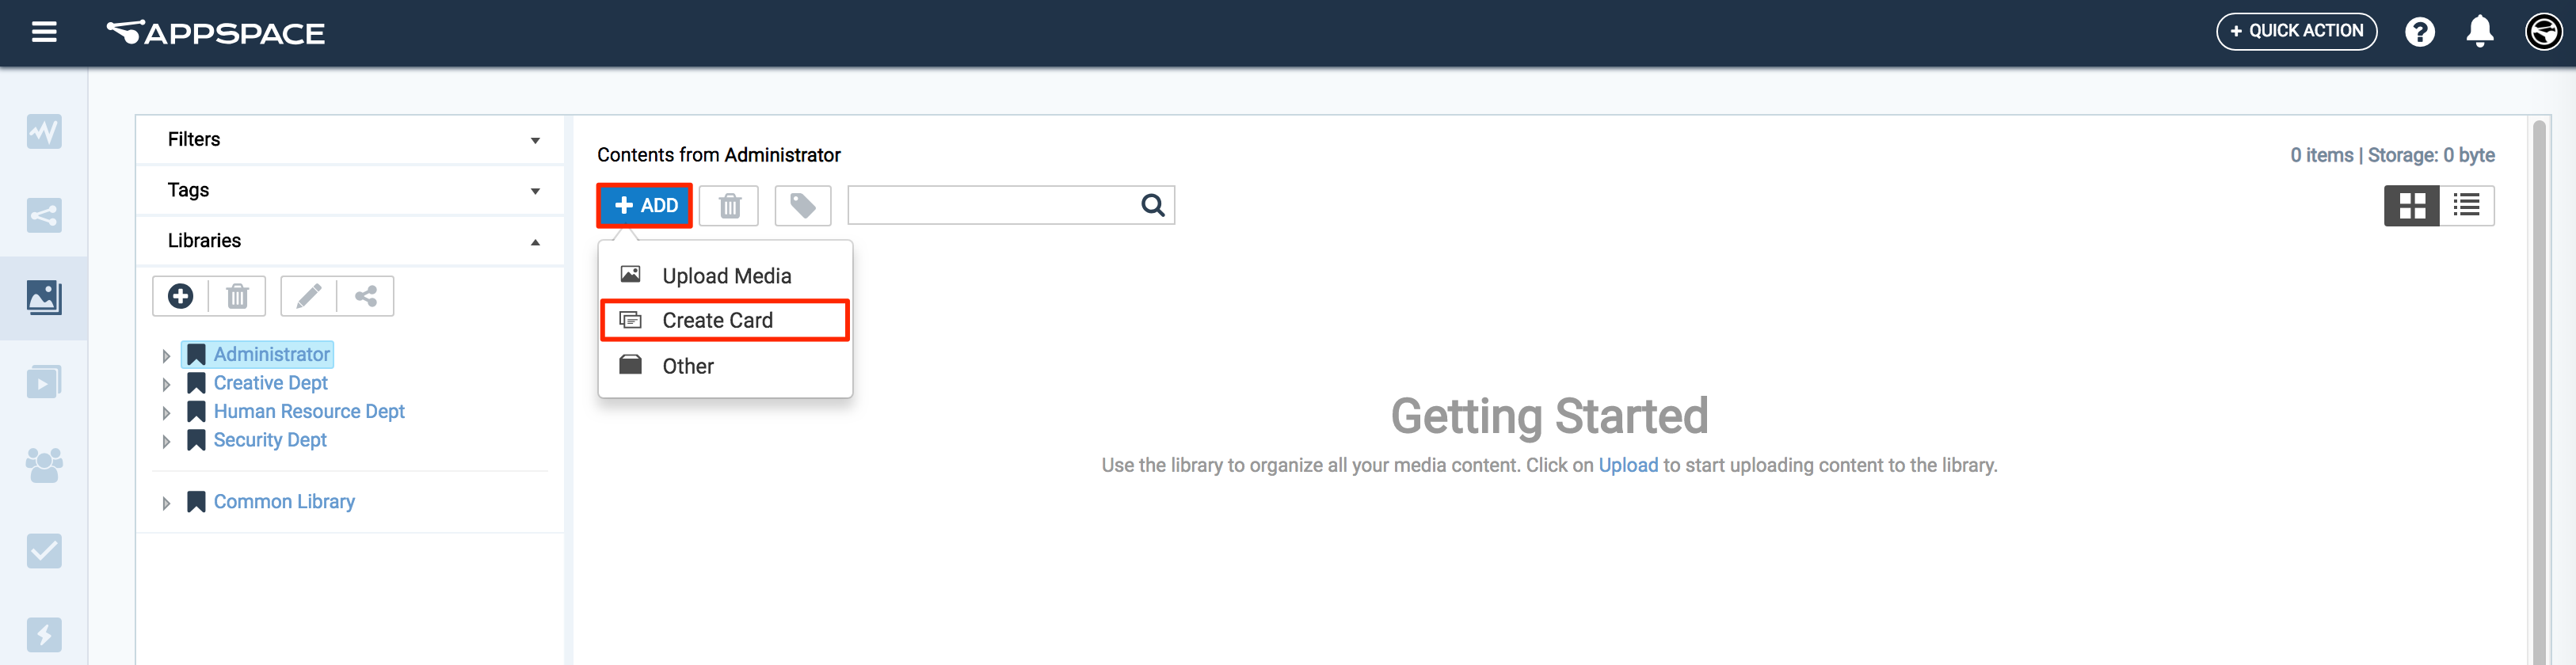
Select the desired folder in the library, and click the ADD button, and select Create Card.
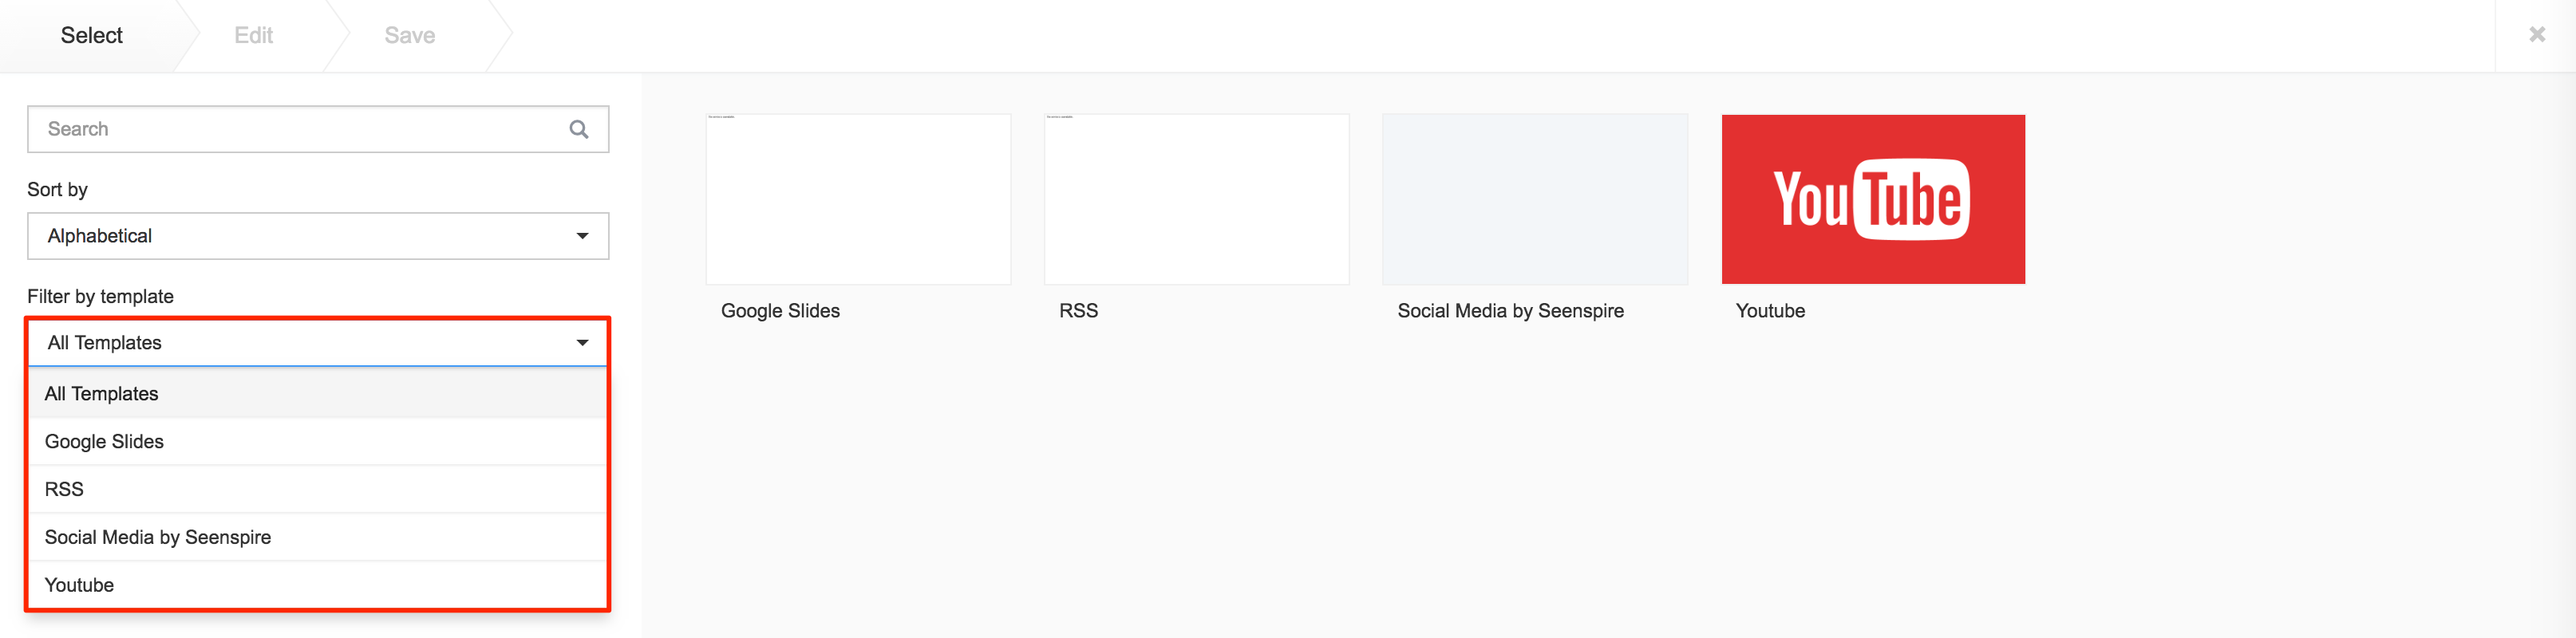
Select an available template from the Filter by template menu, and continue to configure the card as per the on-screen instructions.
If the card was created via the Quick Actions menu, ensure the Upload Location points to the correct folder within the Library, as it defaults to the Common Library folder.
For detailed configuration information, click the links below.
- RSS Card
- Google Slides Card
- Youtube Card
- Social Media by Seenspire Card
- Deprecated Cards
RSS Card
Enter in the RSS feed URL in to the address field, and click Validate. If authentication is required, check the Requires authentication checkbox, and fill in the required credentials.
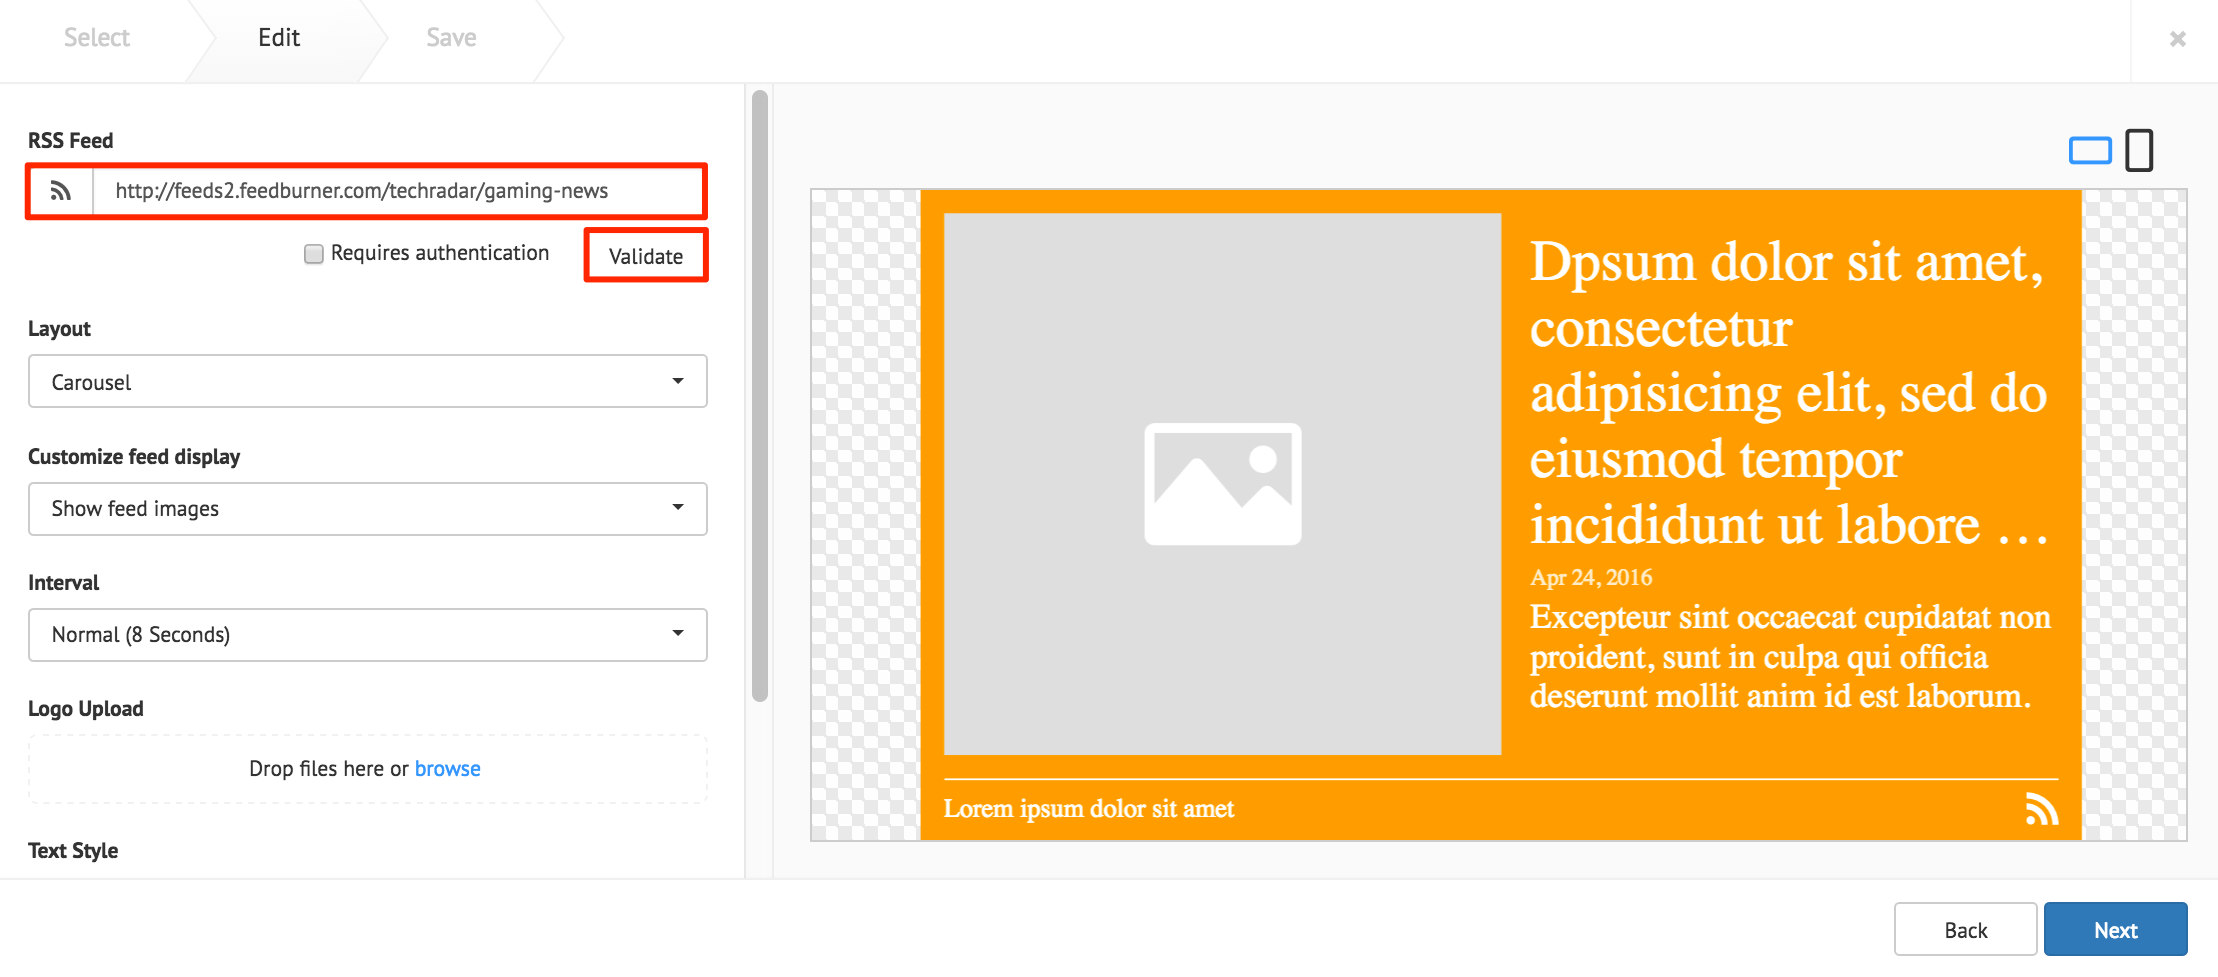
Note
Supported RSS formats: RSS 1.0, RSS 2.0, mRSS, Atom 1.0
The following card customization options can be done:
- Select the card layout.
- Customize the RSS feed display.
- Select the interval duration between RSS posts
- Upload a customized RSS feed logo.
- Customize the RSS text style.
- Customize the card background color, or image.
Click Next.
Fill in the Title, as this is a mandatory field. Optionally, you may fill in the Article, Caption, Content Expiry, Content Tags and even upload a custom thumbnail for the content.
Click the Save button.
Google Slides Card
Enter in the Google Slides ID or URL link in to the address field.
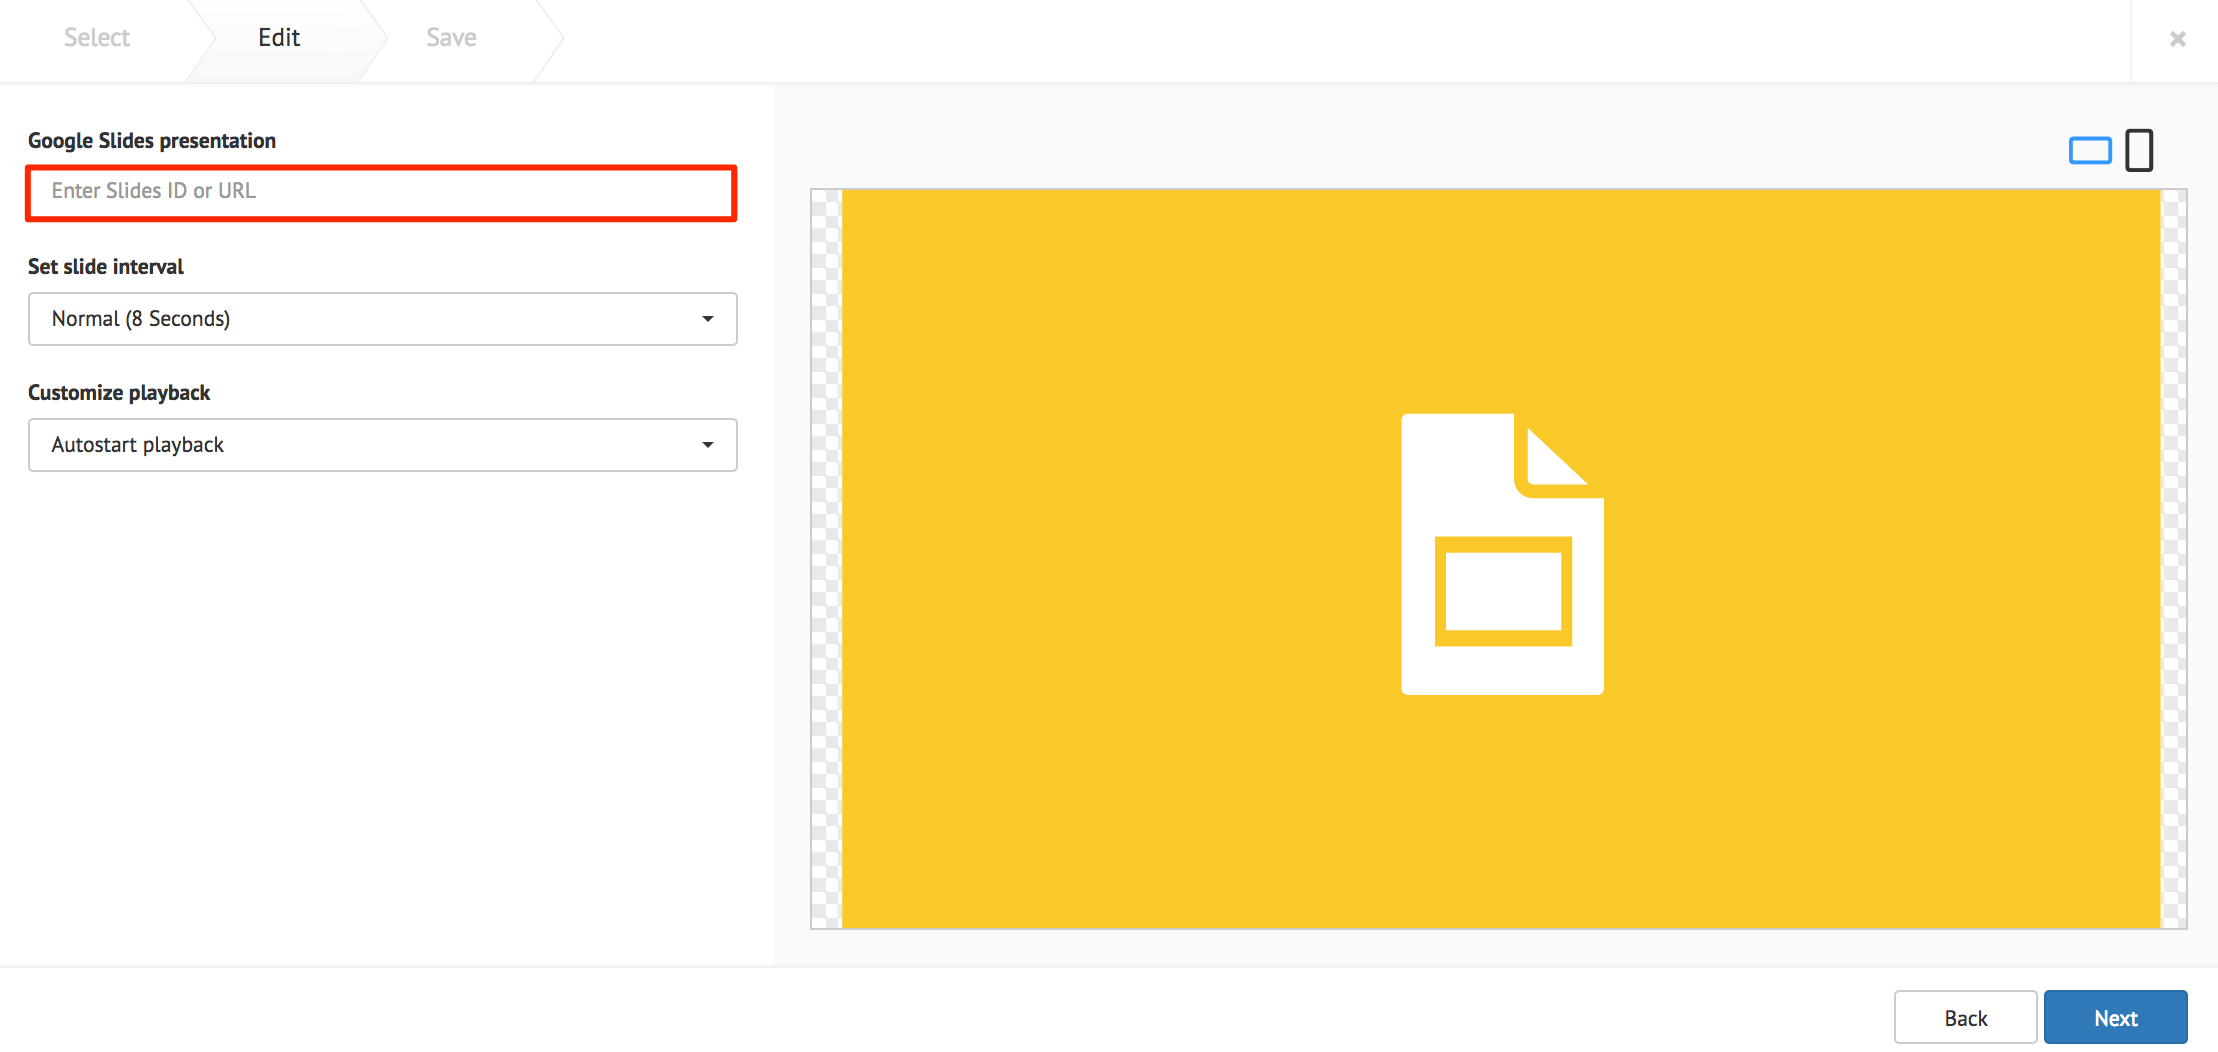
The following card customization options can be done:
- Set the interval duration between slides.
- Customize the playback behavior of the presentation.
Click Next.
Fill in the Title, as this is a mandatory field. Optionally, you may fill in the Article, Caption, Content Expiry, Content Tags and even upload a custom thumbnail for the content.
Click the Save button.
Youtube Card
Enter in the Youtube URL or playlist link in to the address field.
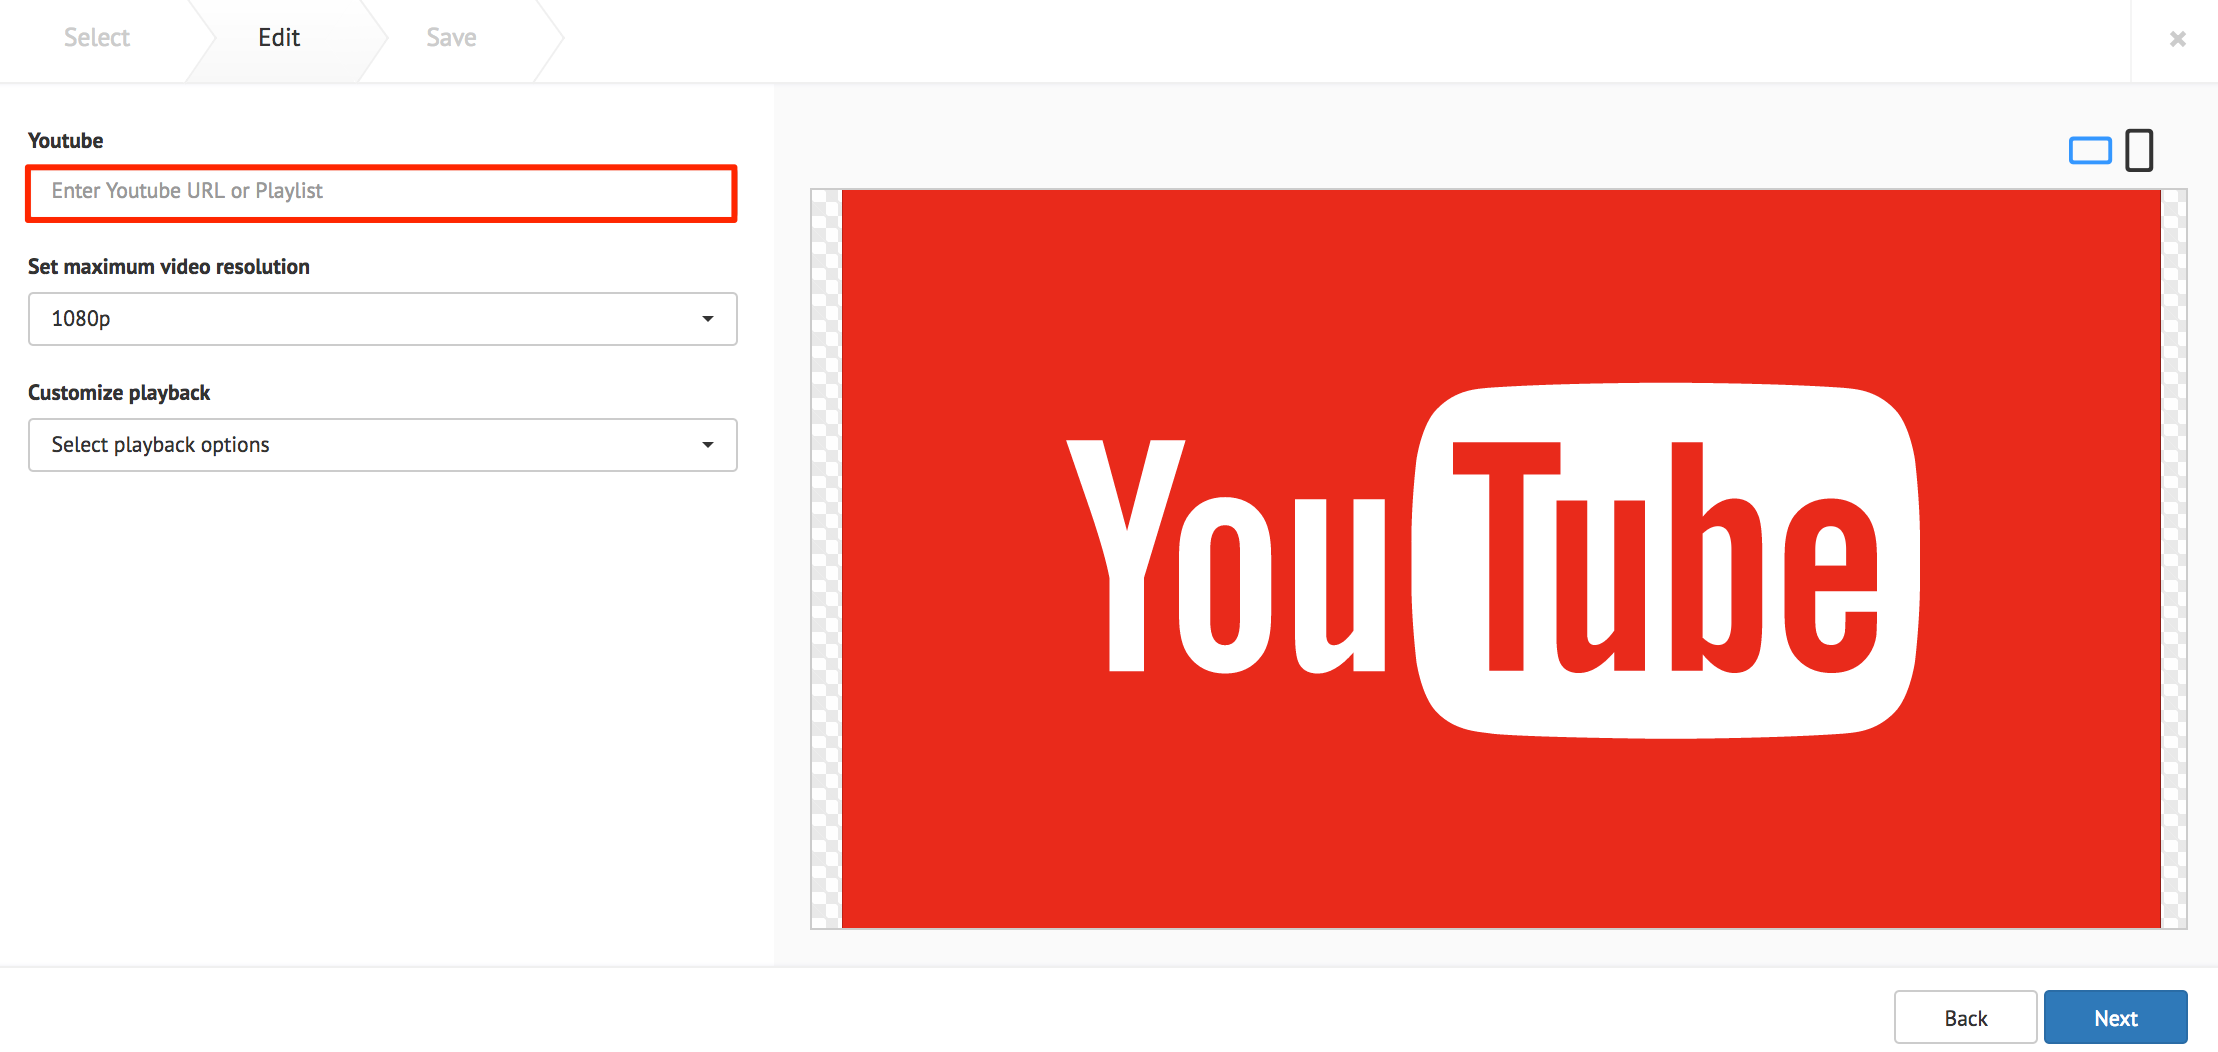
The following card customization options can be done:
- Set the maximum video resolution.
- Customize the playback behavior of the video.
Click Next.
Fill in the Title, as this is a mandatory field. Optionally, you may fill in the Article, Caption, Content Expiry, Content Tags and even upload a custom thumbnail for the content.
Click the Save button.
Facebook Card
Warning
The Facebook card is no longer available as part of our Community Cards as of August 2018. We recommend using the Social Media by Seenspire Card for your social media needs.
Fill in the desired Facebook Page name (as displayed on the Facebook page), and click Validate.
If the Facebook page displayed in the preview pane is incorrect, or an error appears, input the Facebook Page ID instead. You may visit http://findmyfbid.com/ to find the Facebook Page ID.
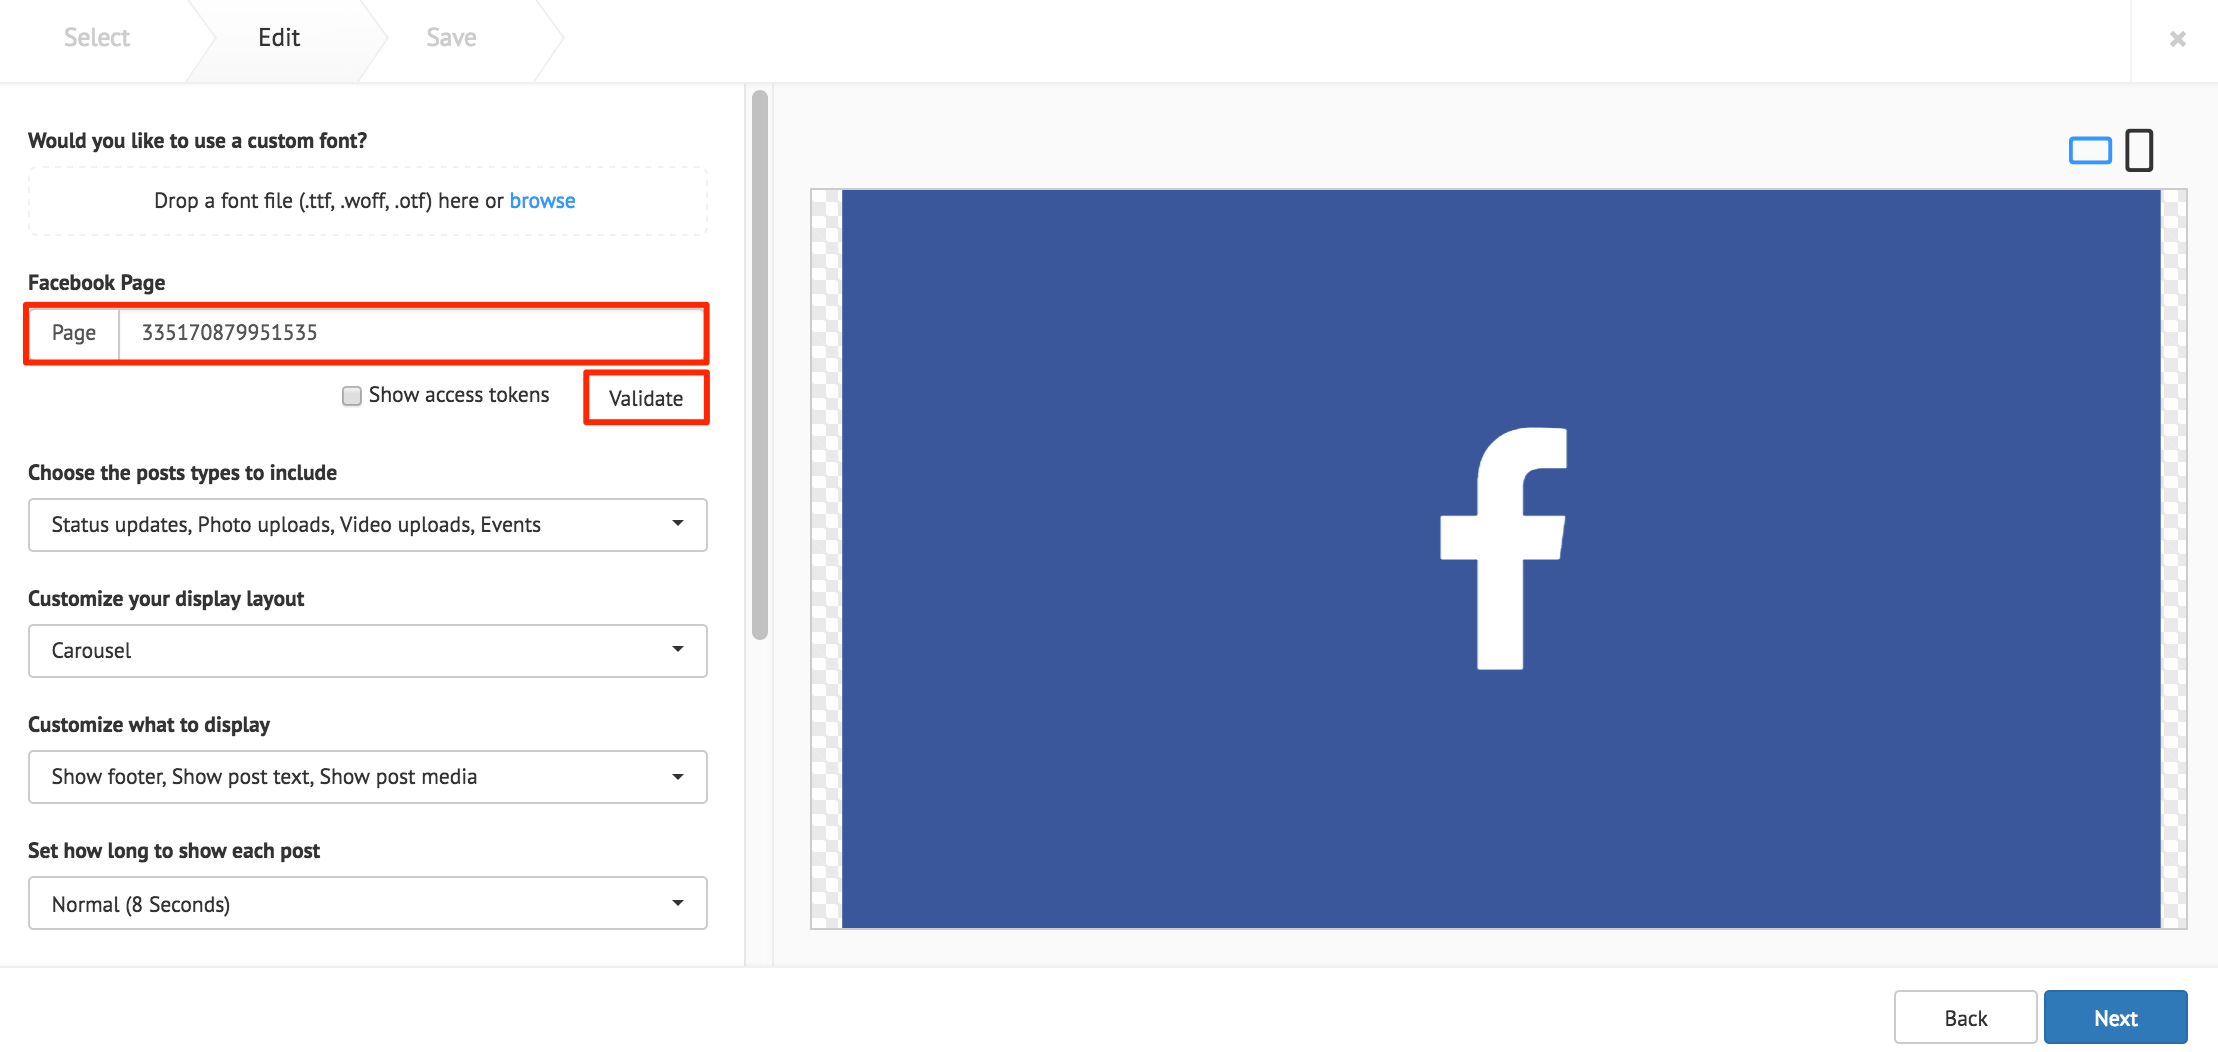
The Show access tokens option displays developer options.
Note
Facebook feeds appear with images by default. Images with less than 200px do not appear, and is replaced with the Facebook Page profile picture.
The following card customization options can be done:
- Upload a custom font.
- Select the types of Facebook posts to be displayed.
- Select the card layout.
- Customize the layout items that is displayed.
- Select the interval duration between Facebook posts
- Customize the Facebook text style.
- Customize the Facebook logo color.
- Customize the Facebook footer.
- Customize the card background color, or image.
Click Next.
Fill in the Title, as this is a mandatory field. Optionally, you may fill in the Article, Caption, Content Expiry, Content Tags and even upload a custom thumbnail for the content.
Click the Save button.
Social Media by Seenspire Card
Note
Social Media by Seenspire card is compatible with Appspace 6.2.2 and later. For detailed configuration instructions of the card, please contact Seenspire.
Enter in the Seenspire credentials, and click Login
Click Connect to Seenspire to authenticate the account.
Click Next.
Fill in the Title, as this is a mandatory field. Optionally, you may fill in the Article, Caption, Content Expiry, Content Tags and even upload a custom thumbnail for the content.
Click the Save button.