Migrate an Appspace 7.0 on-prem server
This article provides the instructions to migrate your Appspace 7.0 on-prem server to a new server.
The migration process involves backing up and restoring database tables stored in either MySQL or MS SQL databases, and reinstalling the Appspace 7.0 on-prem on to a new server. It also involves replicating the original Appspace folders to the new server.
Note
The instructions in this article uses the MySQL database as an example.
To perform a full backup and migration, follow the instructions below:
- Backup Existing Appspace Databases
- Backup Appspace Folders
- Reinstall Appspace
- Restore Databases
- Restore Appspace Folders
- Run Appspace 7.0 Installer
- Activate Appspace
Important
- SSO configurations will not be copied over to the migrated server.
- Users whose invitations are pending must be deleted on this server, and re-invited again on the new server after migration.
- We recommend that you upgrade to the latest version of Appspace prior to a migration. Refer to the Upgrade to Appspace 7.0 on-prem article.
Prerequisites
Please ensure you meet all the requirements listed in the On-prem system requirements article.
Identical license key(s) for the backup server.
HTTPS is required for communication to the Appspace on-prem server.
Configure DNS FQDN and install a valid SSL certificate for the Appspace on-prem server.
Ensure the KB2999226 patch has been installed on your Windows Server 2012 R2.
If not, install the Universal C Runtime update as per instructions on the Microsoft website: https://support.microsoft.com/en-us/help/2999226/update-for-universal-c-runtime-in-windows
If Shared IIS Configuration is enabled, you must disable it and install the IIS URL Rewrite feature manually on each web server, by following the instructions here: https://social.technet.microsoft.com/wiki/contents/articles/25762.how-to-install-and-configure-iis-url-rewrite-over-iis-shared-configuration-feature.aspx
The Appspace Installation Center may not be able to install the IIS URL Rewrite feature correctly if the Shared IIS Configuration is enabled.
Turn off anti-virus software prior to installation. If unable to turn off anti-virus software due to company policies, configure the anti-virus software to exclude all Appspace folders and databases.
Important
When not turned off, anti-virus software blocks installer processes from running, which prevents the installation of some Appspace files. Overall installation time is also slower.
Backup Existing Appspace Databases
Stop the Internet Information Services (IIS) on the Appspace server, from the command prompt using this command: iisreset /stop
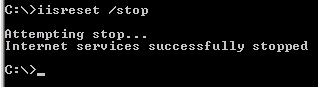
For more information, please refer to the instructions on the Microsoft website: https://www.microsoft.com/technet/prodtechnol/WindowsServer2003/Library/IIS/95826e7a-bac4-4e1f-bcb6-c52d49c9d7f4.mspx?mfr=true or https://technet.microsoft.com/en-us/library/cc732317(v=ws.10).aspx
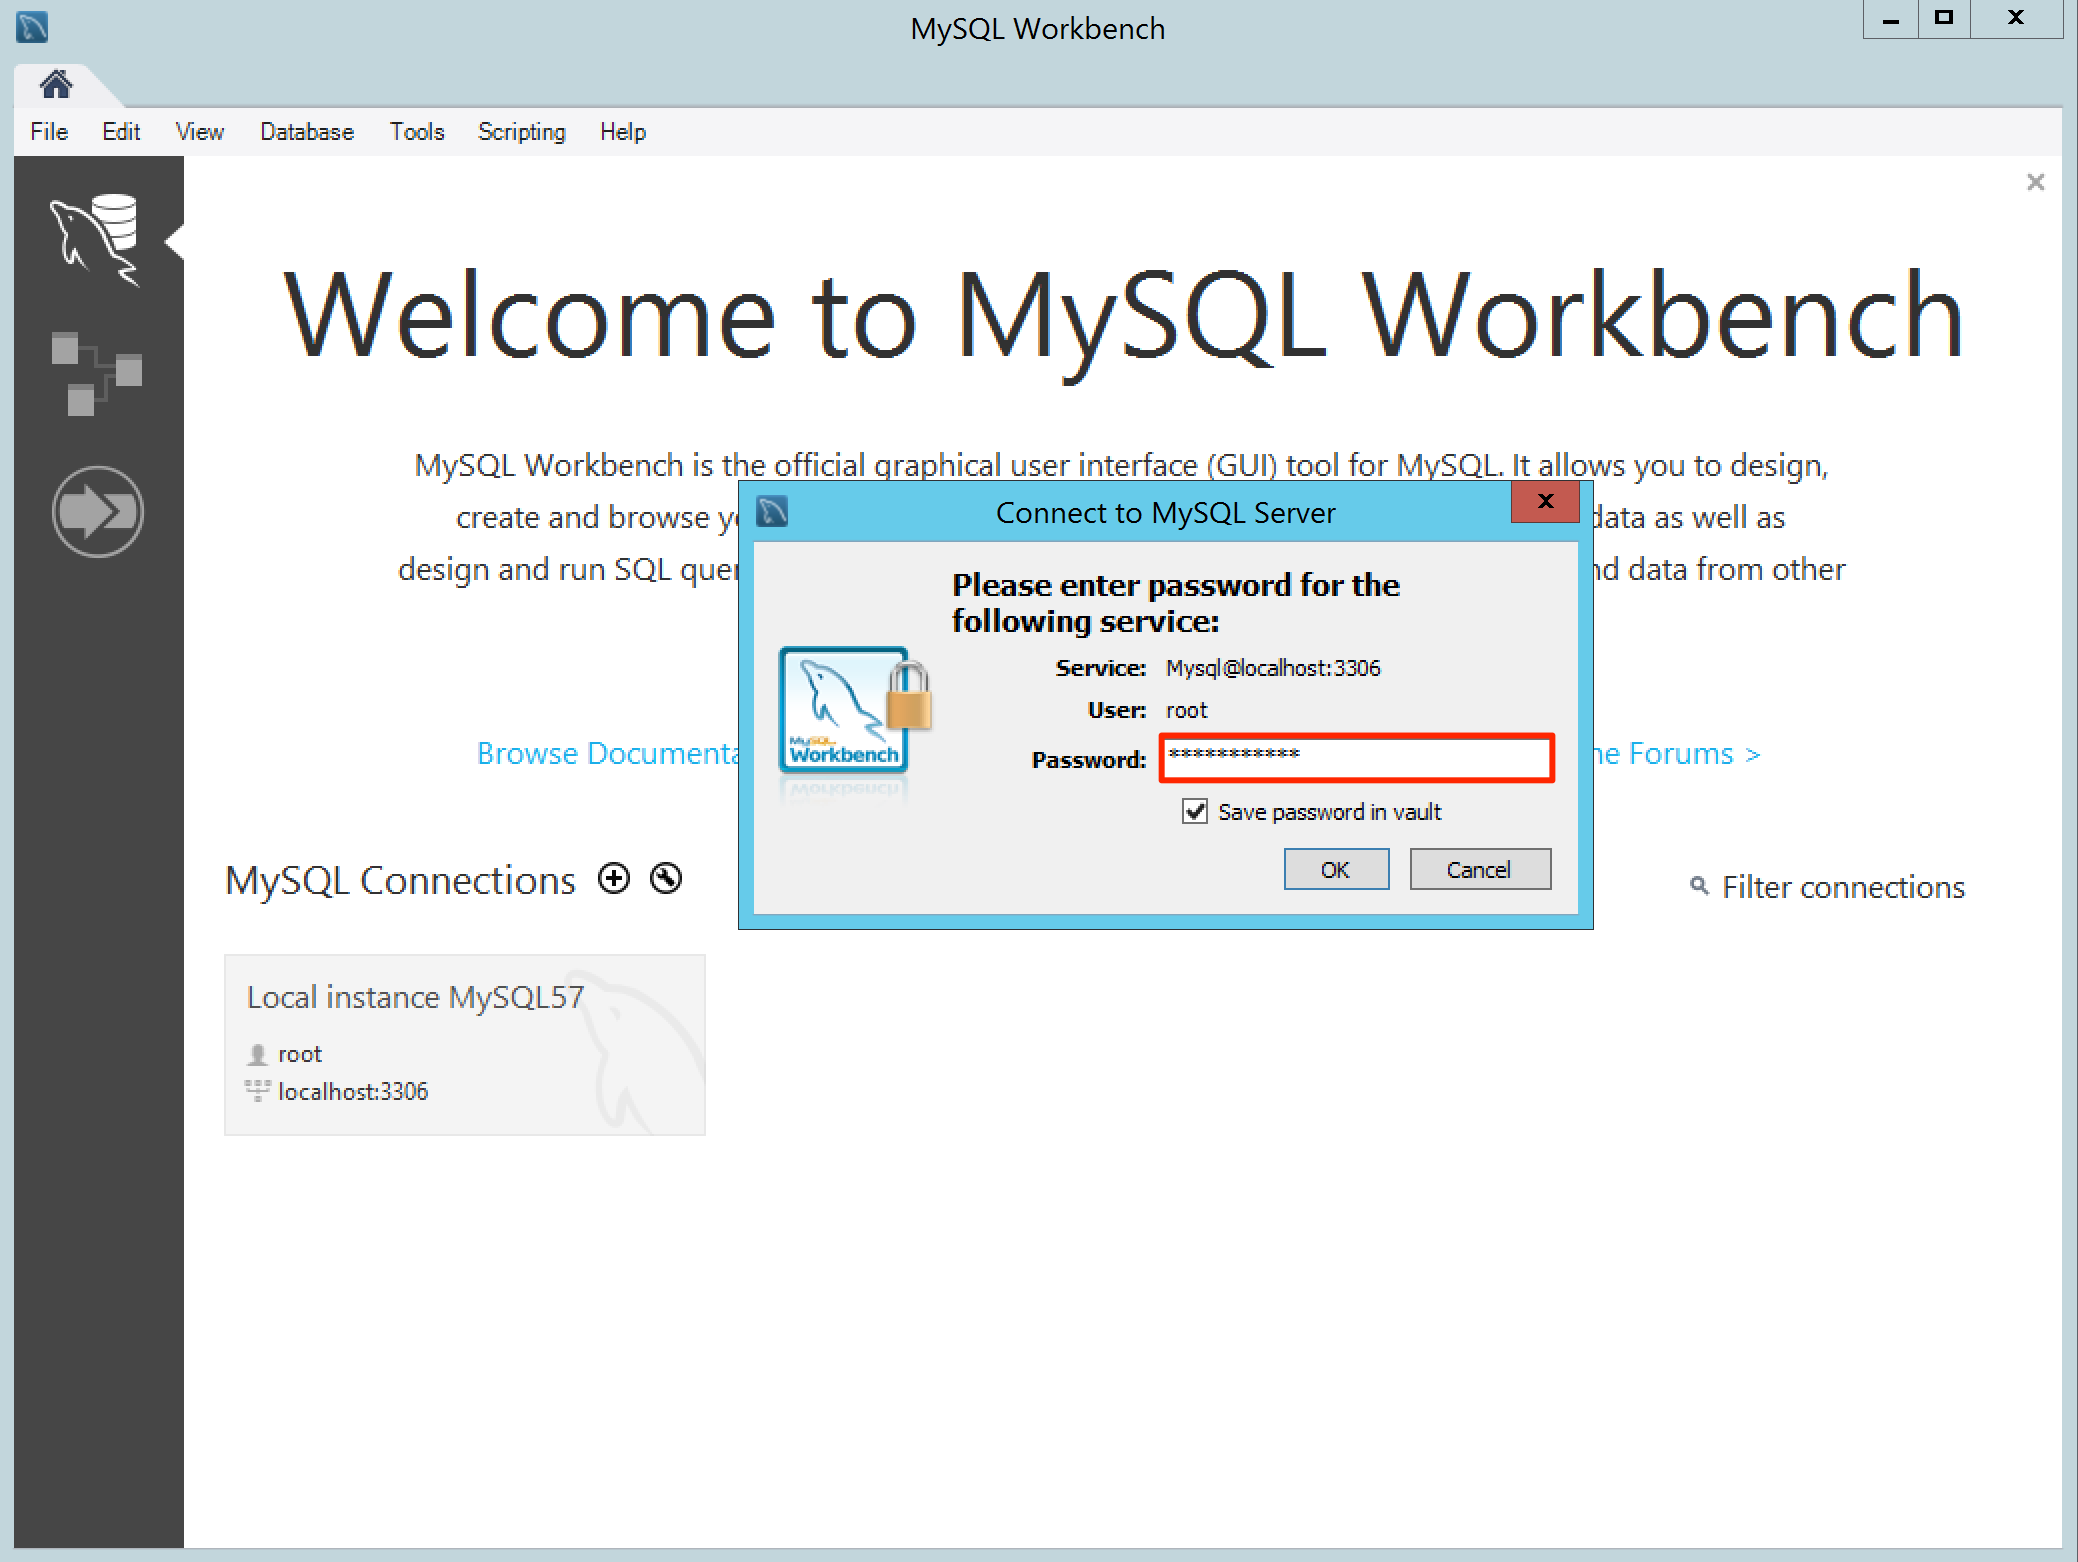
Run the MySQL Workbench program from the Windows Start menu.
Click ‘Local instance MySQL’. The ‘Local instance MySQL’ tab will be displayed, with the Data Export and Data Import/Restore links shown on the Navigator sidebar.
Note
You may need to enter the root password (if not already stored in the vault).
Select Data Export under Management in the Navigator pane, and in the Local Instance MySQL tab, select one database schema you would like to export, and ensure that all the tables are selected in the Schema Objects window on the right.
Select the ‘Export to Self-Contained File’ option, and choose a location to store your .sql file (you may also customize the name of the file to your own preference). Click the Start Export button.
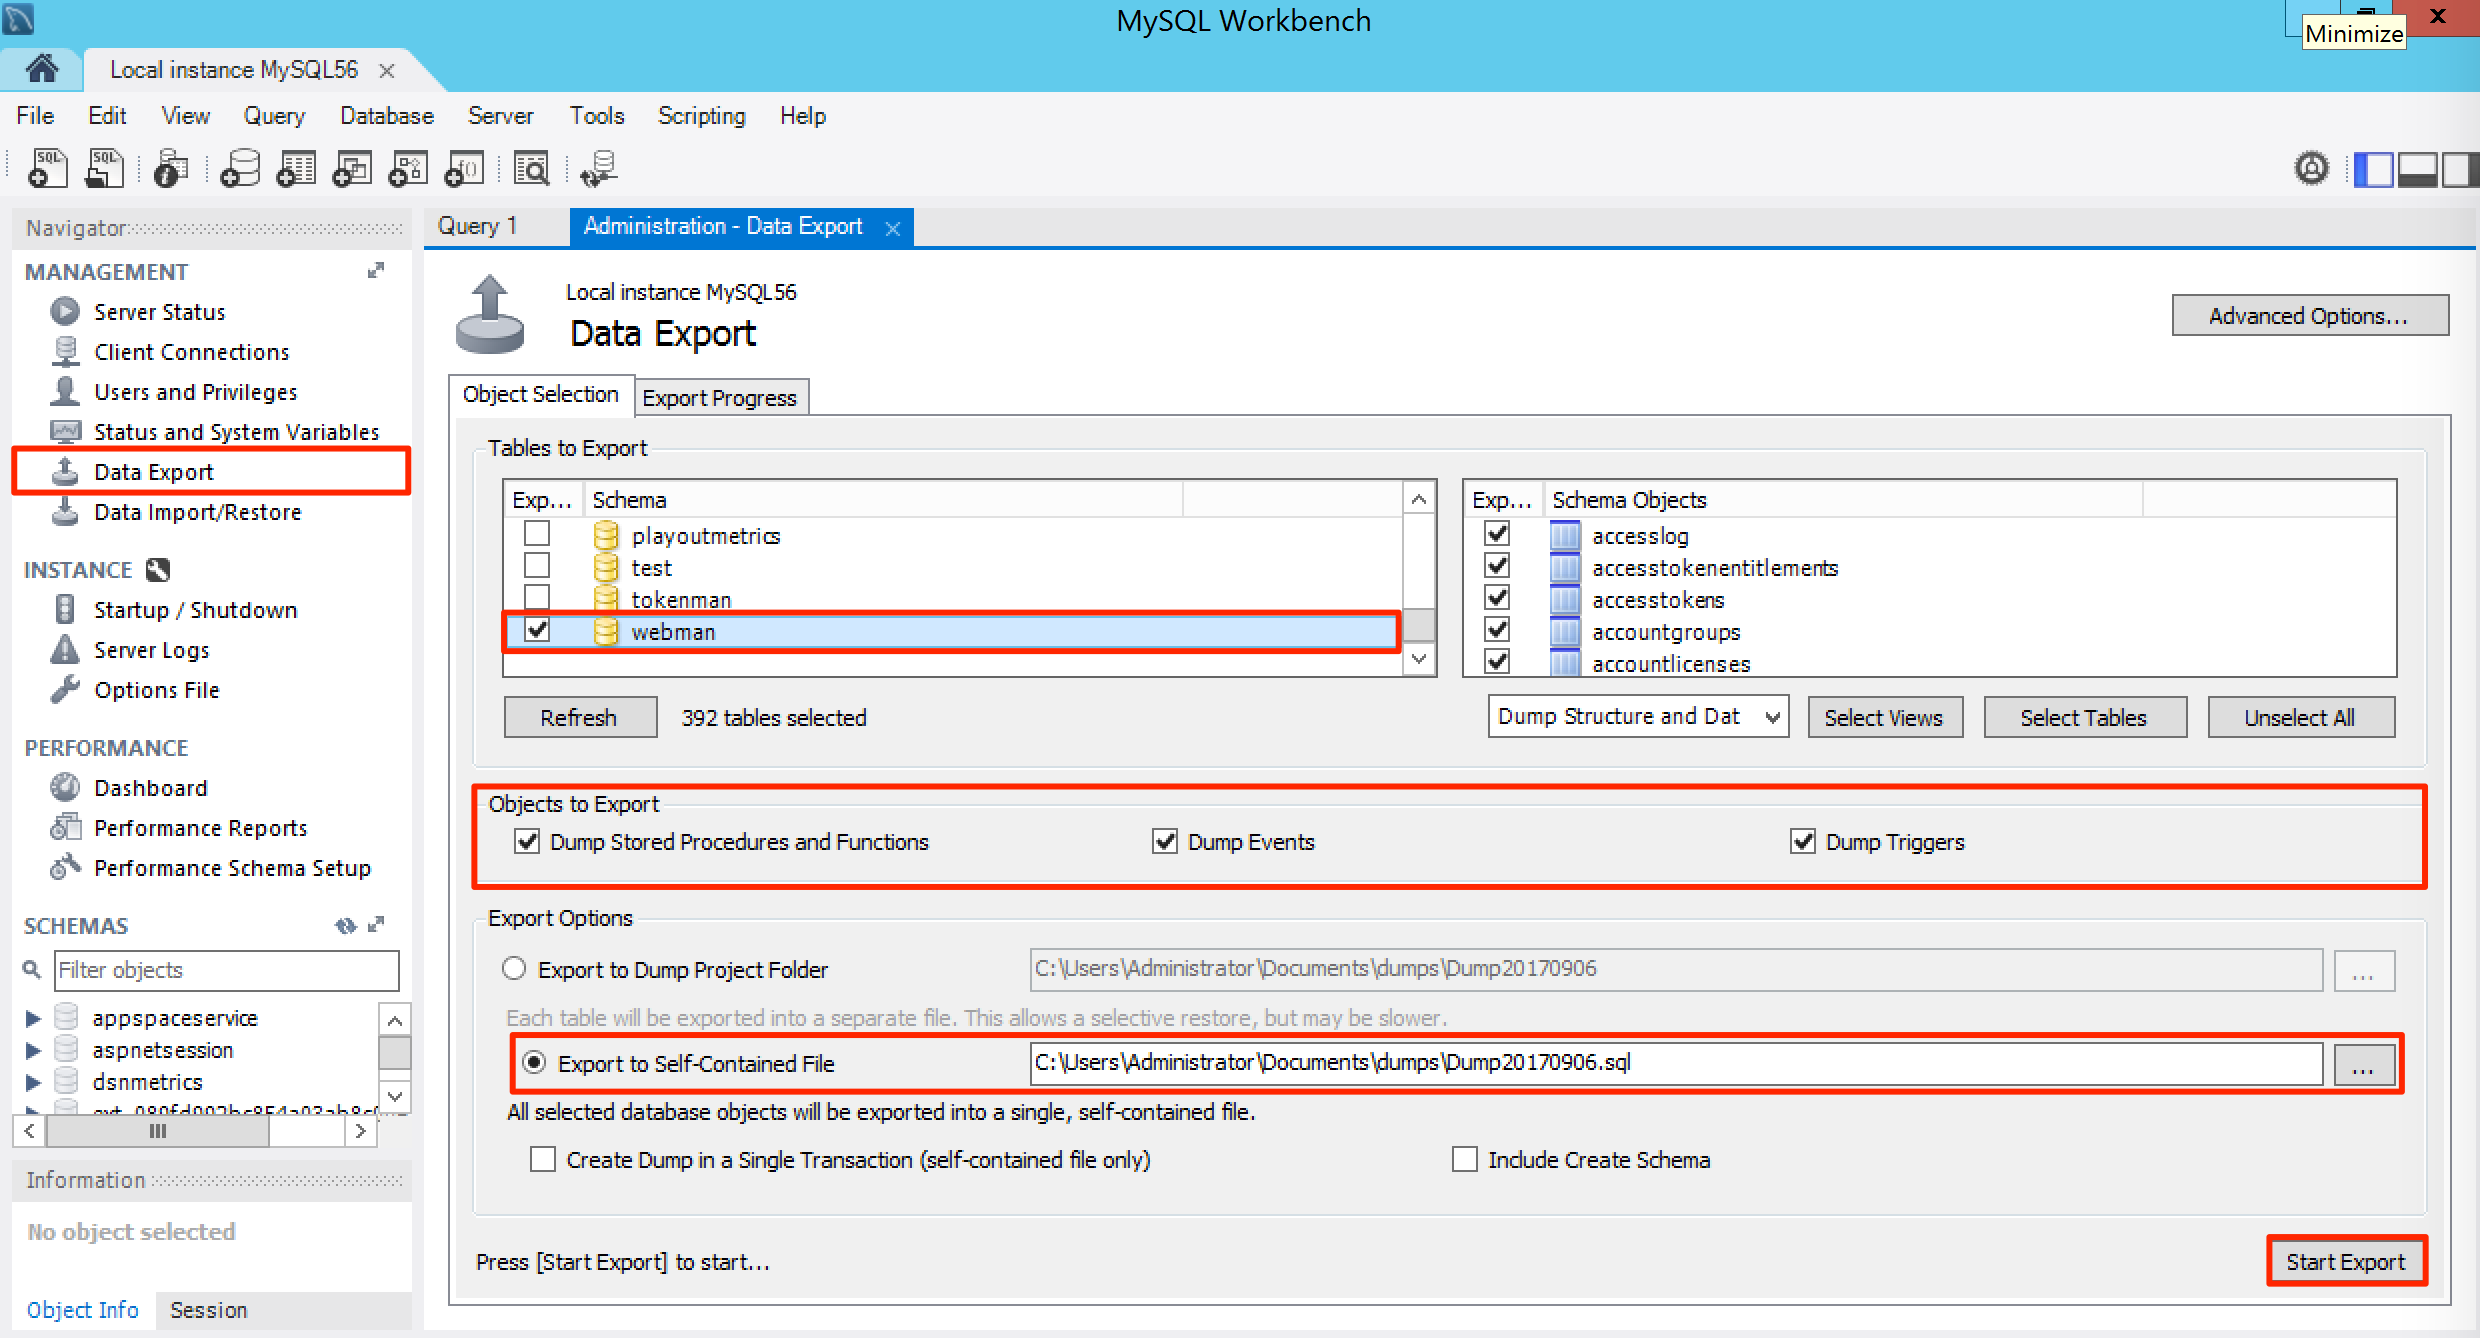
Allow some time for the export process. The progress bar will indicate the status of the task. The task will be completed once the Status indicates that the file has been exported. You may verify this by navigating to the location of the newly-generated .sql file in Windows Explorer.
Repeat Steps 3 to 5 for all the other database schemas by creating new self-contained .sql files. Ensure that only one database schema is selected at any one time, and that the ‘Export to Self-Contained File’ option is selected before exporting.
Important
The following databases are required by Appspace for the backup process:
- aspnetsession
- dsnmetrics
- playoutmetrics
- tokenman
- webman
- ext_*
Note: Ensure all databases with the prefix “ext_” are copied.
Backup Appspace Folders
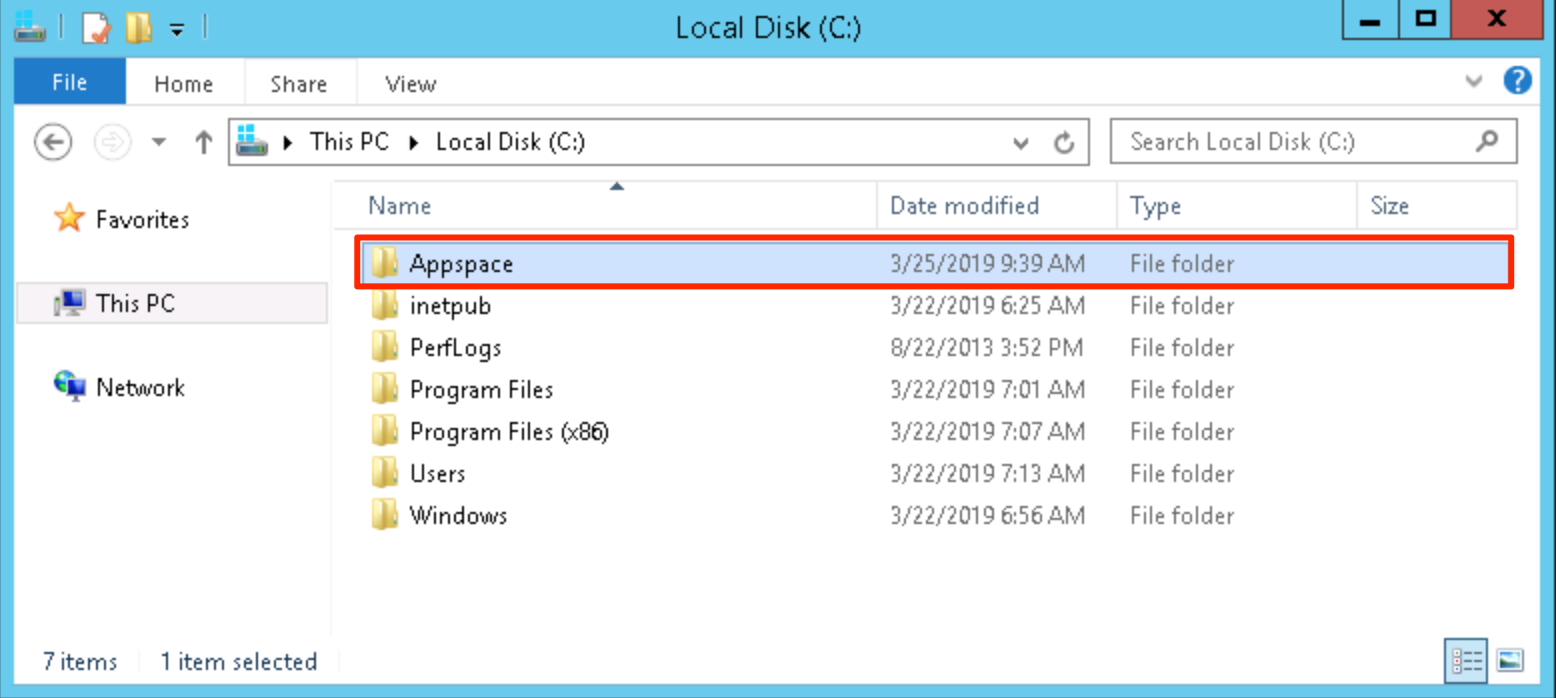
From Windows Explorer, copy and paste the following Appspace installation folder to a desired backup location:
- C:\Appspace
You may choose to copy the folder to a location within the server, or to an external source such as a USB drive or a secure cloud storage service.
Note
In Appspace versions prior to 5.1 (i.e. 5.0.x), the installation and content folders are located here:
- Installation Folder – C:\Nexus
- Content Folder – C:\NexusMediaNet\FTPFastNetV2
It is recommended that these old folders are restructured to match the current installation folder structure:
- Installation Folder – C:\Appspace
- Content Folder – c:\Appspace-Content
Repeat the same process for any other folder that hosts Appspace files (if any).
Reinstall Appspace
Please refer to the Installing Appspace on-prem article to reinstall the Appspace on-prem server.
Restore Databases
You must restore databases in MySQL by manually importing the self-contained SQL files backed up earlier.
Stop the Internet Information Services (IIS) on the server, by following the instructions on the Microsoft website: https://technet.microsoft.com/en-us/library/cc732778(v=ws.10).aspx
In MySQL Workbench, click Data Import/Restore, and select the ‘Import from Self-Contained File’ option. Locate the .sql file in your server and choose the appropriate Default Target Schema from the drop-down menu.
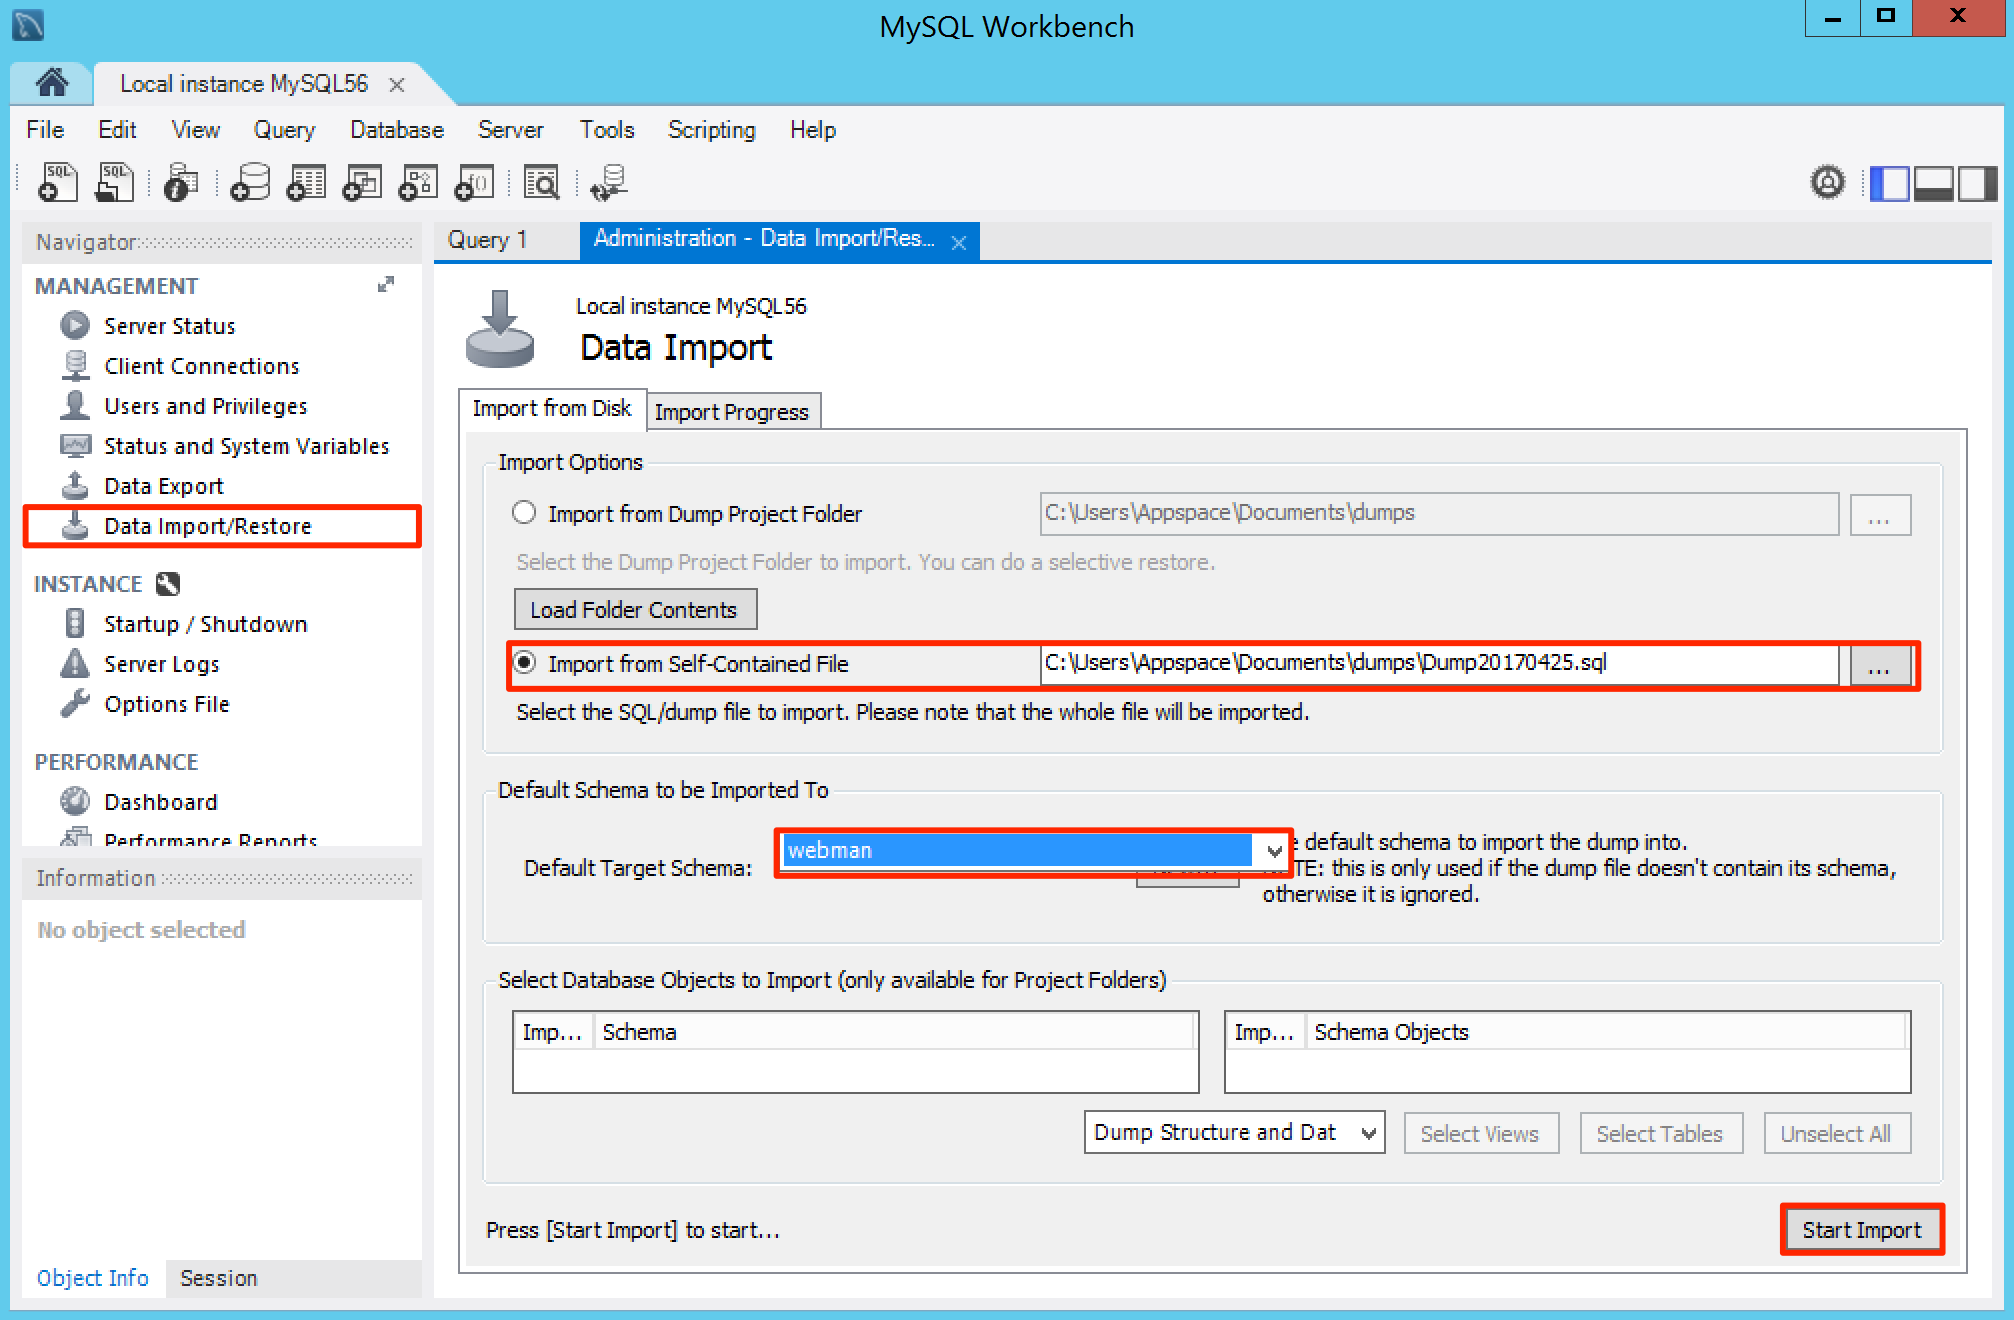
Click the Start Import button. The progress bar will indicate the status of the task.
Repeat the same procedure for the other database schemas (dsnmetrics, playoutmetrics, etc).
Restore Appspace Folders
Once the databases are restored, you may proceed to restore the installation folder from the previous Appspace server to the same location in the new Appspace server. By default the location will be at:
From Windows Explorer, navigate to the Appspace installation folder. Replace the installation folder in the new Appspace server with the backed-up installation folder from the previous Appspace installation.
- C:\Appspace
Repeat the same process for any other folders backed up earlier.
Run Appspace 7.0 Installer
Rerun the Appspace 7.0 installer and select the Upgrade option. Please refer to the Upgrade Appspace section.
Start the Internet Information Services (IIS) on the server, by following the instructions on the Microsoft website: https://technet.microsoft.com/en-us/library/cc732778(v=ws.10).aspx
Activate Appspace
Proceed to activate the new license. Please refer to the Activating Appspace on-prem article.