Manage transcoder plugins
The Appspace Content Transcoding is a plugin framework that allows Appspace administrators to convert media files into a format compatible for playback on your selected Appspace supported device. Transcoder plugins are not pre-installed with Appspace. You can download and install Appspace-provided transcoders, or you can create and install your own custom plugin.
Appspace provides the following transcoders, which are available in Downloads:
Video Transcoder - Convert your video content into an alternative video format for playback on your Appspace supported device. Formats supported include: WMV, AVI, MPEG, MPEG_TS, MP4 and MOV.
This article provides the instructions to import transcoder plugins, create custom transcoder plugins, and delete transcoder plugins,
- Importing Transcoder Plugins
- Creating Custom Developed Transcoder Plugins
- Deleting Transcoder Plugins
Importing Transcoder Plugins
Navigate to System > Downloads from the Appspace menu.
In Downloads, select the desired transcoder package type, and click the Download link.
Check the End User Agreement check box and click Download. The transcoder will be downloaded to your default download folder.
Warning
Ensure the Appspace on-prem server is properly configured and meets hardware requirements that are defined in the transcoder. Download and install any software or codec requirements listed for the transcoder to function correctly.
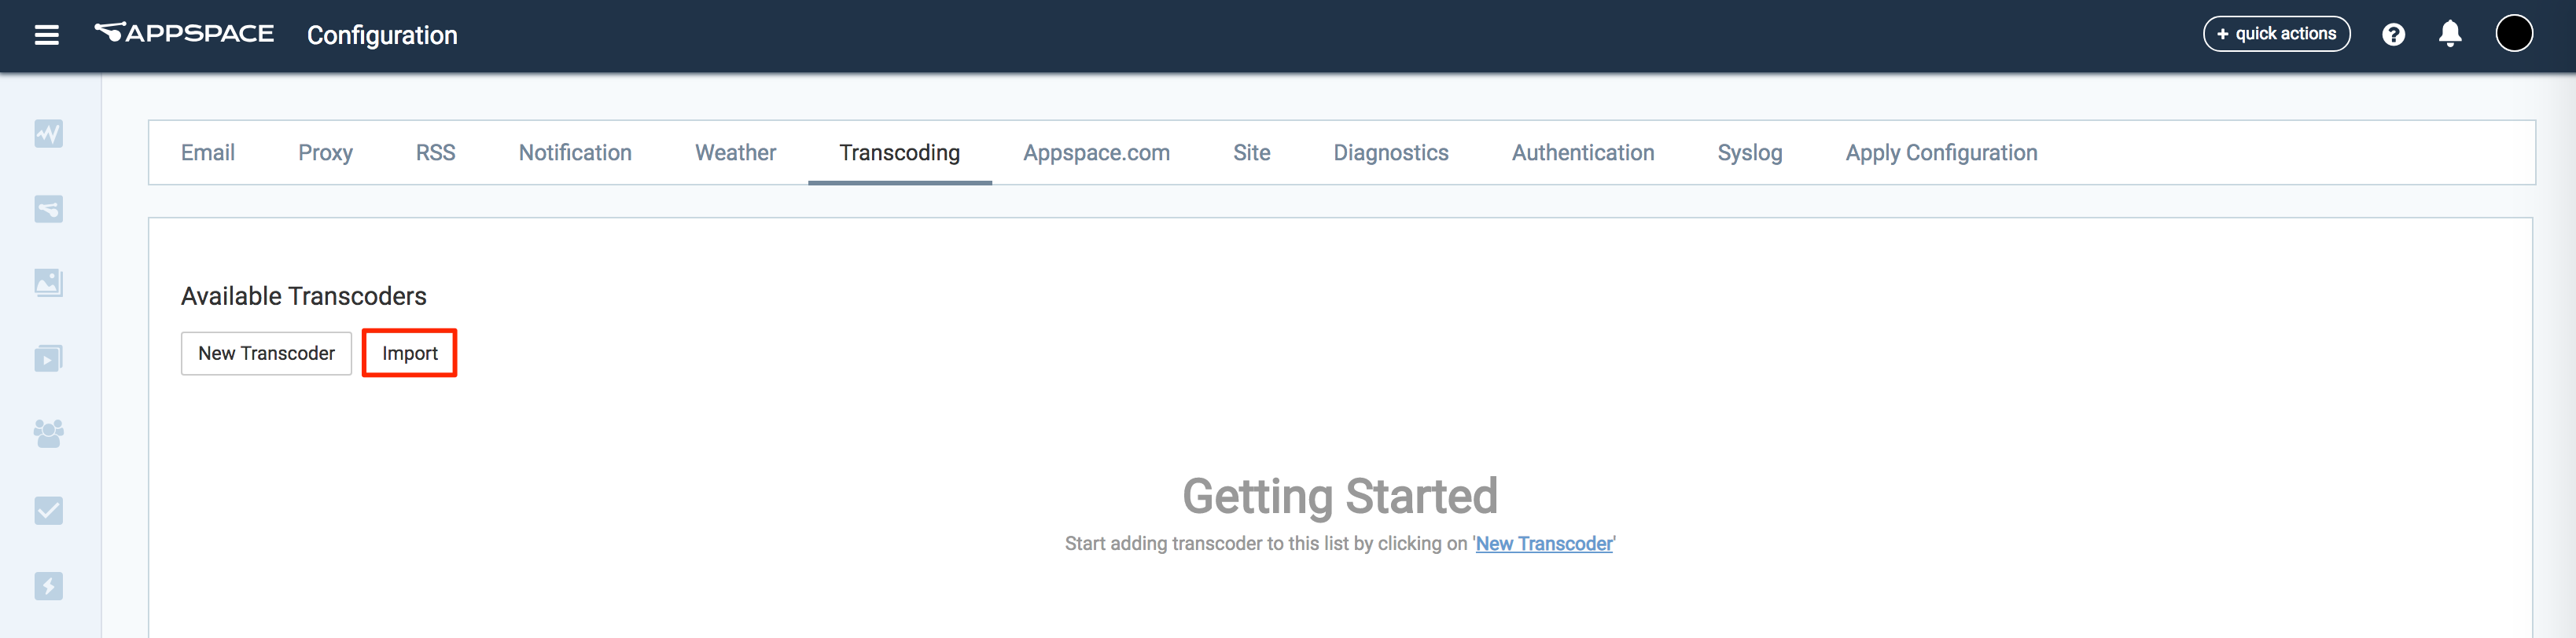
Navigate to System > Configuration from the Appspace menu.
Click the Transcoding tab, and click Import. and click Choose File.
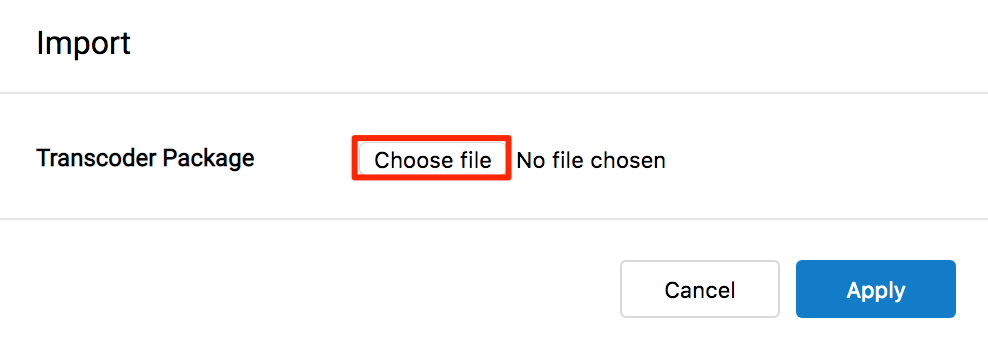
Click the Choose File button, and select the downloaded transcoder package from the default download folder.
Click Save once complete, and Yes to confirm settings.
The system should automatically detect a change to the Appspace settings and prompt you with a notification at the top of the page. Click the Click Here link.
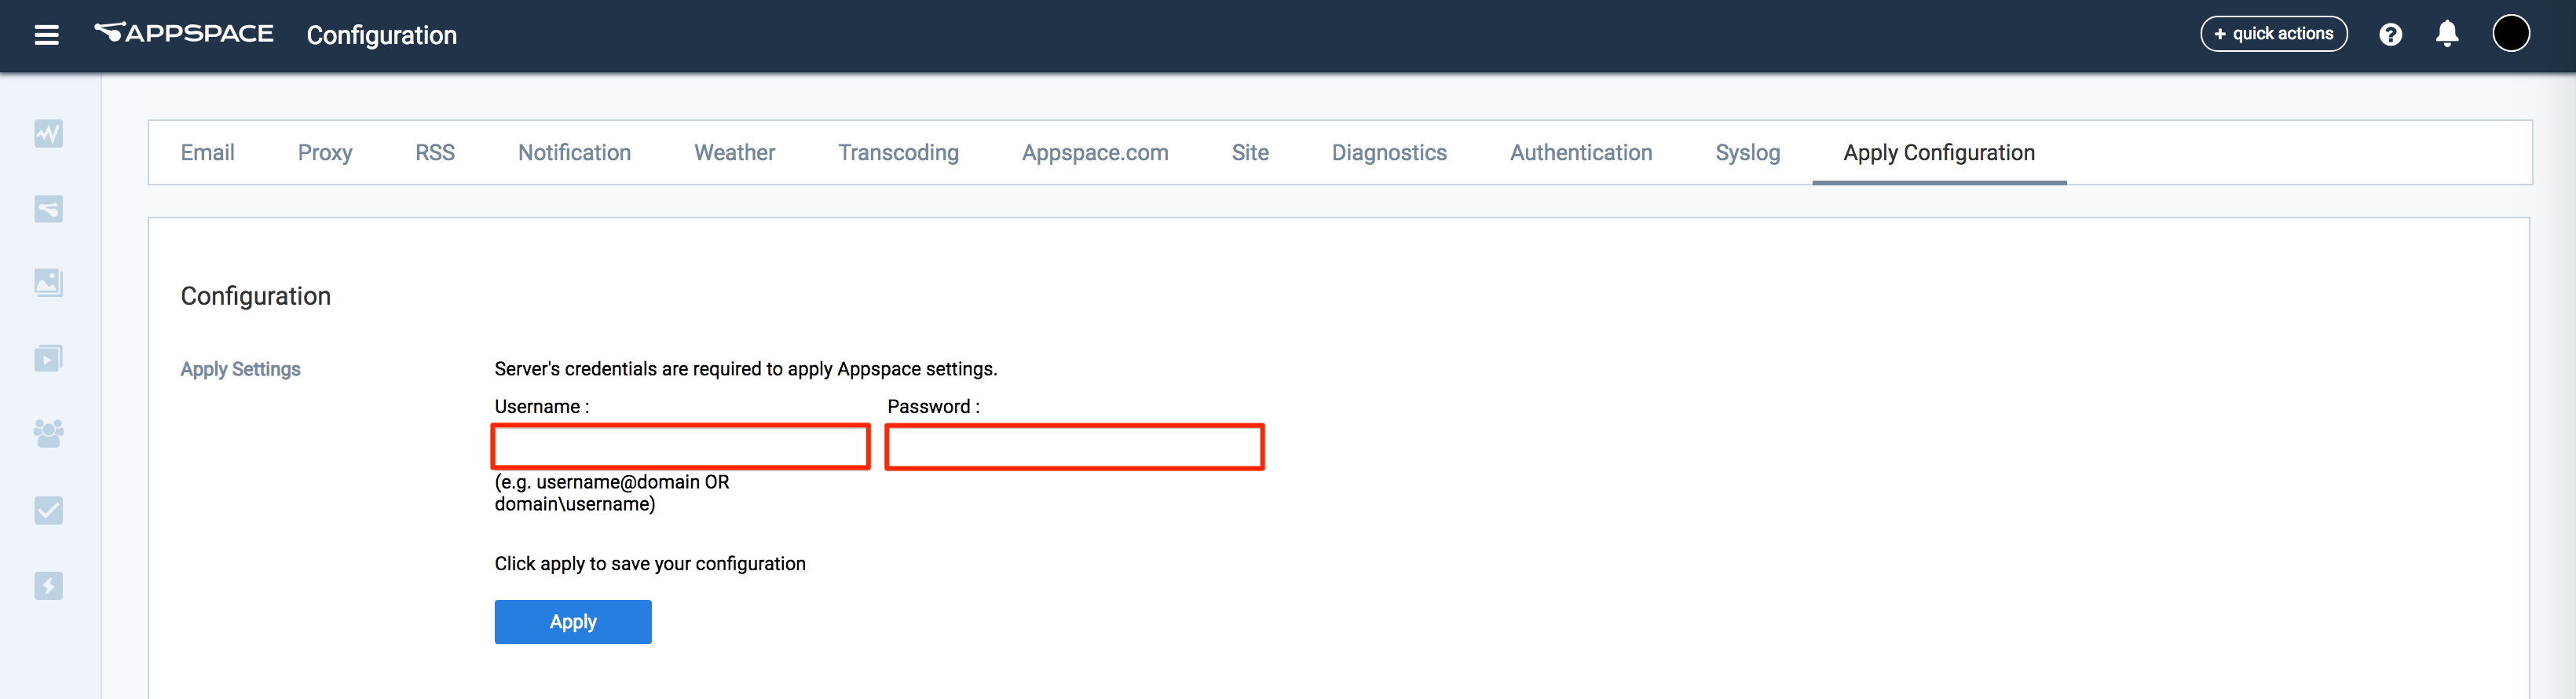
You will automatically be taken to the Apply Configuration tab. To finish applying the changes to the system settings, enter your Windows Server credentials and click Apply.
Warning
You must input your Windows Server Administrator credentials or an account with local administrator privileges to make and apply changes to server settings.
This is NOT your Appspace on-prem server administrator credentials or your Appspace Cloud user credentials.
Click Yes to confirm and to restart your Appspace server. You should see a message indicating the server restart progress.
If successful, click OK to complete the process.
Creating Custom Developed Transcoder Plugins
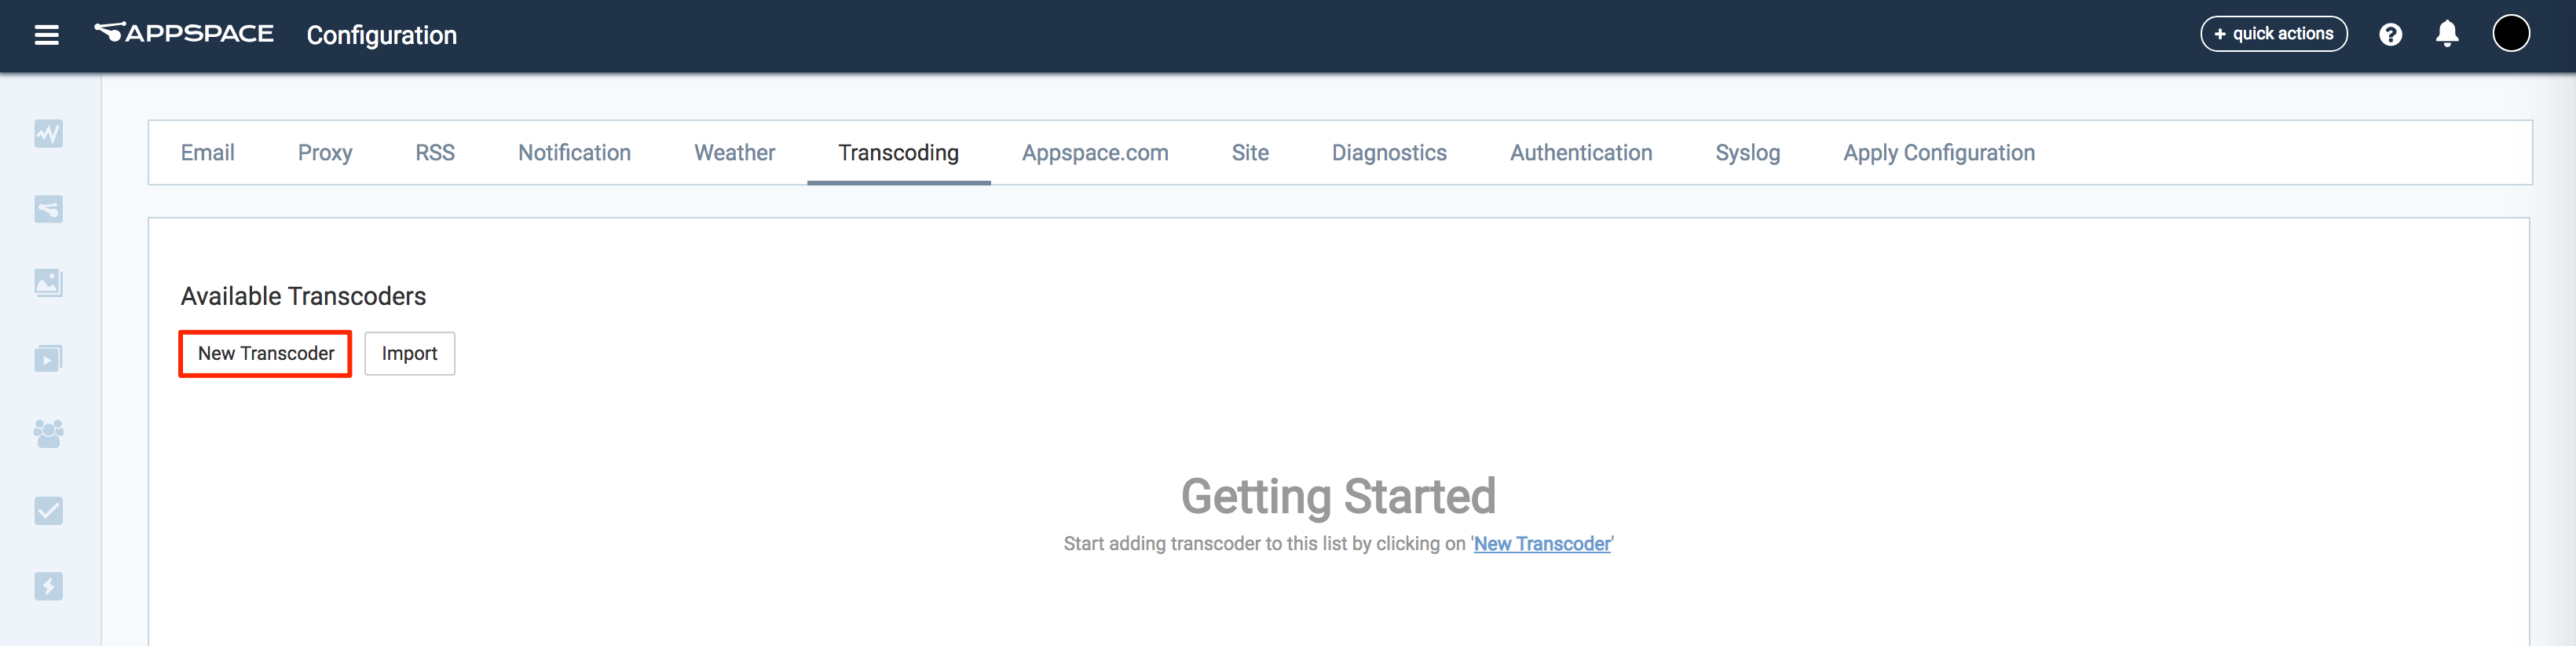
Navigate to System > Configuration from the Appspace menu.
Click the Transcoding tab, and click New Transcoder.
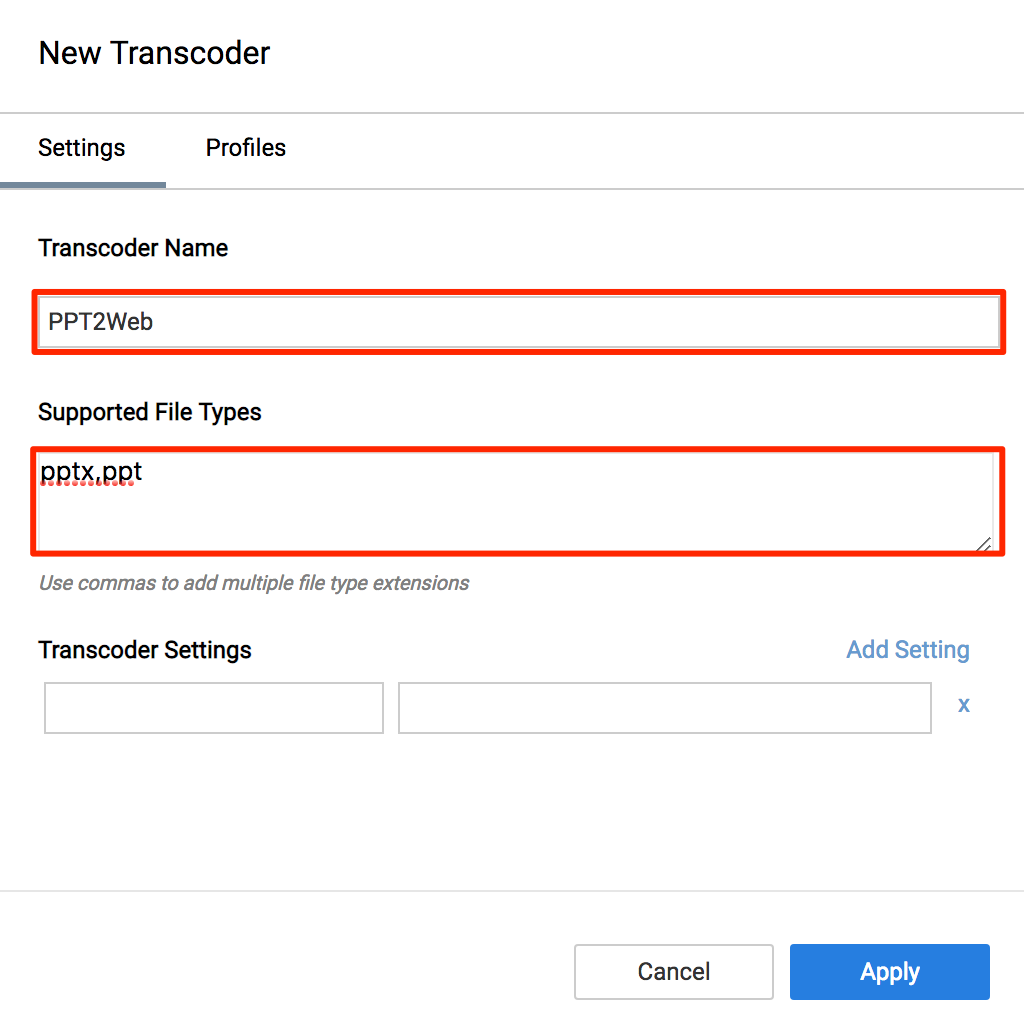
In the Settings tab, input the following details:
- Transcoder Name - A descriptive name to identify the transcoder.
- Supported File Types - List the media file extension types, in comma separated list, the transcoder supports. This information is used to determine the possible transcoders a user can use to encode a media file in the content library.
In the Profiles tab, click New Profile.
Note
Each transcoder requires a profile to be created to define the function the transcoder performs, similar to a command line argument for the transcoder executable.
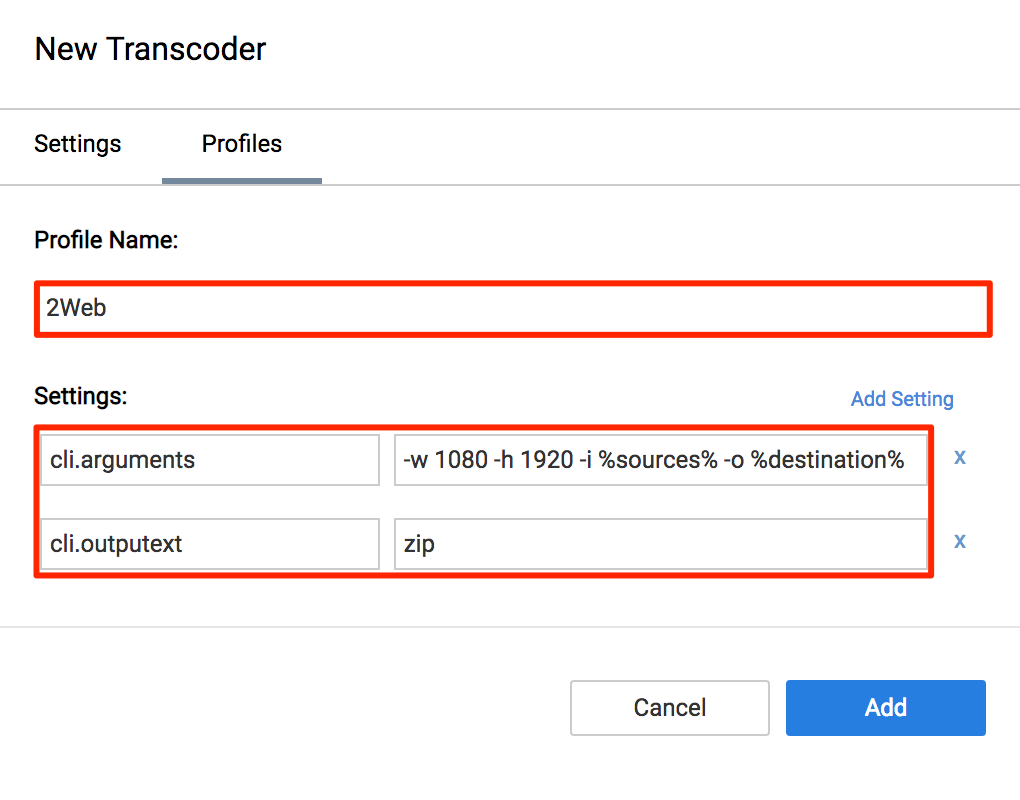
Input the following details:
- Profile Name - A descriptive name that helps explain its function and file format output.
- Settings - List the various transcoder settings. Click Add Setting to insert additional settings.
Important
The below transcoder settings are required.
- cli.outputext – The resulting file extension for the converted content for this profile.
- cli.arguments – The command line arguments to pass to the transcoder executable. It should contain the variables, %source% and %destination%.
Click Apply to save settings.
The system should automatically detect a change to the Appspace settings and prompt you with a notification at the top of the page. Click the Click Here link.
You will automatically be taken to the Apply Configuration tab. To finish applying the changes to the system settings, enter your Windows Server credentials and click Apply.
Warning
You must input your Windows Server Administrator credentials or an account with local administrator privileges to make and apply changes to server settings.
This is NOT your Appspace on-prem server administrator credentials or your Appspace Cloud user credentials.
Click Yes to confirm and to restart your Appspace server. You should see a message indicating the server restart progress.
If successful, click OK to complete the process.
Deleting Transcoder Plugins
Navigate to System > Configuration from the Appspace menu.
Click the Transcoding tab, click Settings for the transcoder plugin you wish to delete.
Click Delete This Transcoder and click OK to confirm.