Install custom fonts for Appspace App
This article provides instructions to install custom fonts on Appspace App driven devices.
Prerequisites
- A channel or sign using the custom font.
- Font file in .ttf or .woff format located on a web server, or remote location.
Installing custom fonts via Device Tasks
Follow the instructions below to install custom fonts on an Appspace App driven device using a task template in Device Tasks:
In Device Tasks, click the Advanced Tasks tab.
Select the network the device is in, and click the Add button.

In the Select Template window, select the ‘Appspace App : Install Font‘ task, and click Select. Ensure the device is listed under the Target Devices column.

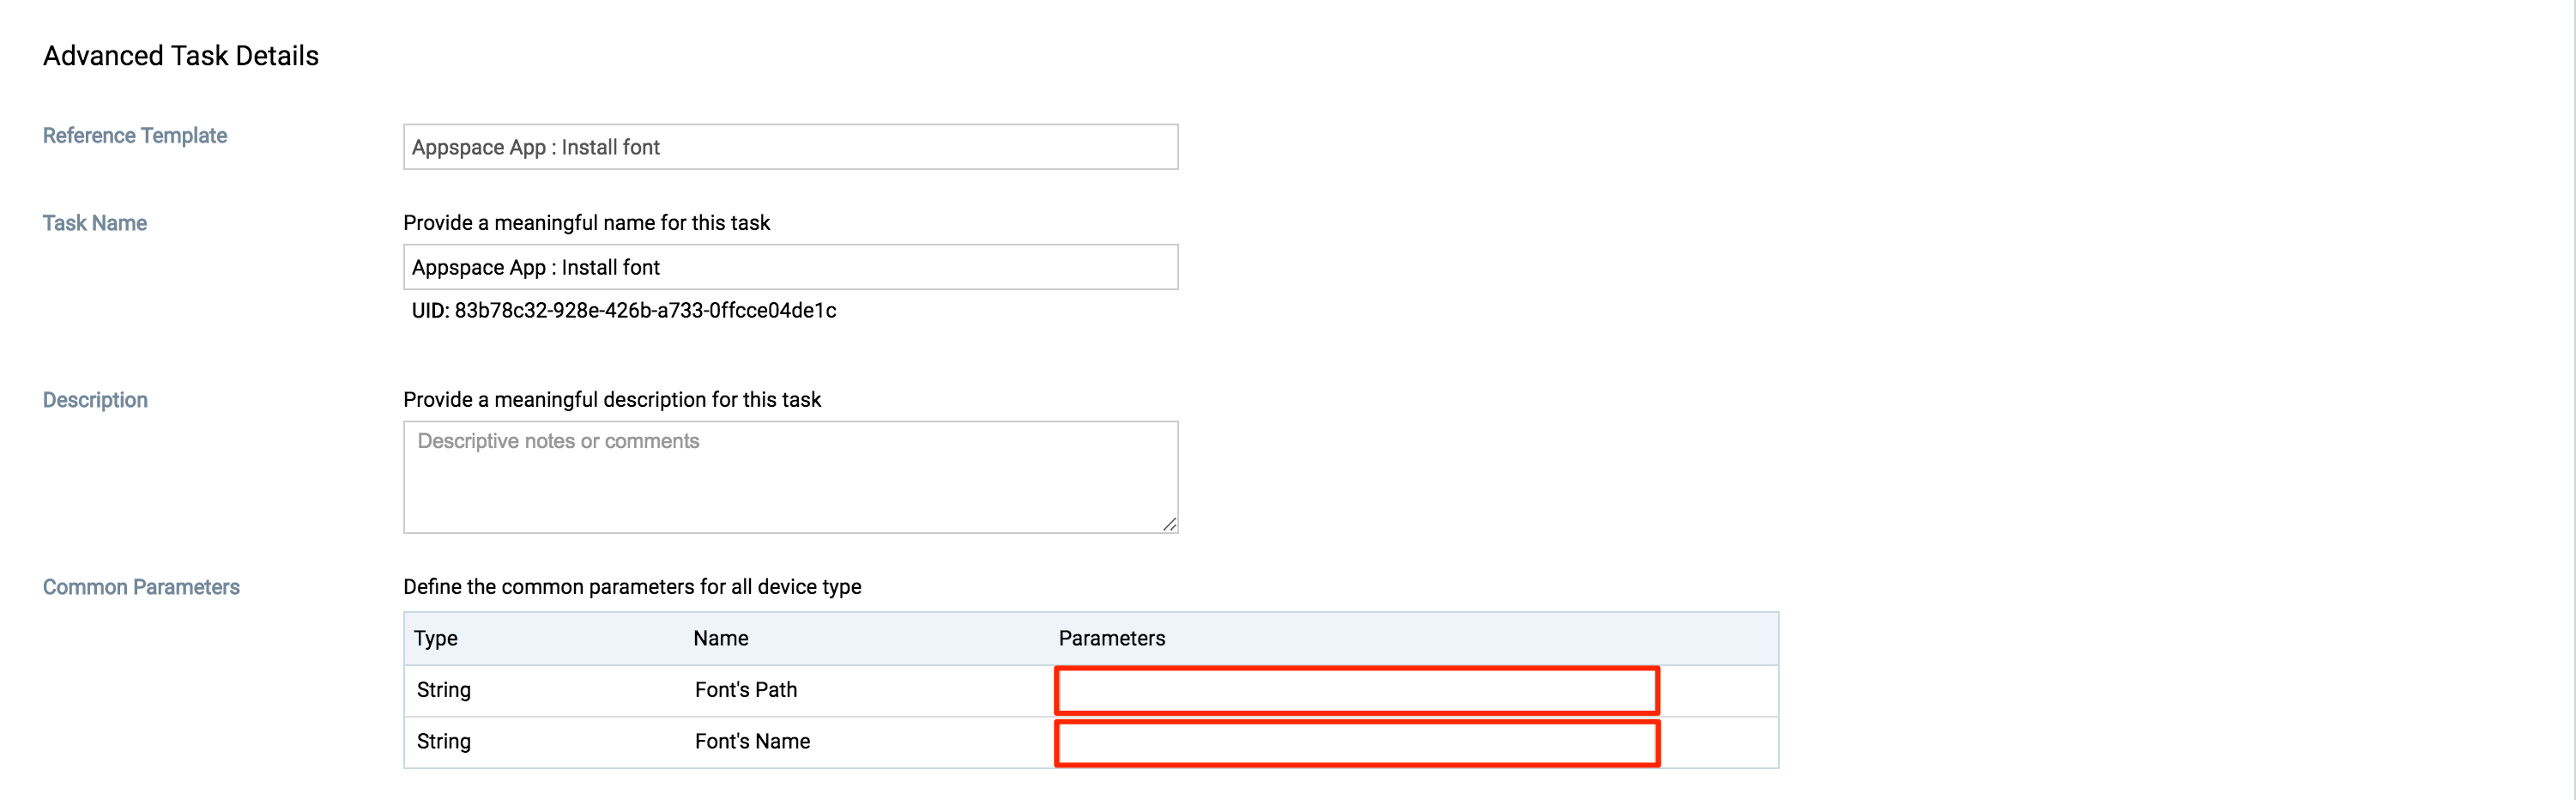
In the Common Parameters section of the Advanced Tasks Details page, enter in the font’s path and name in the parameter fields.
In the Deploy To section, click the Add button.
Select the desired device to install the font. To install the font on multiple devices, select the network, or player group. Click Select once done.
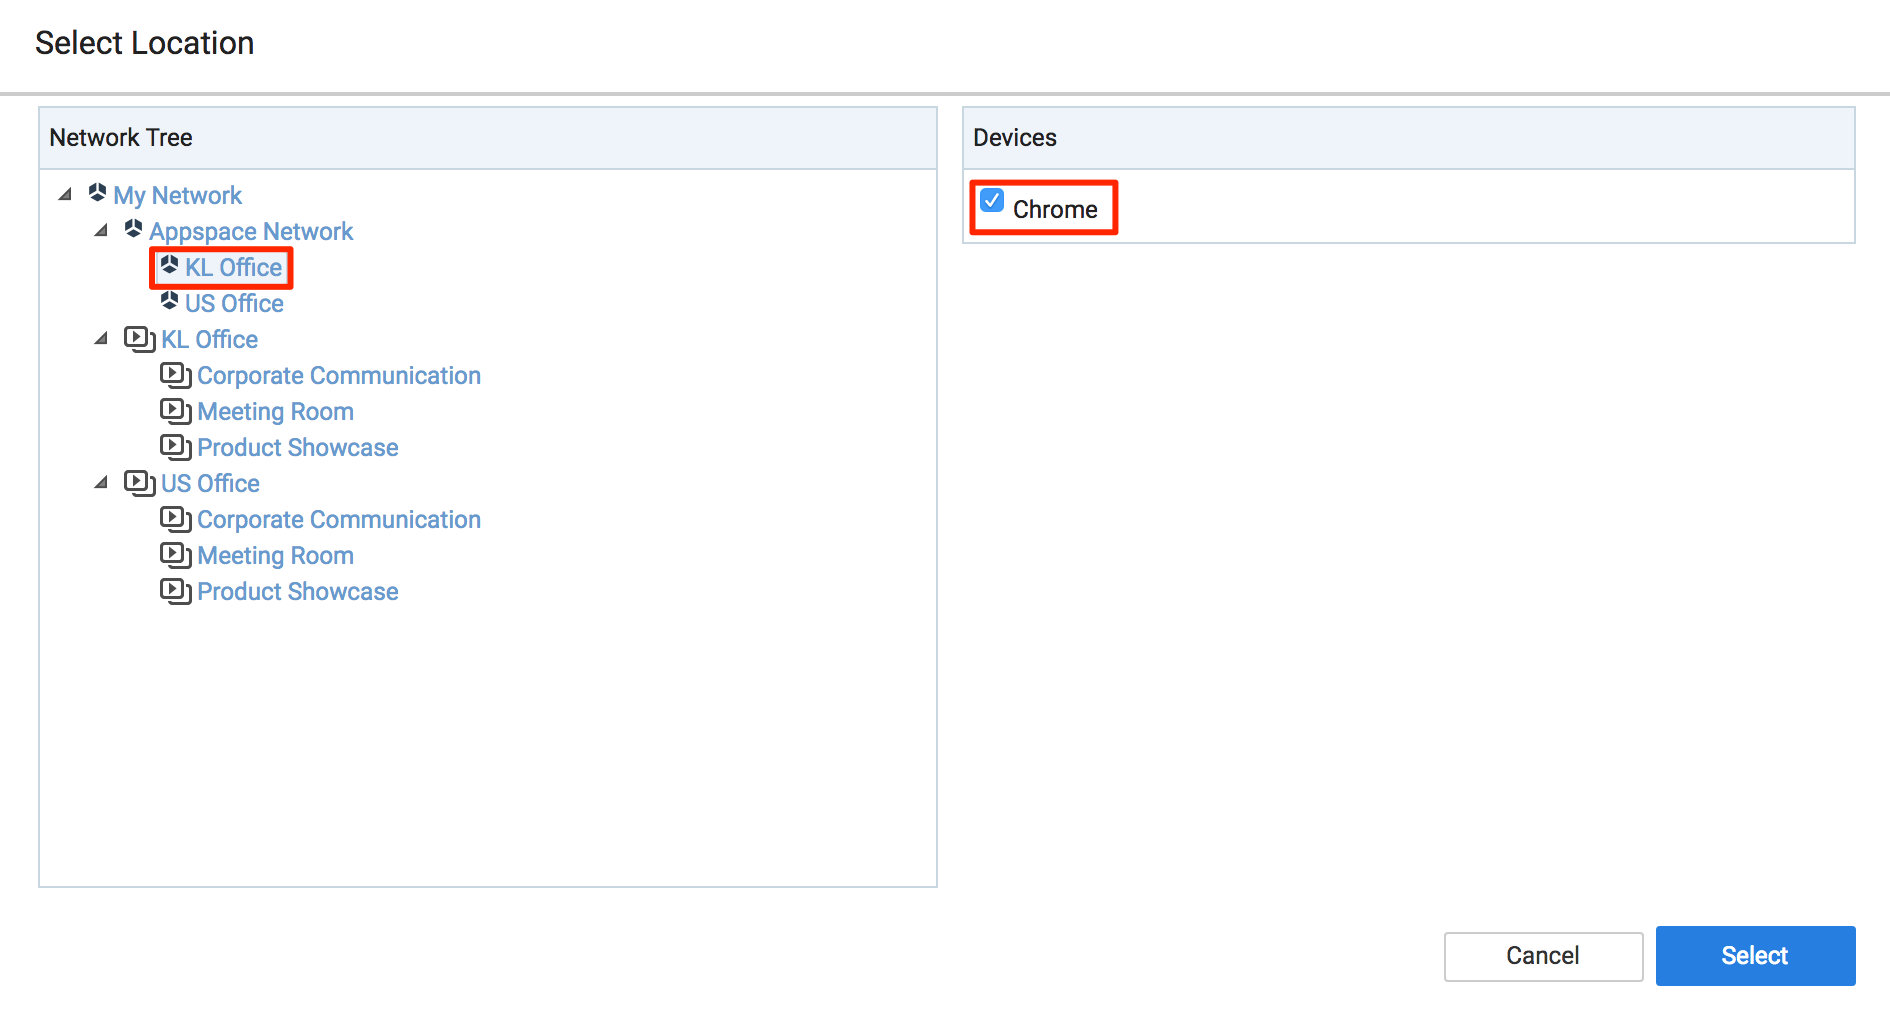
Click Save to run the Advanced device task.
Installing custom fonts manually
Follow the instructions below to install custom fonts on a Appspace App driven device manually:
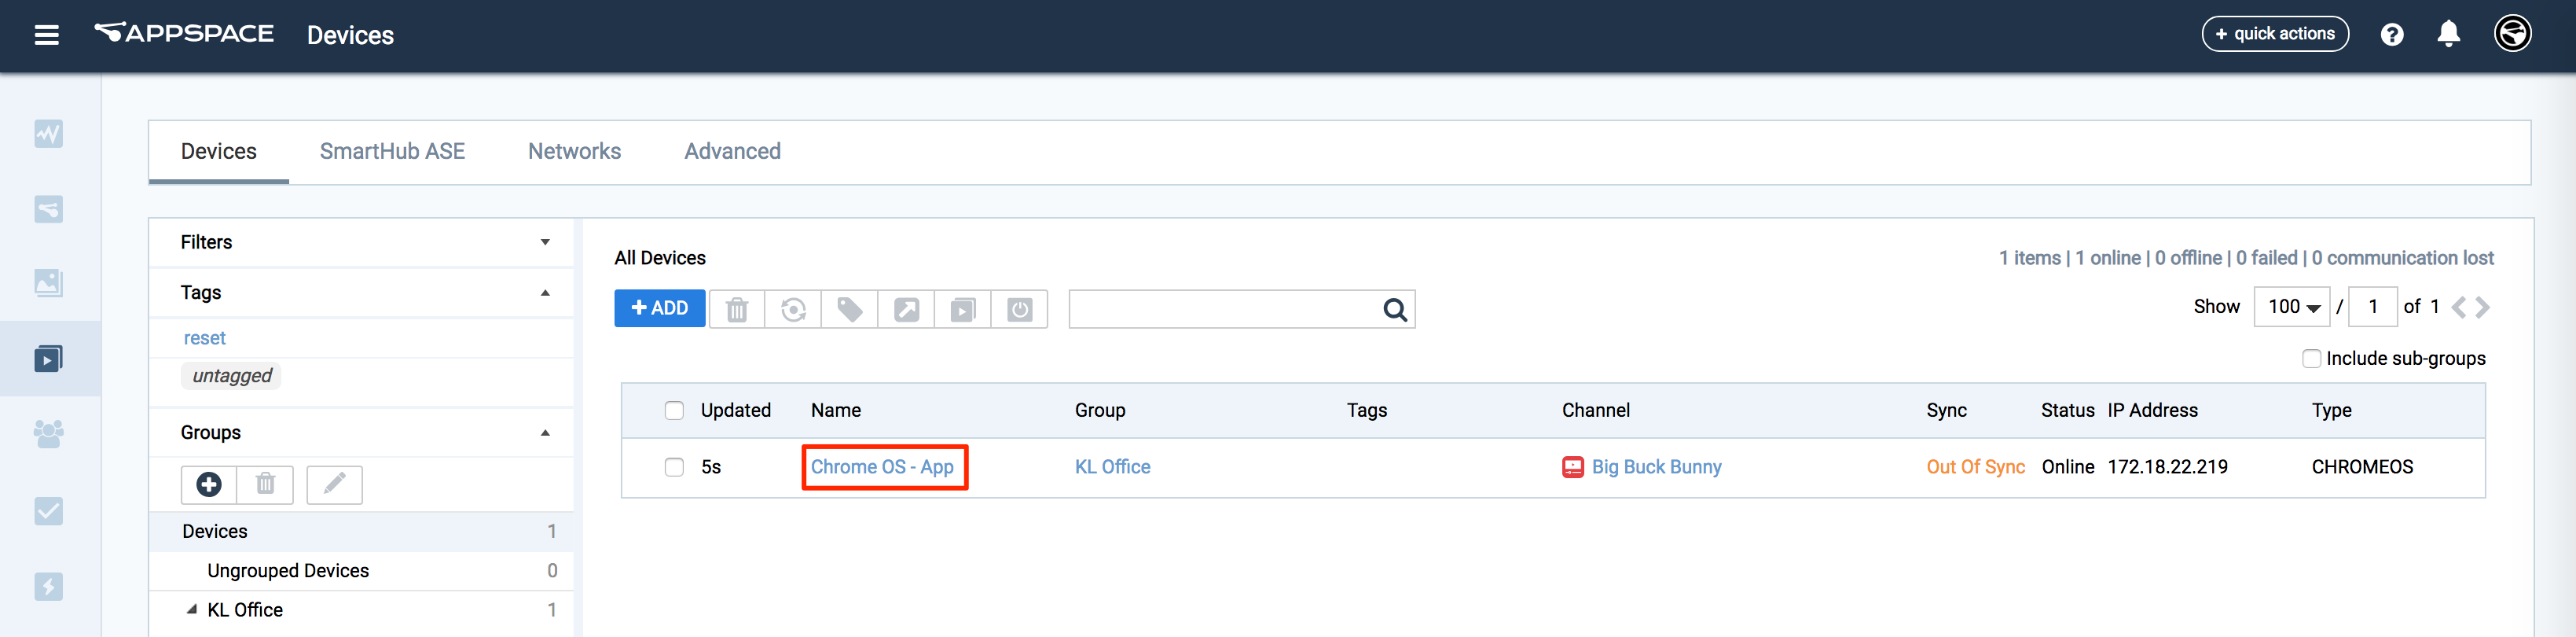
In Devices, click the desired device name link.
In the Device Properties section, insert the following property and value:
Property Value Player.Fonts.Custom.<font-name> http://<domain>/<font-name>.ttf 
Click Save changes to load, and install the custom font onto the device.
To ensure the custom font stays even after a restart, launch the Appspace App Device Menu on the device, and select Restart.
Note
If the custom font is not displayed, select Resync or Reset Content from the Device Menu.