Enabling metrics reports
This article provides the instructions to capture interactive metrics.
- Adding a Metric Tree
- Enabling Interactive Metrics
- Generating Interactive Metric Reports
- Report Samples: Viewed Metric
- Report Samples: Downloaded Metrics
Pre-requisites
- Contact Support to enable the Administrator mode for your Administrator account.
Adding a Metric Tree
To add a Metric Tree, please follow the instructions below:
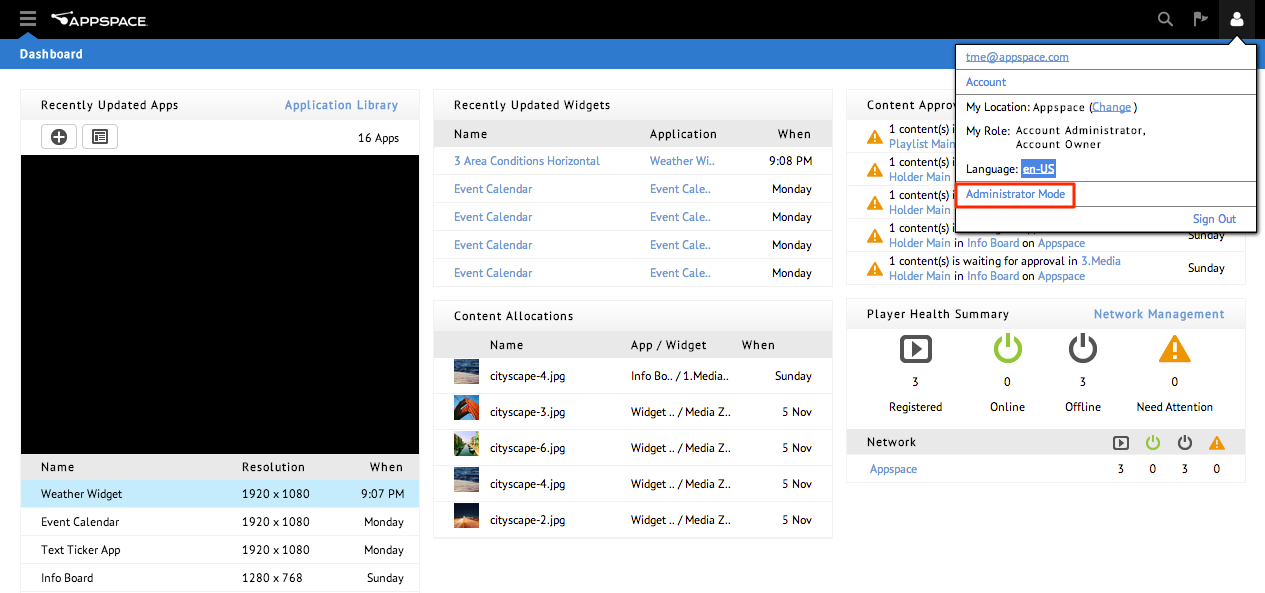
Click the account icon, and click Administrator Mode.

Click Yes at the prompt.

Click Yes at the Confirmation window

Select the desired sign from the drop-down list and click the METRICS tab
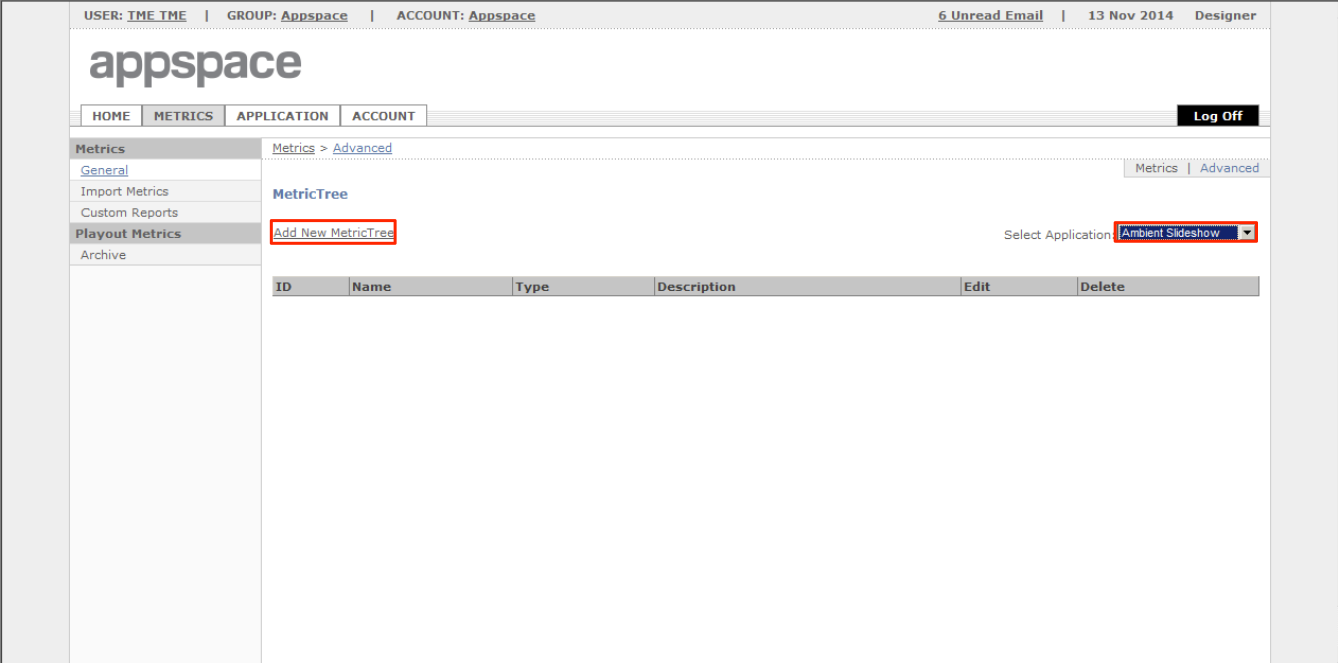
Click the General tab, and click Advanced
Click the Add New MetricTree link, and enusre that the correct sign is selected from the drop down.
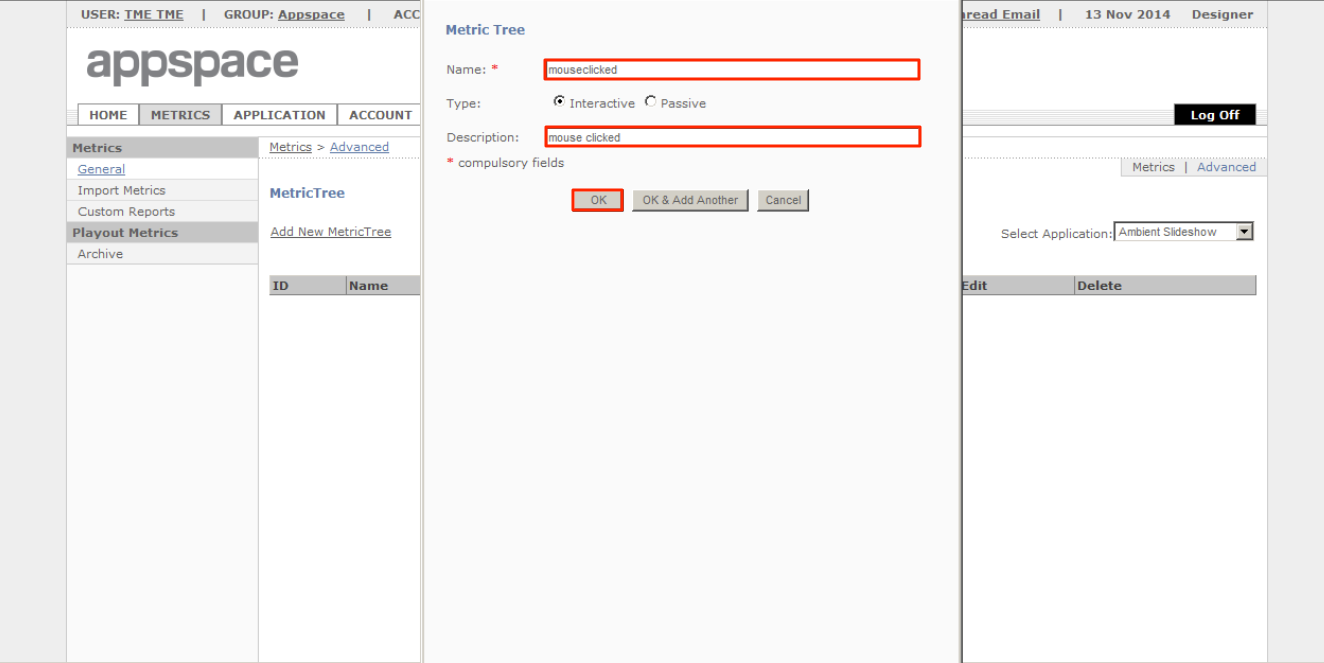
Fill in the Metric Tree Name, Type, and Description in the Metric Tree window. Click OK when done.
Enabling Interactive Metrics
To enable Interactive Metrics, please follow the instructions below:
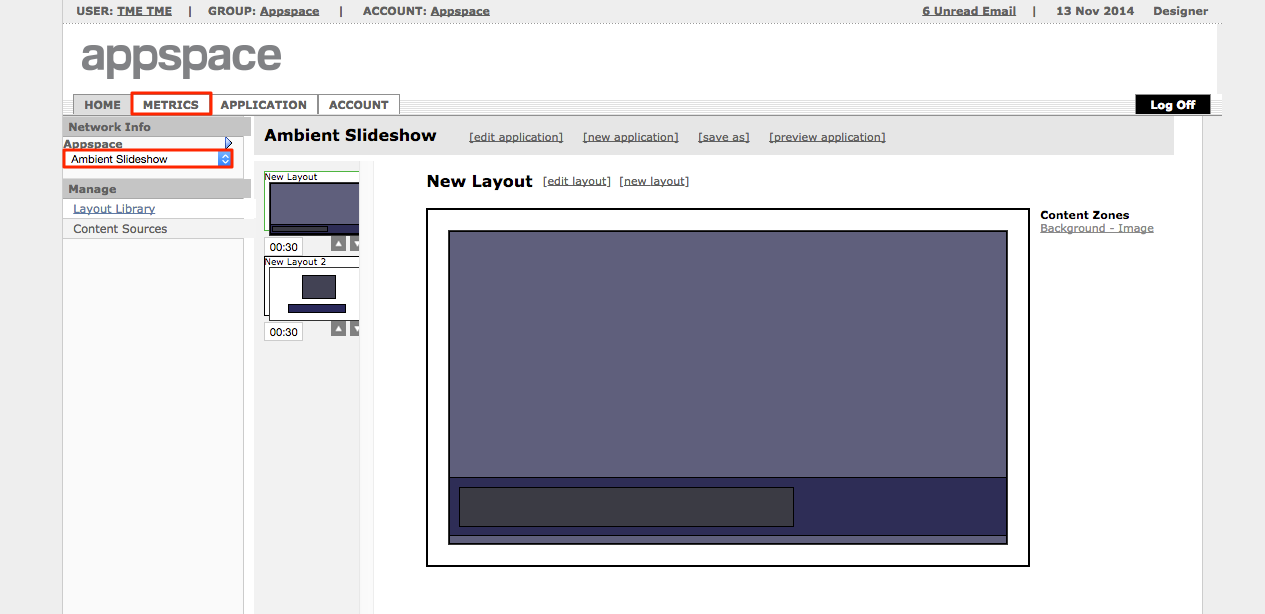
Click the sign name link in the Sign Library.
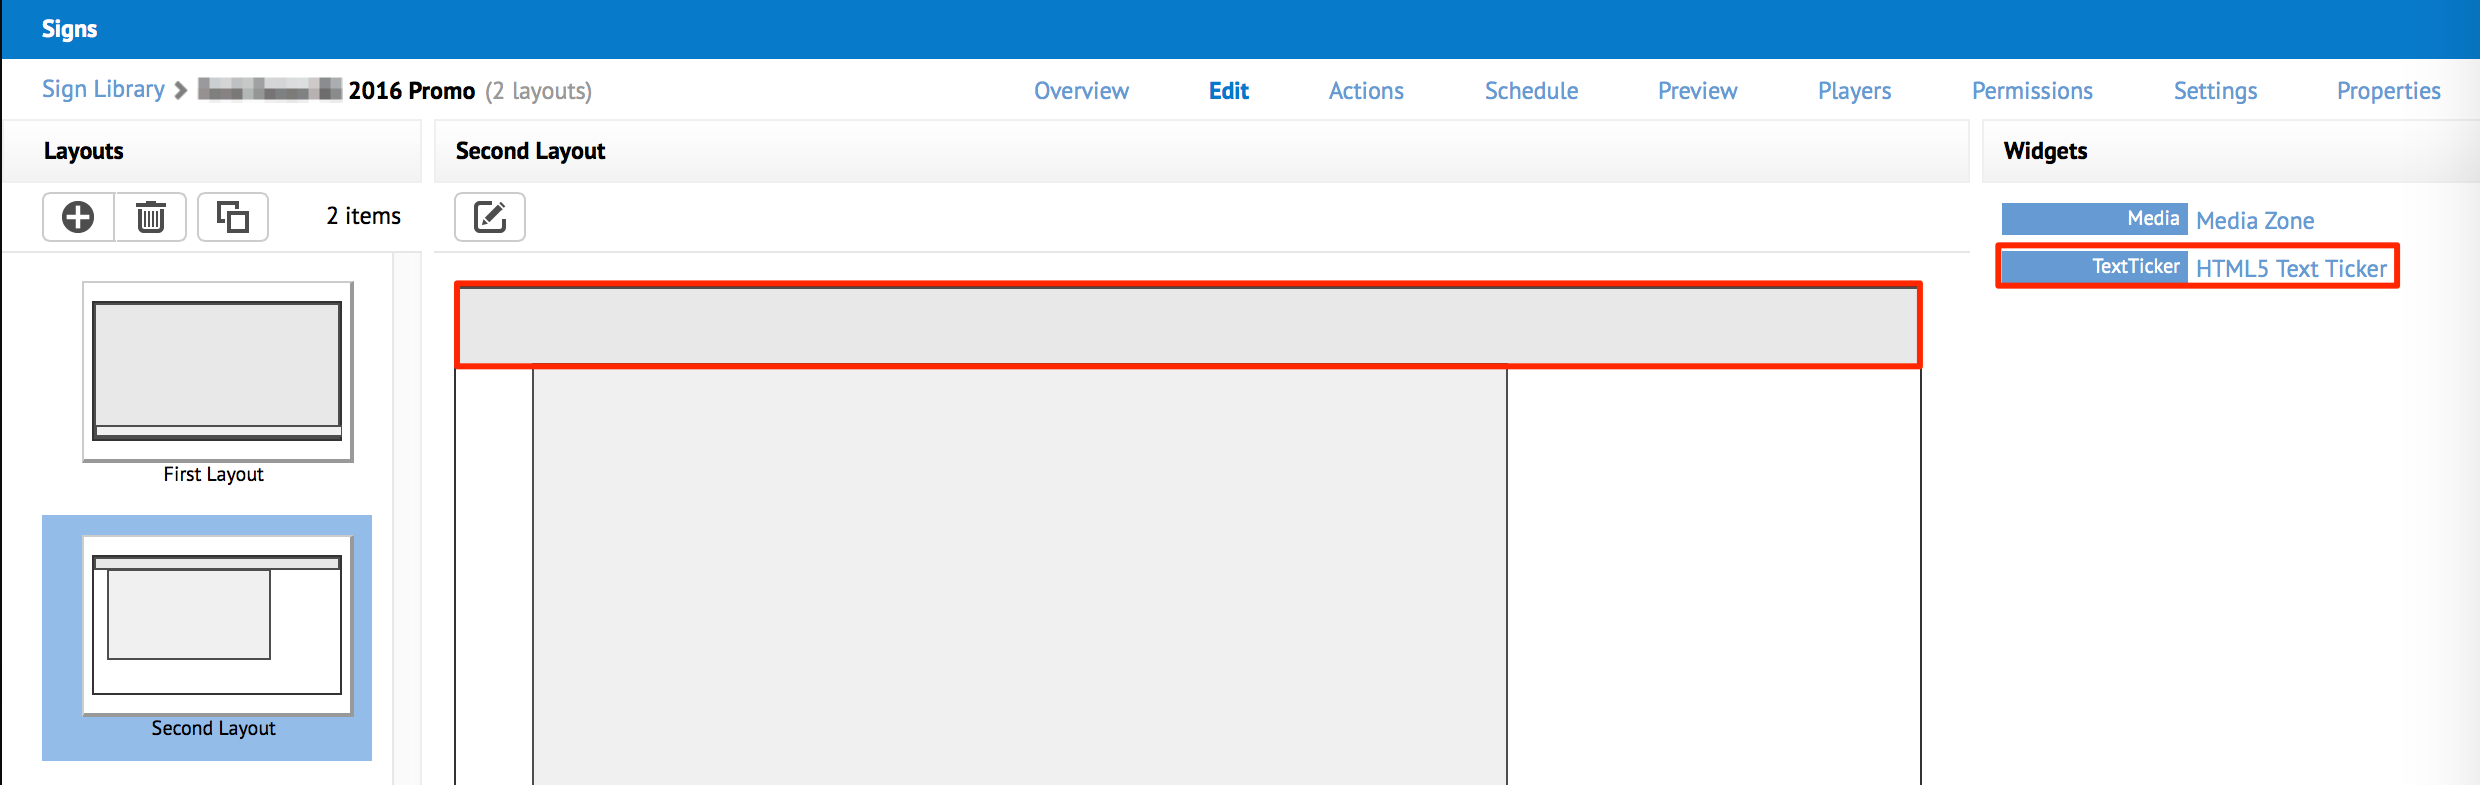
Click the Edit tab, and click the widget you want to capture interactive metrics for.
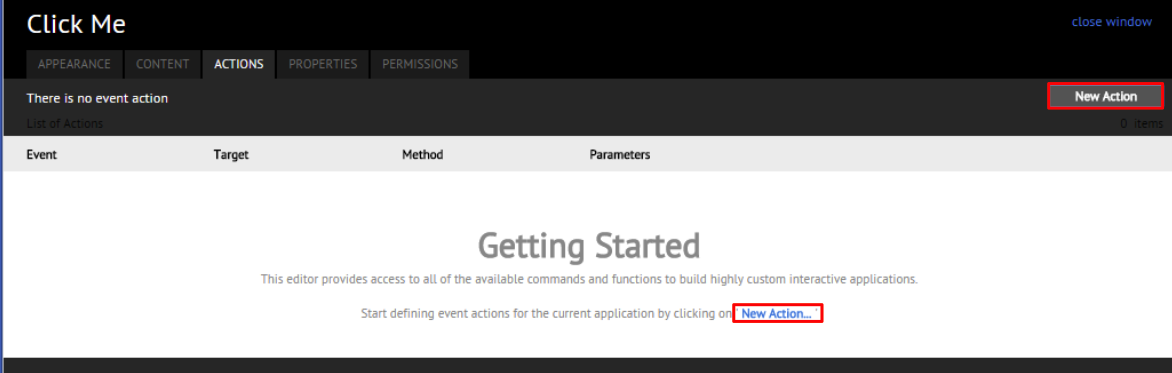
Click the ACTIONS tab, and click the New Action link.
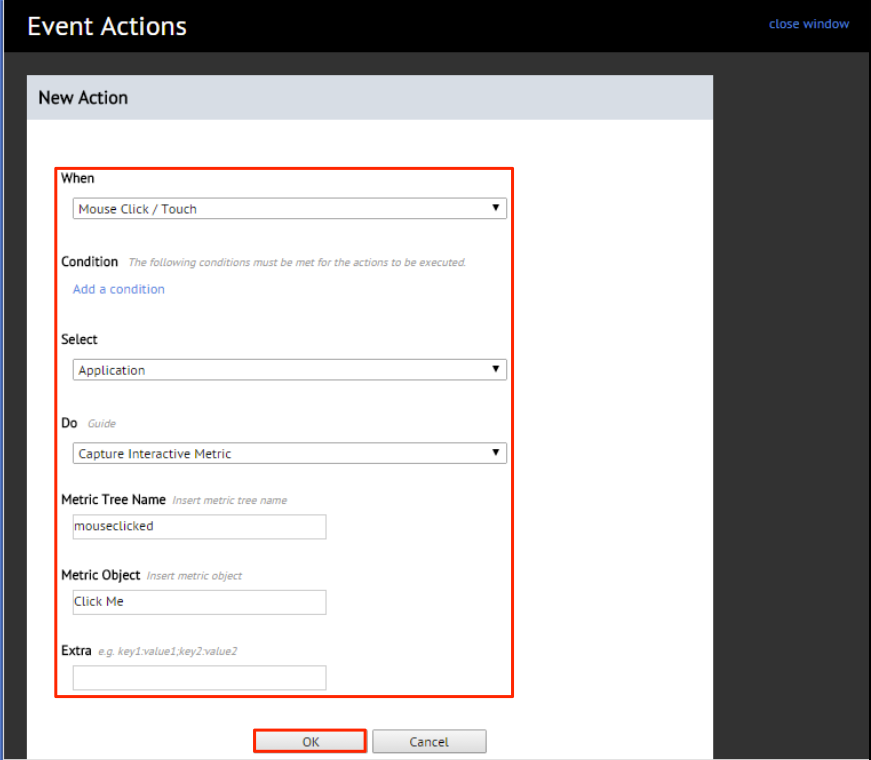
Configure the actions required in the Event Actions window, and click OK when done.
Note
The following are the configurations for Interactive Metrics:
- When: Mouse Click/Touch
- Select: Application
- Do: Capture Interactive Metrics
- Metric Tree Name – A name given for the specific metrics (In this example, it’s called mouseclicked)
- Media Object – The object being tracked
- Extra – Extra info to be tracked. (Not required)
Click the ‘close window’ link.

Generating Interactive Metric Reports
To get the Interactive Metric report, please follow the instructions below:
Important
Metrics are captured from the device therefore the sign needs to be in sync with the device before a user can proceed to generate metric reports for that device.
Click the account icon, and click Administrator Mode.
Click Yes at the prompt.

Click Yes at the Confirmation window.

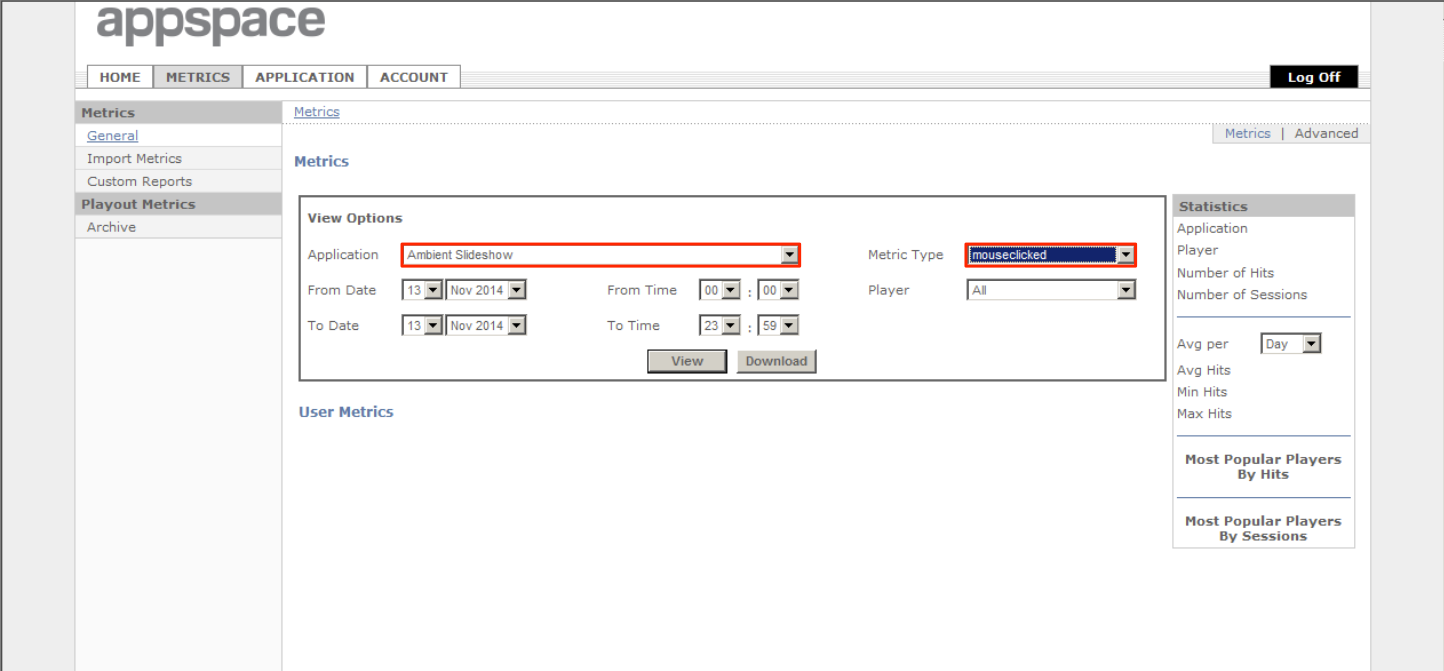
Click the Metrics tab.

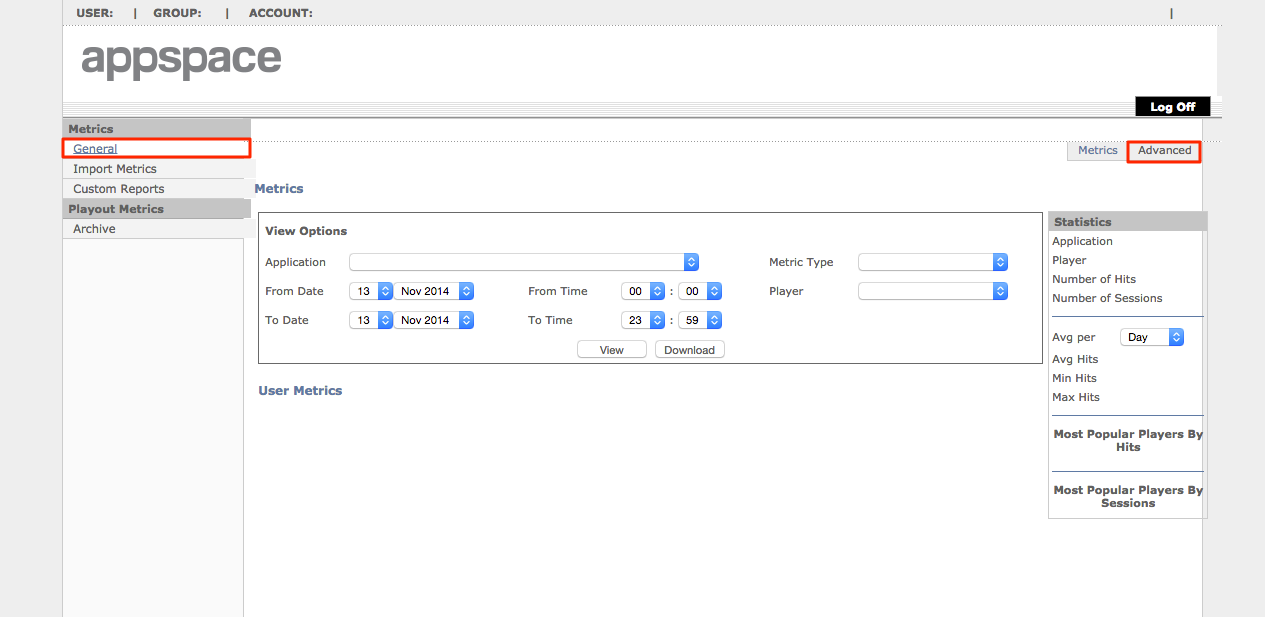
Click General.

Select the sign, and select the predefined metric type. We’ll be tracking the mouseclicked metric type in this example.
Select the date and time range.
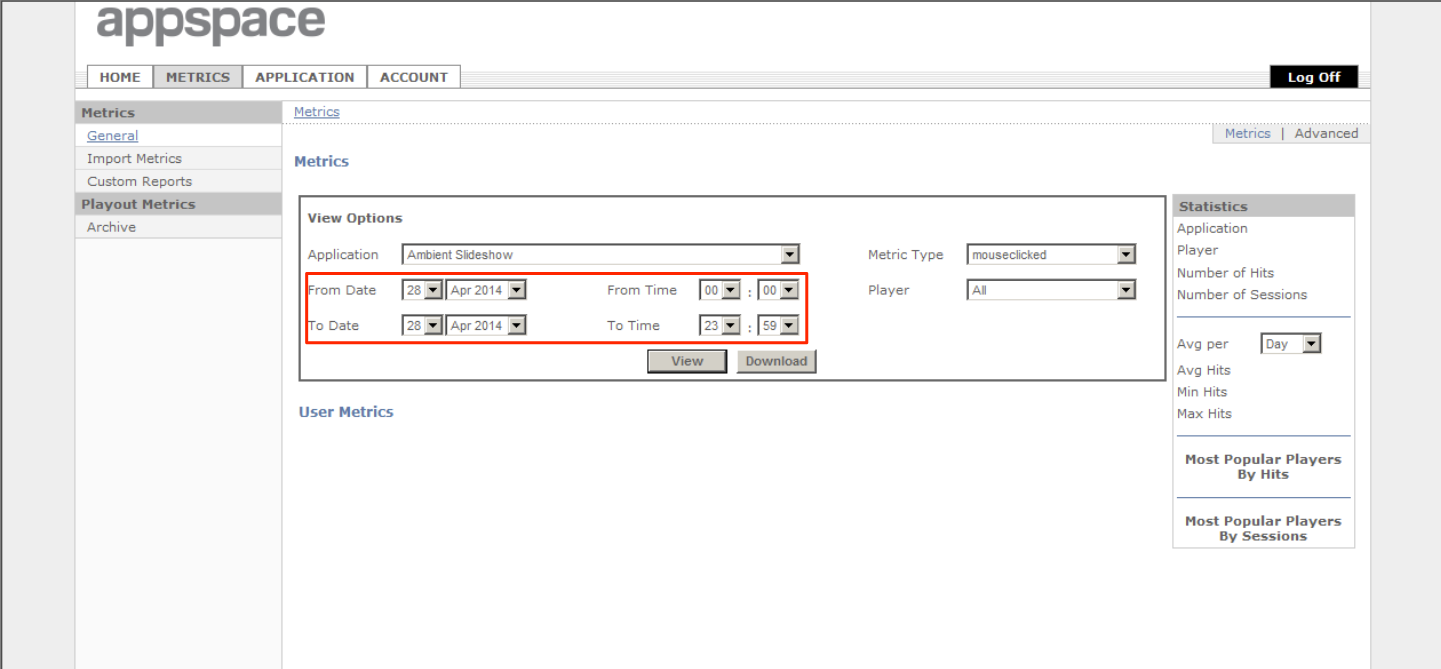
Click the View button to view the metrics, or the Download button to download the metrics in CSV format.

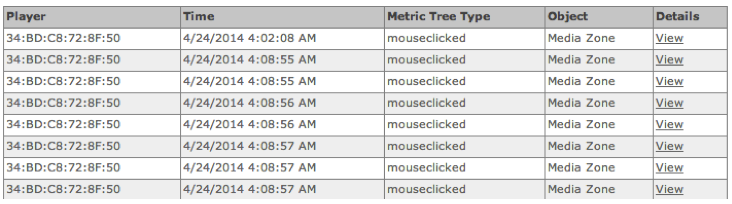
Report Samples: Viewed Metric
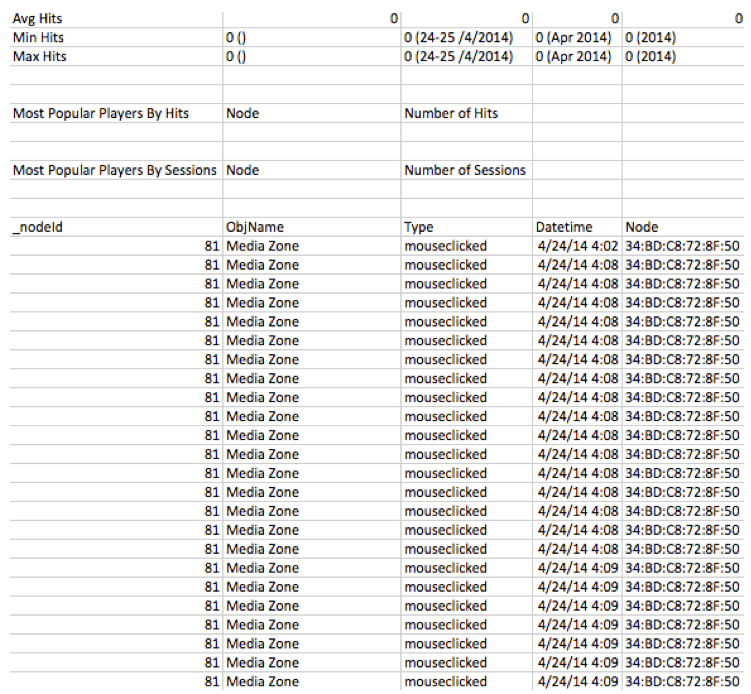
Report Samples: Downloaded Metrics