Configure video walls
This article provides the instructions to configure multiple devices to work cohesively as video wall displays.
As video wall displays include multiple display monitors and orientations, various hardware specifications, display sizes, and resolutions, Appspace applies the master-slave clock synchronization when scheduling content to ensure a unified synchronization.
A master device is nominated for the time check, while slave devices adjust their time to sync with the master device’s time. Additionally tile mapping is configured by dividing content into multiple zones and mapping a screen to each zone.
This master-slave clock synchronization approach is also ideal for video wall displays as there is no limit to the maximum number of display outputs that can be used, which were a constraint with legacy video wall solutions.
Read an introduction to this solution here: Appspace and Video Walls.
Note
If you are looking to configure other synchronized display possibilities, please refer to Configure synchronized playback on multiple screens.
Prerequisites
Appspace 7.1 or higher.
An active Appspace account, with sufficient Device IDs to register the devices.
Two or more Appspace App supported devices, installed and configured with the Appspace App within the same environment. However, we only support the following for a video wall configuration:
Devices Clock Sync Mode Channels Cards Playlist Advanced Chrome OS with i3 processor and above Master and Slave Video and images Media Zone and Text Widget Announcement card and Data Visualization card Android BrightSign OS 8 LG webOS UWP Note
- Image and video resolution will depend on the individual device’s resolution.
- Channel scheduling and dayparting are supported in playlist channels.
- Single channel is supported.
The Appspace App supported device must have access to the Appspace platform (cloud/on-prem) via HTTP/HTTPS, and can be used independently.
Important
Please ensure your network is configured to allow Appspace whitelist URLs and the relevant network ports.
An active Internet connection.
Configuring a Video Wall

The table below provides a quick description of all device properties required for configuring the video wall.
| Configuration | Property Name | Property Value | Applicability | Description |
|---|---|---|---|---|
| Video Wall | player.scheduling.mode | synchronized | Master and Slave devices | Enables synchronized playback at the layout level. |
| player.clocksync.mode | master | Master device | Designates each device as a master or slave. Select only one device to act as the master clock. | |
| slave | Slave devices | |||
| player.clocksync.masterip | xxx.xxx.xxx.xxx <IP address> |
Slave devices only | The master device’s IP address is used by the slave device to synchronize the clock. | |
| remote.enable | true | Master device only | Grants permission to slave devices to connect to the master device via WebSocket. | |
| player.content.preloadtime | <Number> | Master and Slave devices | Defines a pre-load time in seconds for content on the device. This helps adjust content playback on devices that take a longer time to load or play (such as low power devices); playing all content in a synchronized manner. Recommended preload time:
|
|
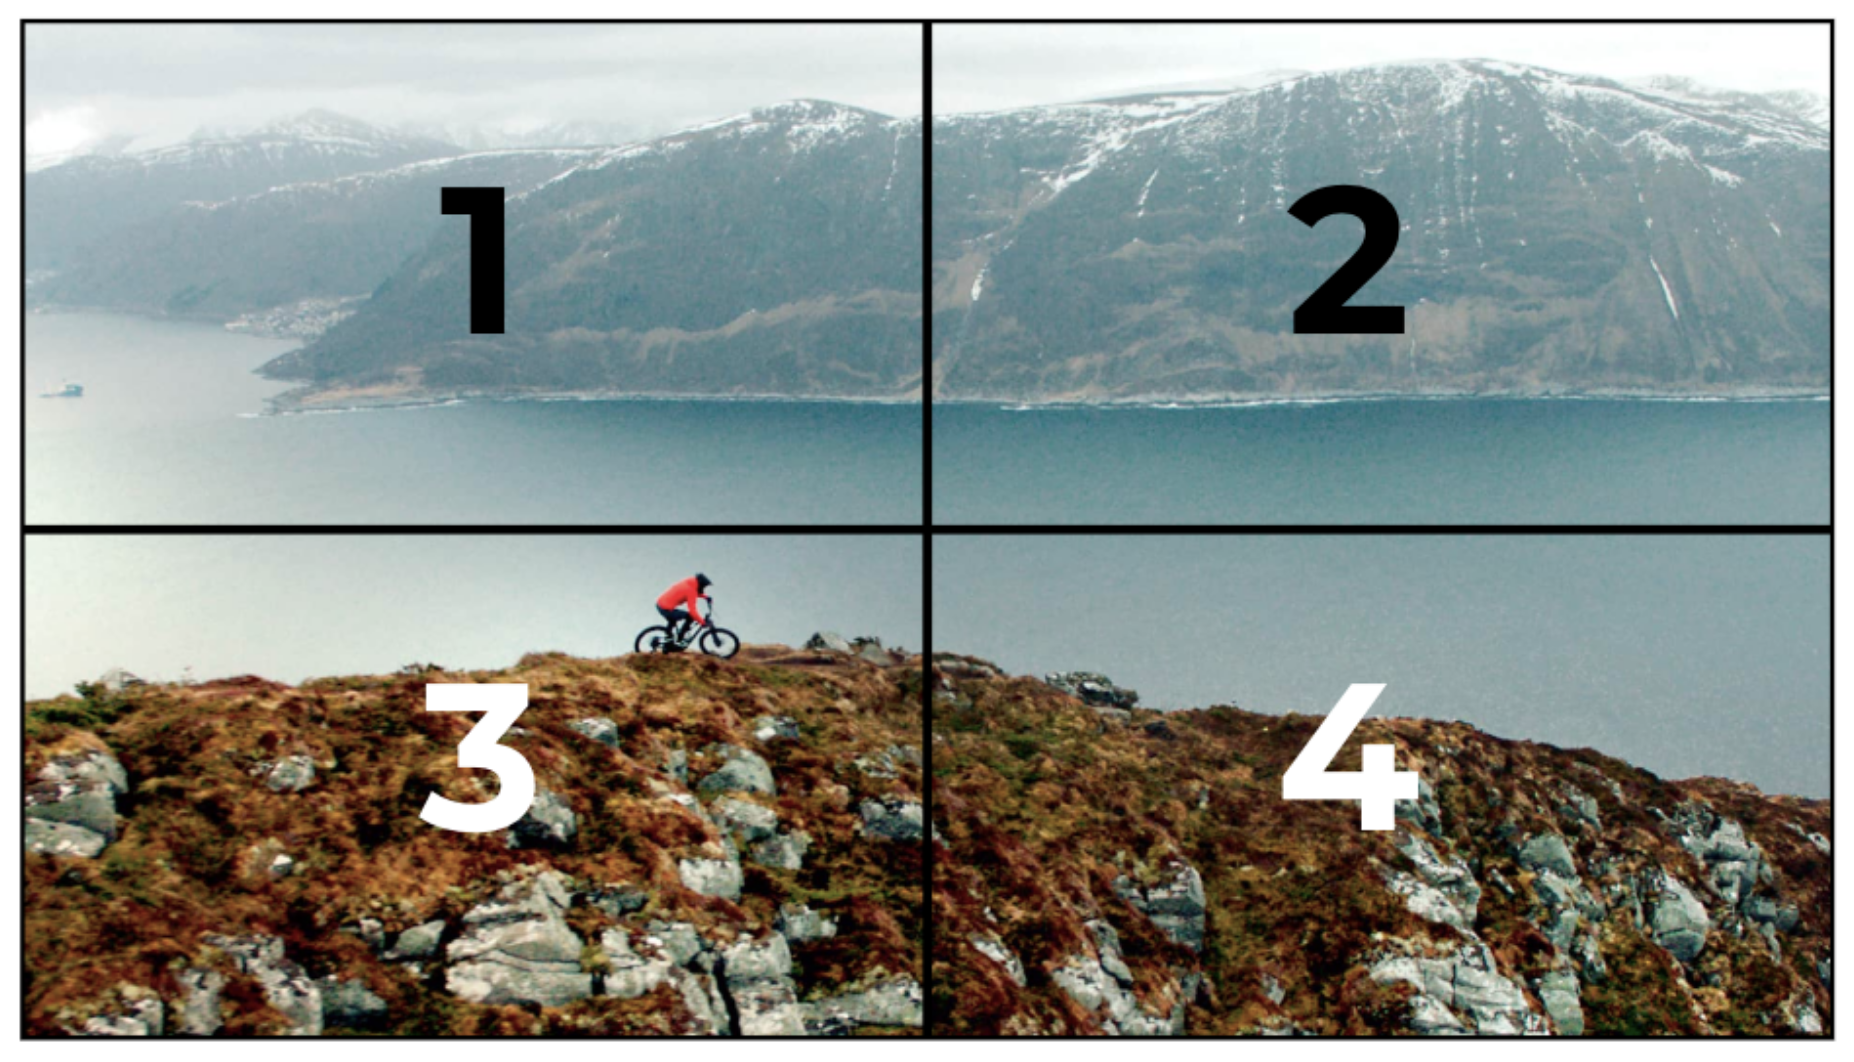
| player.videowall.tileid | <Number> | Master and Slave devices | Assign the tile ID, in numeric, to the device to form a video wall. Note Numbering is done left to right and top to bottom. |
|
| player.videowall.tilematrix | x,y | Master and Slave devices | Splits the canvas into a grid of tiles to match the number of displays for video wall. x = horizontal number of screens y = vertical number of screens On an advanced channel (sign), set the layout settings to the total width and height of the video wall. |
|
| Debugging | player.clocksync.debug | true | This is optional Master and Slave devices | Enable or disable an overlay on the screen that shows debug information. |
Note
- Content will sync every 30 seconds to ensure smoother experience during mid playback.
- Layout transitioning and video transitioning will be disabled by default. Image transitioning will still be available.
Follow the instructions below to configure a video wall:
Register your master and slave devices individually. Follow the instructions in the Register a device article. (Skip this step if devices have already been registered.)
Once all devices have been registered, navigate to Devices from the Appspace menu.
Select the designated master device, and add in the following device properties:
- player.scheduling.mode = synchronized
- player.clocksync.mode = master
- remote.enable = true
- player.content.preloadtime = <seconds>
- player.videowall.tileid = <number>
- player.videowall.tilematrix = <x,y>
Note
Please see the Adding New Device Properties section of the article for instructions.
Select the slave device, and add in the following device properties:
- player.scheduling.mode = synchronized
- player.clocksync.mode = slave
- player.clocksync.masterip = <master IP address>
- player.content.preloadtime = <seconds>
- player.videowall.tileid = <number>
- player.videowall.tilematrix = <x,y>
Repeat Step 4 for all slave devices.
You may now assign the desired channel to the devices.
Debug the Video Wall Configuration
To debug the synchronized playback on video walls, add the following device property to both the master and slave devices:
player.clocksync.debug = true
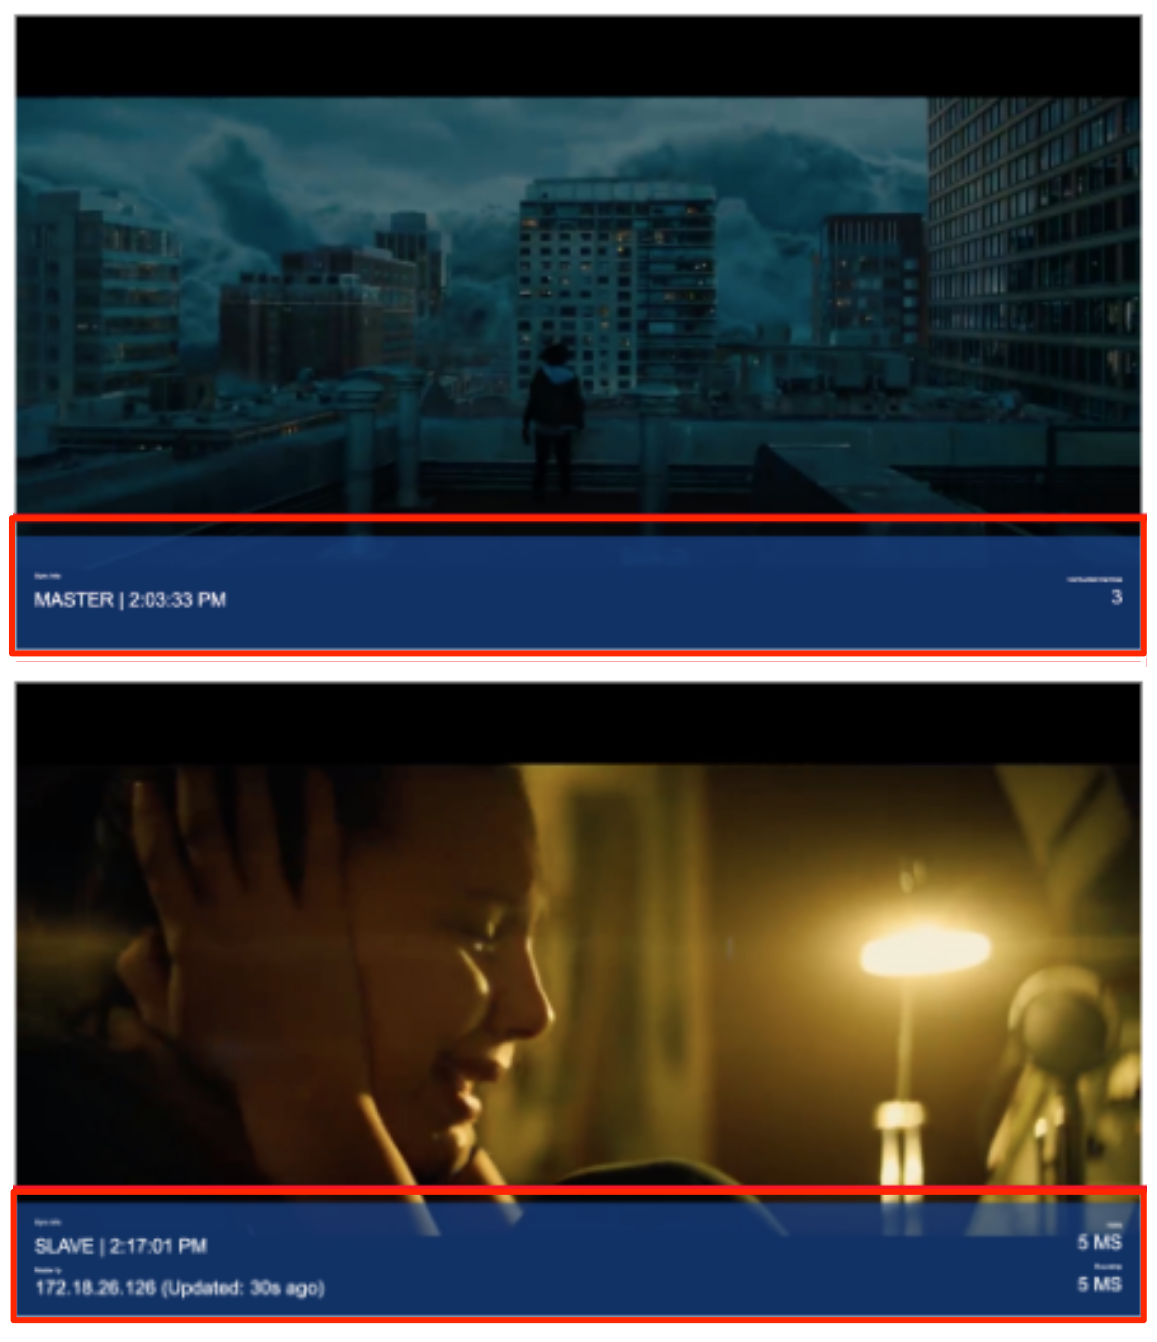
Once in debug mode, the debug layer appears on all devices, and switches between four colors (purple, blue, green, black) if all devices are in sync.
The debug layer also displays the following information:
- Device time.
- Identify if the device is a master or slave.
- The delta (differential) sync between the master and slave devices.
- The round-trip between the master and slave devices.
- The last updated delta sync and round-trip between the master and slave devices. If the round-trip between devices is larger than 0.5 seconds, the device will show as offline.
- The master device will display the number of slave devices that are connected to it.
- The slave device will display the IP address of the master device it is connected to.
Note
If you are looking to configure video walls running the legacy DirectX players, please refer to Configuring a video wall application instead.