Create dynamic media
The Appspace Library supports the usage of Dynamic Media, allowing designers to specify content that is located externally on a network, and set a frequency to retrieve new versions of the content. Its main purpose is to display content that changes frequently without manual uploading, such as traffic camera images, weather updates and server generated graphs.
Important
However, users using Appspace App are encouraged to use cards. This feature is more applicable for legacy devices.
Refresh Frequency
Appspace background agents work automatically to download the specified content at a user-configurable interval (default value is 15 minutes) and will then proceed to update an applications’ media zone playlist.
Important
The default value of 15 minutes stated above is also the fixed minimum value pre-configured by Appspace for the updating of dynamic media content. This is to avoid overloading an Appspace server with constant content update requests and caching as the number of dynamic media content items grow over time in an Appspace library.
Supported Formats
- Image – PNG, JPG, JPEG, BMP, GIF, TIF, TIFF, ICO
- Flash – SWF
- Video – FLV, WMV, AVI, MPG, MPEG, ASF, TS, OGV
This article provides instructions to configure and use dynamic media content with Appspace.
Adding Dynamic Media
Important
All dynamic media content items must be added to the Library prior to being used in any application.
Click Library from the Appspace Menu navigation bar.
Click the ADD button, and select Other.

In the Select tab, click Dynamic Media.
In the Edit tab, enter in the dynamic content’s URL in the address field. If authentication is required, check the Require authentication checkbox, and enter in the necessary credentials.
Enter in the duration of the content to be being updated in minutes in the Frequency field. The default or minimum value is 15 minutes.
Click Next once done.
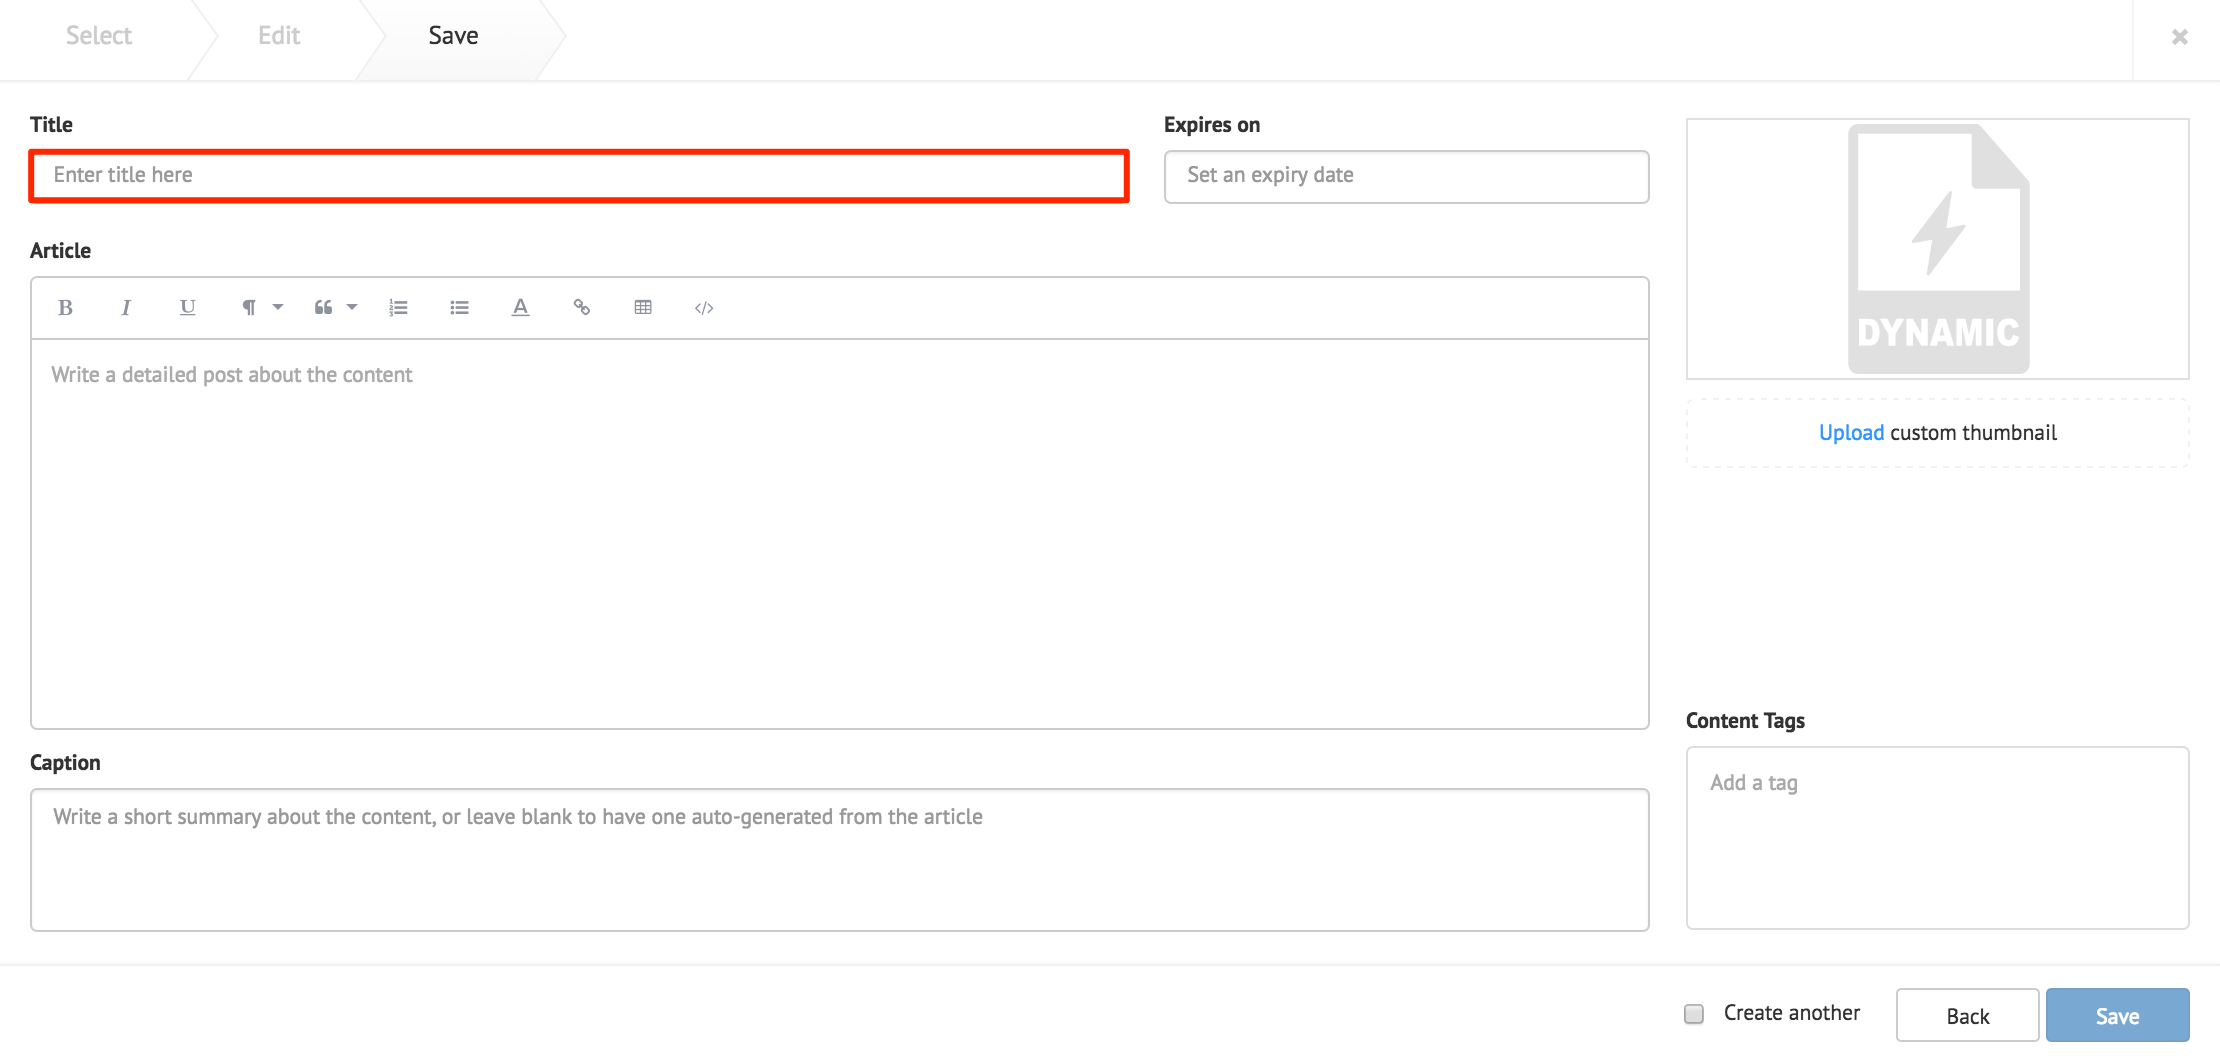
In the Save tab, enter in the Title, as this is a mandatory field. Optionally, you may enter in the Article, Caption, Content Expiry, Content Tags and even upload a custom thumbnail for the content.
Click Save once done.