Single Sign-On (SSO) for Appspace cloud
This article provides instructions to enable the Single Sign-On (SSO) feature for Appspace Cloud.
With SSO, Appspace Cloud accounts can now be configured to integrate with Security Assertion Markup Language (SAML) 2.0 compliant identity providers, allowing for seamless and secure connections using a single set of credentials, simplifying username and password management.
When you login to Appspace, your credentials are authenticated by the identity provider, and a SAML assertion is sent to Appspace via the web browser to allow the login access to Appspace.
Please ensure you have configured a trusted Identity Provider before you enable SSO with Appspace.
Prerequisites
- An Identity Provider that is SAML 2.0 compliant.
- IdP Metadata XML file or the SSO URL.
- x.509 certificate.
- Account Owner credentials in Appspace.
- Contact Support to enable SSO on Appspace Cloud.
Enable Single Sign-On (SSO)
Log in to your Account Management Portal with your Account Owner credentials.
Click the Settings tab.
Click the Account Authentication tab, and select Single Sign-On (SSO) as the authentication method in the AUTHENTICATION METHOD section.
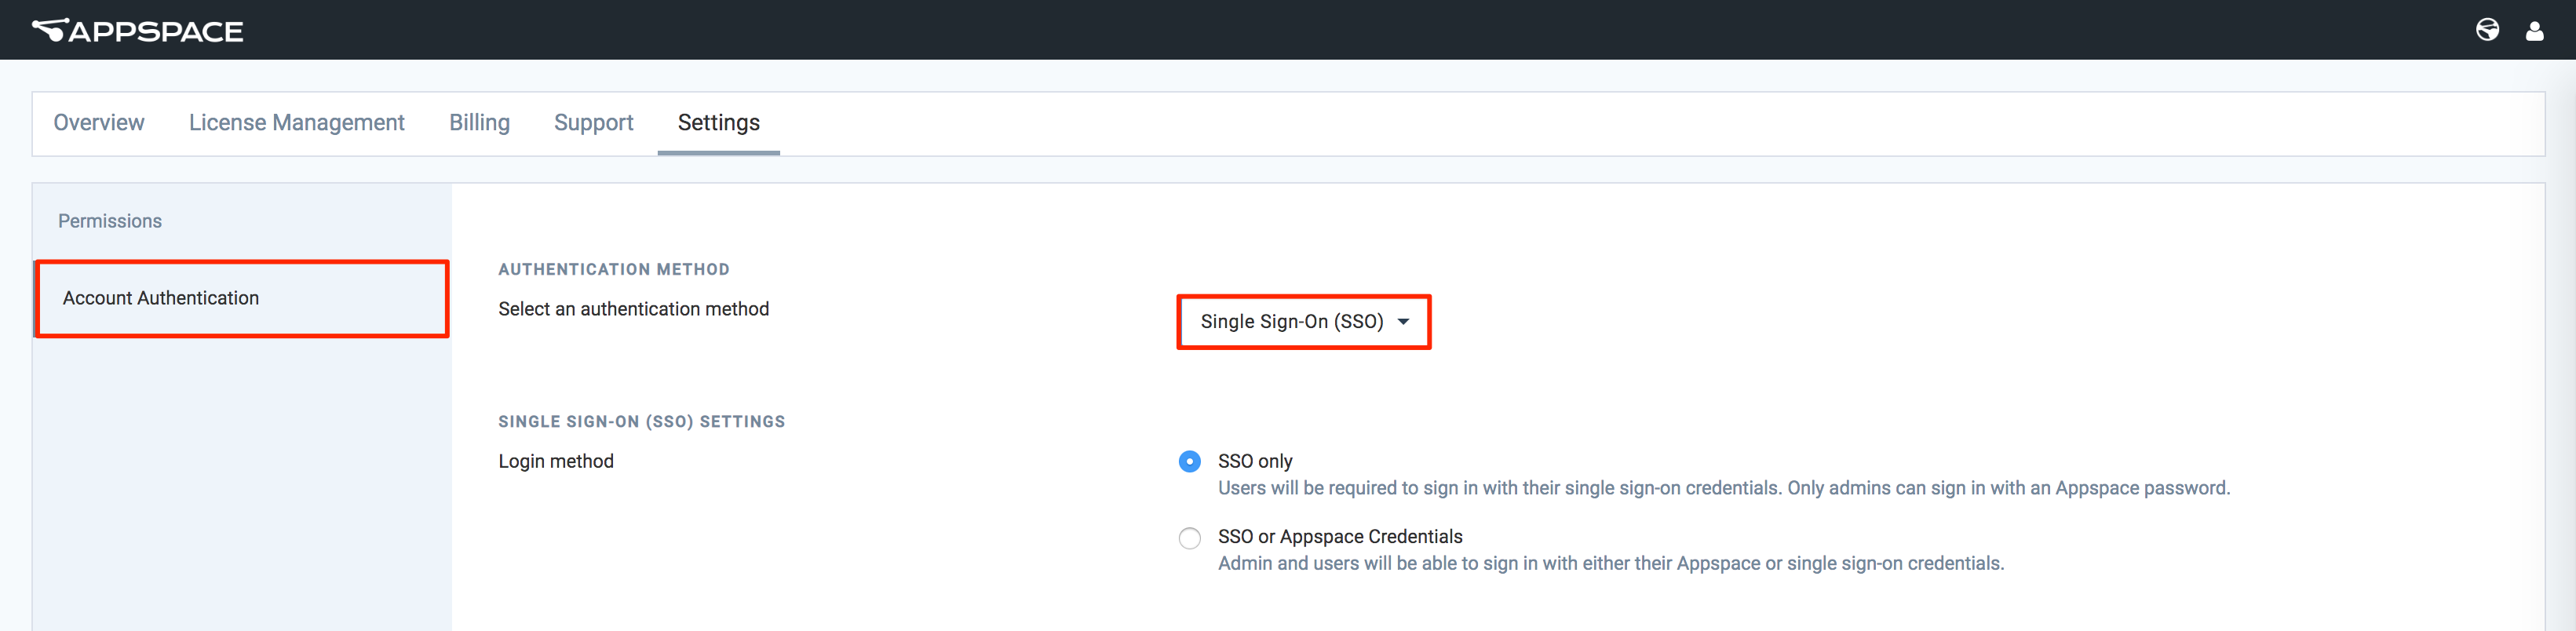
In the SINGLE SIGN-ON (SSO) SETTINGS section, set the desired Login method to either SSO or Appspace Credentials or SSO only, depending on the authentication implementation.
- SSO only - Users must log in with Single Sign-On credentials (AD credentials). Only administrators can log in with an Appspace credential.
- SSO or Appspace Credentials - Users can login with their Appspace credentials, or Single Sign-On credentials (AD credentials).
In the IDENTITY PROVIDER (IDP) INFORMATION section, you may drop the IdP Metadata XML file into the drop-area, or click the browse file link to upload the file.

Alternatively, enter in the SSO URL and X.509 Certificate data manually in the appropriate fields.
To force the IdP to not use the previous security context during authentication, check the Force re-authentication on login checkbox.
In the GENERATING SERVICE PROVIDER (SP) METADATA section, select your preferred data binding option:
- Redirect – Users will be redirected to the Identity Provider. SSO details will be passed in a query string with “?SAMLRequest=……” as part of the URL.
- Post – SSO details will be passed using the POST method. For this method to work, you must ensure that the Identity Provider has direct access to the Appspace Server.

Optionally, you may enable Just-In-Time (JIT) provisioning by following the instructions below:
Slide the Enable JIT? slider to ON.
Enter in the User Group where the newly created users would be assigned too, and click the Show advanced configuration link.
Enter in the JIT condition, and begin mapping the SAML attributes, that would be used to identify and provision the user with the identity provider.

Note
Pass-through Authentication is disabled by default on cloud. To enable it, please contact Appspace Support.
Click Save to download the Service Provider XML file, which will be used to configure the Identity Provider.
Log in with SSO
Warning
You must use HTTPS for SSO to work.
- Log in to Appspace Cloud with your credentials, and you will be redirected to the SSO login page provided by your Identity Provider.
- Enter in your IdP credentials.
- Upon successful authentication, you will be redirected back to your Appspace Dashboard.
Disable SSO Authentication
Follow the instructions below if you wish to disable SSO:
Log in to your Account Management Portal with your Account Owner credentials.
Click the Settings tab.
Click the Account Authentication tab, and select Default (cloud.appspace.com) as the authentication method in the AUTHENTICATION METHOD section.

Click Save.