Installing the Appspace App on Cisco IEC
This article provides the instructions to configure and register Cisco Interactive Experience Client (IEC) devices for Appspace.
Prerequisites
The device must meet the manufacturer’s minimum hardware and technical specifications, as well as the Appspace App’s minimum requirements. Please refer to Appspace App requirements.
An active Appspace account, with sufficient Device IDs to register the device.
An active Internet connection.
Ensure the device has been licensed and registered with the Cisco Interactive Experience Manager (IEM).
Ensure the device has been installed with the latest firmware (v 2.3.4b or higher).
Ensure your network/firewall/anti-virus software is configured to allow access to the following:
- Network port 80 (HTTP)
- Network port 443 (HTTPS)
Configuring Cisco IEC for Cloud
Important
The device must be licensed and registered with Cisco Interactive Experience Manager platform.
On your web browser, navigate to the Cisco Interactive Experience Manager (IEM) platform via https://iem.ciscoiservices.com, and log in with your Cisco IEM credentials.
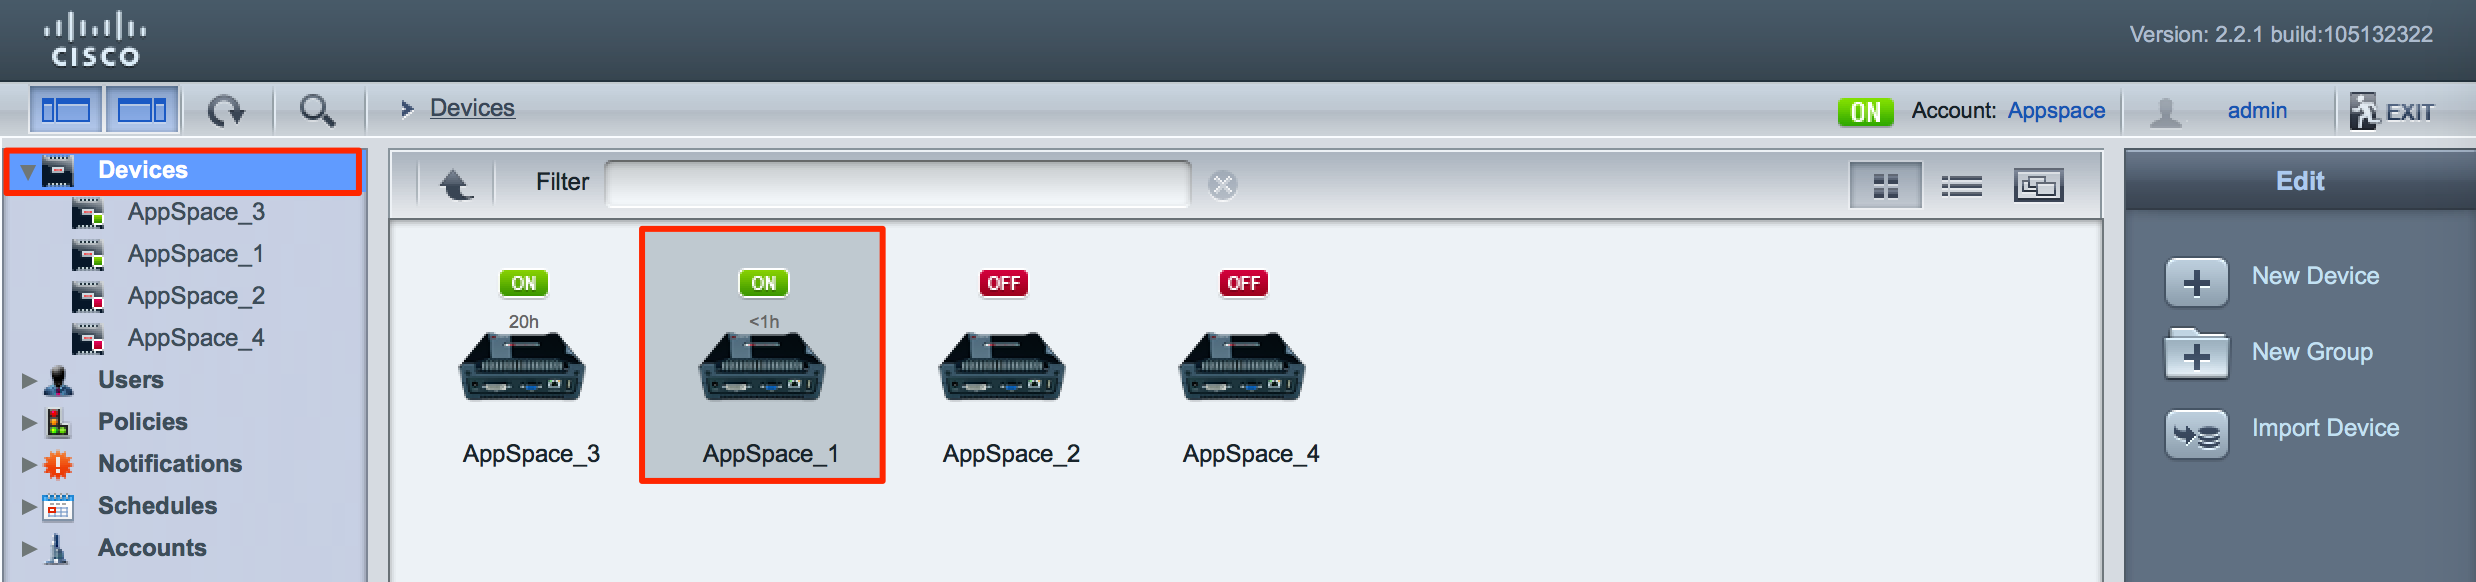
Click Devices in the navigation tree, and double-click the Cisco IEC device to configure.
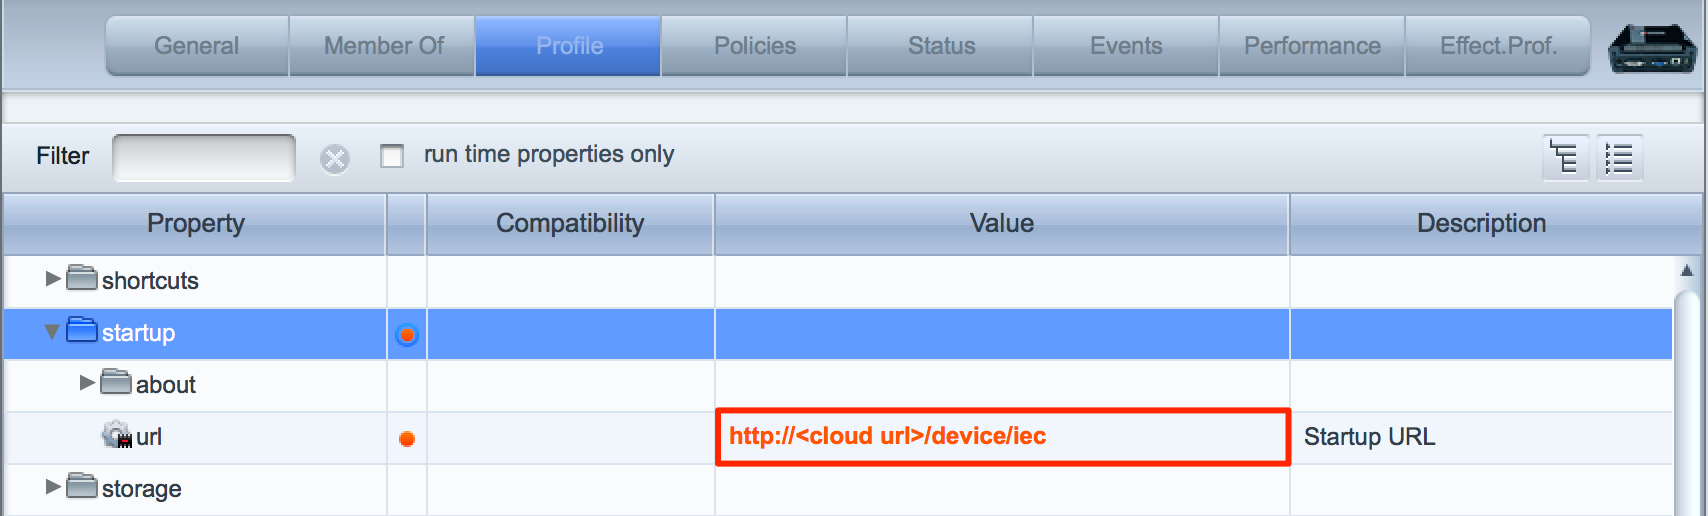
Click the Profile tab, and navigate to the ‘browser > startup > url’ property.
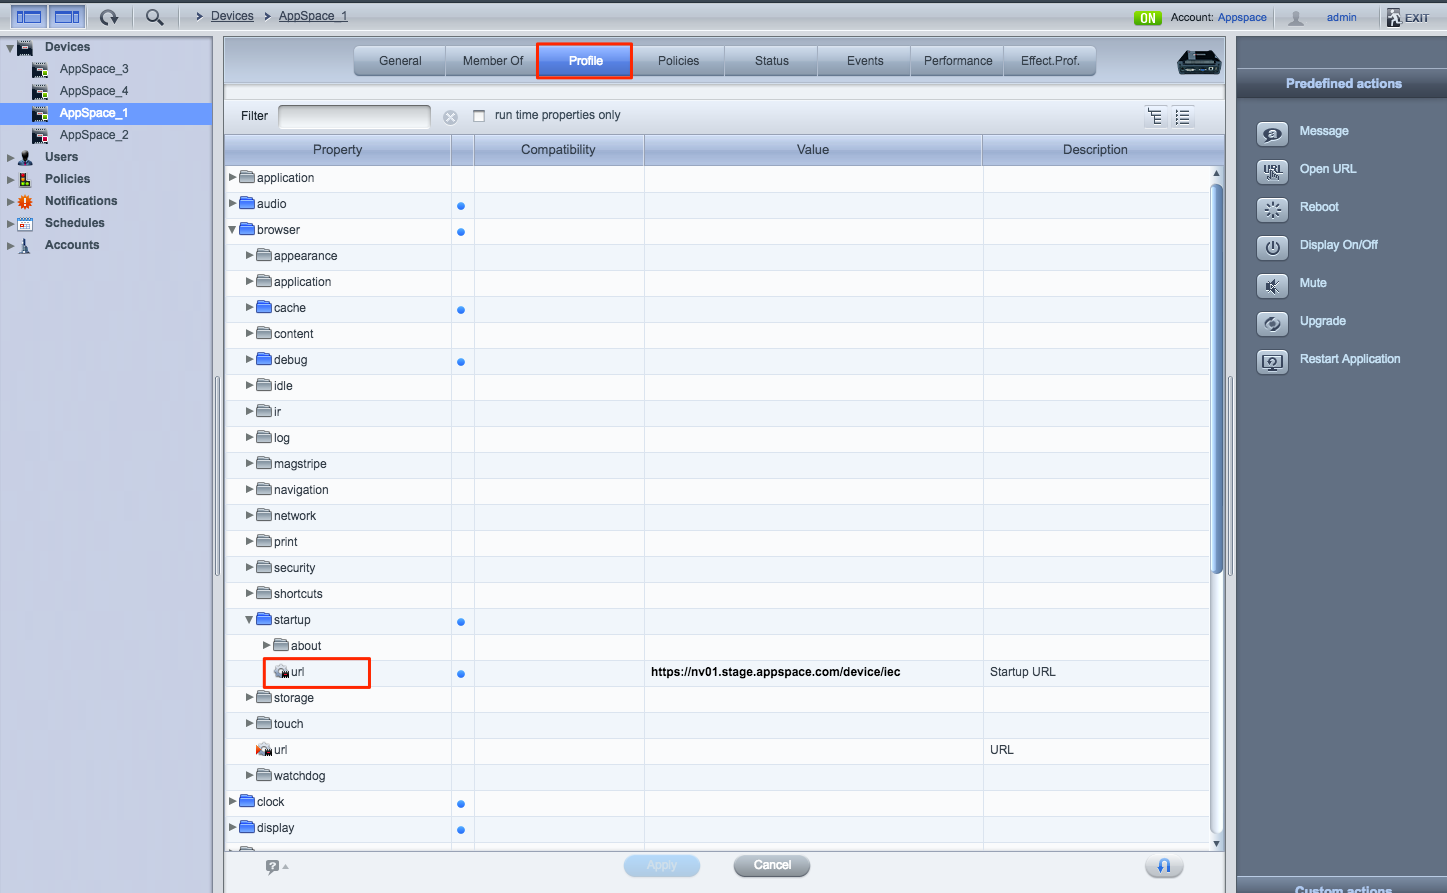
Enter in the IEC URL path as the url value, as follows: https://<Appspace Cloud URL>/device/iec
The IEC URL path is determined by your Appspace Cloud server URL.
Example: https://app1.cloud.appspace.com/device/iec
Note
To determine the Appspace Cloud URL, log in to your Appspace Cloud account and look at the URL on your address bar. Part of the URL, as highlighted in the image below, would be your Appspace Cloud URL path.

Set the values for the following properties as per the table below:
Property Value browser > cache > media > clear true browser > cache > media > enabled true browser > cache > web > clear true browser > cache > web > enabled true 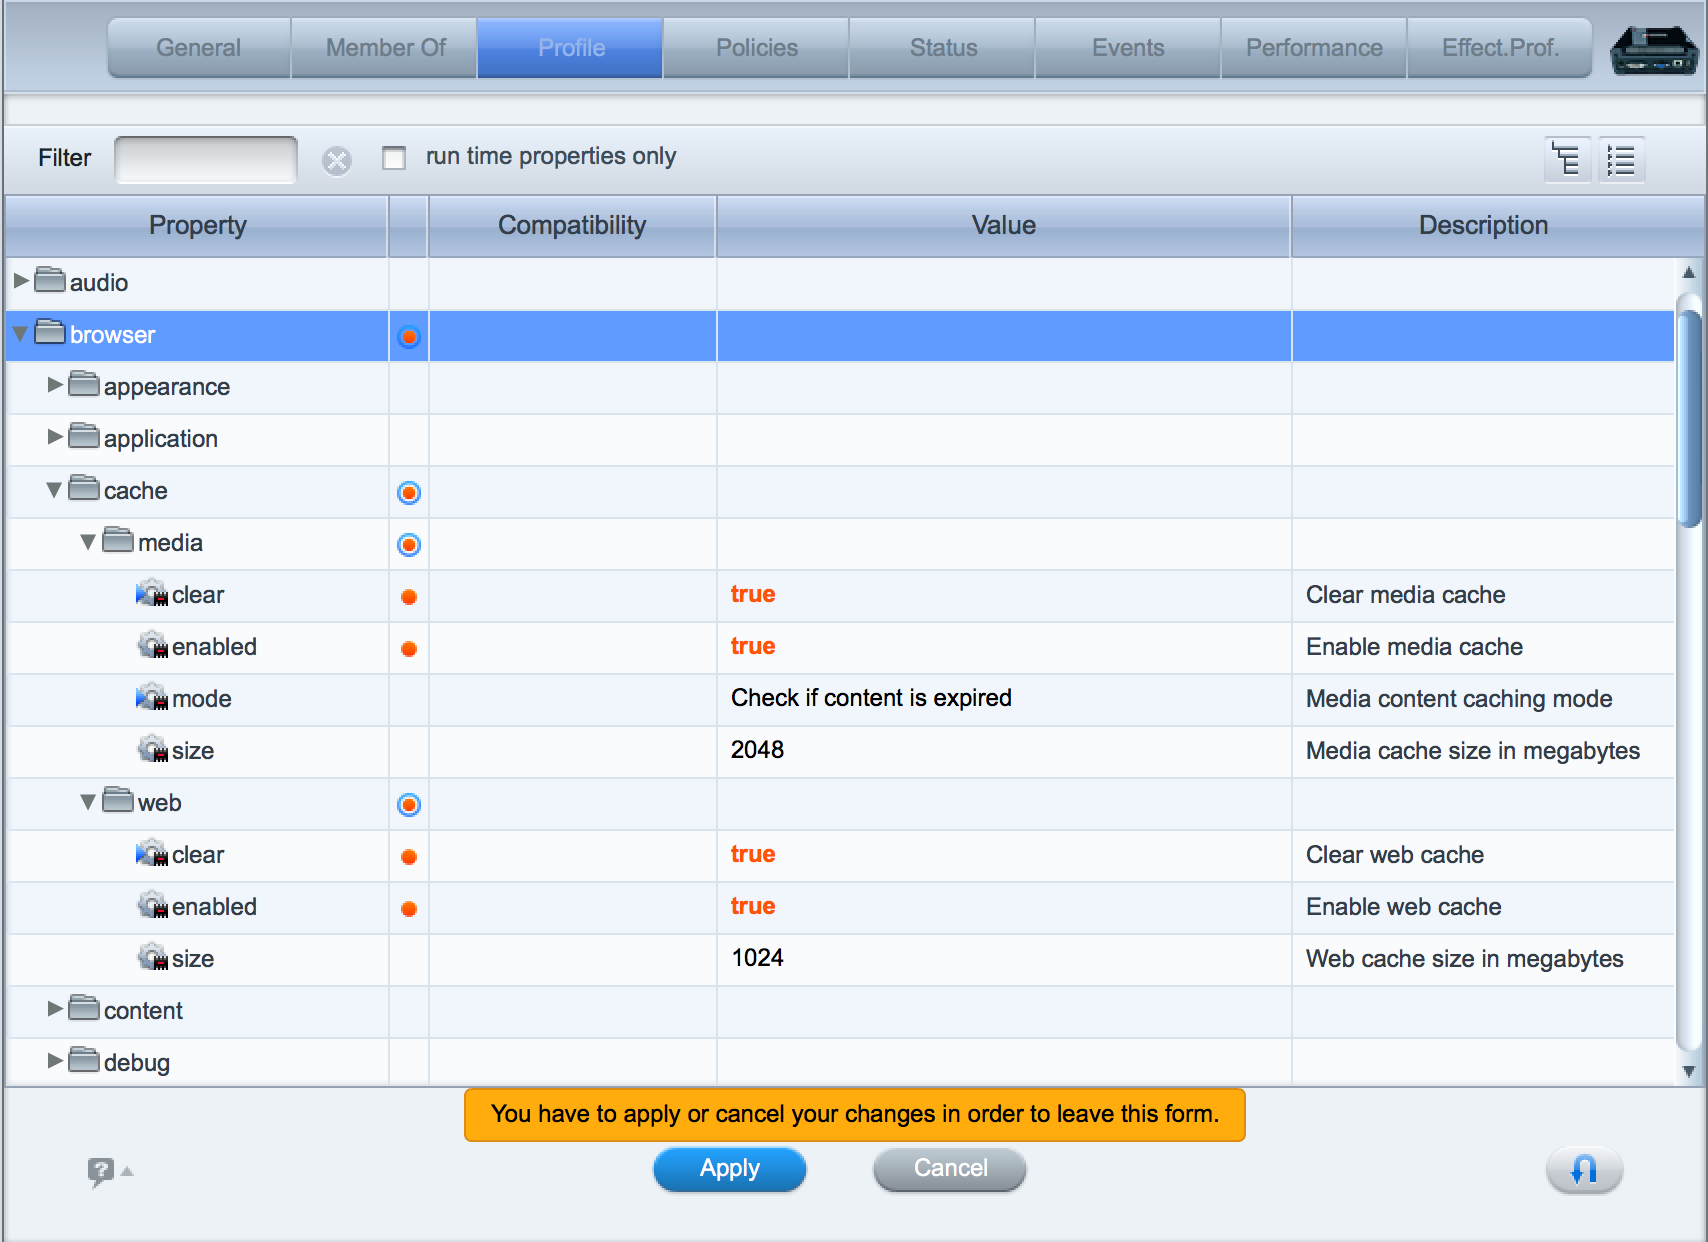
Click Apply to save settings, and the device will start loading the Appspace App.
Register your device using one of the many options listed in the Introduction to registering a device with the Appspace App article.
Configuring Cisco IEC for On-Premises
Important
The device must be licensed and registered with Cisco Interactive Experience Manager platform.
Login to your Appspace Cloud account.
Click the Appspace menu, and navigate to System > Downloads.
Download the Appspace App for Cisco IEC package (appspaceapp.zip) and save it on your computer.
Login to your Appspace On-Premises account.
Click the Appspace menu, and navigate to System > Deployments.
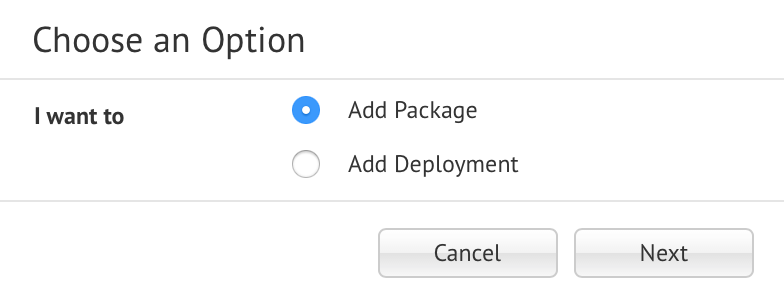
Select the desired network, and click the Add Package/Deployments button.
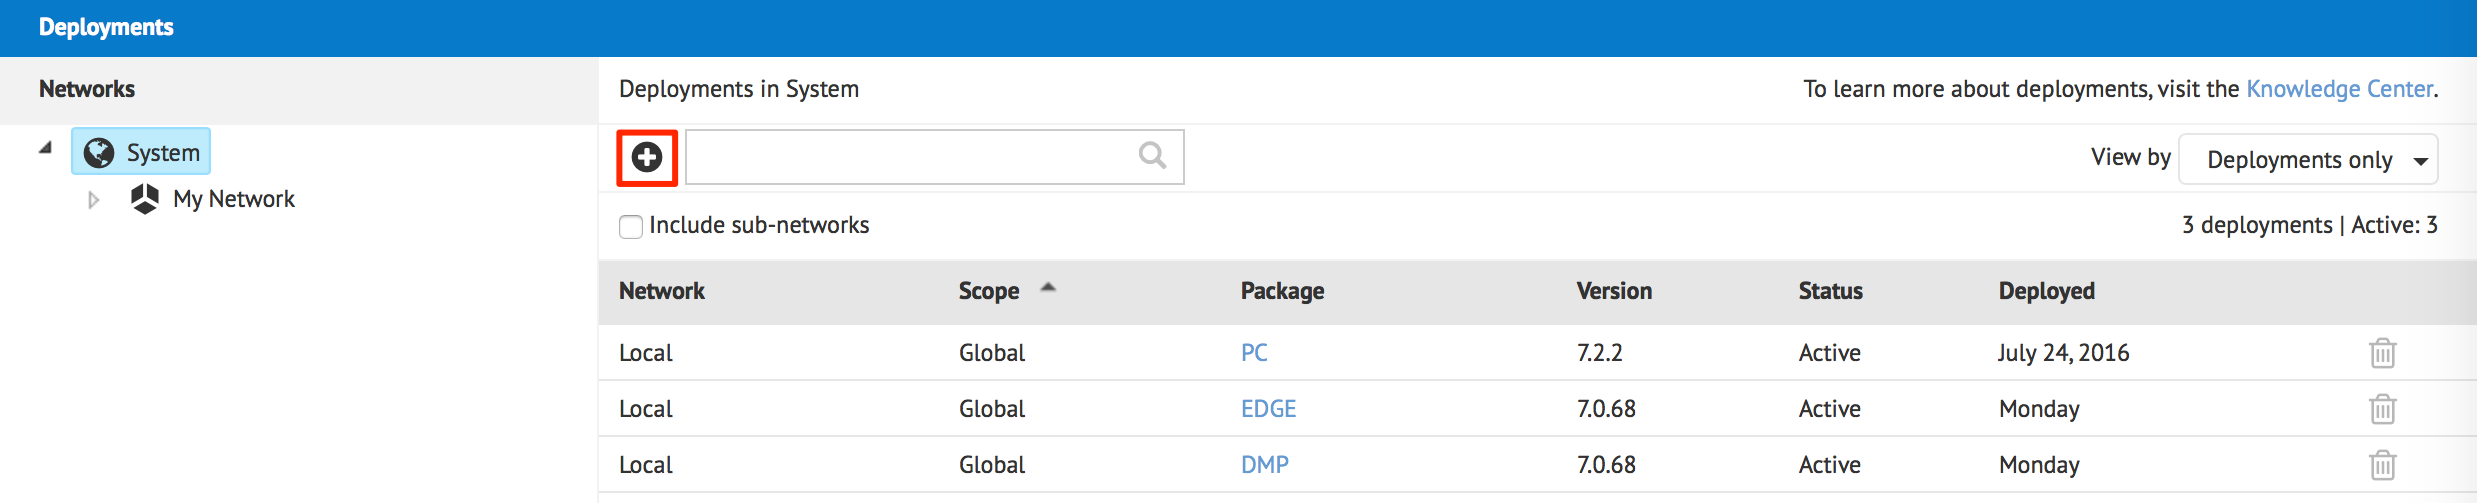
Select Add Package, and click Next.
In the Package drop-down menu, select ‘Cisco IEC’, and enter in the version of the package.
Click the Upload button, and upload the appspaceapp.zip file downloaded in Step 2.

In the Deployments page, select the desired network, and select ‘Deployments & packages’ in the ‘View by’ drop-down menu. Enter in ‘Cisco IEC’ in the search bar to filter the results.
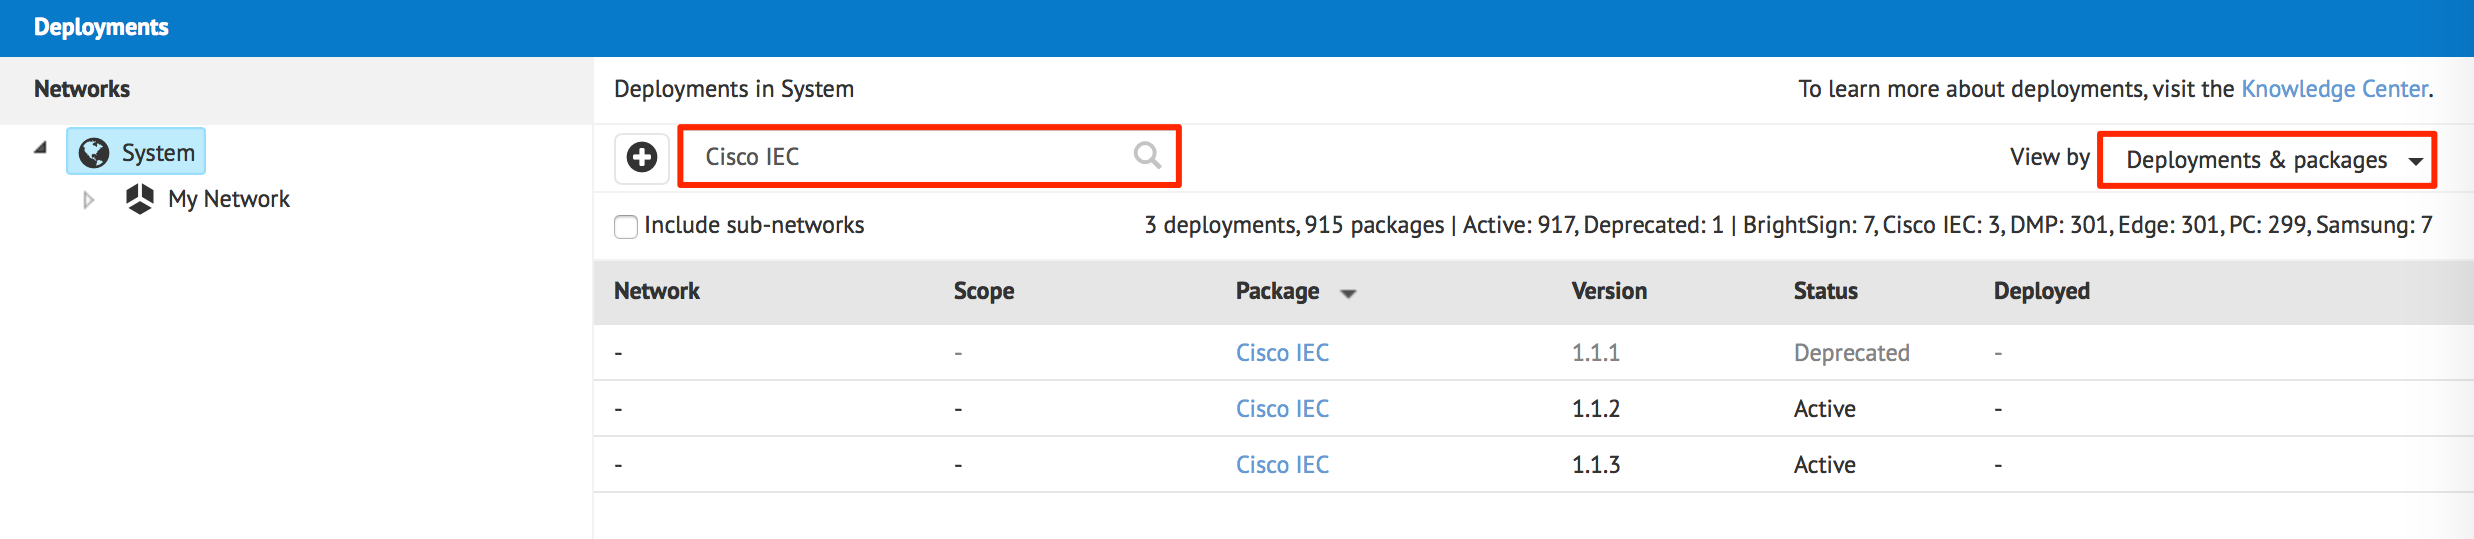
Click on the latest Cisco IEC Package.

In the Package Information page, copy the Package URL.

On your web browser, navigate to the Cisco Interactive Experience Manager (IEM) platform via https://iem.ciscoiservices.com, and log in with your Cisco IEM credentials.
Click Devices in the navigation tree, and double-click the Cisco IEC device to configure.
Click the Profile tab, and navigate to the ‘browser > startup > url’ property.
Paste the IEC URL path from Step 10 above as the url value.

Set the values for the following properties as per the table below:
Property Value browser > cache > media > clear true browser > cache > media > enabled true browser > cache > web > clear true browser > cache > web > enabled true
Click Apply to save settings, and the device will start loading the Appspace App.
Register your device using one of the many options listed in the Introduction to registering a device with the Appspace App article.