E-mail notifications
This article provides the instructions to configure e-mail notifications for your Appspace on-premises server.
Prerequisites
- Active SMTP server.
- Valid email account(s) on the SMTP server to be used as the source account for sending out notifications.
- Open (unrestrict) SMTP network ports between the Appspace on-premises server and the SMTP server (the ports may vary depending on specific SMTP server configurations – check with your network administrator).
- Portal Administrator privileges on your Appspace on-premises server.
Note
If you’re using Appspace Cloud, you can skip this configuration section and proceed to Configuring Administrator E-mail.
Configuring E-mail Notifications
In the Appspace menu, select System > Configuration.
Click the Email tab and configure the settings as follows:
- System Email - to send content updates from the server.
- Alert/Notification Email - to send player/device related notifications.
- Auto-Reply Email - to send account specific e-mails.
- SMTP Server - the FQDN or IP address of your SMTP server that will be used for sending out notifications.
- SMTP Port - the connection port for your SMTP server.
- Enable SSL - depending on your organization’s SMTP and security policies, you should select the appropriate option to enable or disable SSL.
- SMTP Credentials - your SMTP username and password.
Note
You may use the same e-mail address for all 3 types of notifications if desired.

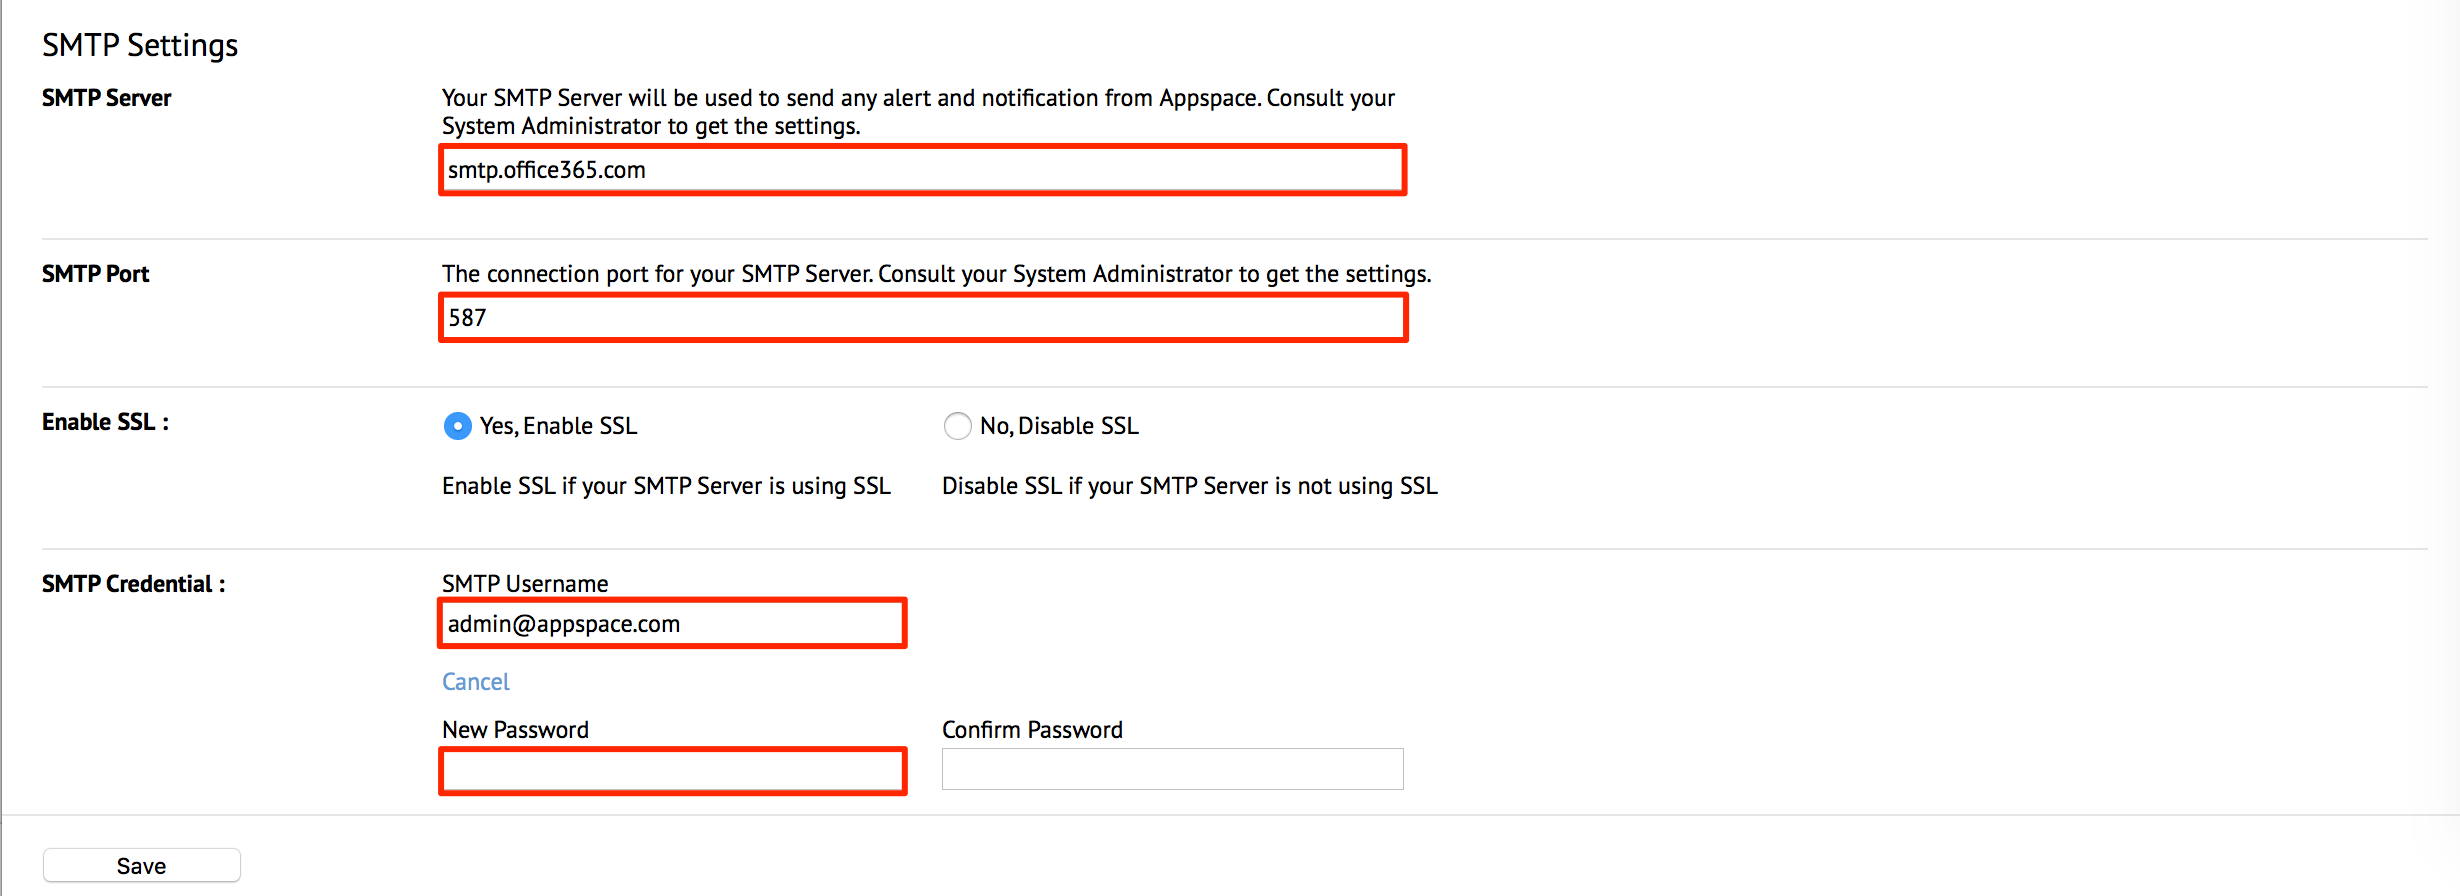
Click the Save button.
In the Confirmation window, click Yes to save your changes.
The system should automatically detect a change to the Appspace settings and prompt you with a notification at the top of the page. Click the ‘Click Here’ link.
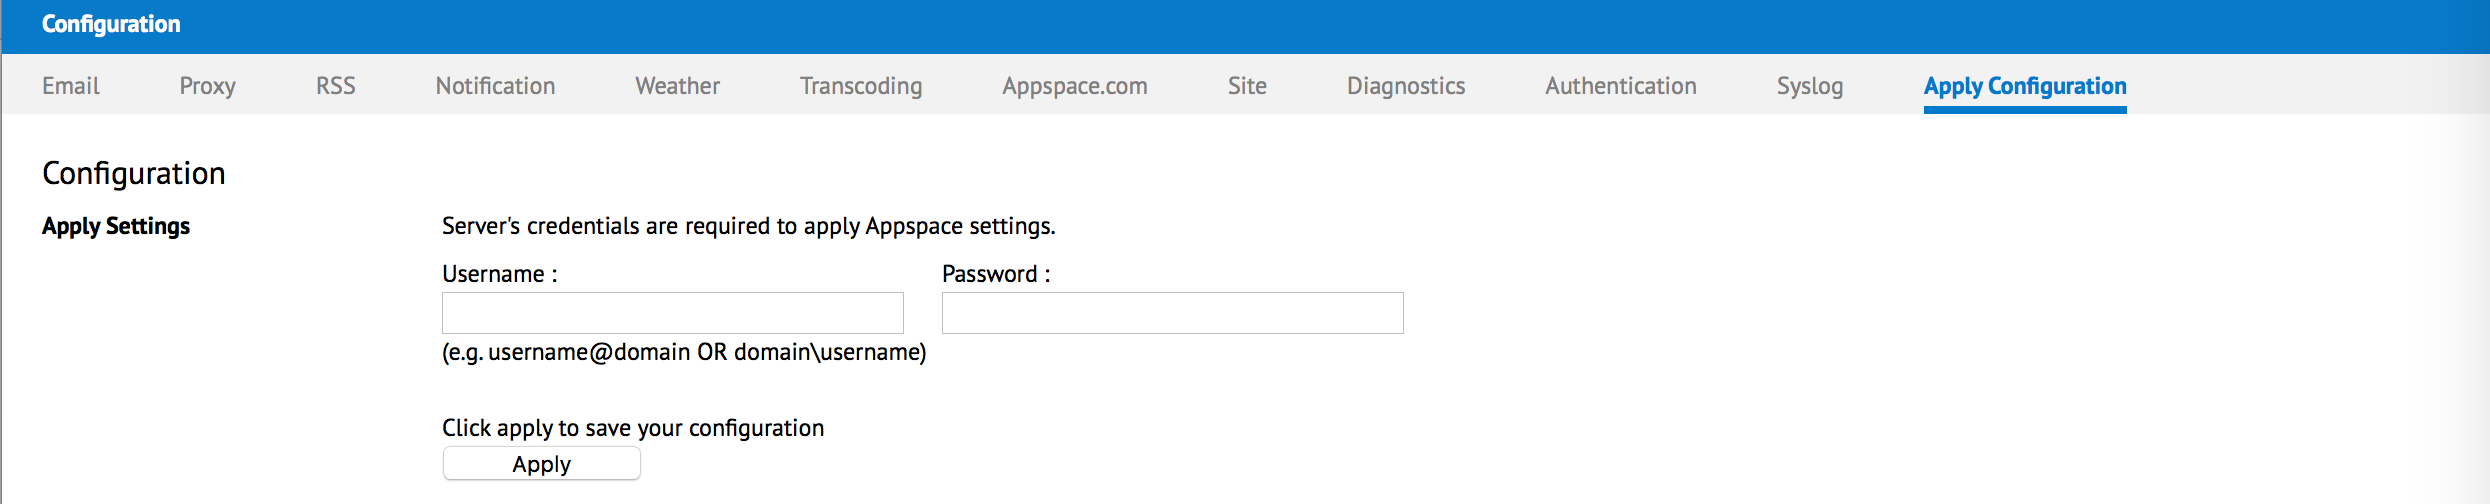
You will automatically be taken to the Apply Configuration tab. To finish applying the changes to the system settings, enter your Windows Server credentials and click Apply.
Warning
You must input your Windows Server Administrator credentials or an account with local administrator privileges to make and apply changes to server settings. This is NOT your Appspace on-premises server administrator credentials or your Appspace Cloud user credentials.
In the Confirmation window, click Yes to restart your Appspace server. You should see a message indicating the server restart progress.
If successful, click OK to complete the process.
Configuring Administrator E-mail
You must configure the e-mail notification recipient address separately from the system e-mail notification. The e-mail notifications are directed and sent to the address that is configured for the ‘admin’ account of the Appspace on-premises server.
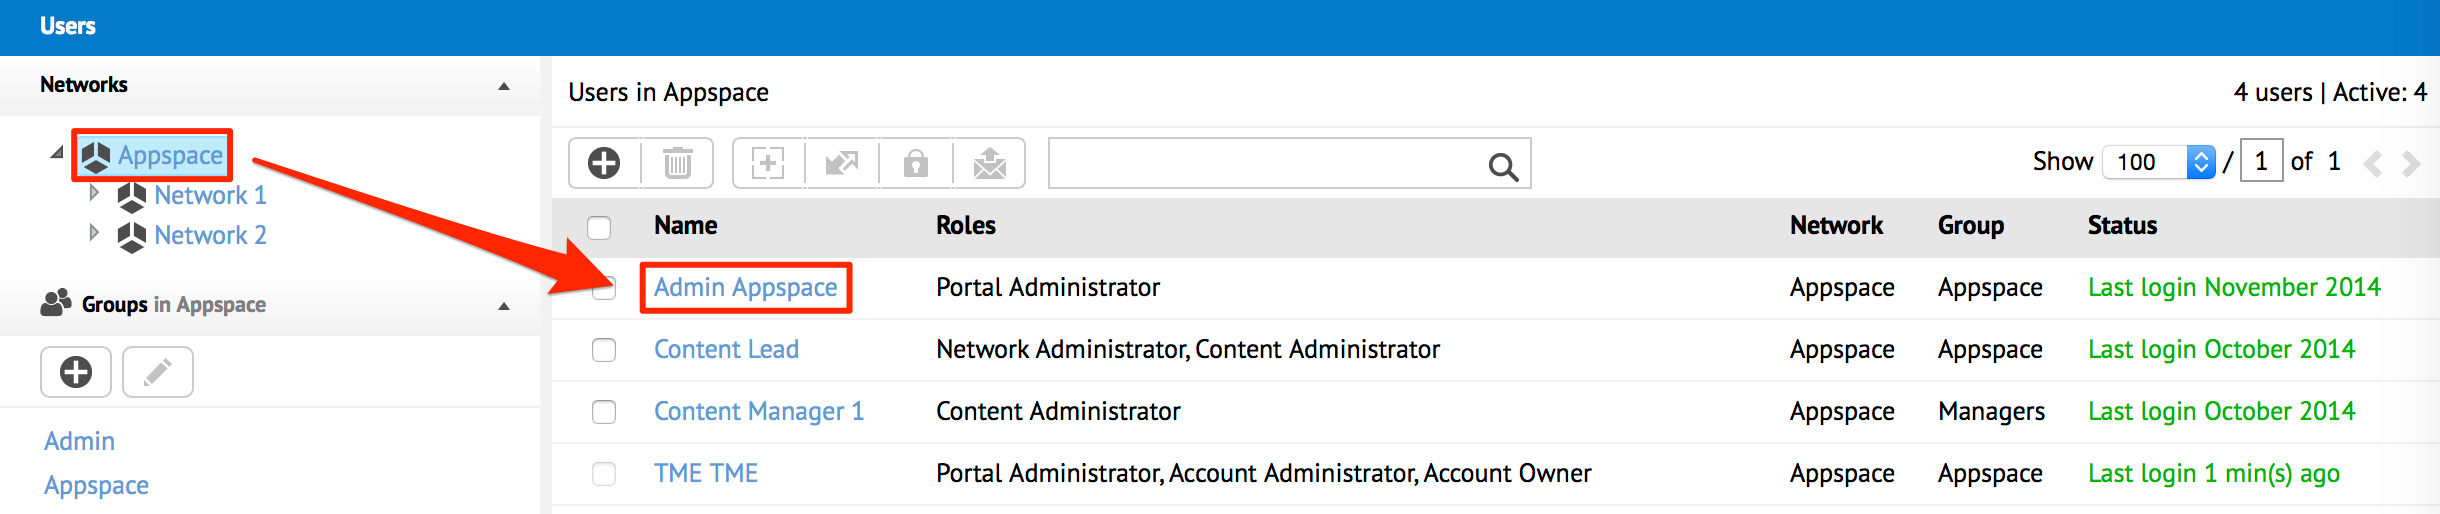
From the Appspace menu, select Admin > Users.
Select the network that contains the administrator and click the name link of the administrator.
In the Email field, type in the email address of the Appspace administrator account that will be configured as the recipient of all system notifications. Click Save when finished.

Note
You have the option of changing the first and last name of this user as well as other user related fields on this page.