Managing app themes
This article provides the instructions to configure the theme settings when viewing channels in the Appspace App or Appspace Web App.
Prerequisites
- You must be one of the following users:
- Portal Administrator
- Network Administrator
- Account Administrator
- Account Owner
Configuring Theme Settings
Navigate to the Appspace menu, and select Channels.
Click the Configuration tab, and click the App Theme tab.
In the Theme selection, select the theme for the Web Client, and TV respectively to change the default theme settings.

Proceed to configure the theme settings as below:
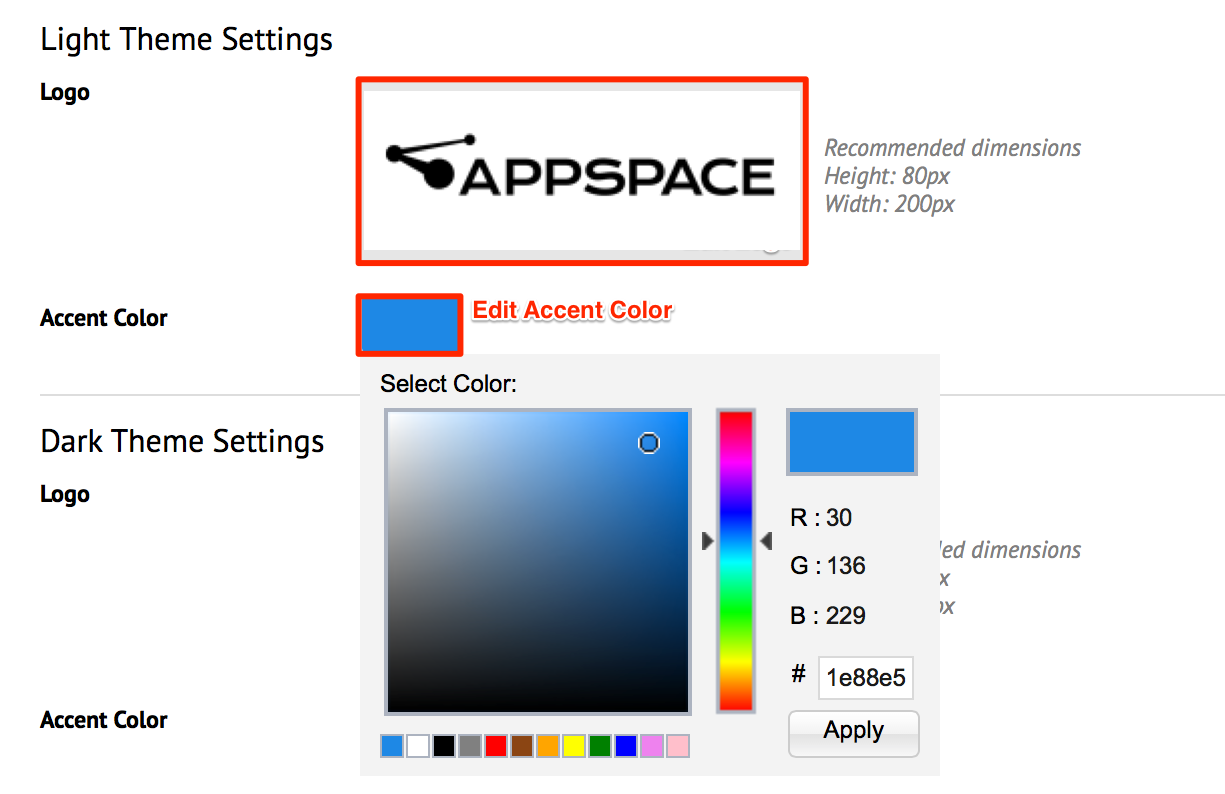
Replace Logo
- Click the logo area to replace the default logo.
- Click the Choose Image button, and select a desired image from the Library.
- Click Apply.
Change Accent Color
- Click the Accent Color area, and select the desired color.
- Click Apply.
Click Save.
Alternatively, you can change the settings directly on the Web App. Click the user button, and click Change Theme. The theme switches between the Light and Dark themes.

Customizing Theme Background
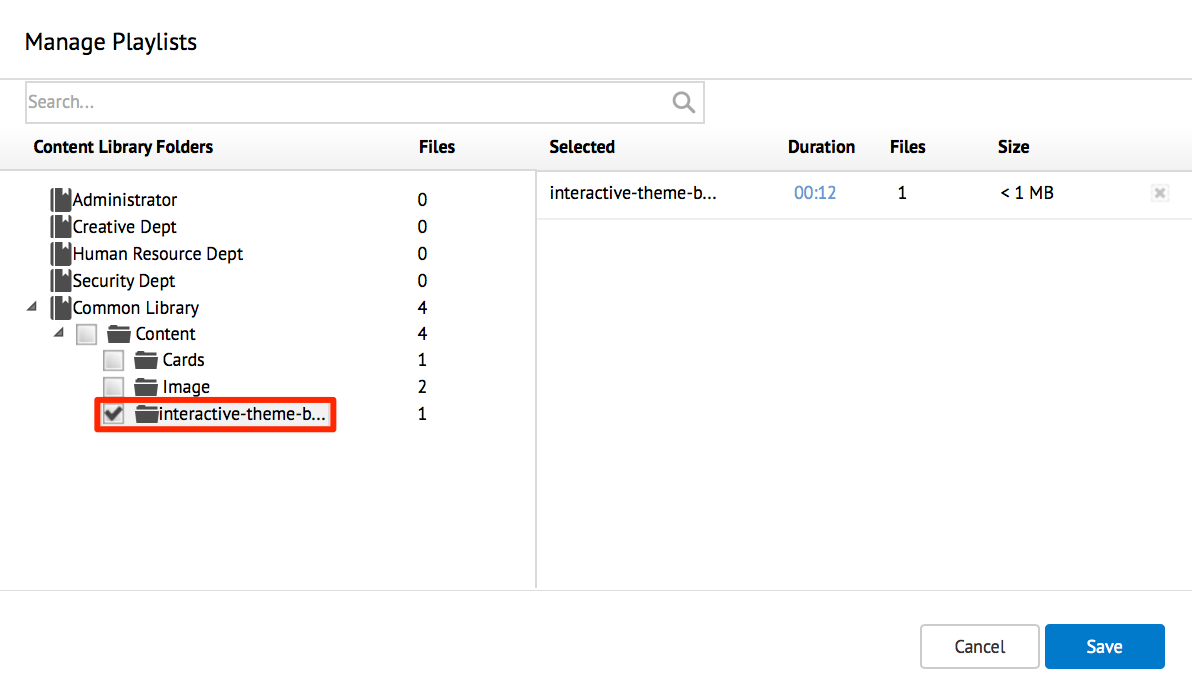
In Library, create a folder with the name ‘interactive-theme-background’.
Add the desired background media to the ‘interactive-theme-background’ folder. The following media can be added as background:
- Images
- Videos
- Cards
- External content

In Channels, select the desired Channel group, and add the ‘interactive-theme-background’ to the playlist.
Note
If there are multiple ‘interactive-theme-background’ folders in the playlist, Channels will only display content from the last folder added.
Appspace App will display the background for the Channel group when selected.