Adding media
This article provides instructions to adding and configuring media files or documents in the Library.
See our Media player support capability comparison for all the file types that Appspace supports.
Important
The maximum file size limit for content uploads is 2GB, due to limitations set by IIS.
Add Media File or Document
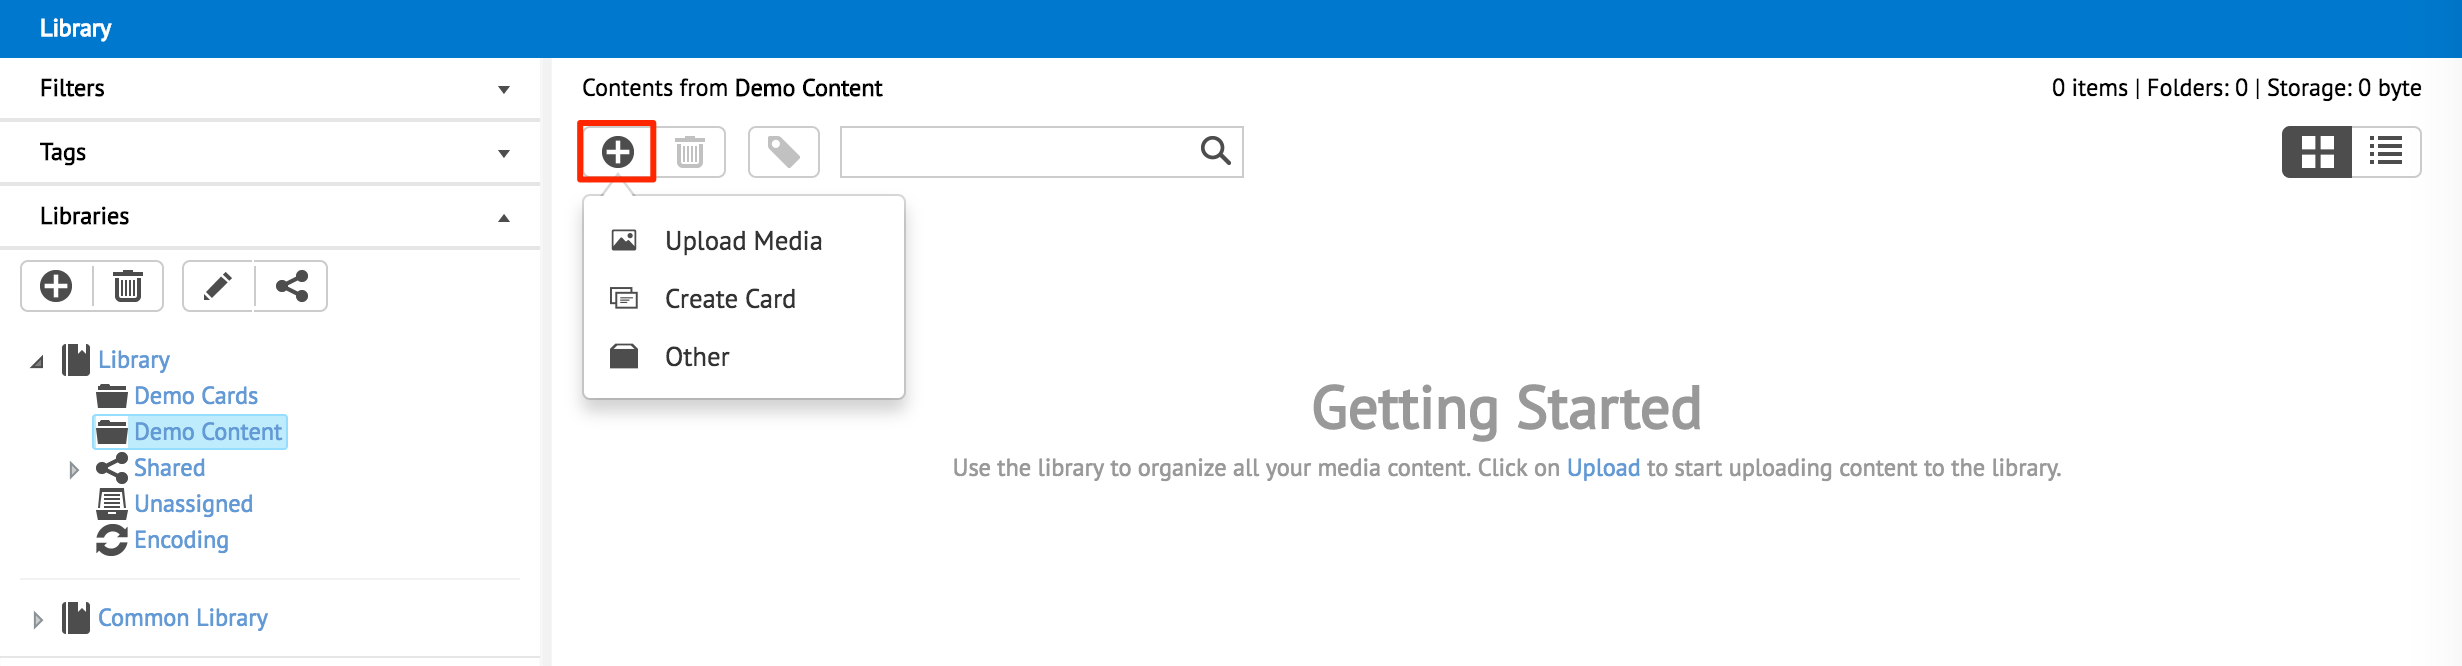
In Library, select the desired folder. Click the Upload button, and select Upload Media.
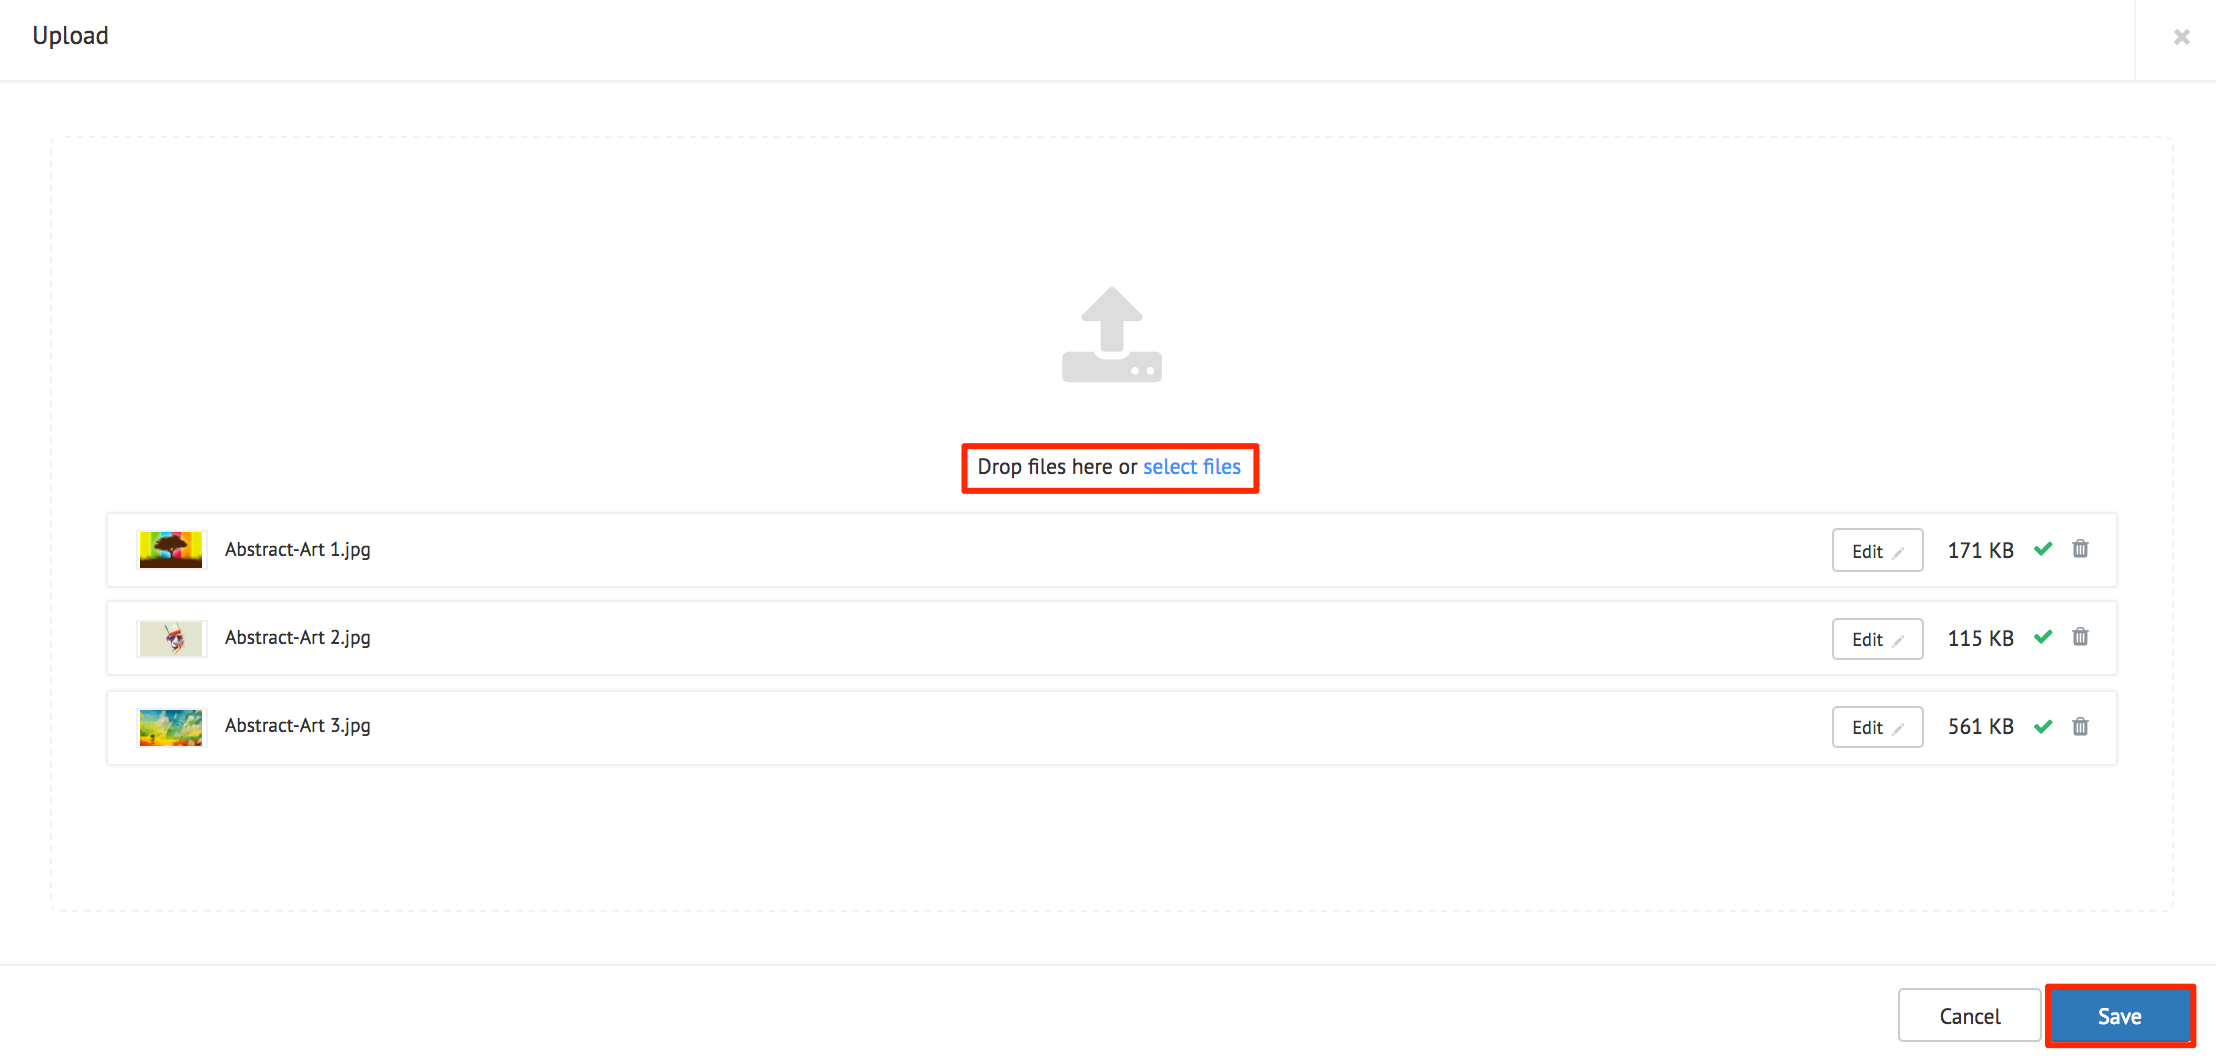
In the Upload page, drag-and-drop files directly from an open folder on your desktop, or click the ‘select files’ link and browse for content. Click Save once the upload is complete.
Note
You can simply drag an item into the drop zone to start uploading a file, and continue to drop files while other content items are being uploaded.
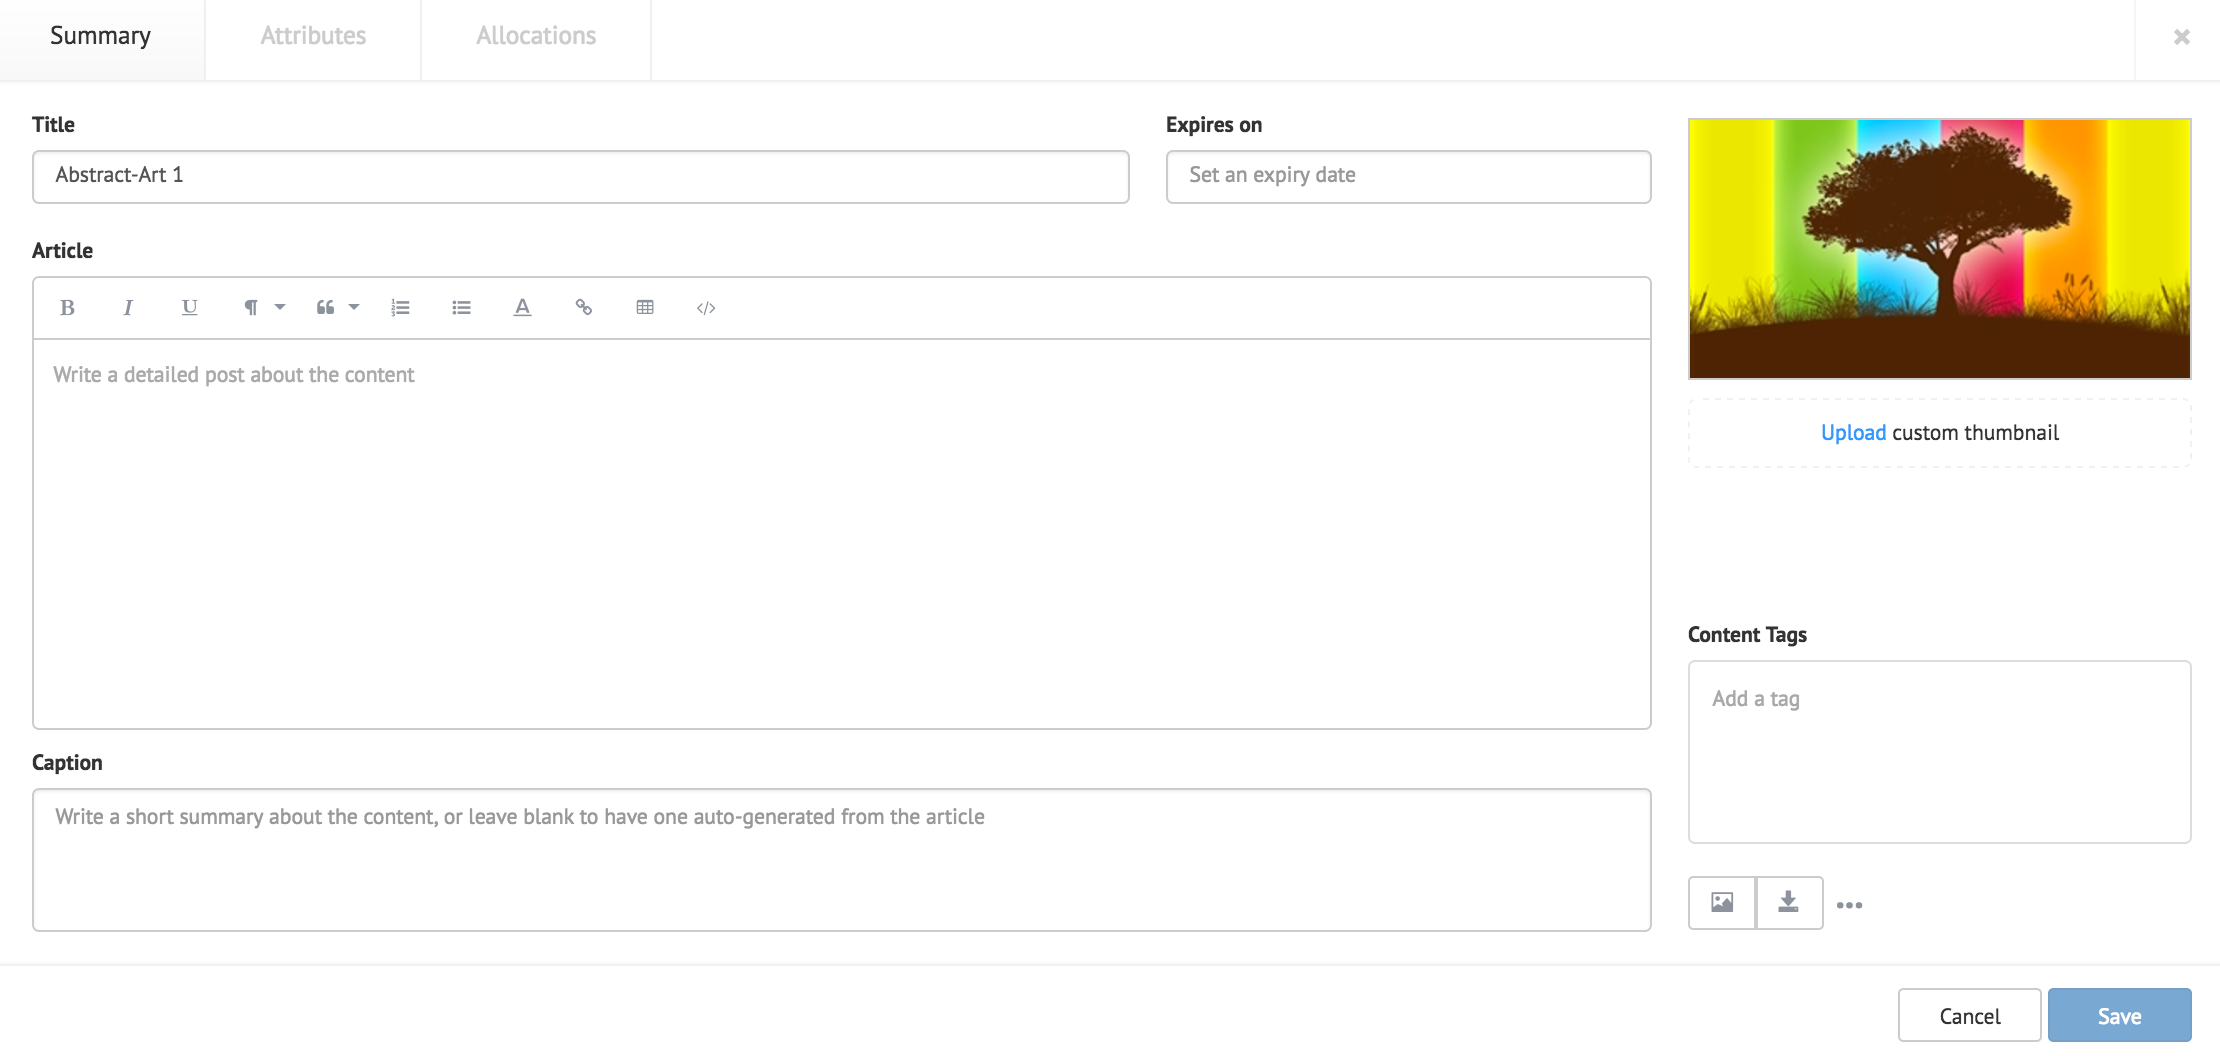
To configure the content properties, double-click the content in the desired folder.

In the Summary tab, fill in the Title, as this is a mandatory field. Optionally, you may fill in the Article, Caption, Content Expiry, Content Tags and even upload a custom thumbnail for the content.
For more information on Content Expiry, click the Setting Content Expiry article.
Note
Content item Titles and Description can be used via action scripting. E.g. On media load, set plain text to content items title.
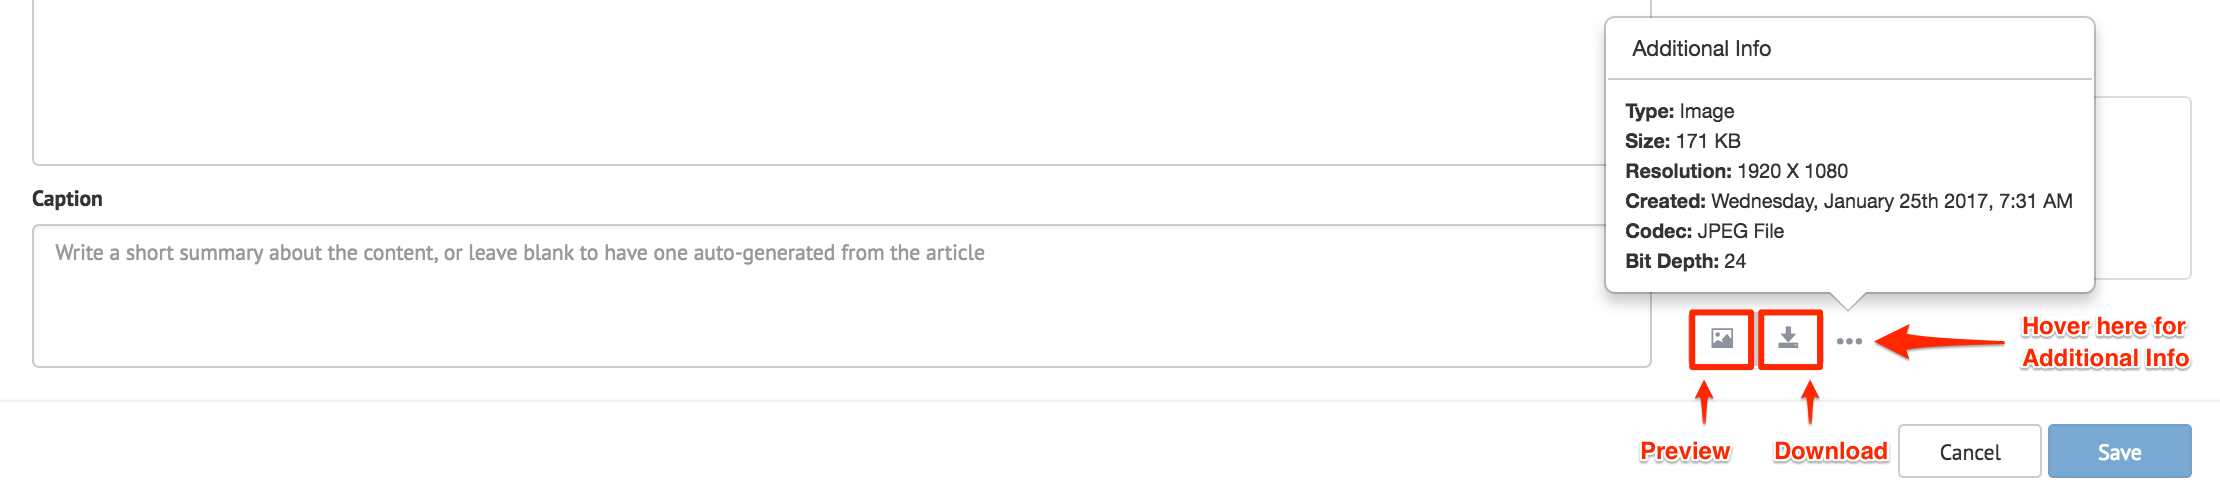
To preview or download content, click the ‘Open Media’ button, or ‘Download media’ buttons respectively.
Additional content information such as type, and size can be viewed by hovering on top the ellipse.
Click the Attributes tab to display attributes and values associated to the content. Additional custom attributes and values can be filled in their respective Attribute and Value fields.
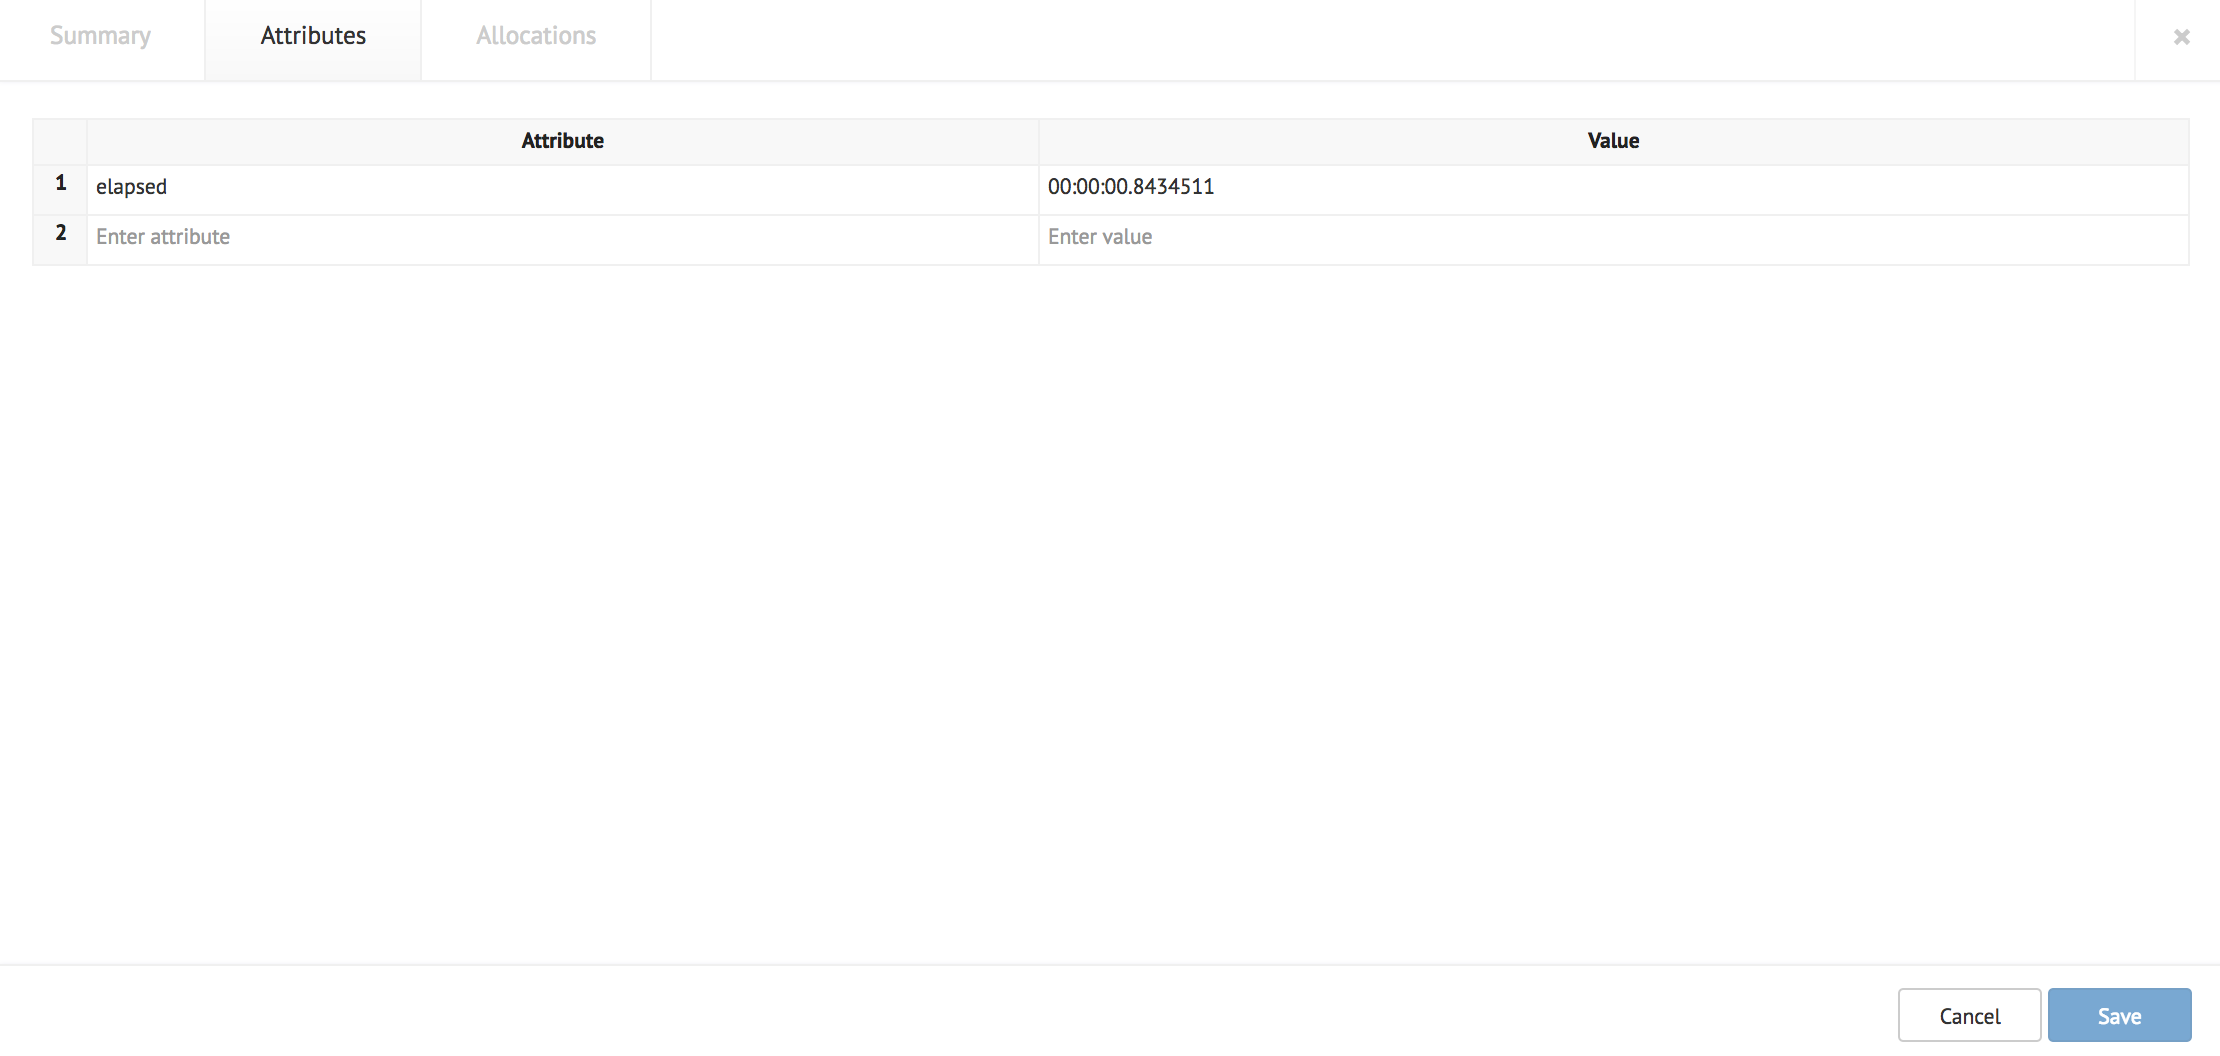
Note
These attributes cannot be accessed through action scripting. They are used primarily to provide additional identification to the content item.
Click the Allocations tab to display a list of channels the content is allocated to.
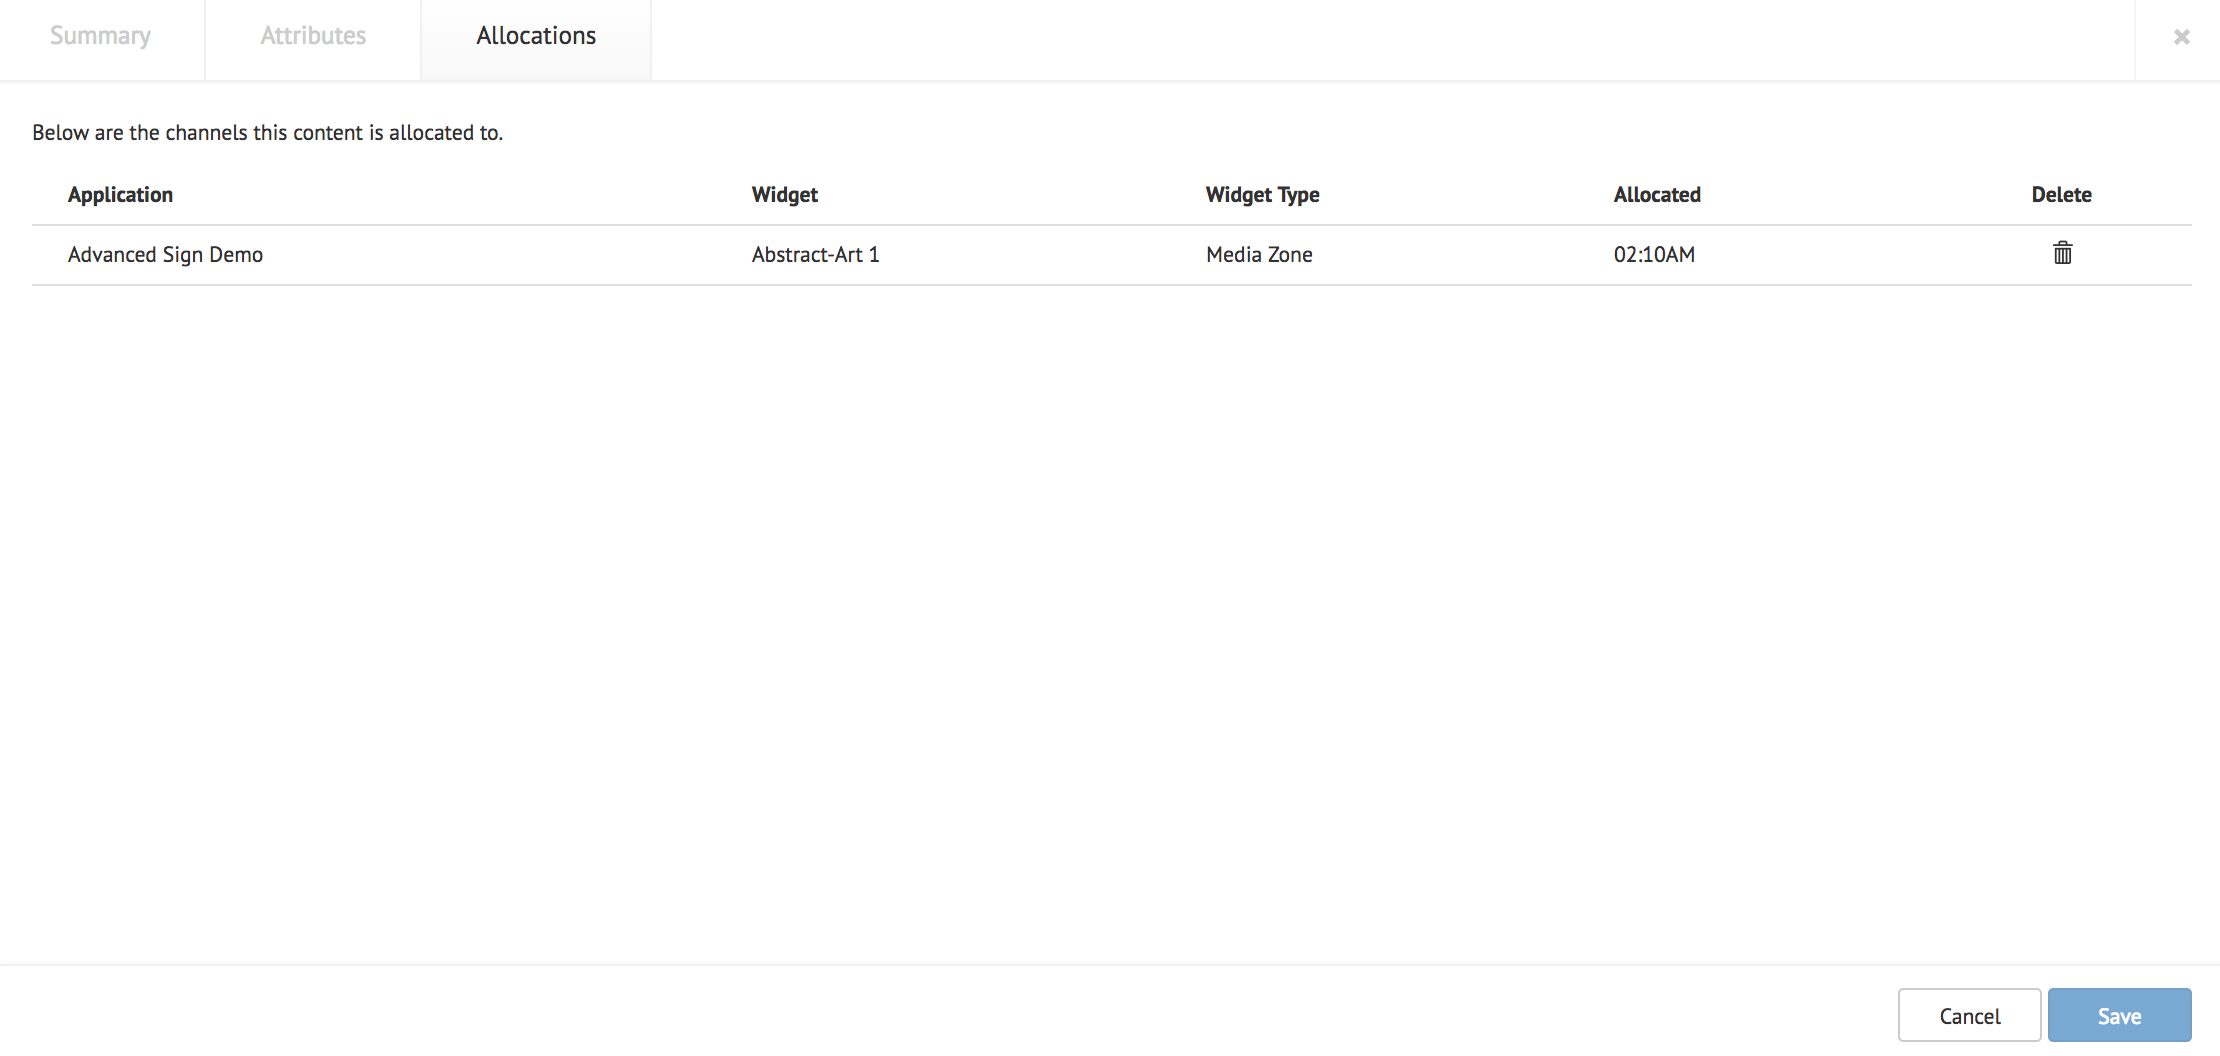
Once done, click Save.
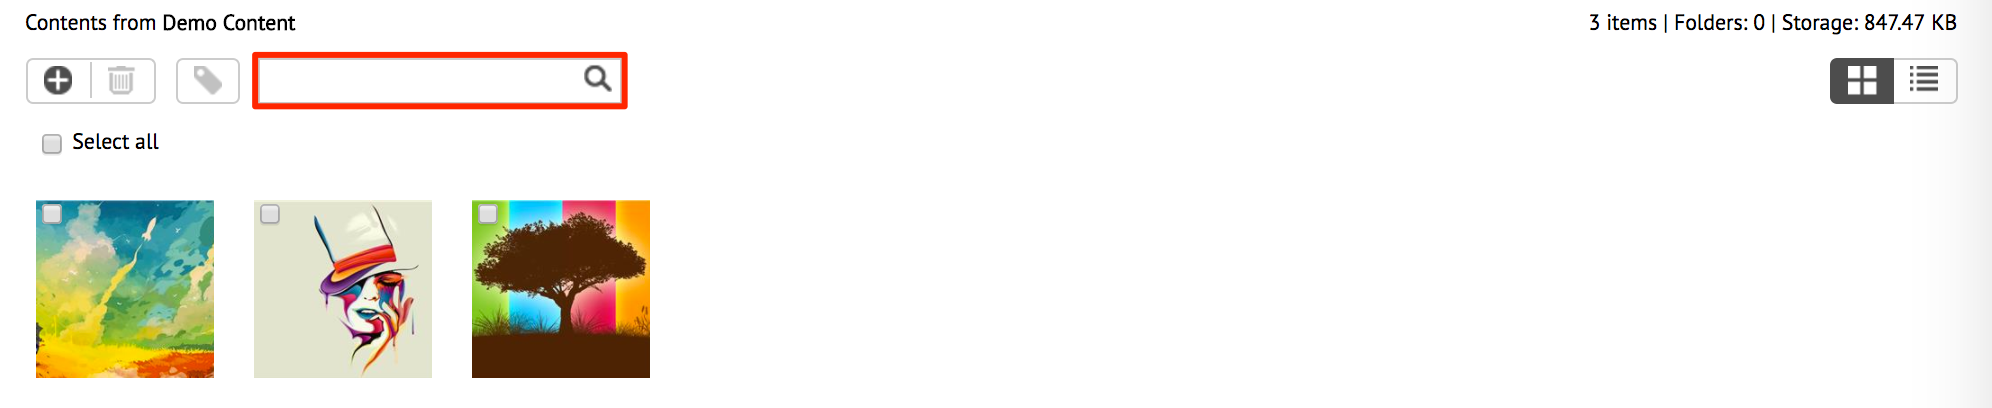
To search for content, fill in the keyword in the search field, and click the search icon, or press enter. The search results are displayed in the content listings.
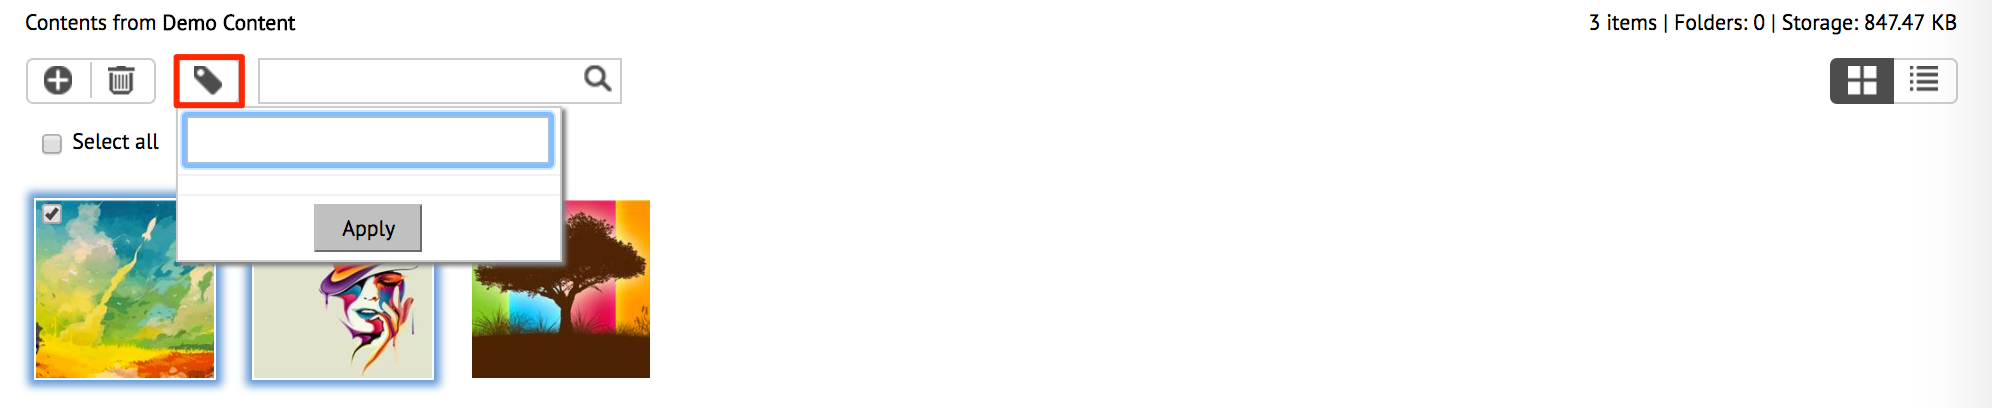
To tag content, click the ‘Tag selected media’ button, fill in the tag name or select from a list of existing tags, and click Apply.
To delete content, select the desired content, and click the ‘Delete selected media’ button. Click OK to confirm.
