Managing EPG providers
This article provides the instructions to add, refresh, edit, search, and delete Electronic Programming Guide (EPG) provider settings within Channels.
Prerequisites
You must be one of the following users:
- Account Owner
- Account Administrator
- Portal Administrator
Adding EPG Providers
Click the Configuration tab, and click the EPG Providers tab.

Click the Add button to add an EPG provider.

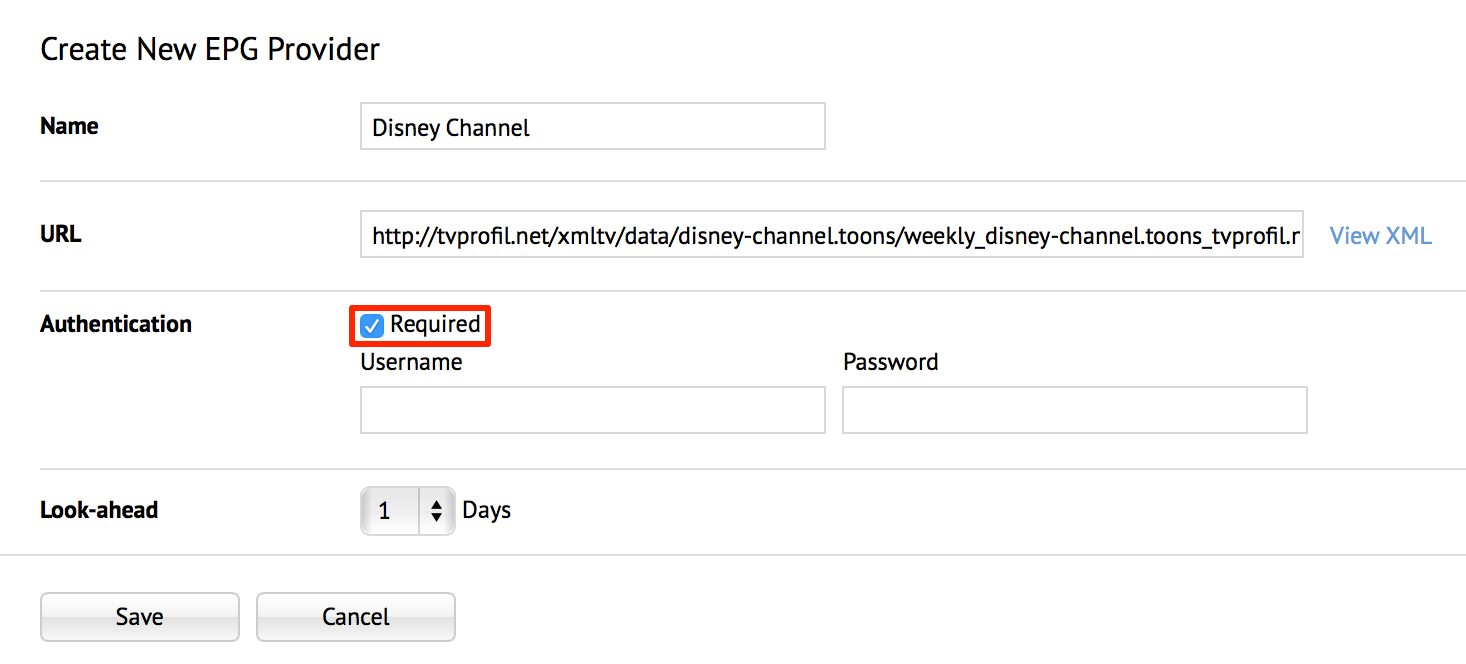
In the Create New EPG Provider page, enter in the Name of the EPG provider, and the URL link to the EPG provider’s XML file.

If authentication is required, check the Required check box, and enter in the Username and Password.
In the Look-ahead field, select the number of days from the drop-down menu you desire the EPG provider retrieve information for in advance.
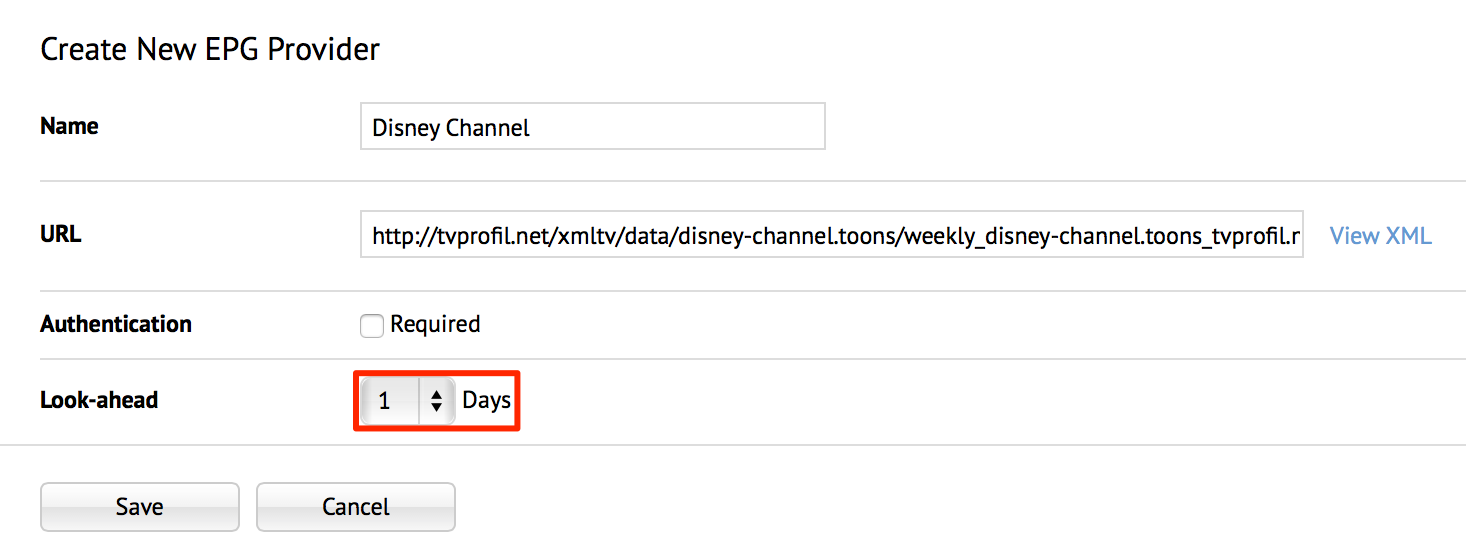
Click Save, and the EPG provider is listed in the EPG Providers page.

To Edit an EPG provider, click the desired EPG provider name link. Make the necessary changes, and click Save.
To Delete an EPG provider, select an EPG provider, and click the Delete icon. Click Ok at the Confirmation window.

Viewing EPG Provider Data
To view an EPG provider’s Data, select one of the two options below:
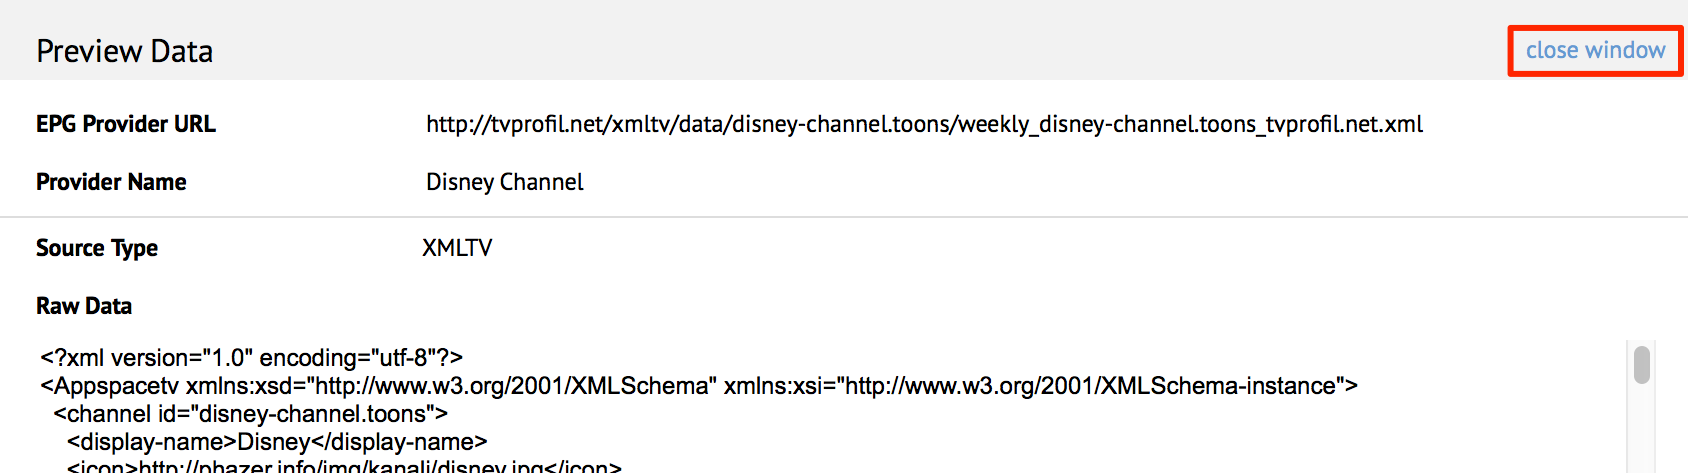
Option 1
Select an EPG provider, and click the Preview icon.

Click the ‘close window’ link.
Option 2
In the Edit <EPG provider name> page, click the View XML link.
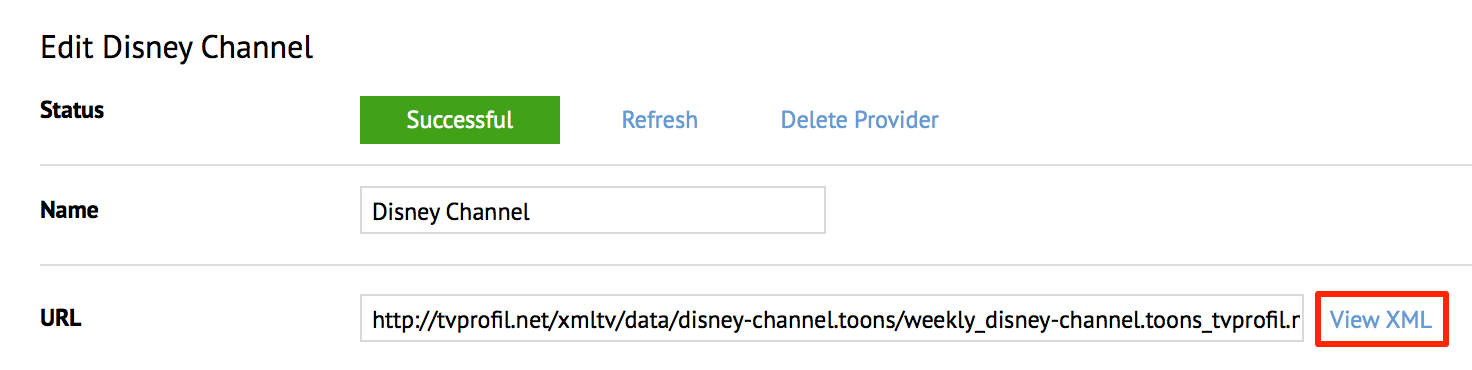
Click the ‘close window’ link.
Refreshing EPG Provider Data
To refresh or re-sync the EPG provider data, select one of the two options below:
Note
EPG provider data is automatically synced at 12:00am UTC daily.
Option 1
Select an EPG provider, and click the Sync icon.

Click OK in the Confirmation window.
Option 2
In the Edit <EPG provider name> page, click the Refresh link.

Click OK in the Confirmation window.
Note
The Updated column will indicate ‘Retrieving’ or display the last update time.