Adding a folder
This article provides instructions to creating and sharing folders in the Library.
Create Folder
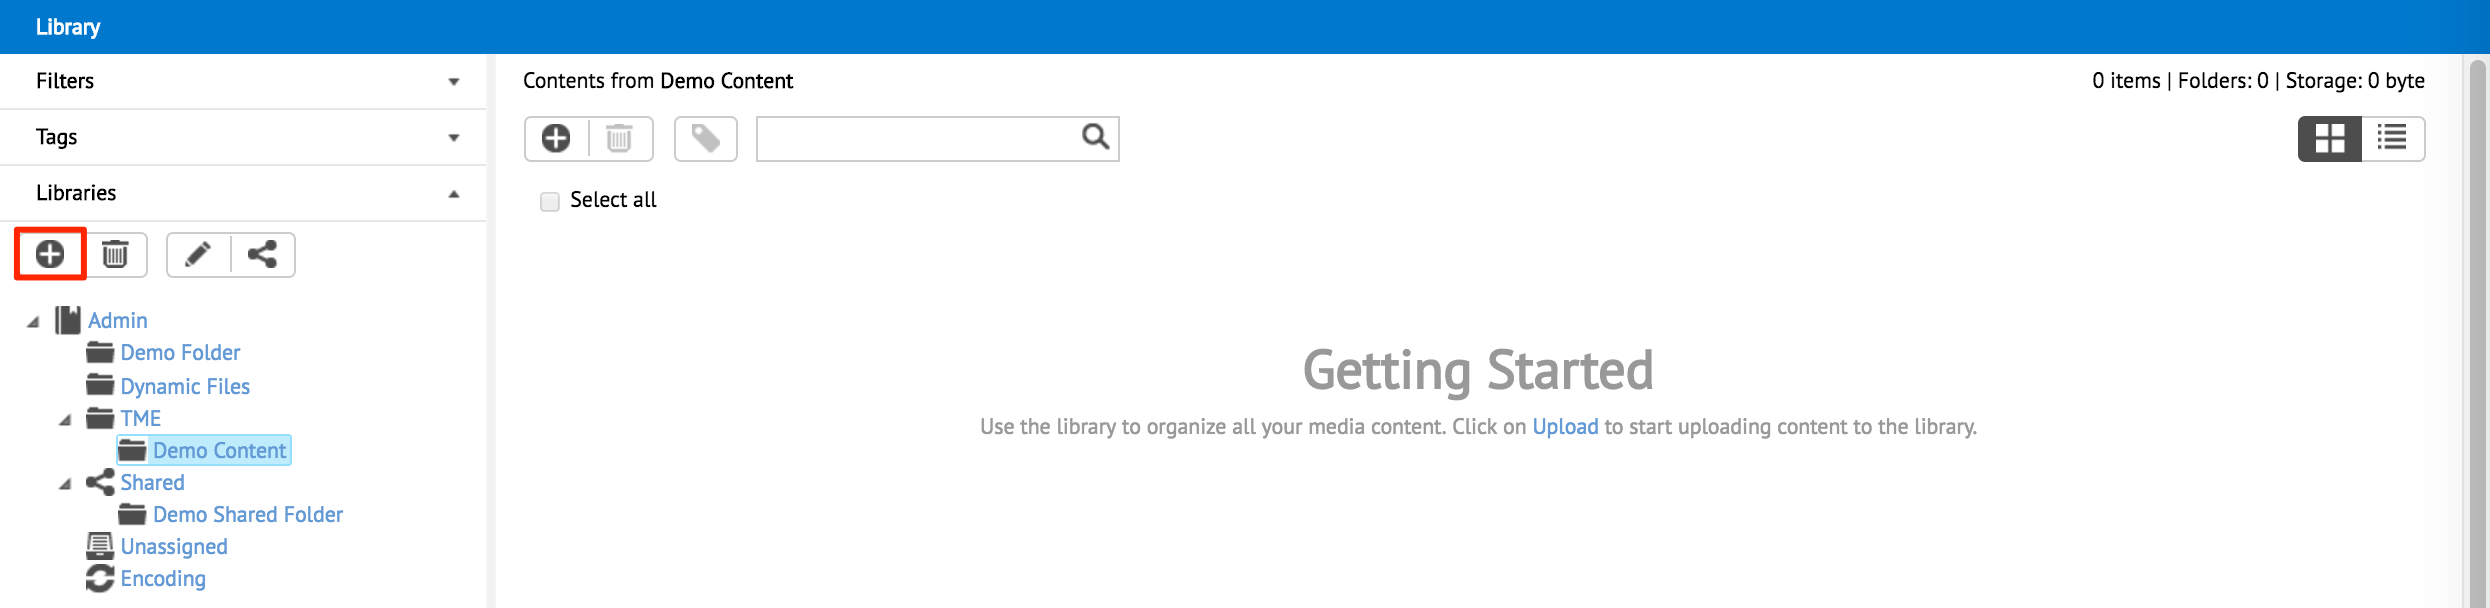
In Library, select your group library or the common library, and click the ‘Add folder’ button.
Enter a desired folder name.
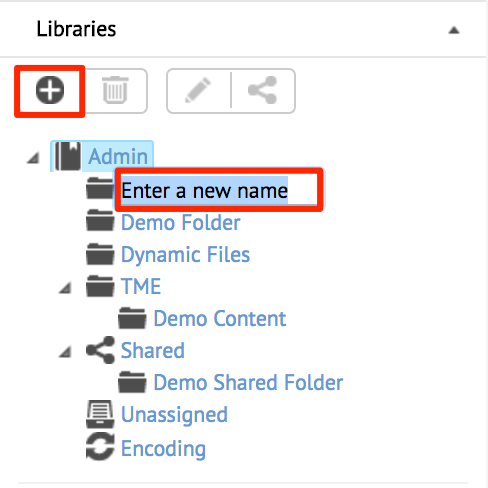
To create a subfolder, select an existing folder, and repeat Step 1 and 2 above.
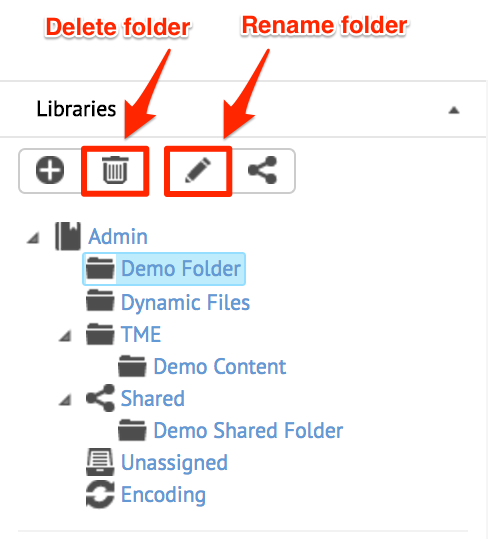
To delete or rename a folder, click the ‘Delete folder’ or ‘Rename folder’ buttons respectively.
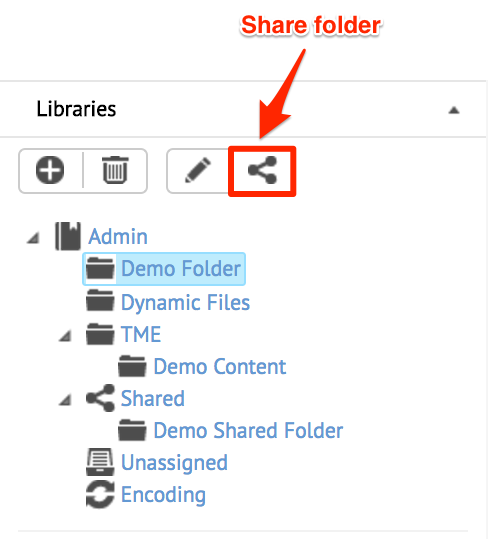
Share Folder
While the Library is unique to each user group, you can choose to share a folder and its content with different user groups within the same account.
The Library allows users to share folders at multiple levels:
- All usergroups (read-only) - all user groups in the account will have read access to the shared folder.
- All usergroups (read & write) - all user groups in the account will have read and write access to the shared folder.
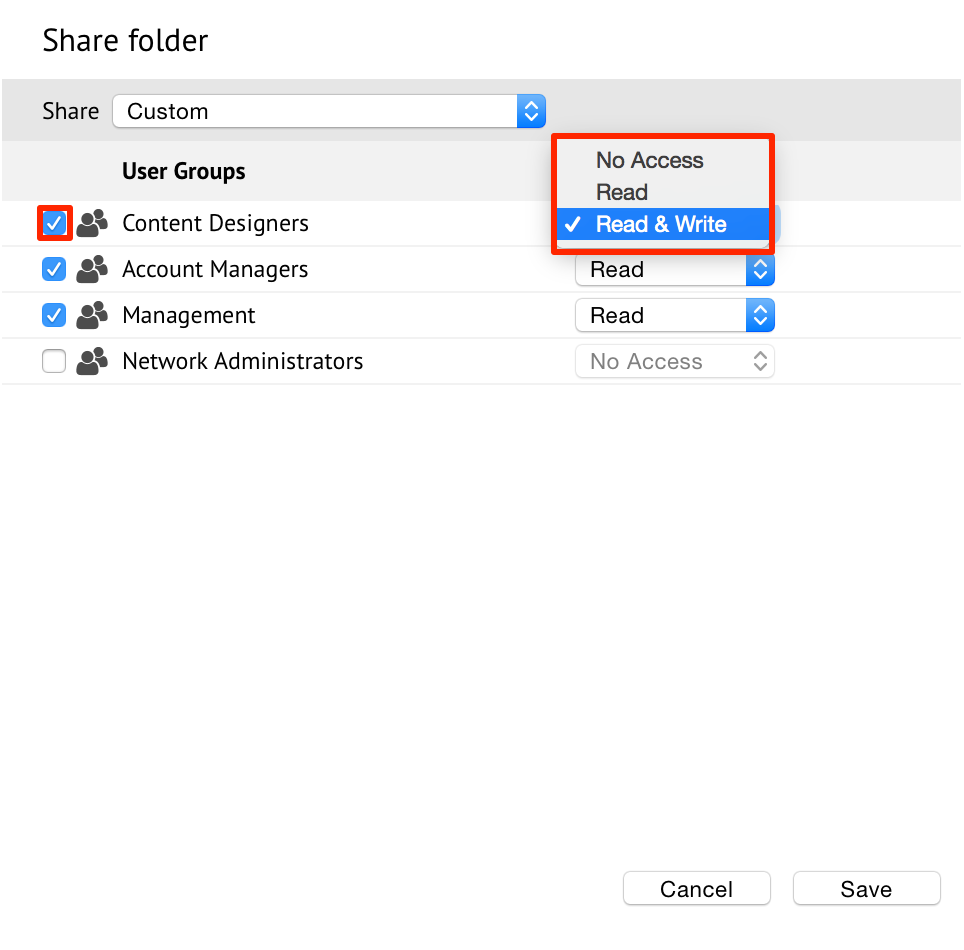
- Custom - you can define which access level (No Access, Read, Read & Write) to specific user groups in the account.
To share folders, please follow the instructions below:
Select the desired folder, and click the ‘Share folder’ button.
In the ‘Share folder’ window, select the Share options. If ‘Custom’ is selected, proceed to select the permissions for each user group. Click Save when done.
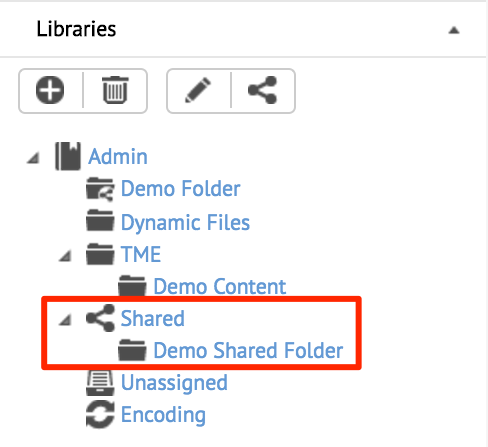
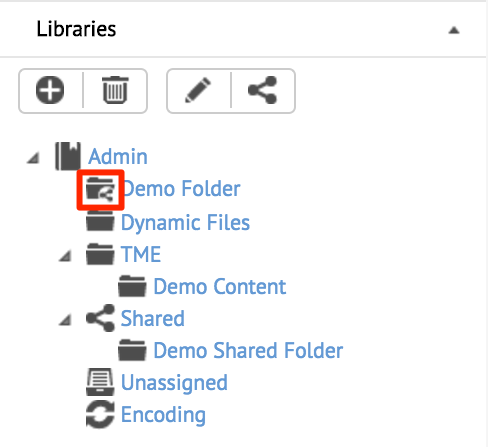
The folder is affixed with a shared icon to provide quick indication of a shared folder.
To view content shared by other users, click Shared.