MS SQL Setup with SQL Server Management Studio
This article provides the instructions to customize the MS SQL Server database services for Appspace with SQL Server Management Studio.
Warning
Ensure the SQL root account created during installation has been granted system administrator privileges in Windows before proceeding.
Follow the instructions below to configure SQL Server Management Studio:
Start SQL Server Management Studio.
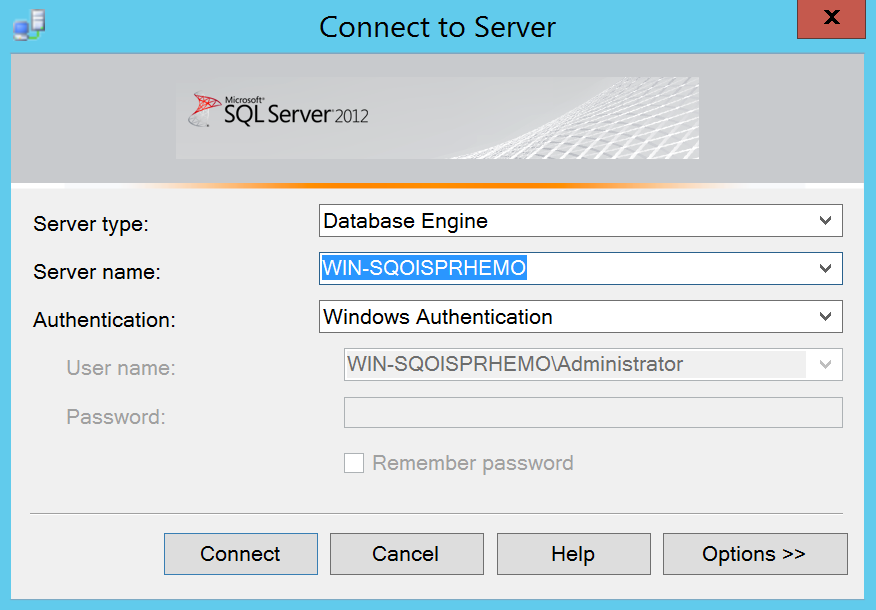
In the ‘Connect to Server’ window, select Database Engine from the ‘Server type’ menu, and Windows Authentication from the Authentication menu.
Note
Take note of the ‘Server name’ value, as it will be used again at a later point.
Click Connect to continue.
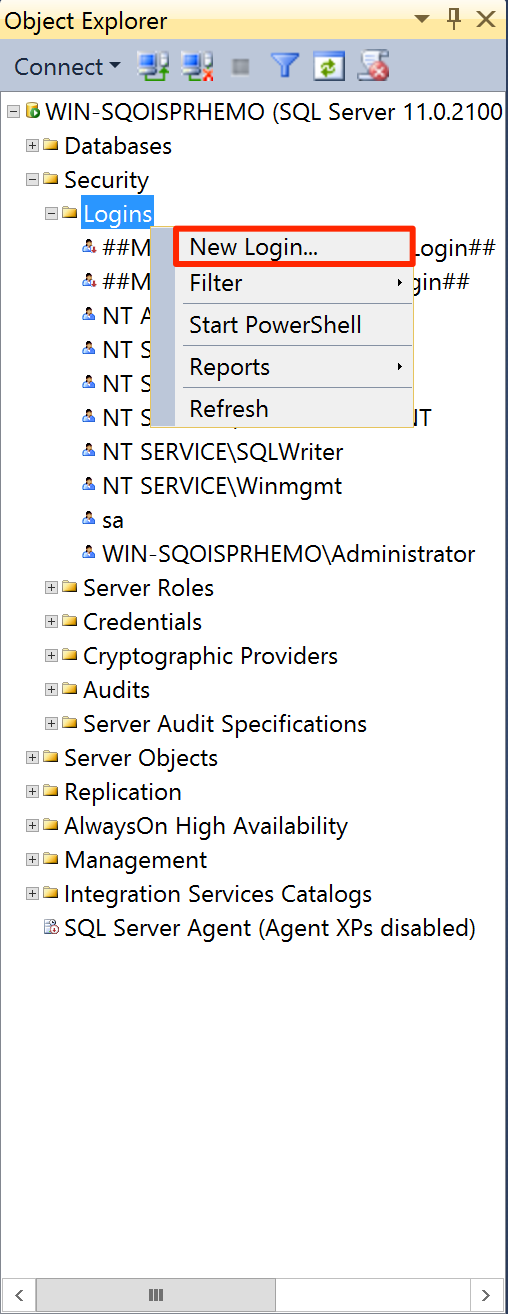
Once connected to the server, right-click the Security > Logins folder in the Object Explorer pane, and select New Login.
In the ‘Login Properties’ window, select General in the ‘Select a page’ pane. and input the Login name as “root”.
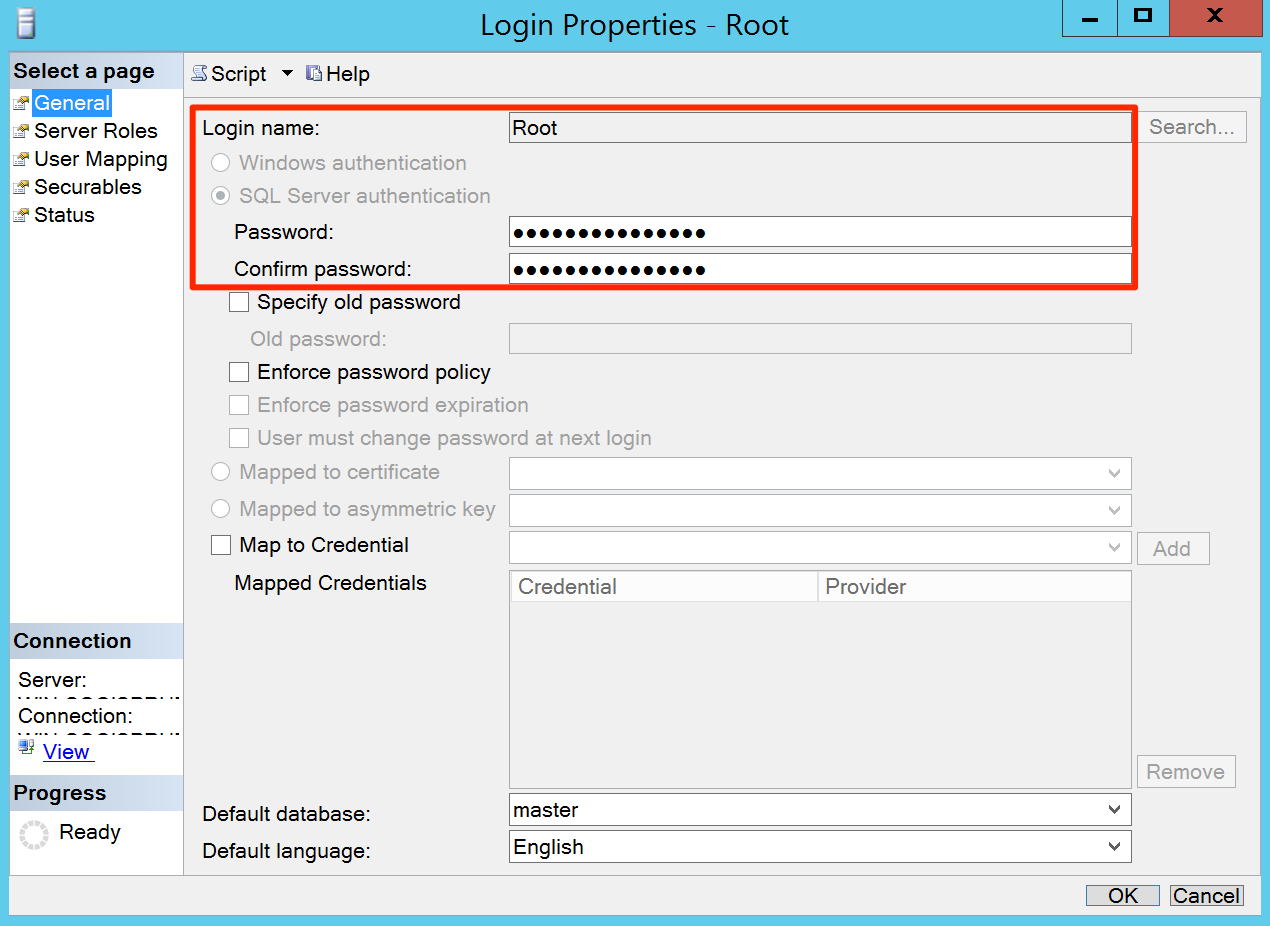
Select the ‘SQL Server authentication’ option, and input a new password of your choice, and click OK.
Warning
- SQL passwords should NOT contain shell metacharacters such as !#’”`&; or spaces.
- Uncheck the ‘Enforce password policy’ and ‘Enforce password expiration’ options.
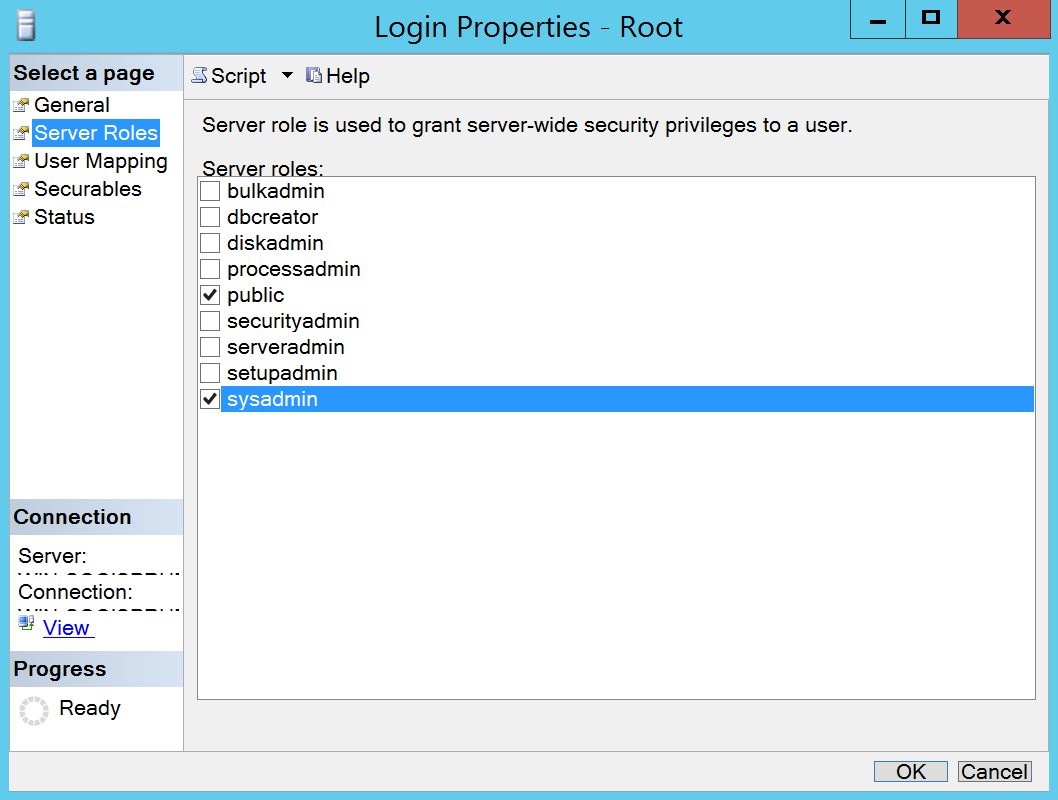
Select Server Roles in the left pane, and check the ‘sysadmin’ check box to give the root user system administrator privileges.
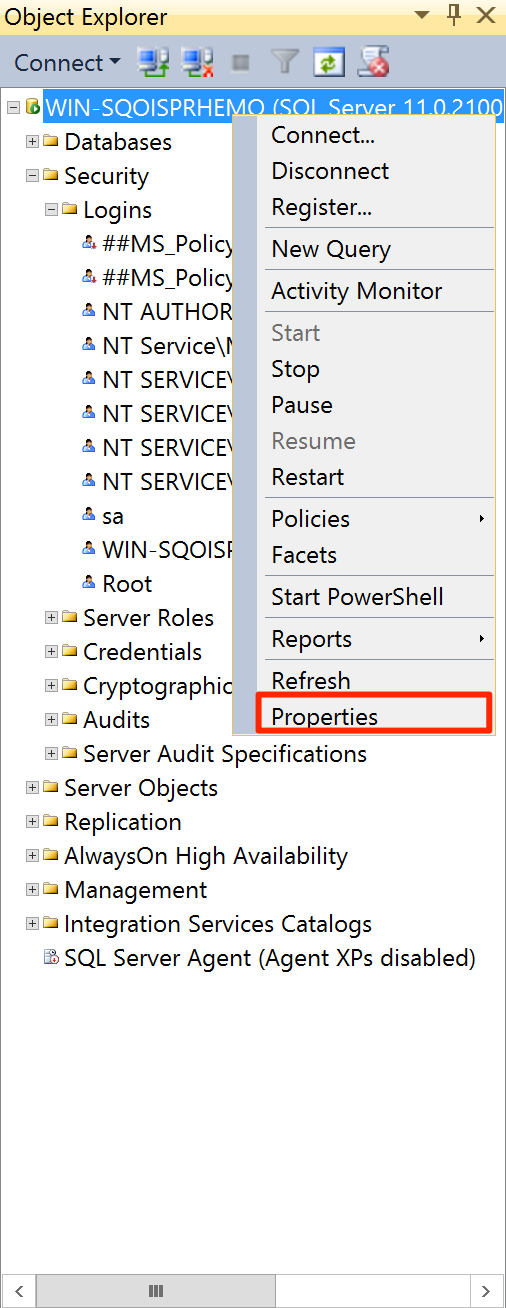
In the Object Explorer, right-click the server instance and select Properties.
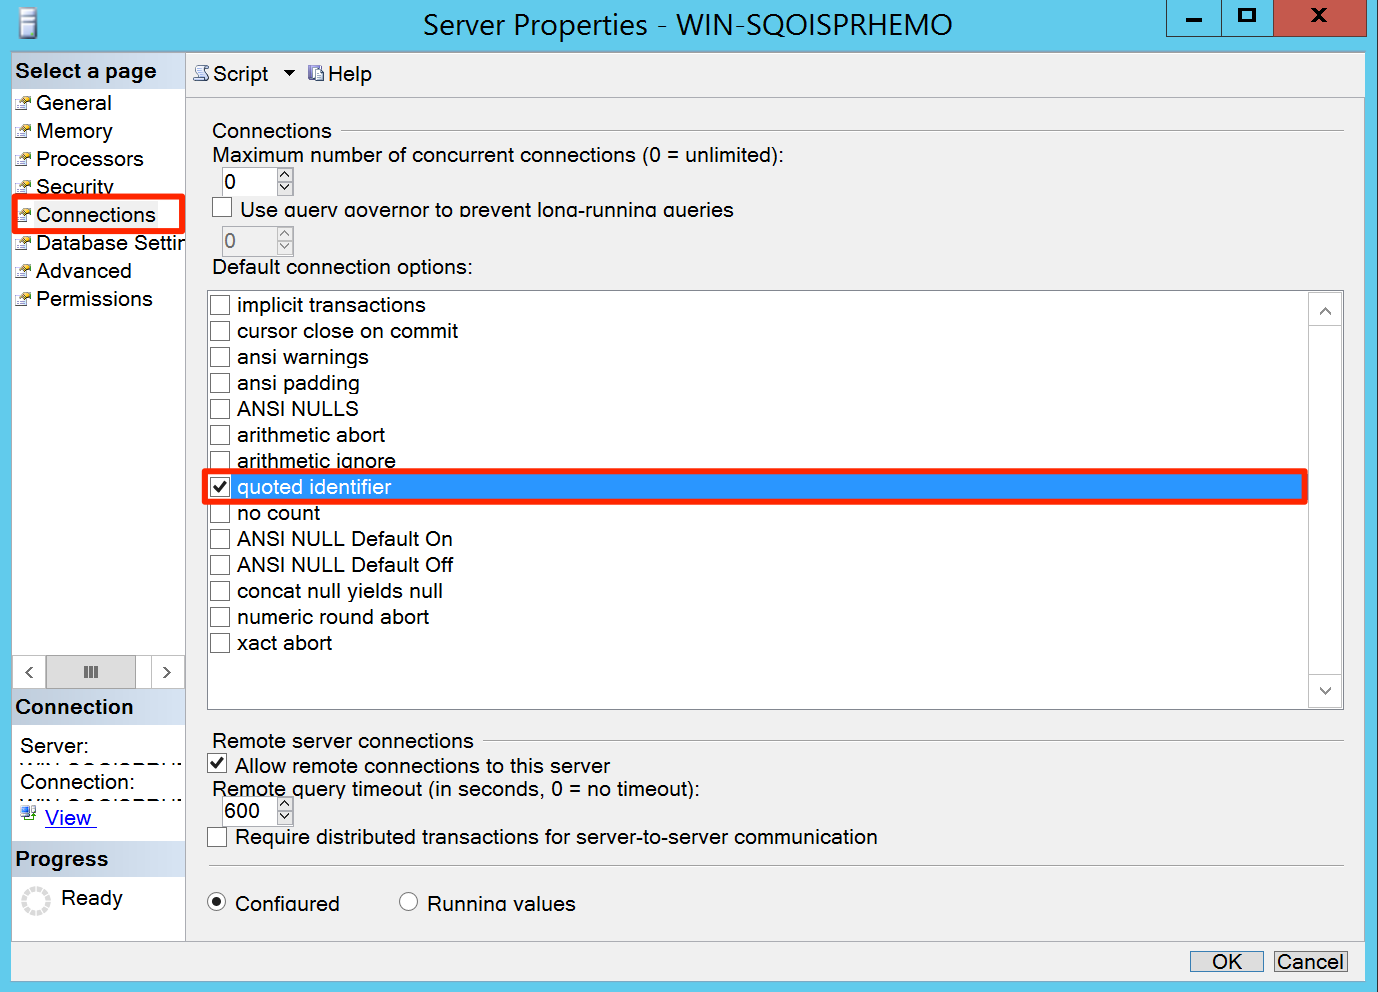
In the ‘Server Properties’ window, select Connections in the left pane. In the ‘Default connection options’ section, check the ‘quoted identifier’ check box, and click OK.
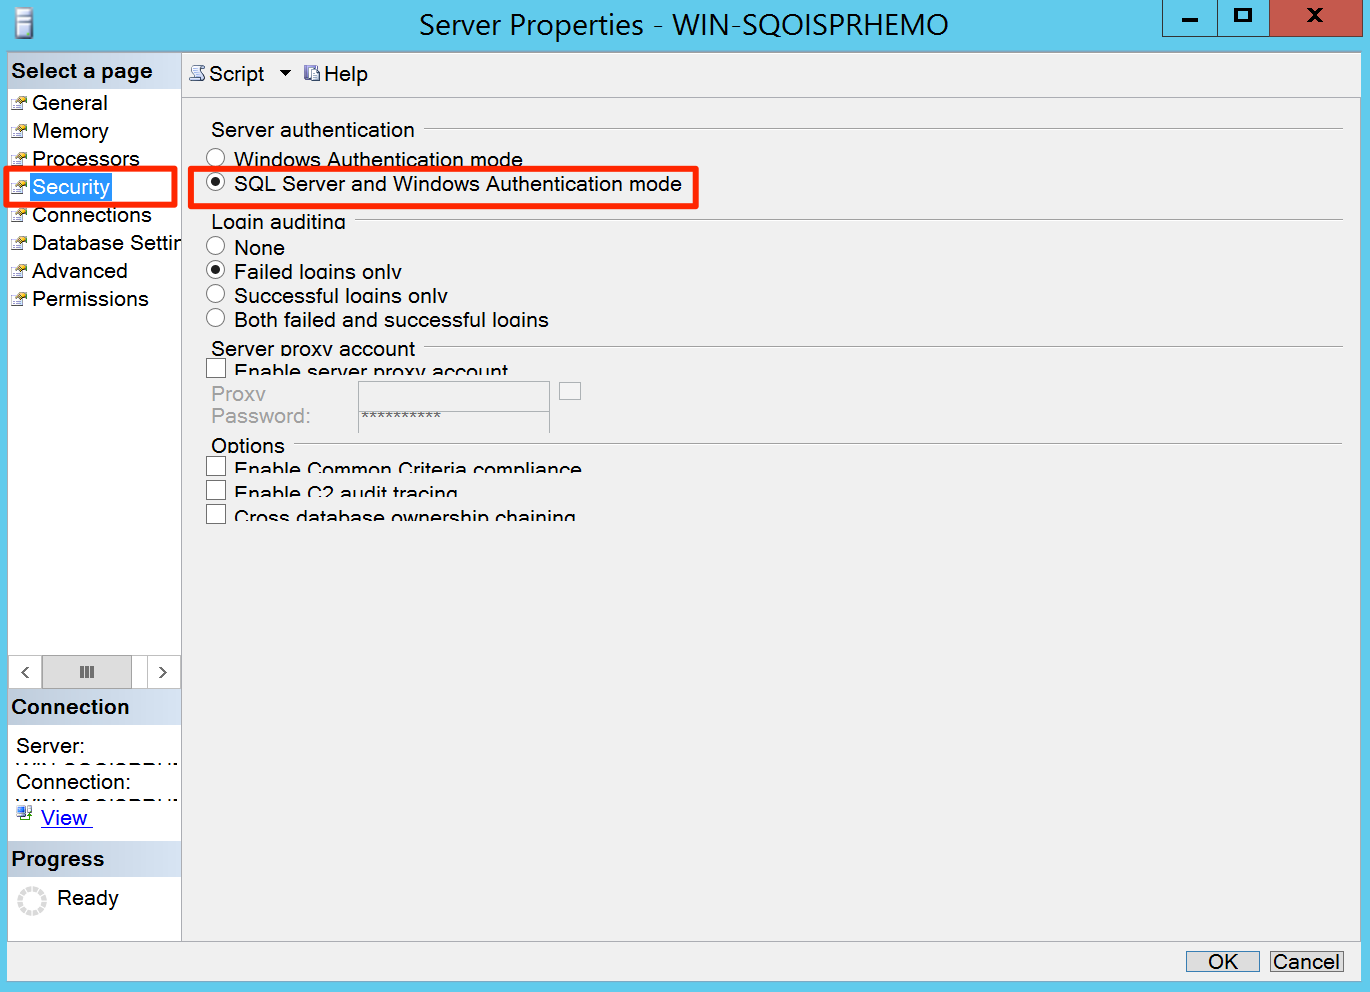
Select Security in the left pane, and in the ‘Server authentication’ section, select the ‘SQL Server and Windows Authentication mode’ option, and click OK.
Proceed to the Install Appspace Installation Center section.