Managing live video stream channels
This article provides the instructions to configure, add, and remove live video streams in Channels.
- Configuring Live Video Streams
- Uploading HLS Player Package
- Adding Live Streams
- Enabling Closed Captions or Subtitles
Prerequisites
- Appspace App-based devices. Click here for a list of compatible operating systems and devices.
- You must be one of the following users:
- Account Owner
- Account Administrator
- Portal Administrator
- Content Administrator
Configuring Live Video Streams
To configure live stream settings in Channels, follow the instructions below:
Navigate to the Appspace menu, and select Channels.
Click the Configuration tab, and click the Live Video Streams tab.

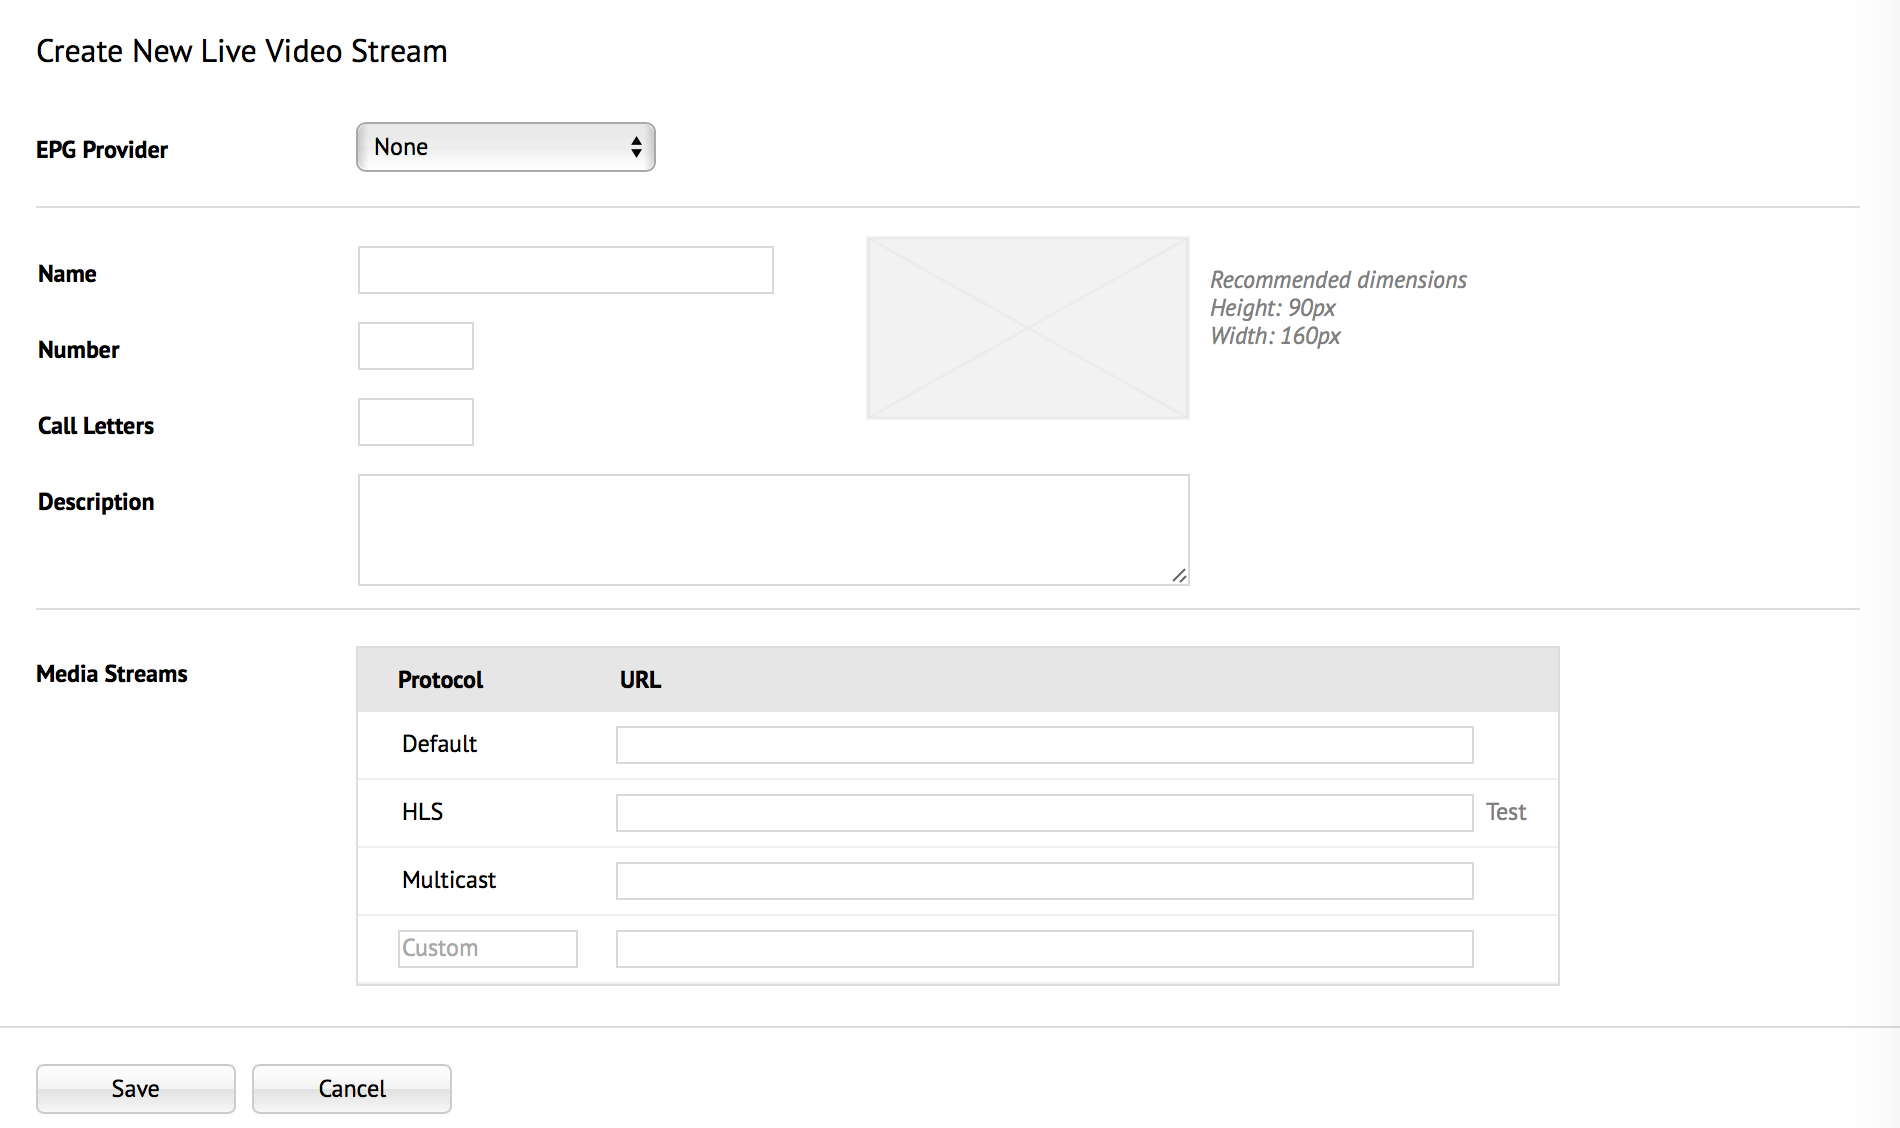
Click the Add button to add a new live video stream.

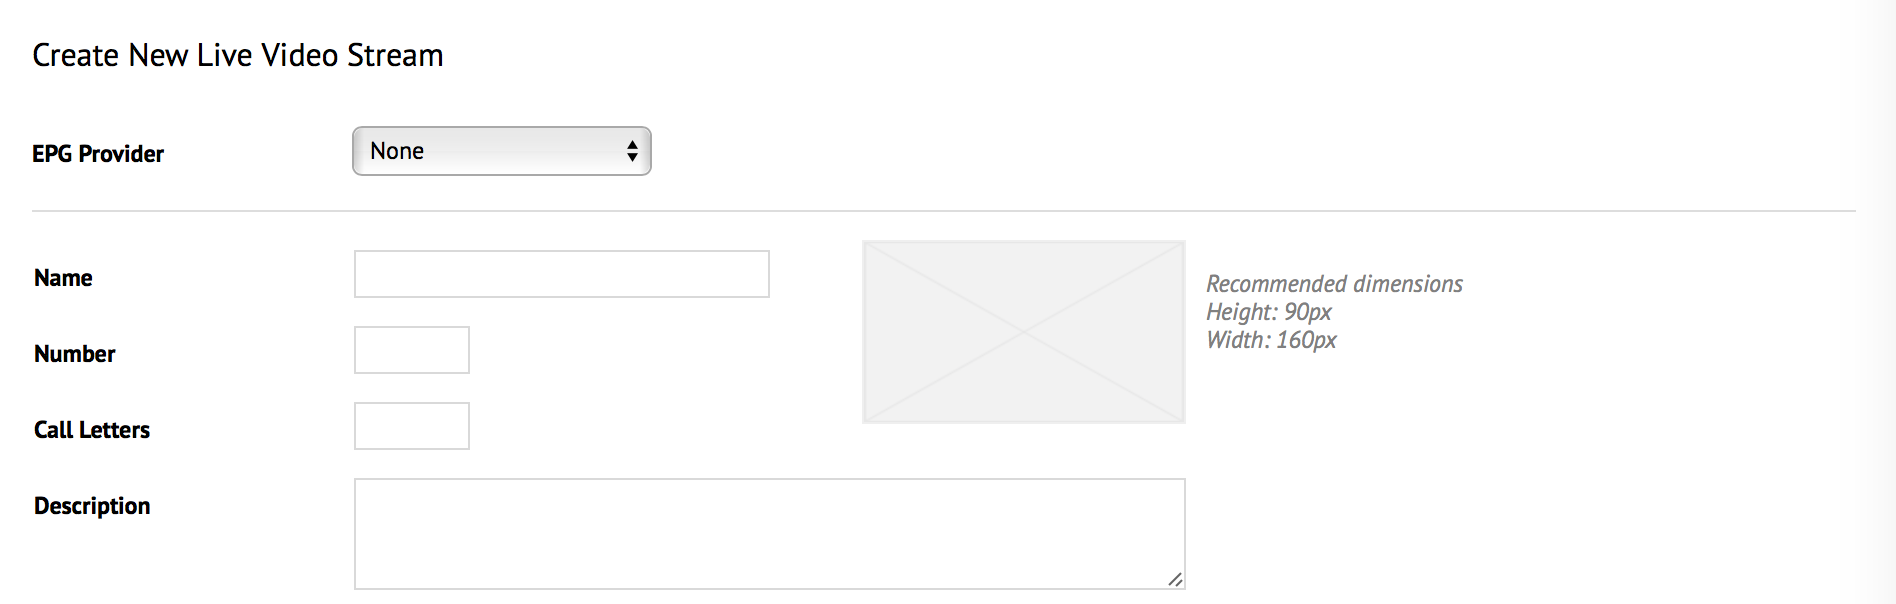
In the Create New Live Video Stream page, you may add a live video stream with or without an EPG Provider. Select one of the two options below.
Add Live Video Stream with EPG Provider
Note
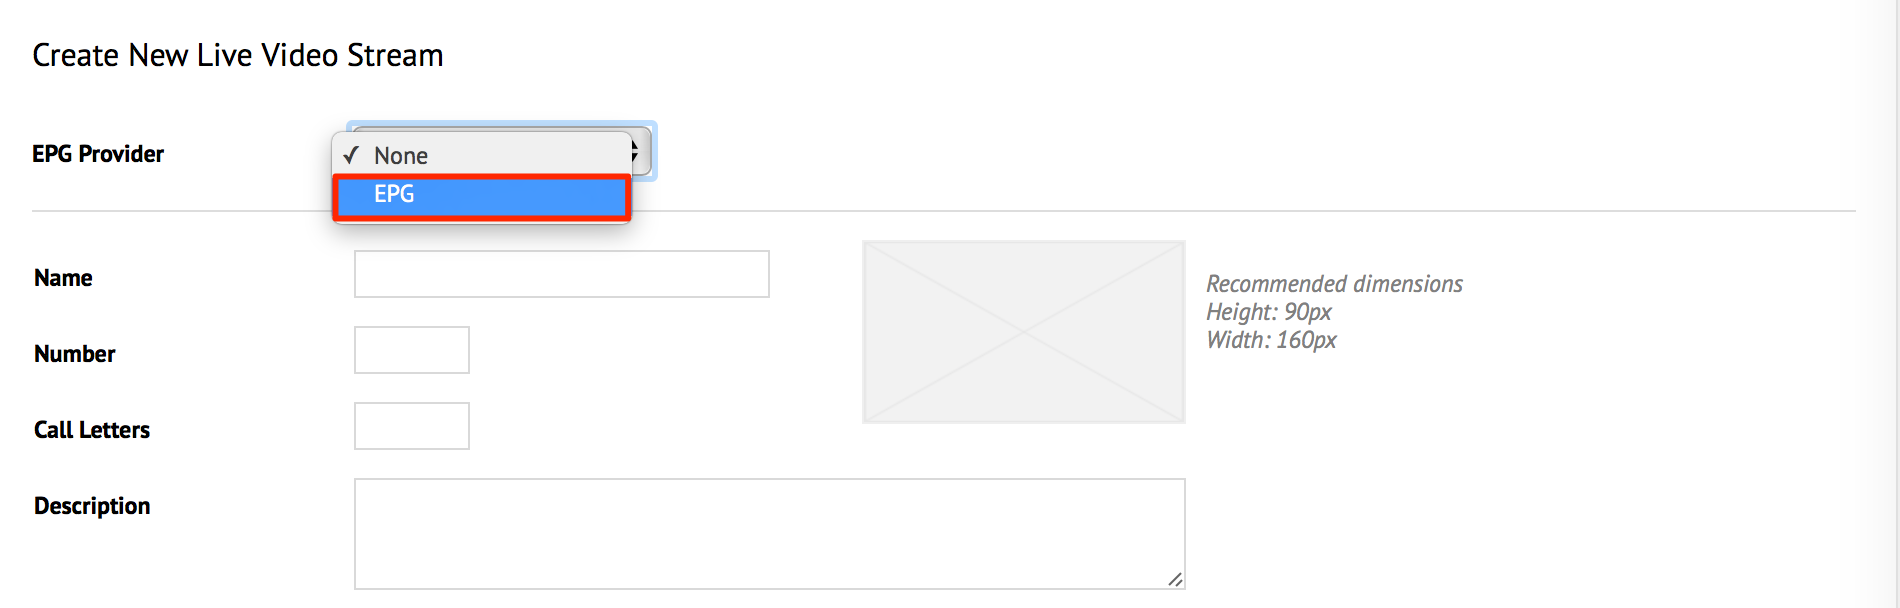
If you cannot find your required EPG Provider in the EPG Provider drop-down menu, first add an EPG Provider as per the Managing EPG Providers article and continue with the instructions below.
In the Create New Live Video Stream page, select an EPG Provider from the drop-down list.
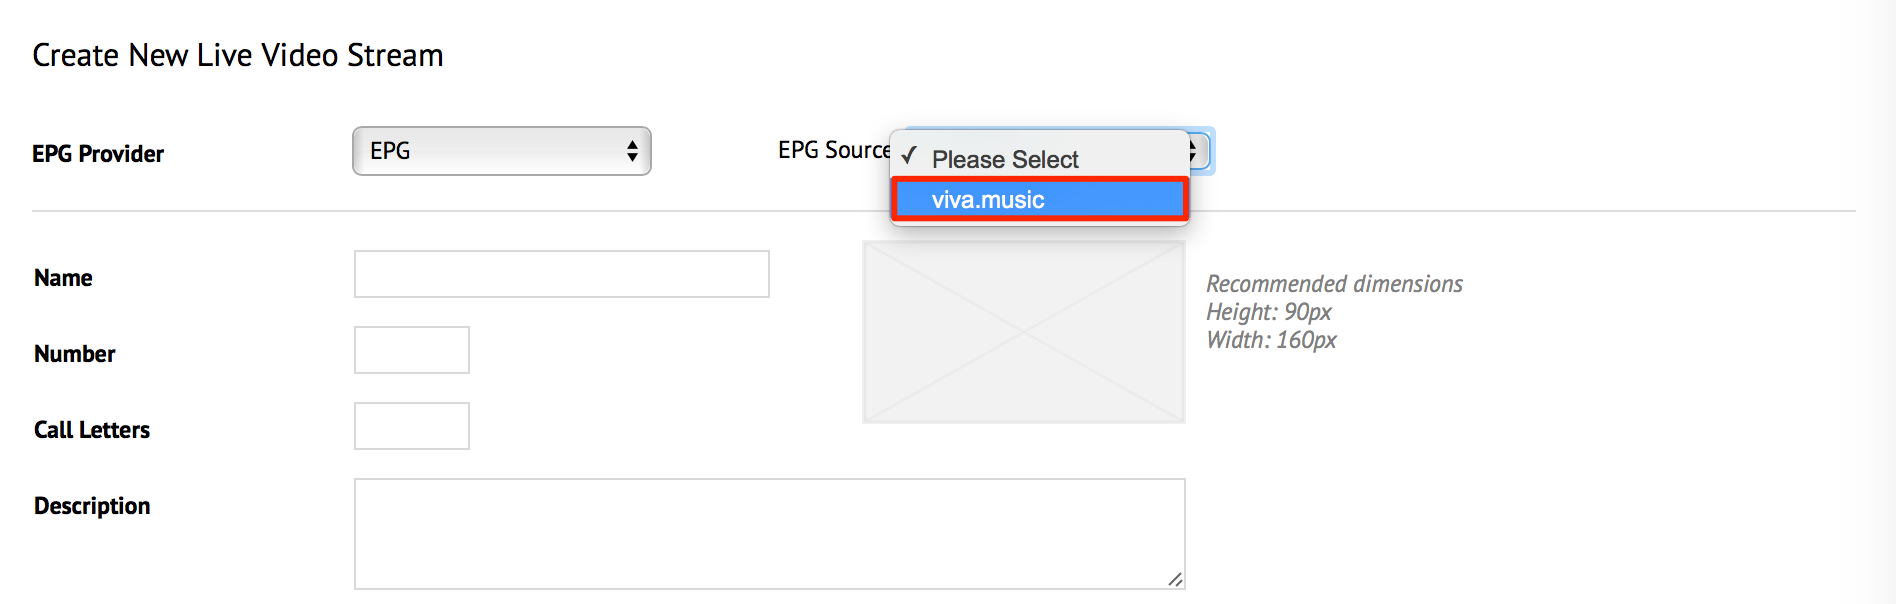
When an EPG Provider is selected, an EPG Source field is displayed. Select the EPG source from the drop-down list.
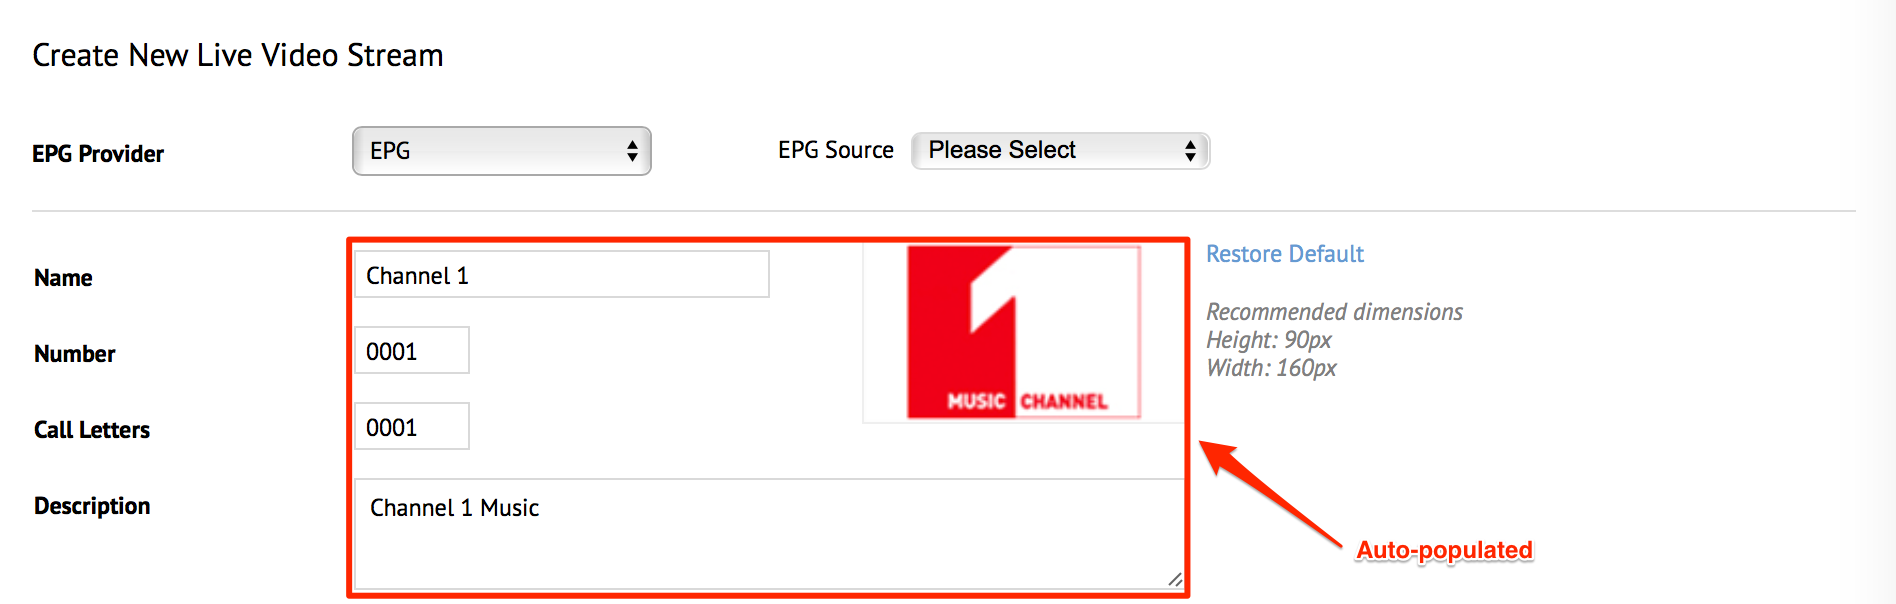
The live stream logo and some of the following details may be auto-populated depending on the EPG Provider’s XML settings, which you may change:
- Name – a unique name for the live stream.
- Number – a unique number for the live stream display number.
- Call Letters – an acronym or short abbreviation for the live stream’s display name; limited to 7 characters.
- Description – a brief description of the live stream.
If you would like to add or edit the logo, proceed to Step “c” in the ‘Add Live Stream without EPG Provider’ section below.
Proceed to step 5 below.
Add Live Stream without EPG Provider
Fill in details such as Name, Number, Call Letters and Description as per the guidelines below:
- Name – a unique name for the live stream.
- Number – a unique number for the live stream display number.
- Call Letters – an acronym or short abbreviation for the live stream’s display name; limited to 7 characters.
- Description – a brief description of the live stream.
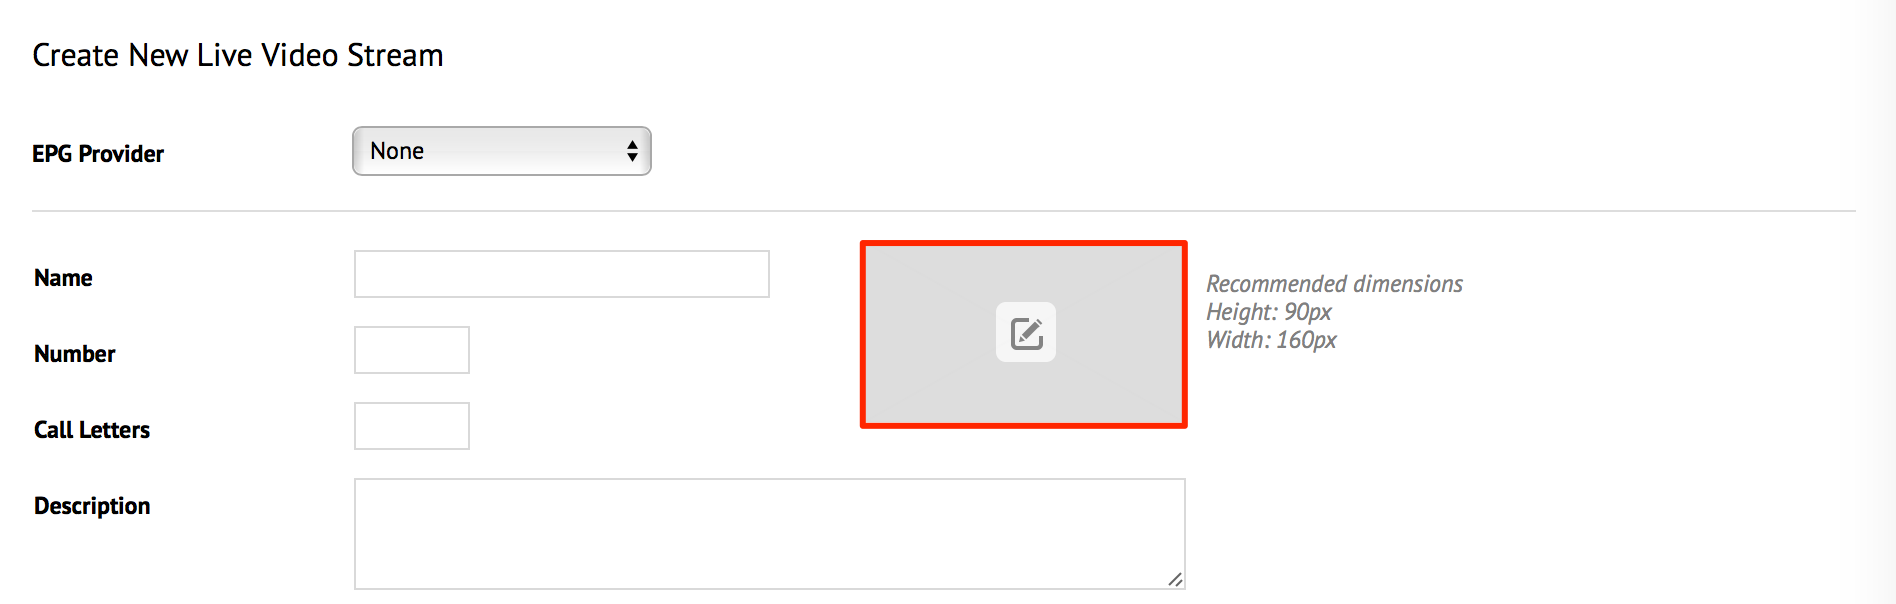
Click the image icon to add an image for the logo.
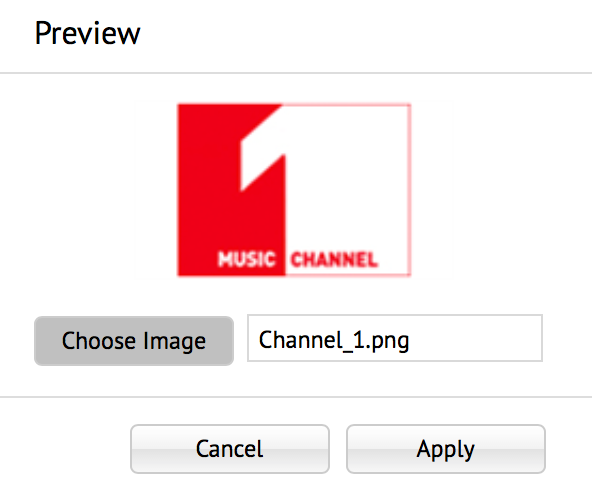
In the Preview window, click the Choose Image button to browse and select an image from the Appspace Library.
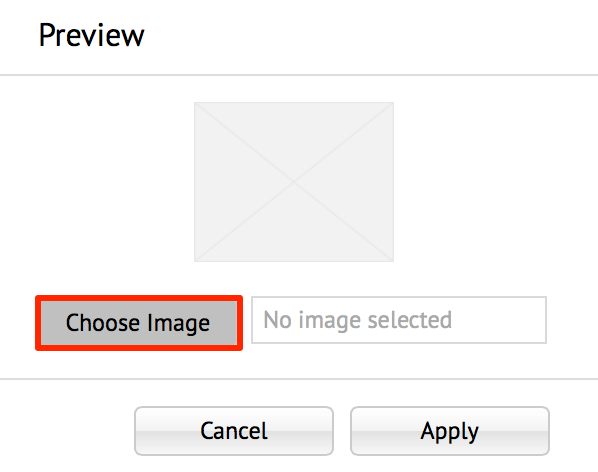
In the Add Media window, select an image, and click Apply.
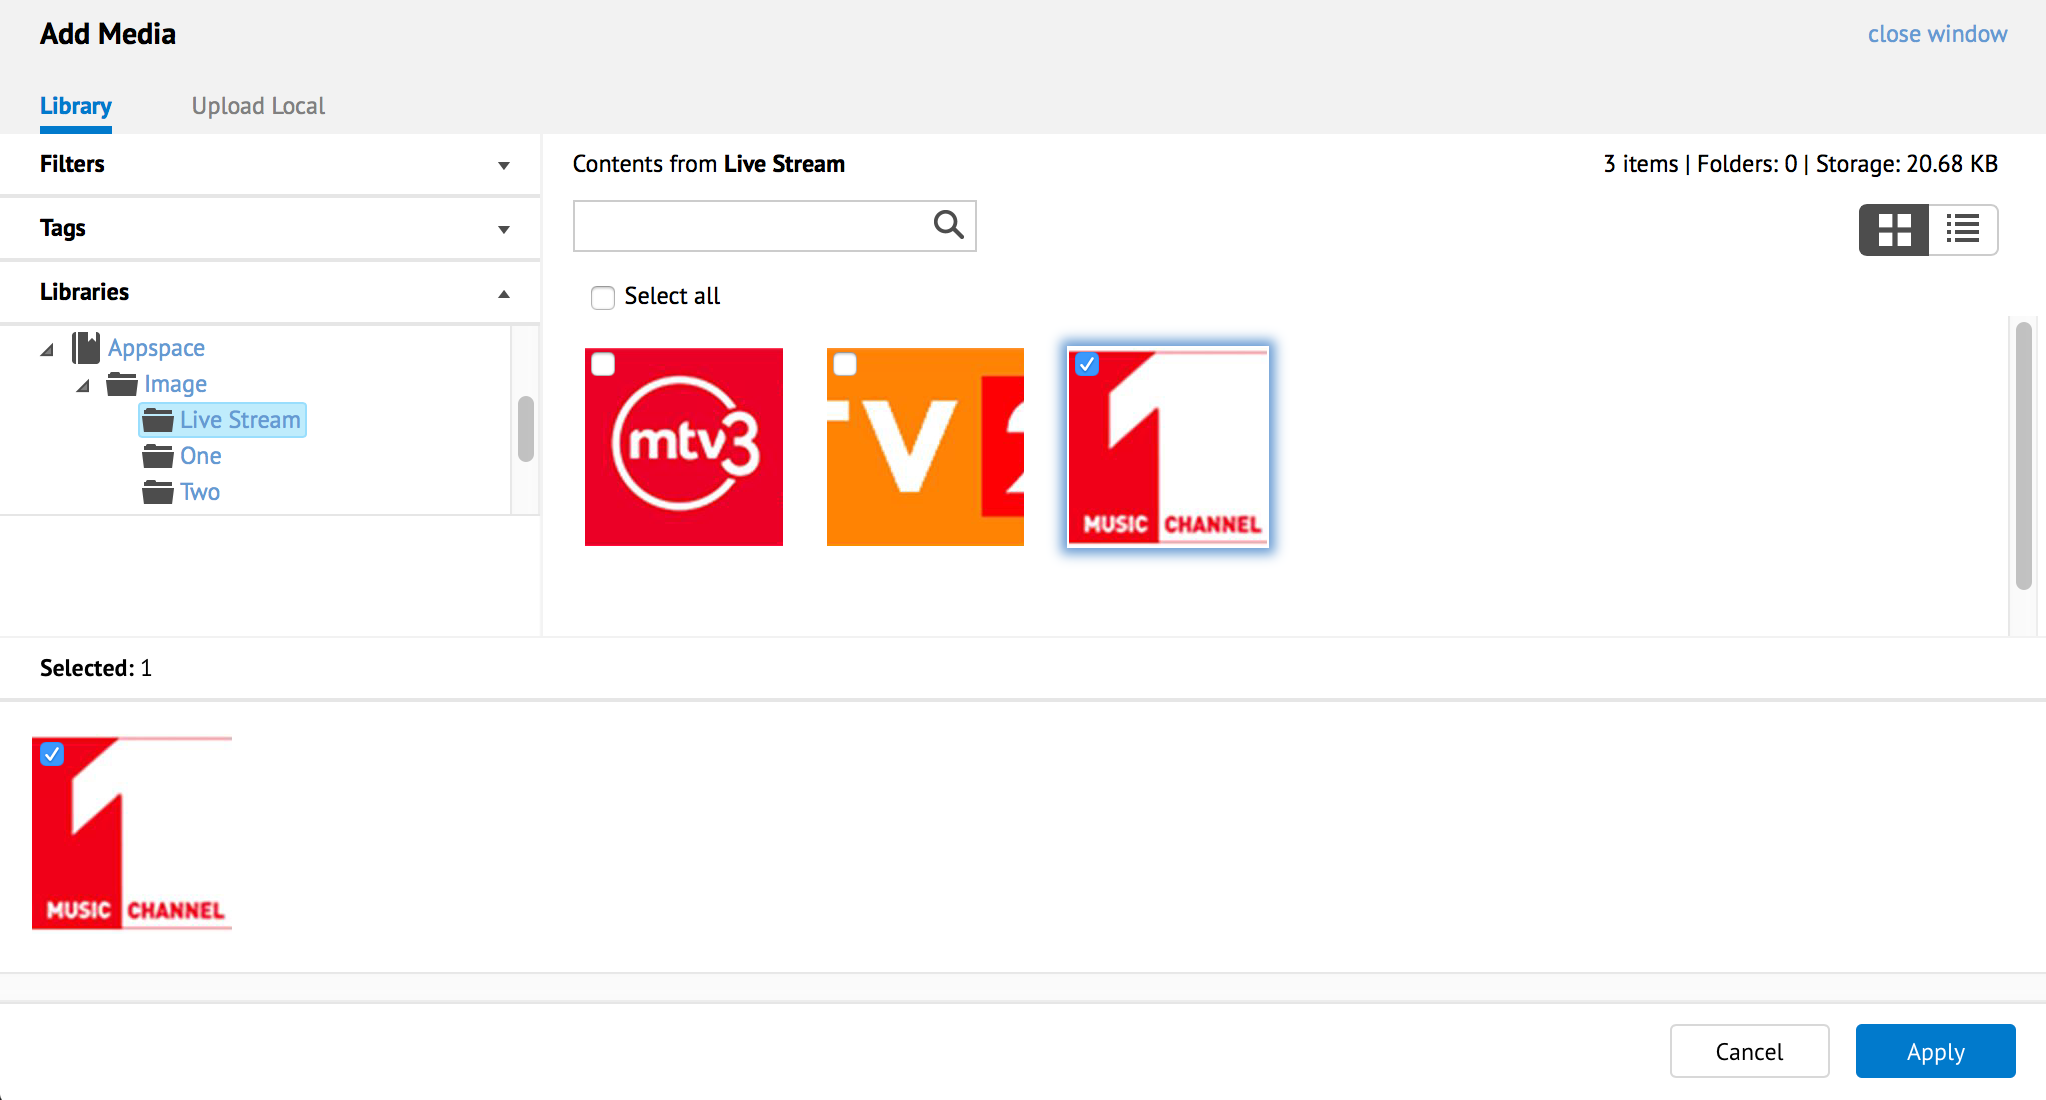
In the Preview window, preview the selected image, and click Apply.
- Proceed to step 5 below.
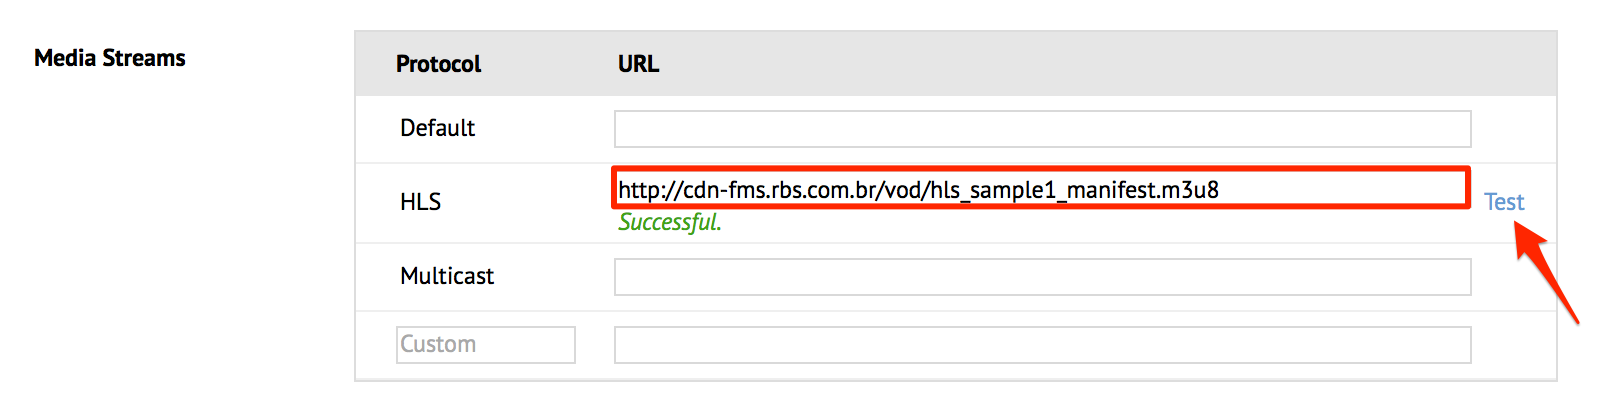
Input the media stream link to the source of the content for your device. HLS media stream links can be tested for validity by clicking the Test link.
Note
For LG webOS devices, append ?LGMediaType=mp4’ at the end of the media stream. Example: udp://239.0.0.251:1234?LGMediaType=mp4
By default, Appspace App uses Flash based players for HLS playback on most browsers. If you do not wish to use Flash, please refer to the Uploading HLS Player Package section below to learn how to switch back to HTML based playback.
Review the details and click Save.
Proceed to the Adding Live Streams section below.
Uploading HLS Player Package
By default, Play uses Flash based HLS player packages bundled with Appspace for web content playback. If you wish to use a HTML based HLS package, please use any commercially available HLS player packages. You may download the player package in .zip format from your vendor, and then upload it into Appspace Play.
To upload a HTML based HLS player package, please follow the instructions below:
Click the Configuration tab, and select the Settings tab.
Click ‘Upload package’.

In the Upload HLS Player Package window, click the browse button to select the HTML based HLS player package downloaded from a vendor of your choice, and click Upload.

The “File has been uploaded successfully.” message is displayed with the package filename. Click Save.

Adding Live Streams
To add a live stream configured earlier to your channel, follow the instructions below:
Click the Channel Groups tab, and select a desired channel group.
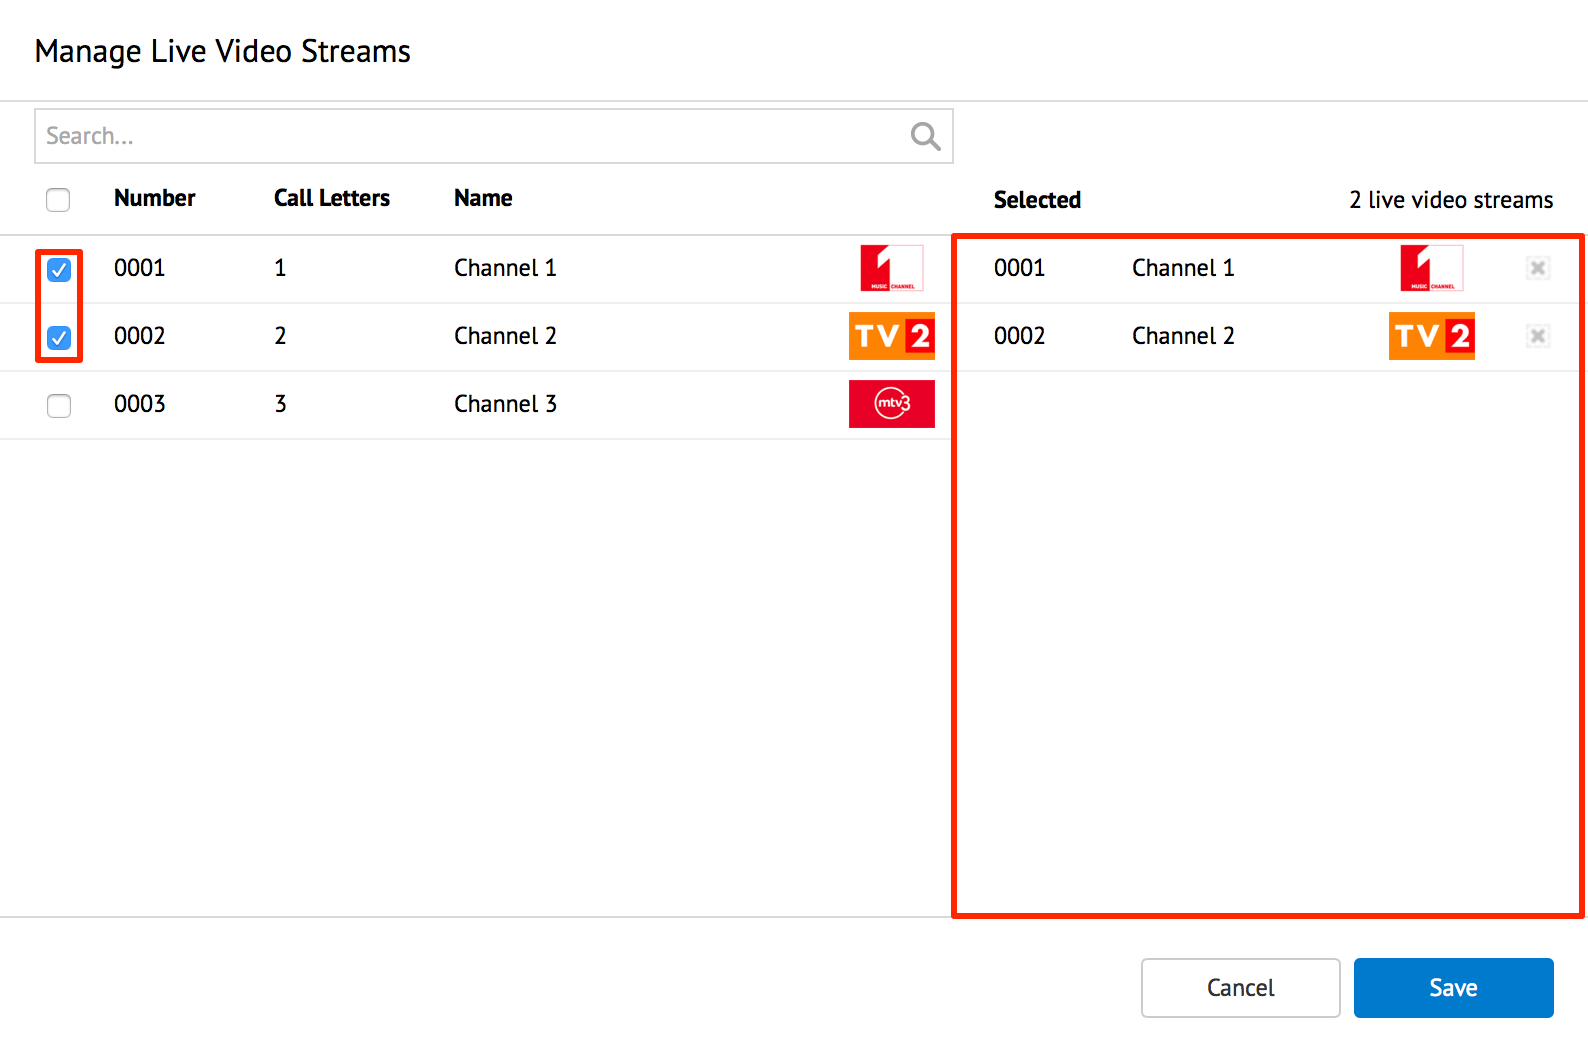
In the Live Video Streams section, click the Manage link.

Select the desired live streams from the list. Confirm the selected live streams displayed in the right pane, and click Save.
Note
To remove selected live-streams, click the remove icon beside the content in the right pane. Also, to quickly search for a desired content, use the Search bar.
Enabling Closed Captions or Subtitles
To enable or disable closed captioning or subtitles on live video streams or video content, add the following player property to your device, in Networks.
| Device Property | Value | Description |
|---|---|---|
| custom.media.video.cc | True | Enable Closed Captions / Subtitles |
| False | Disable Closed Captions / Subtitles |
For instructions to add player properties, please refer to the Adding New Player Properties section.
Important
The closed captioning feature is currently only available for BrightSign devices.