Registering the Appspace Windows PC client (DirectX)
This article provides instructions to configure and register an Appspace Windows PC Client (Appspace Media Player).
- Setup the Appspace Windows PC Client
- Register the Appspace Windows PC Client
- Uninstall the Appspace Windows PC Client
Client System Requirements
The table below lists the system requirements of the PC that will be setup as an Appspace Windows PC Client.
| Hardware | CPU | Intel i5 2.3 GHz processor (or AMD equivalent) |
| RAM | 4GB DDR3 memory | |
| GPU | Nvidia GeForce GTX960 with 2GB GDDR5 memory (or AMD equivalent) | |
| HDD | 500GB, 7200 RPM | |
| Software | OS | Windows 7, 8.1 or 10 |
| .NET Framework 4.5 | ||
| DirectX APIs |
Prerequisites
The PC must meet the minimum hardware and technical specifications for the intended application use.
The Appspace Cloud account must have sufficient Appspace IDs to register the device.
The user must have Local Administrator rights on the PC player. It is recommended that the installation be conducted on a stand-alone networked PC instead of a PC connected to a domain.
Ensure that any anti-virus software or firewalls are configured to allow the Nexus player executable and software agent to access the network.
Ensure that the following network port requirements are met:
Protocol (Port) Description HTTP (80) Communications with Appspace server HTTPS (443) Communications with Appspace server HTTP (681) Remote network commands (nexus_player.exe) HTTP (682) Remote network commands (nexus_player.exe / cdnagent.exe)
Setup the Appspace Windows PC Client
Follow the instructions below to setup the Appspace Windows PC Client:
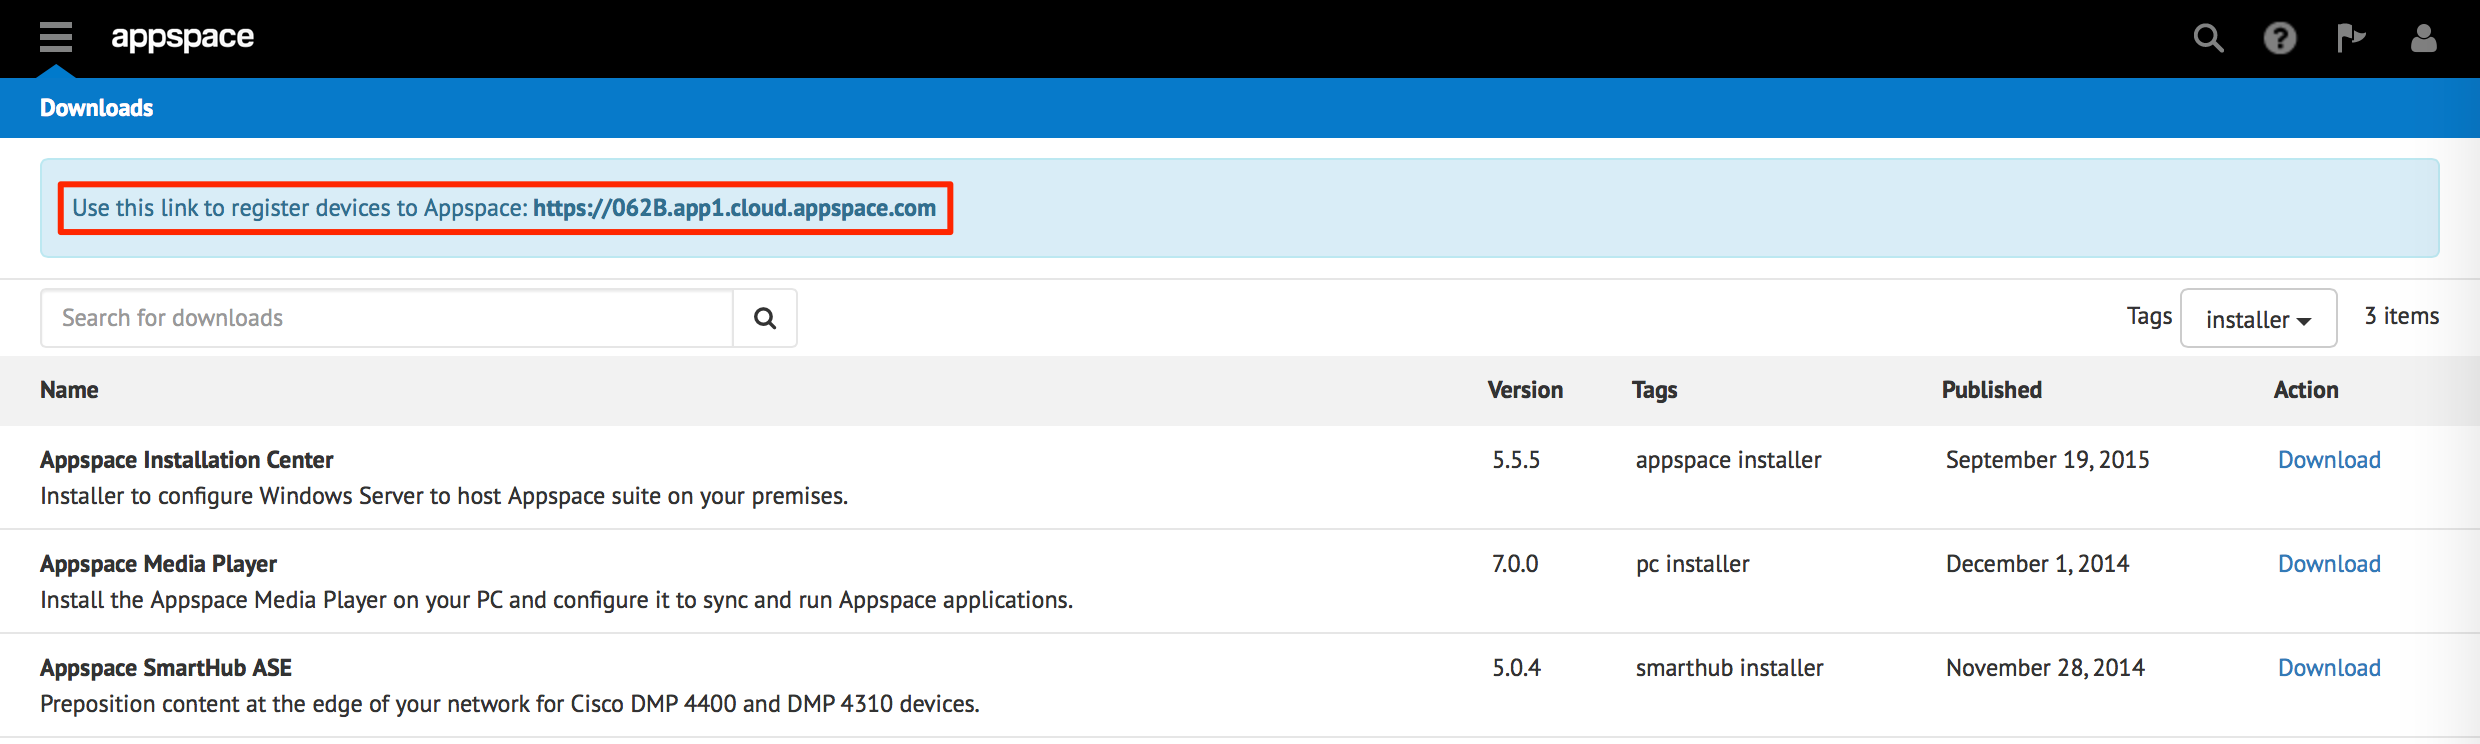
Login to your Appspace Cloud account, and navigate to Downloads.
Locate the ‘Appspace Installer for Windows (DirectX)’, and click the Download link.
Right-click the ‘AppspacePlayer’ installer file, and select ‘Run as administrator’ to install the Appspace Player.
Click Next to begin installation.

Once the installation is complete, the Appspace Media Player shortcut appears on the desktop.
Register the Appspace Windows PC Client
Follow the instructions below to register the Appspace Windows PC Client :
Launch the Appspace Windows PC Client by double-clicking the shortcut on the desktop.
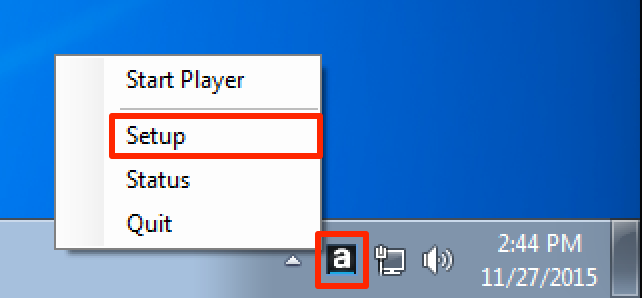
Right-click the Appspace Media Player icon in the Windows taskbar, and select Setup.
In the IP Address field, input your Appspace Cloud account device registration link, or your Appspace on-premise server URL. Input your Appspace Administrator credentials, and click Next to proceed.
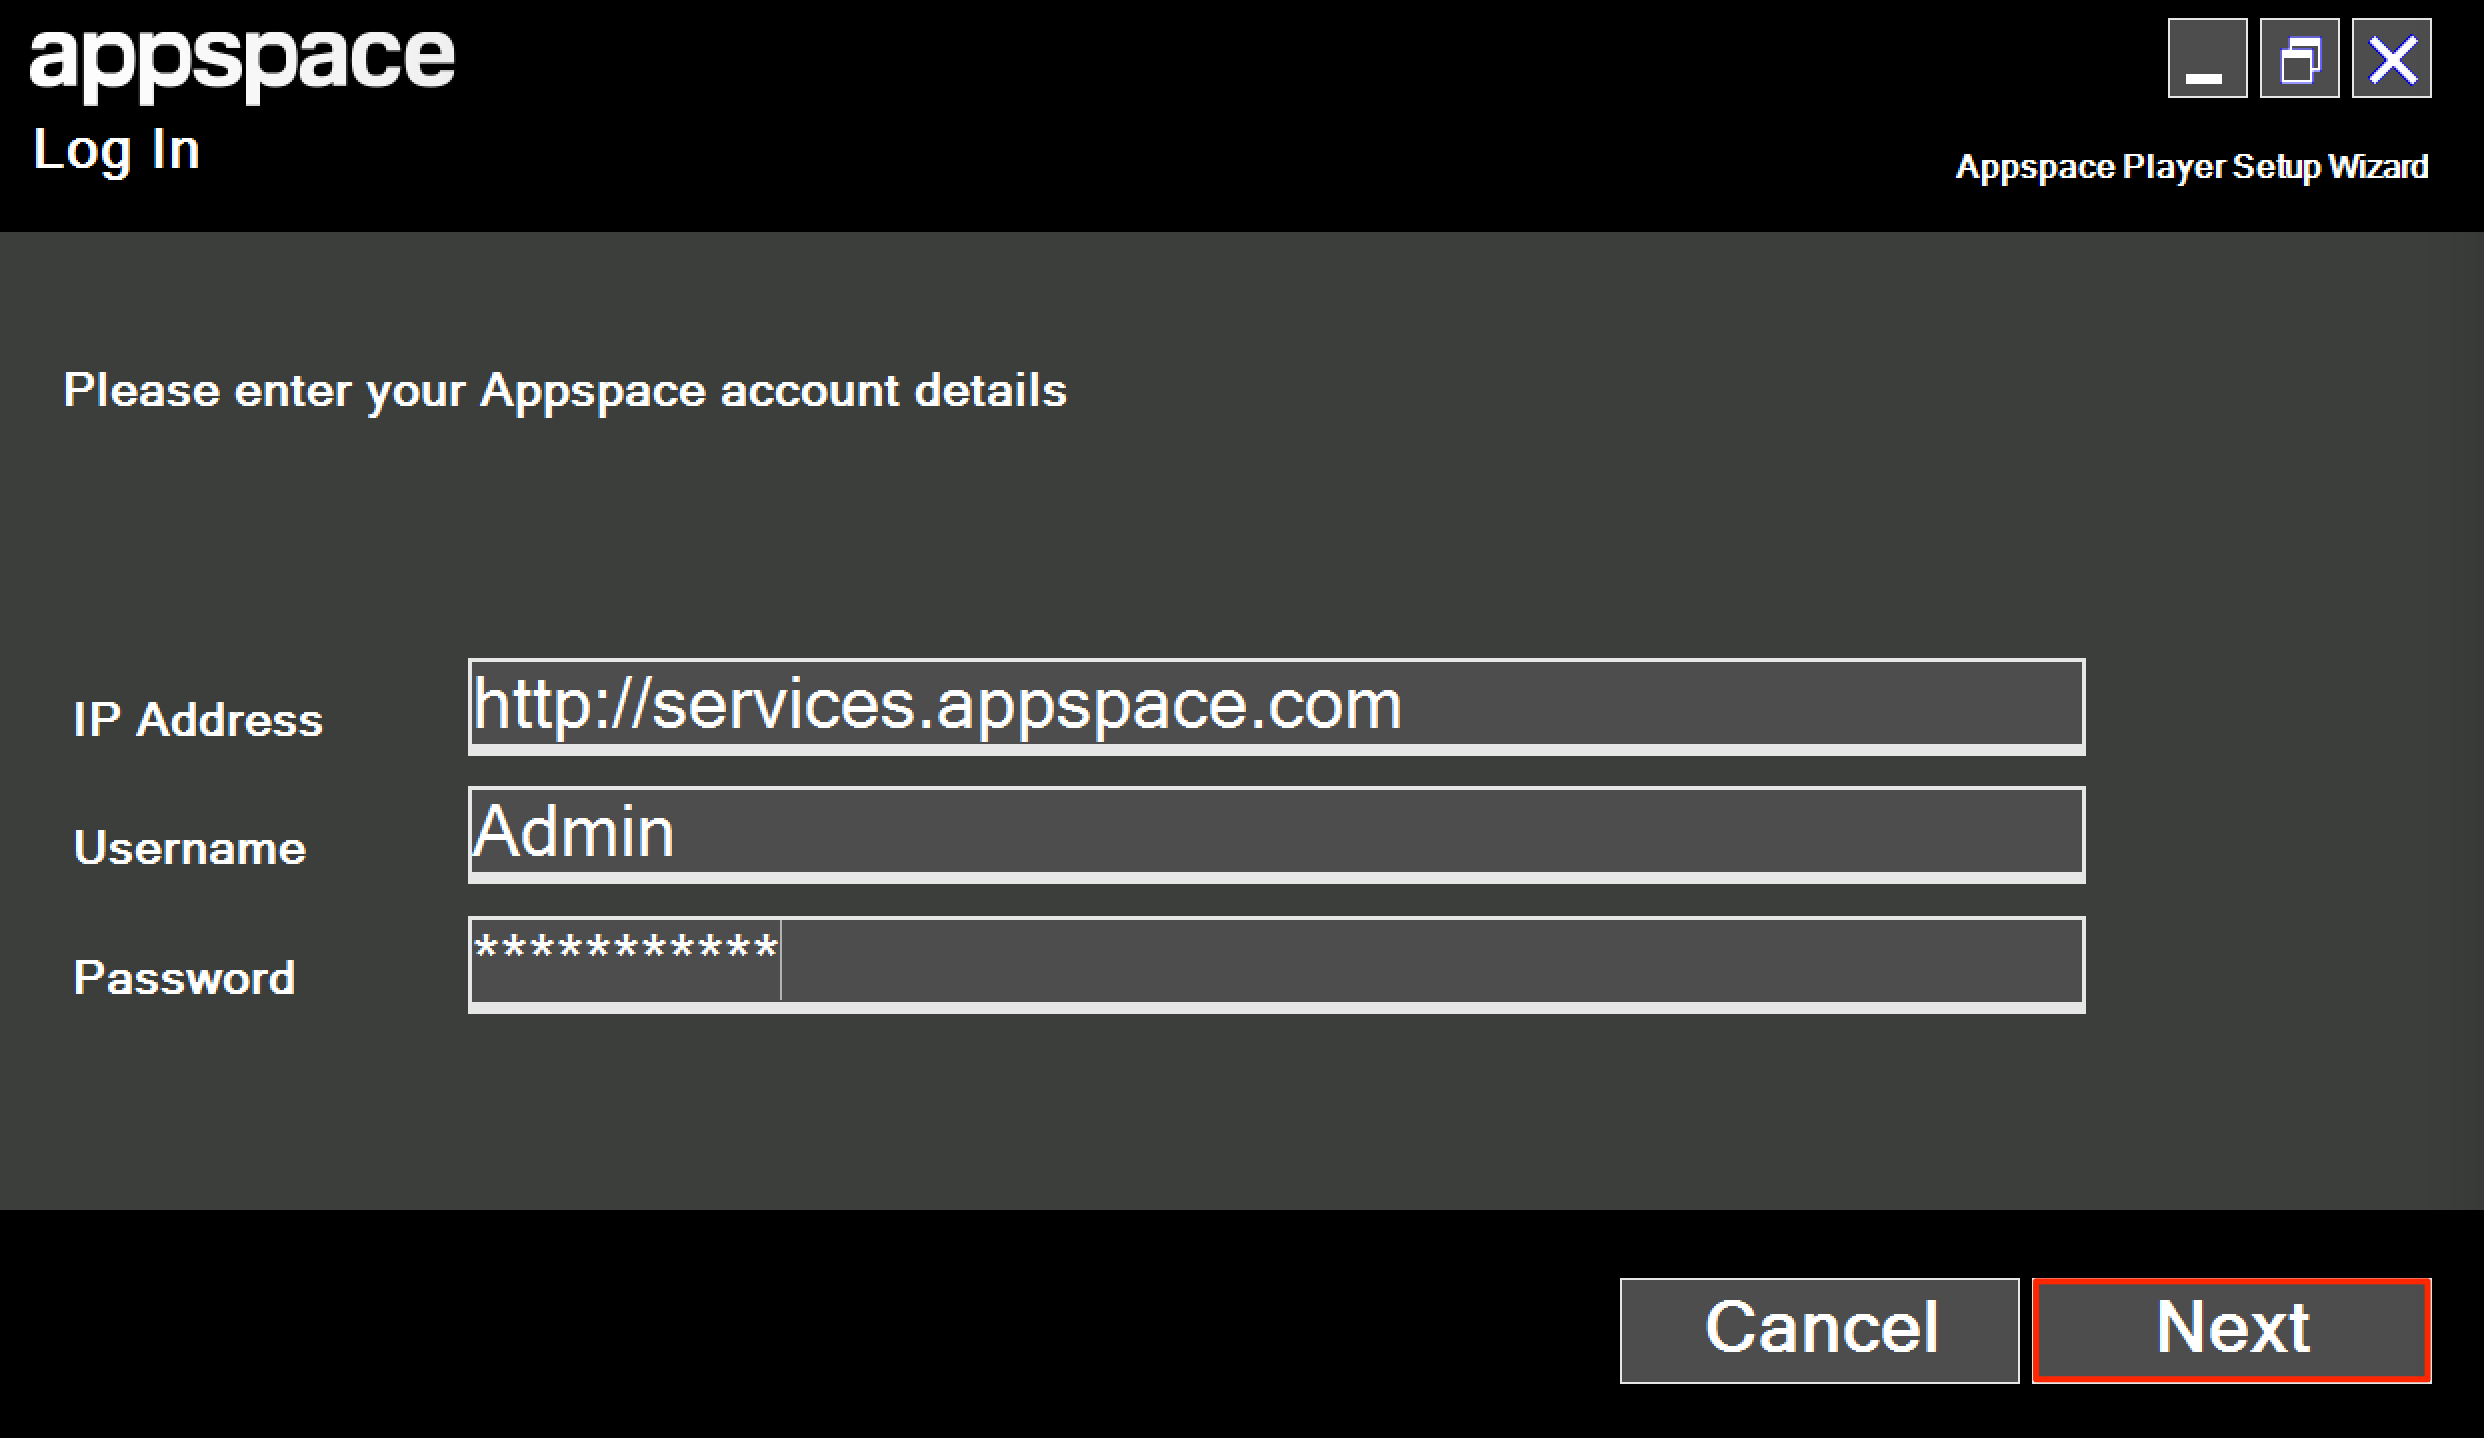
Note
If SSL is used, use https:// in the URL.
The Appspace Cloud device registration link is located in Downloads.
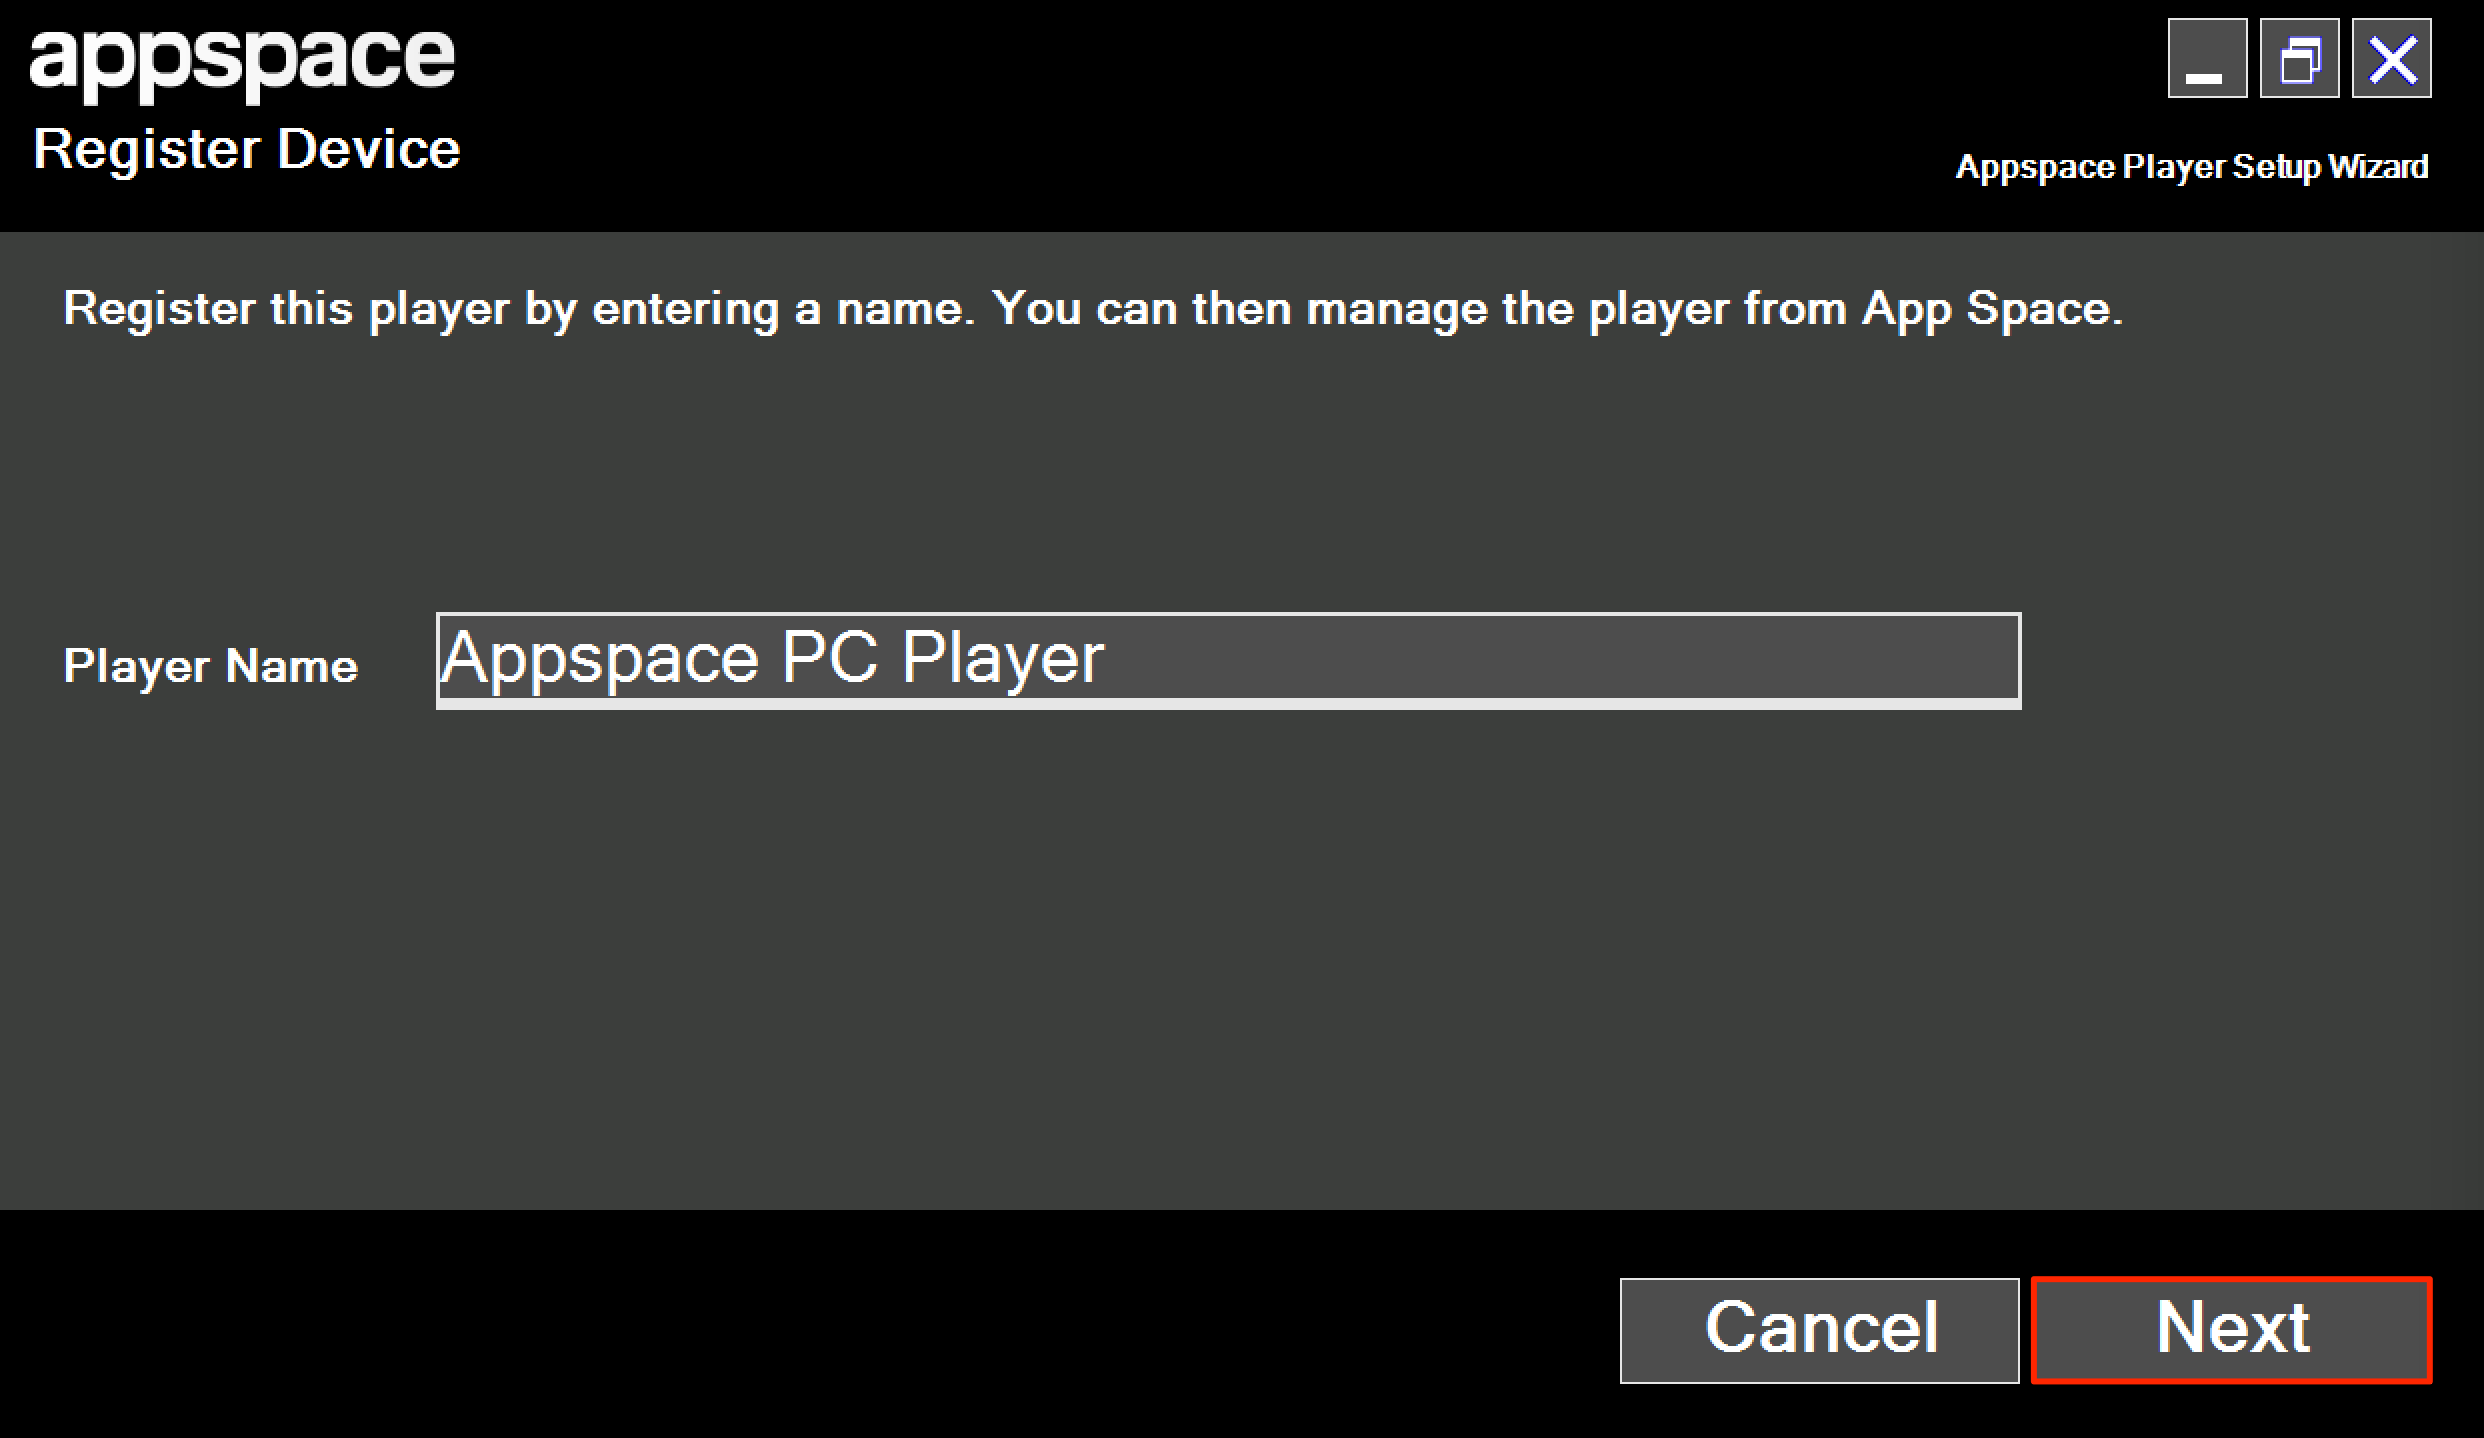
In the Player Name field, input a name to identify the PC player. Click Next to proceed.
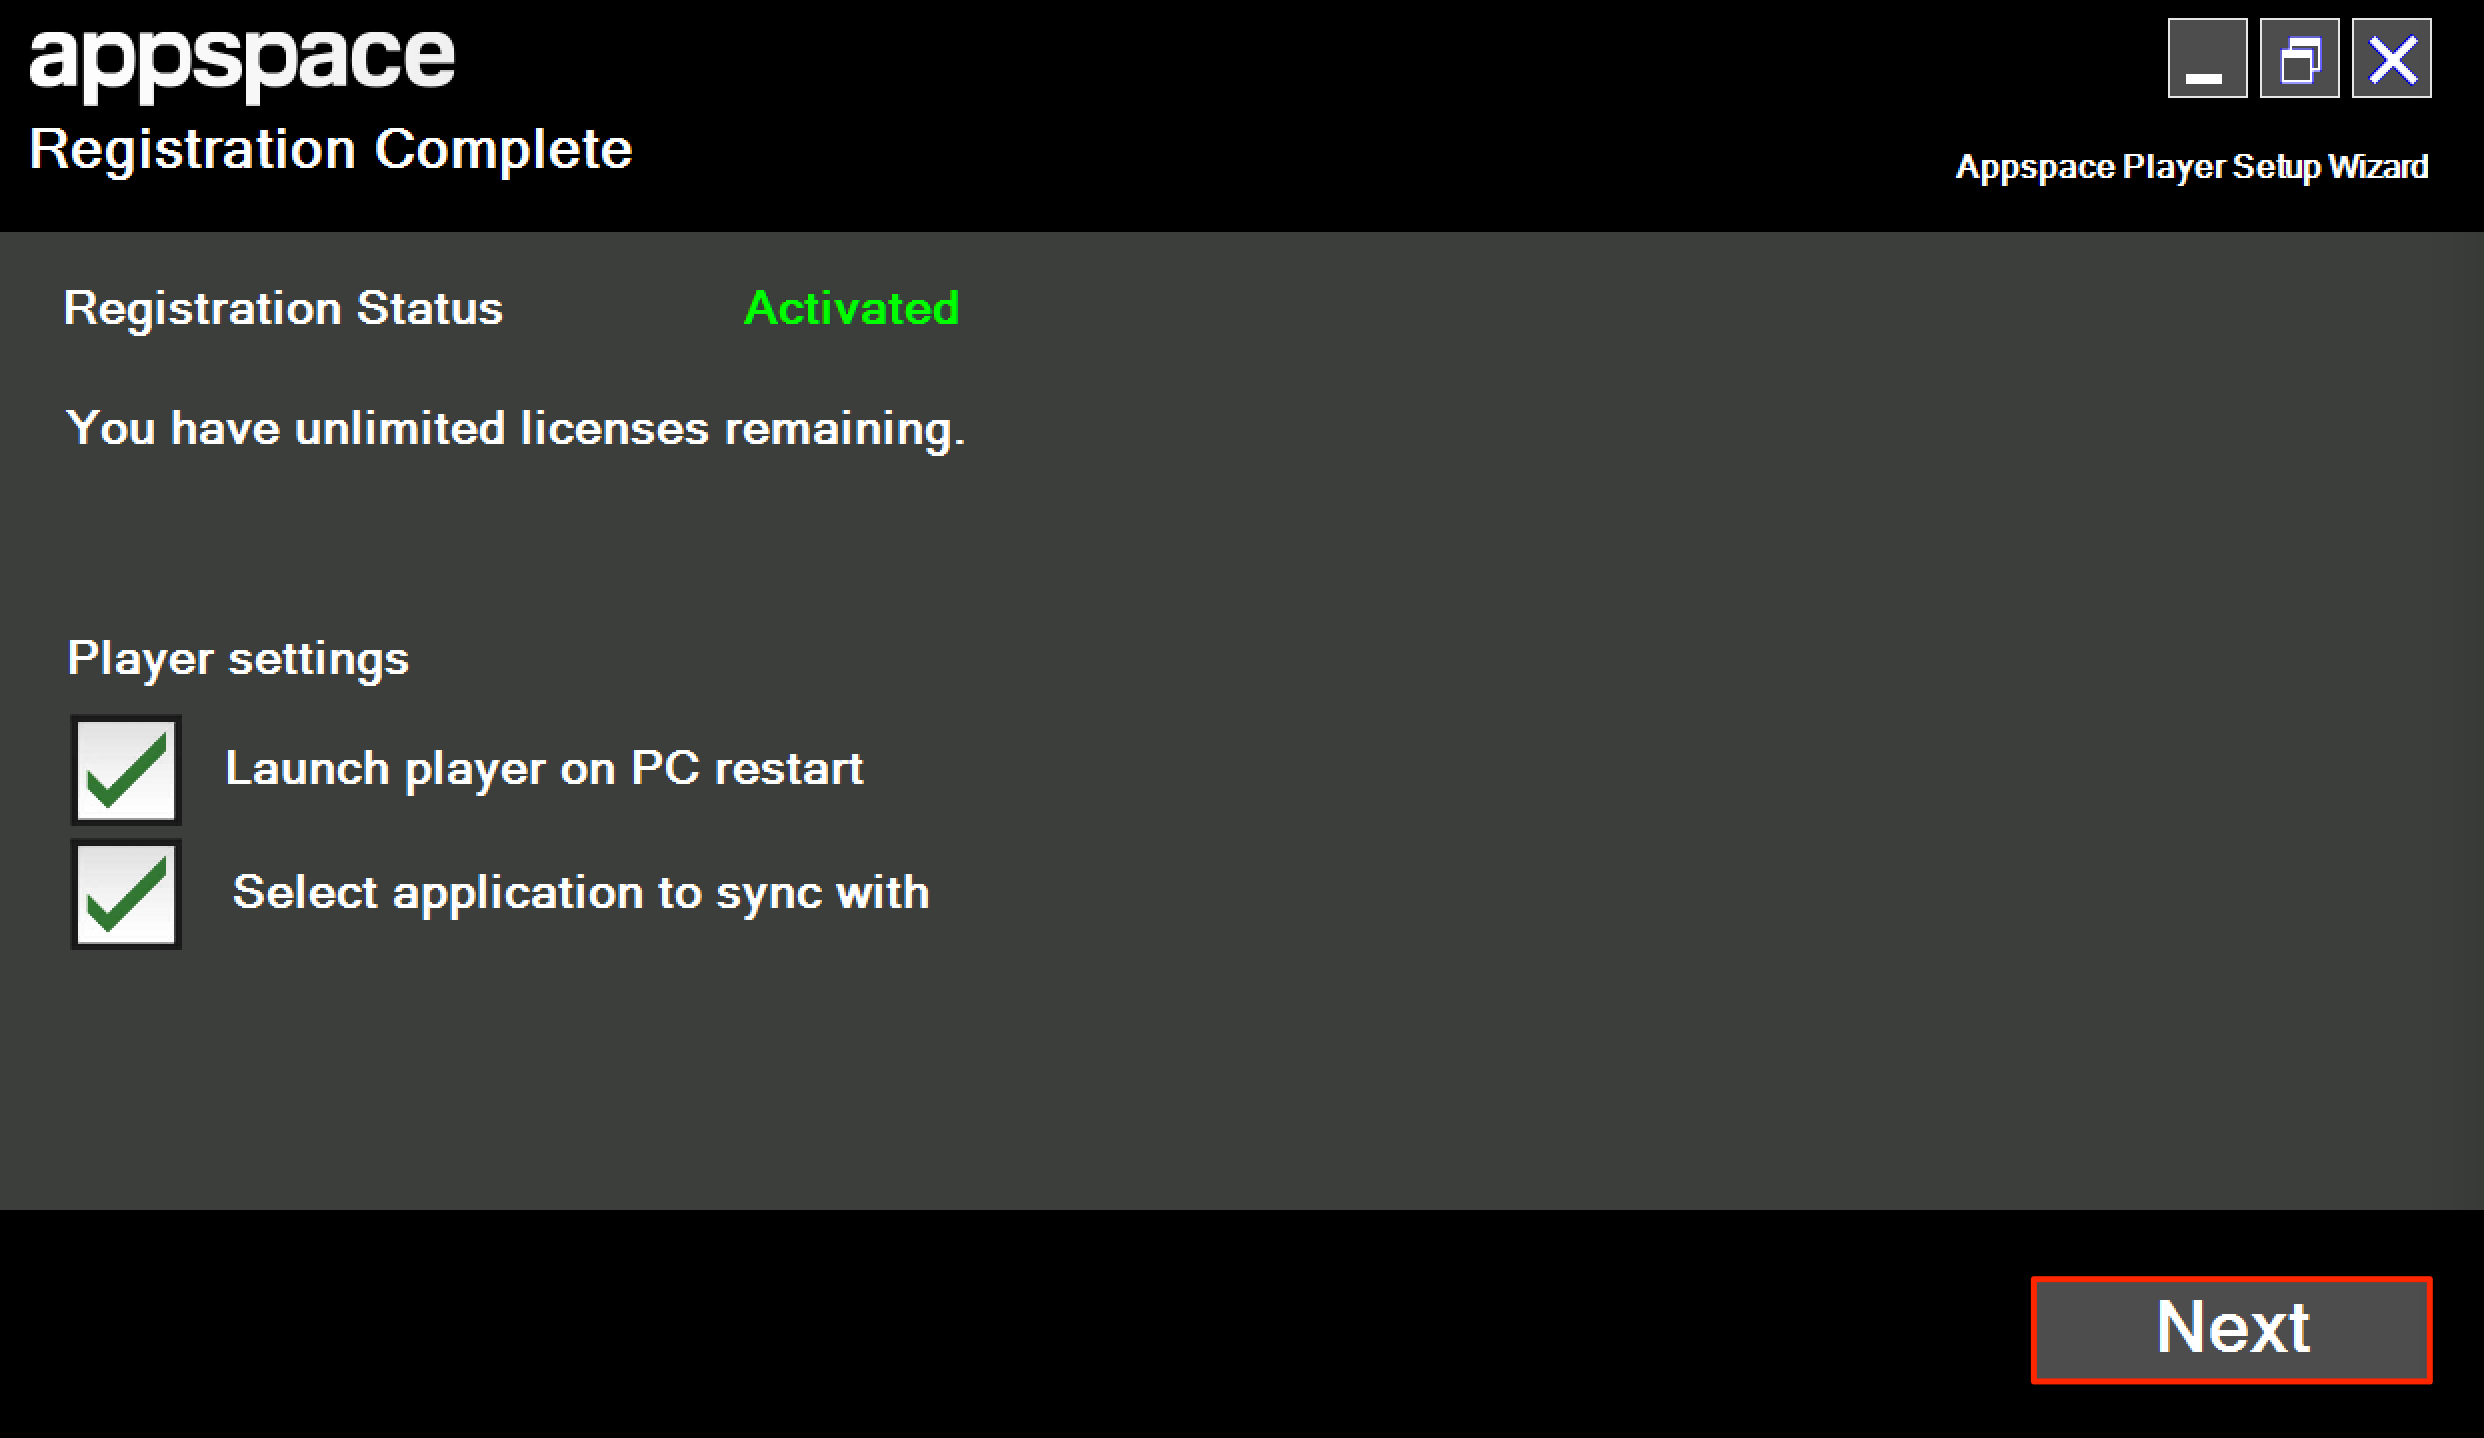
If the PC player is ready to be deployed into a production environment, check the ‘Launch player on PC restart’ checkbox. This ensures the application is always launched or started even after a system reboot. Check the ‘Select application to sync with’ checkbox, and click Next to proceed.
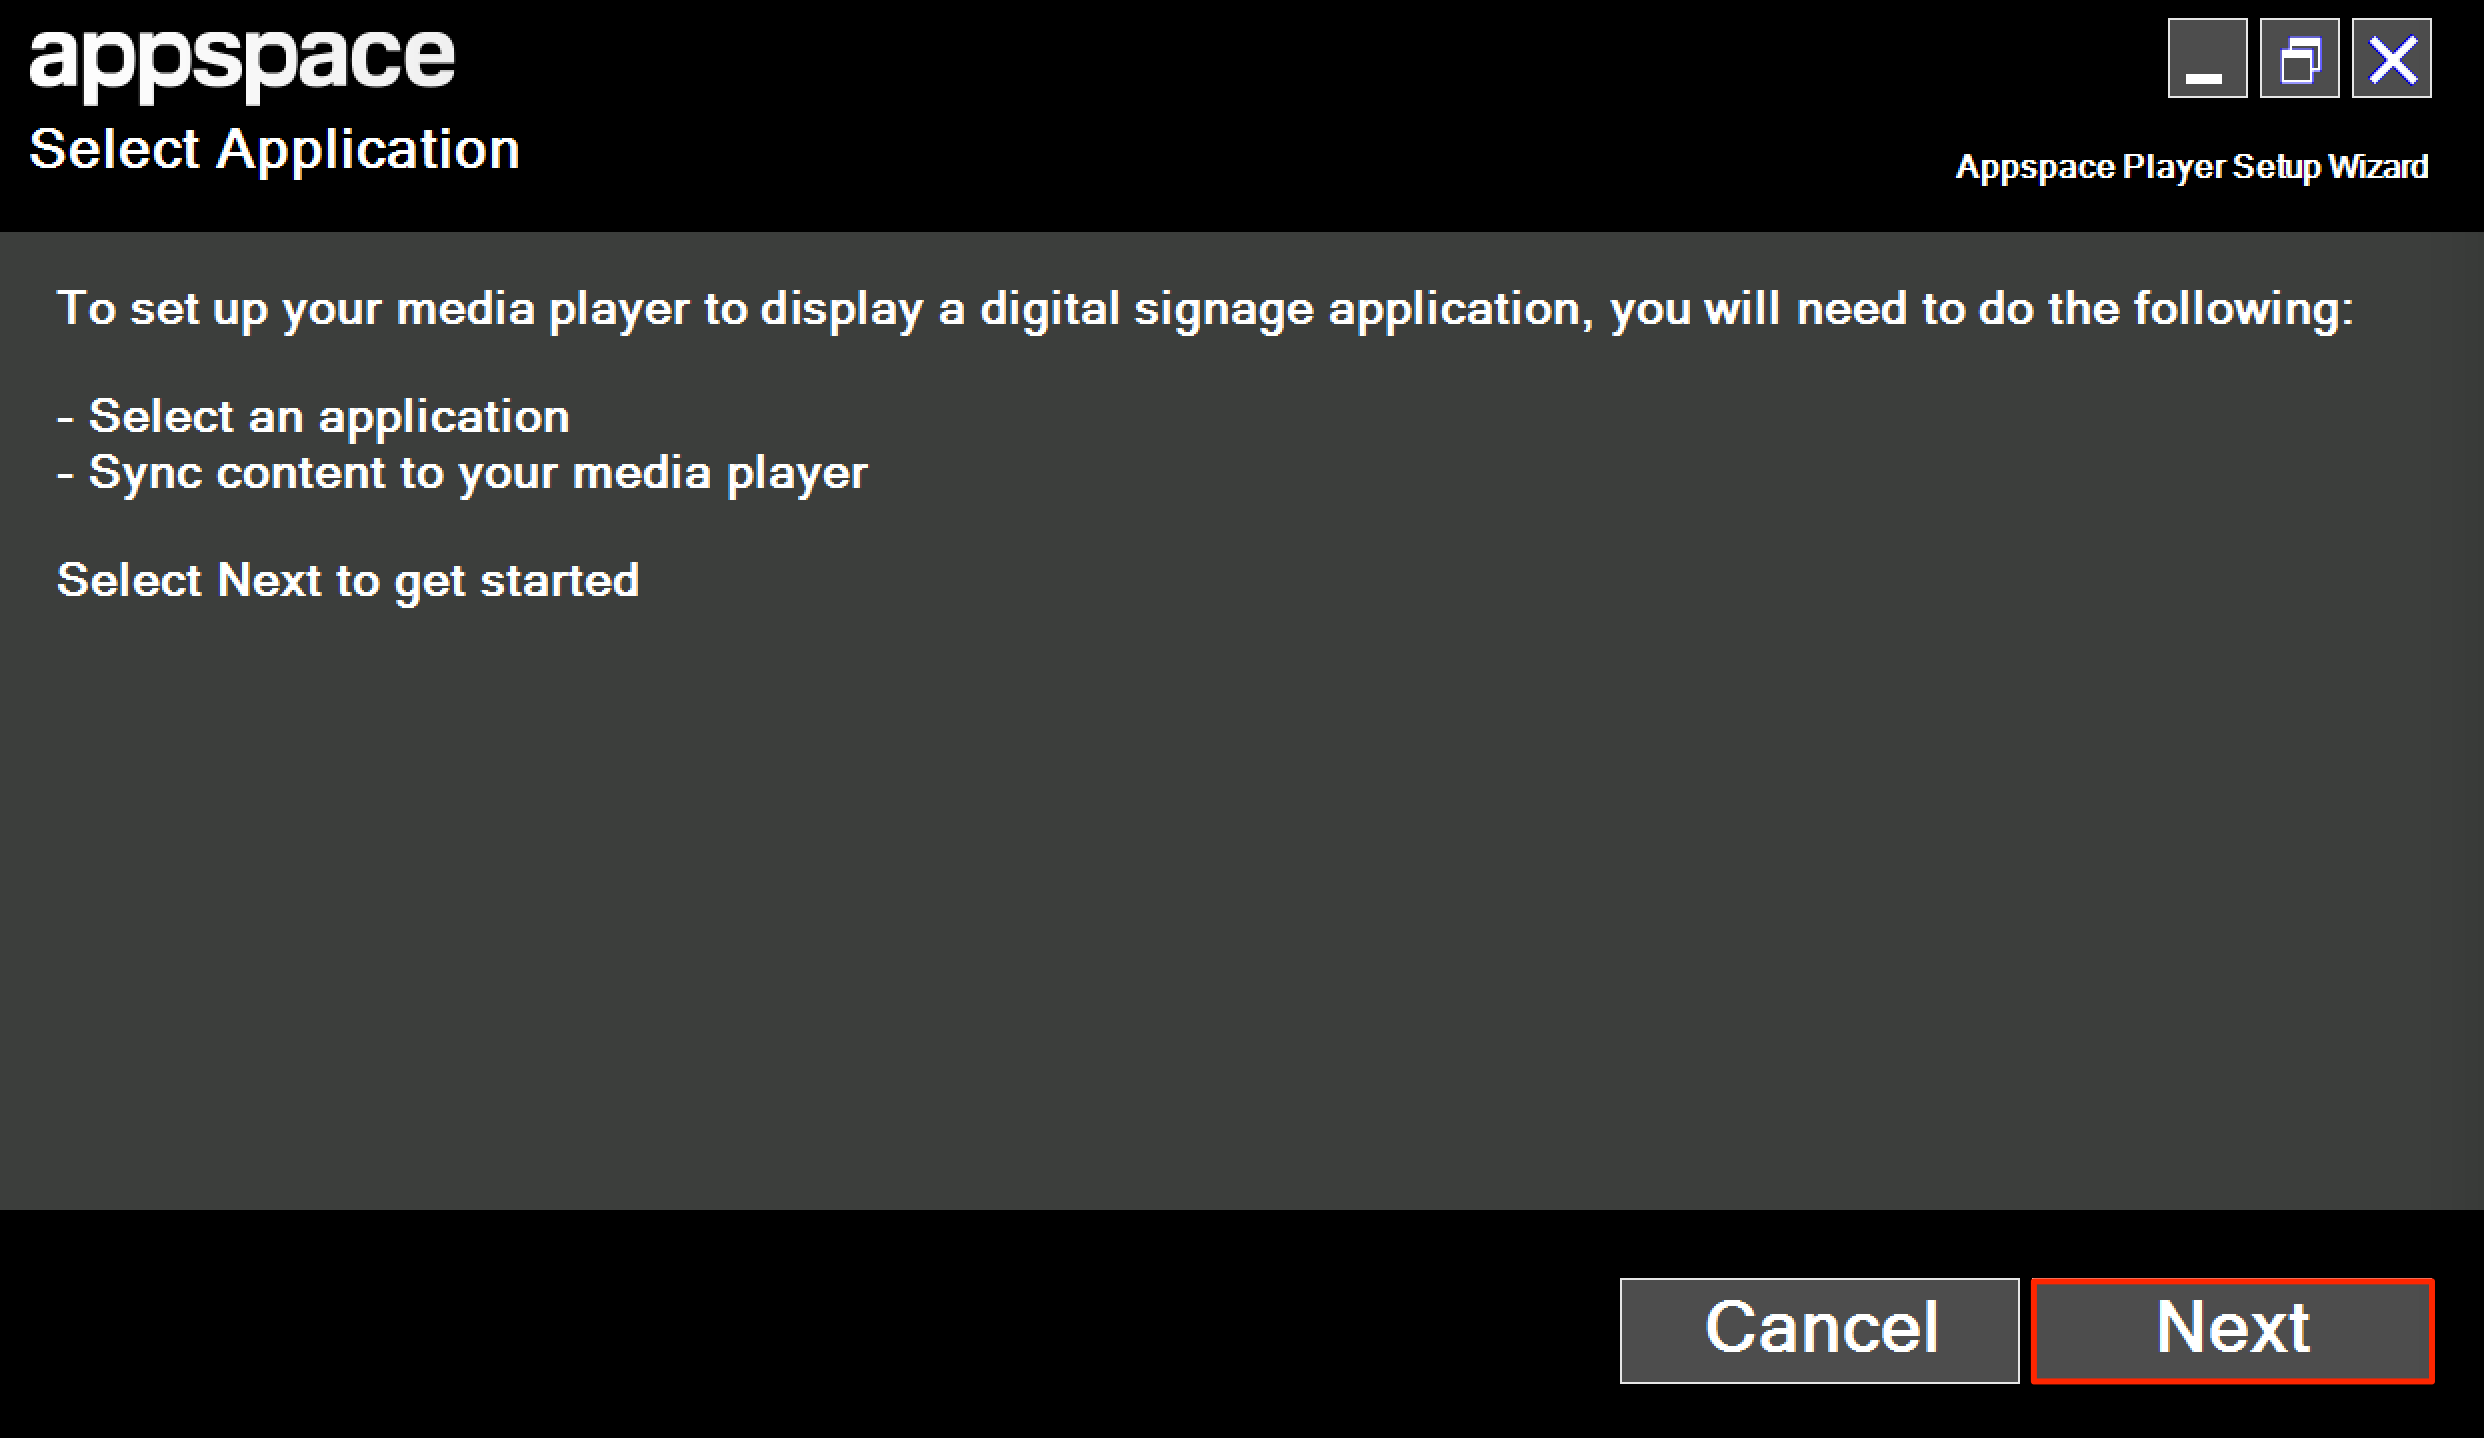
Click Next on the Select Application page to start the configuration process.
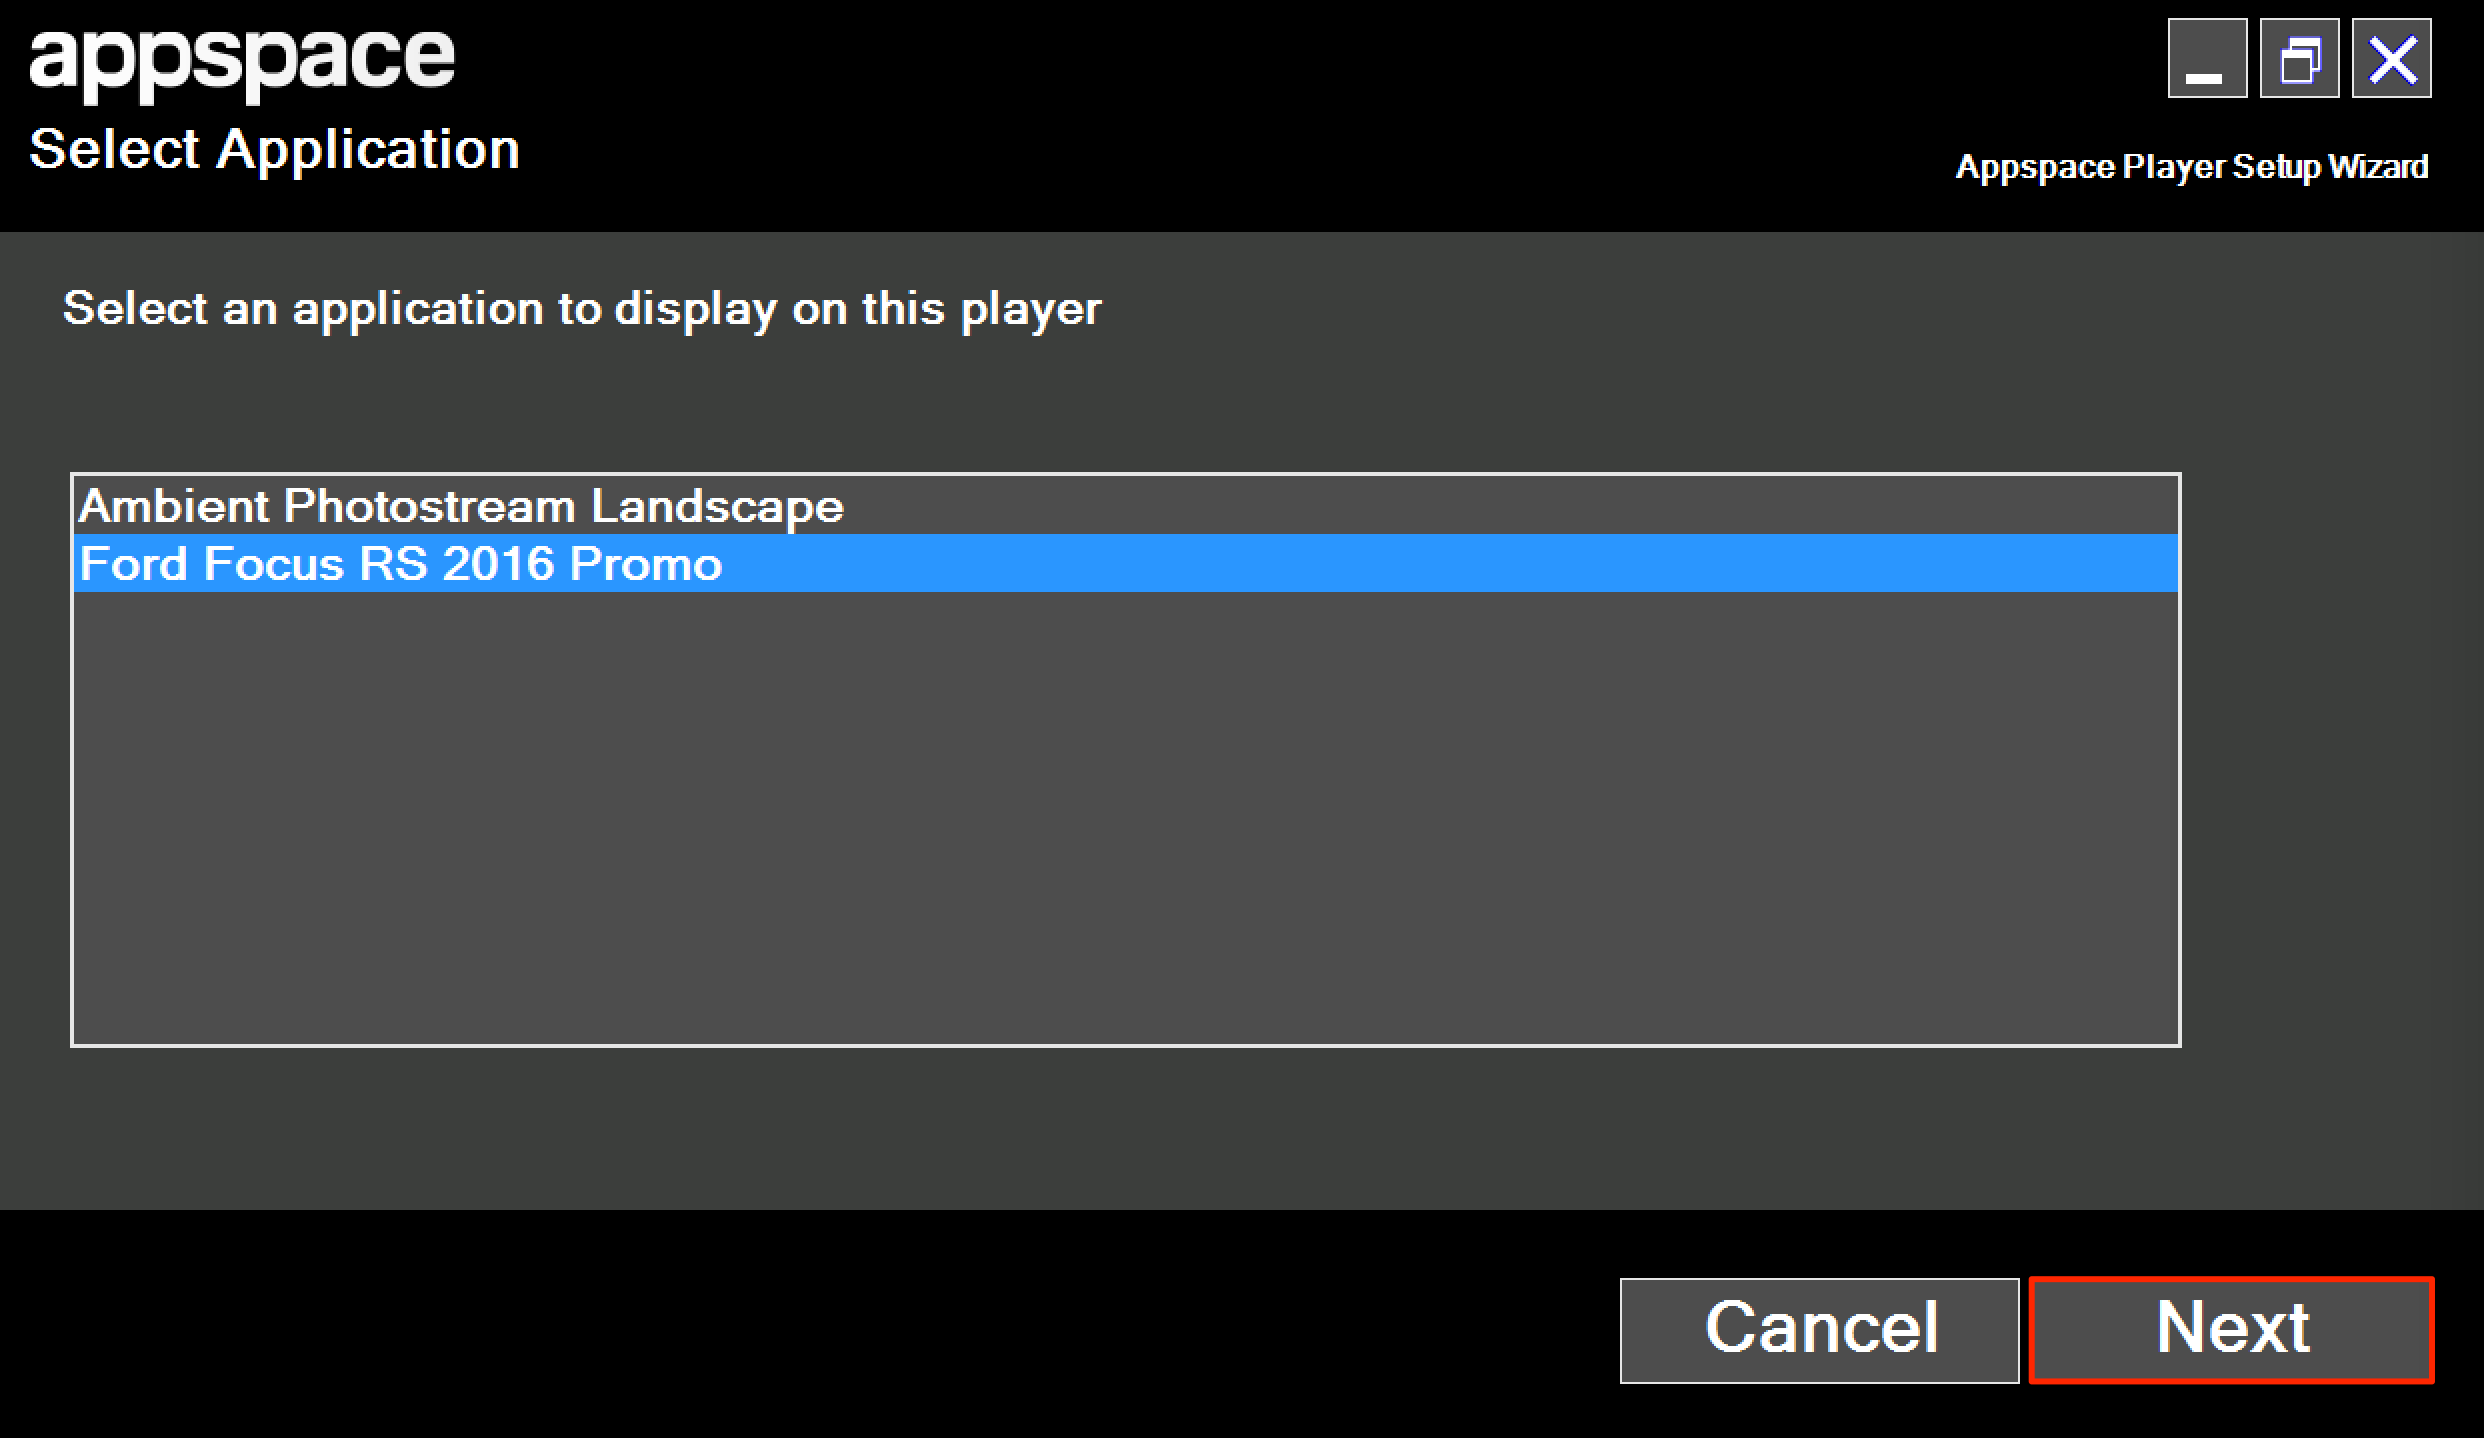
Select the application to assign to the player, and click Next to proceed.
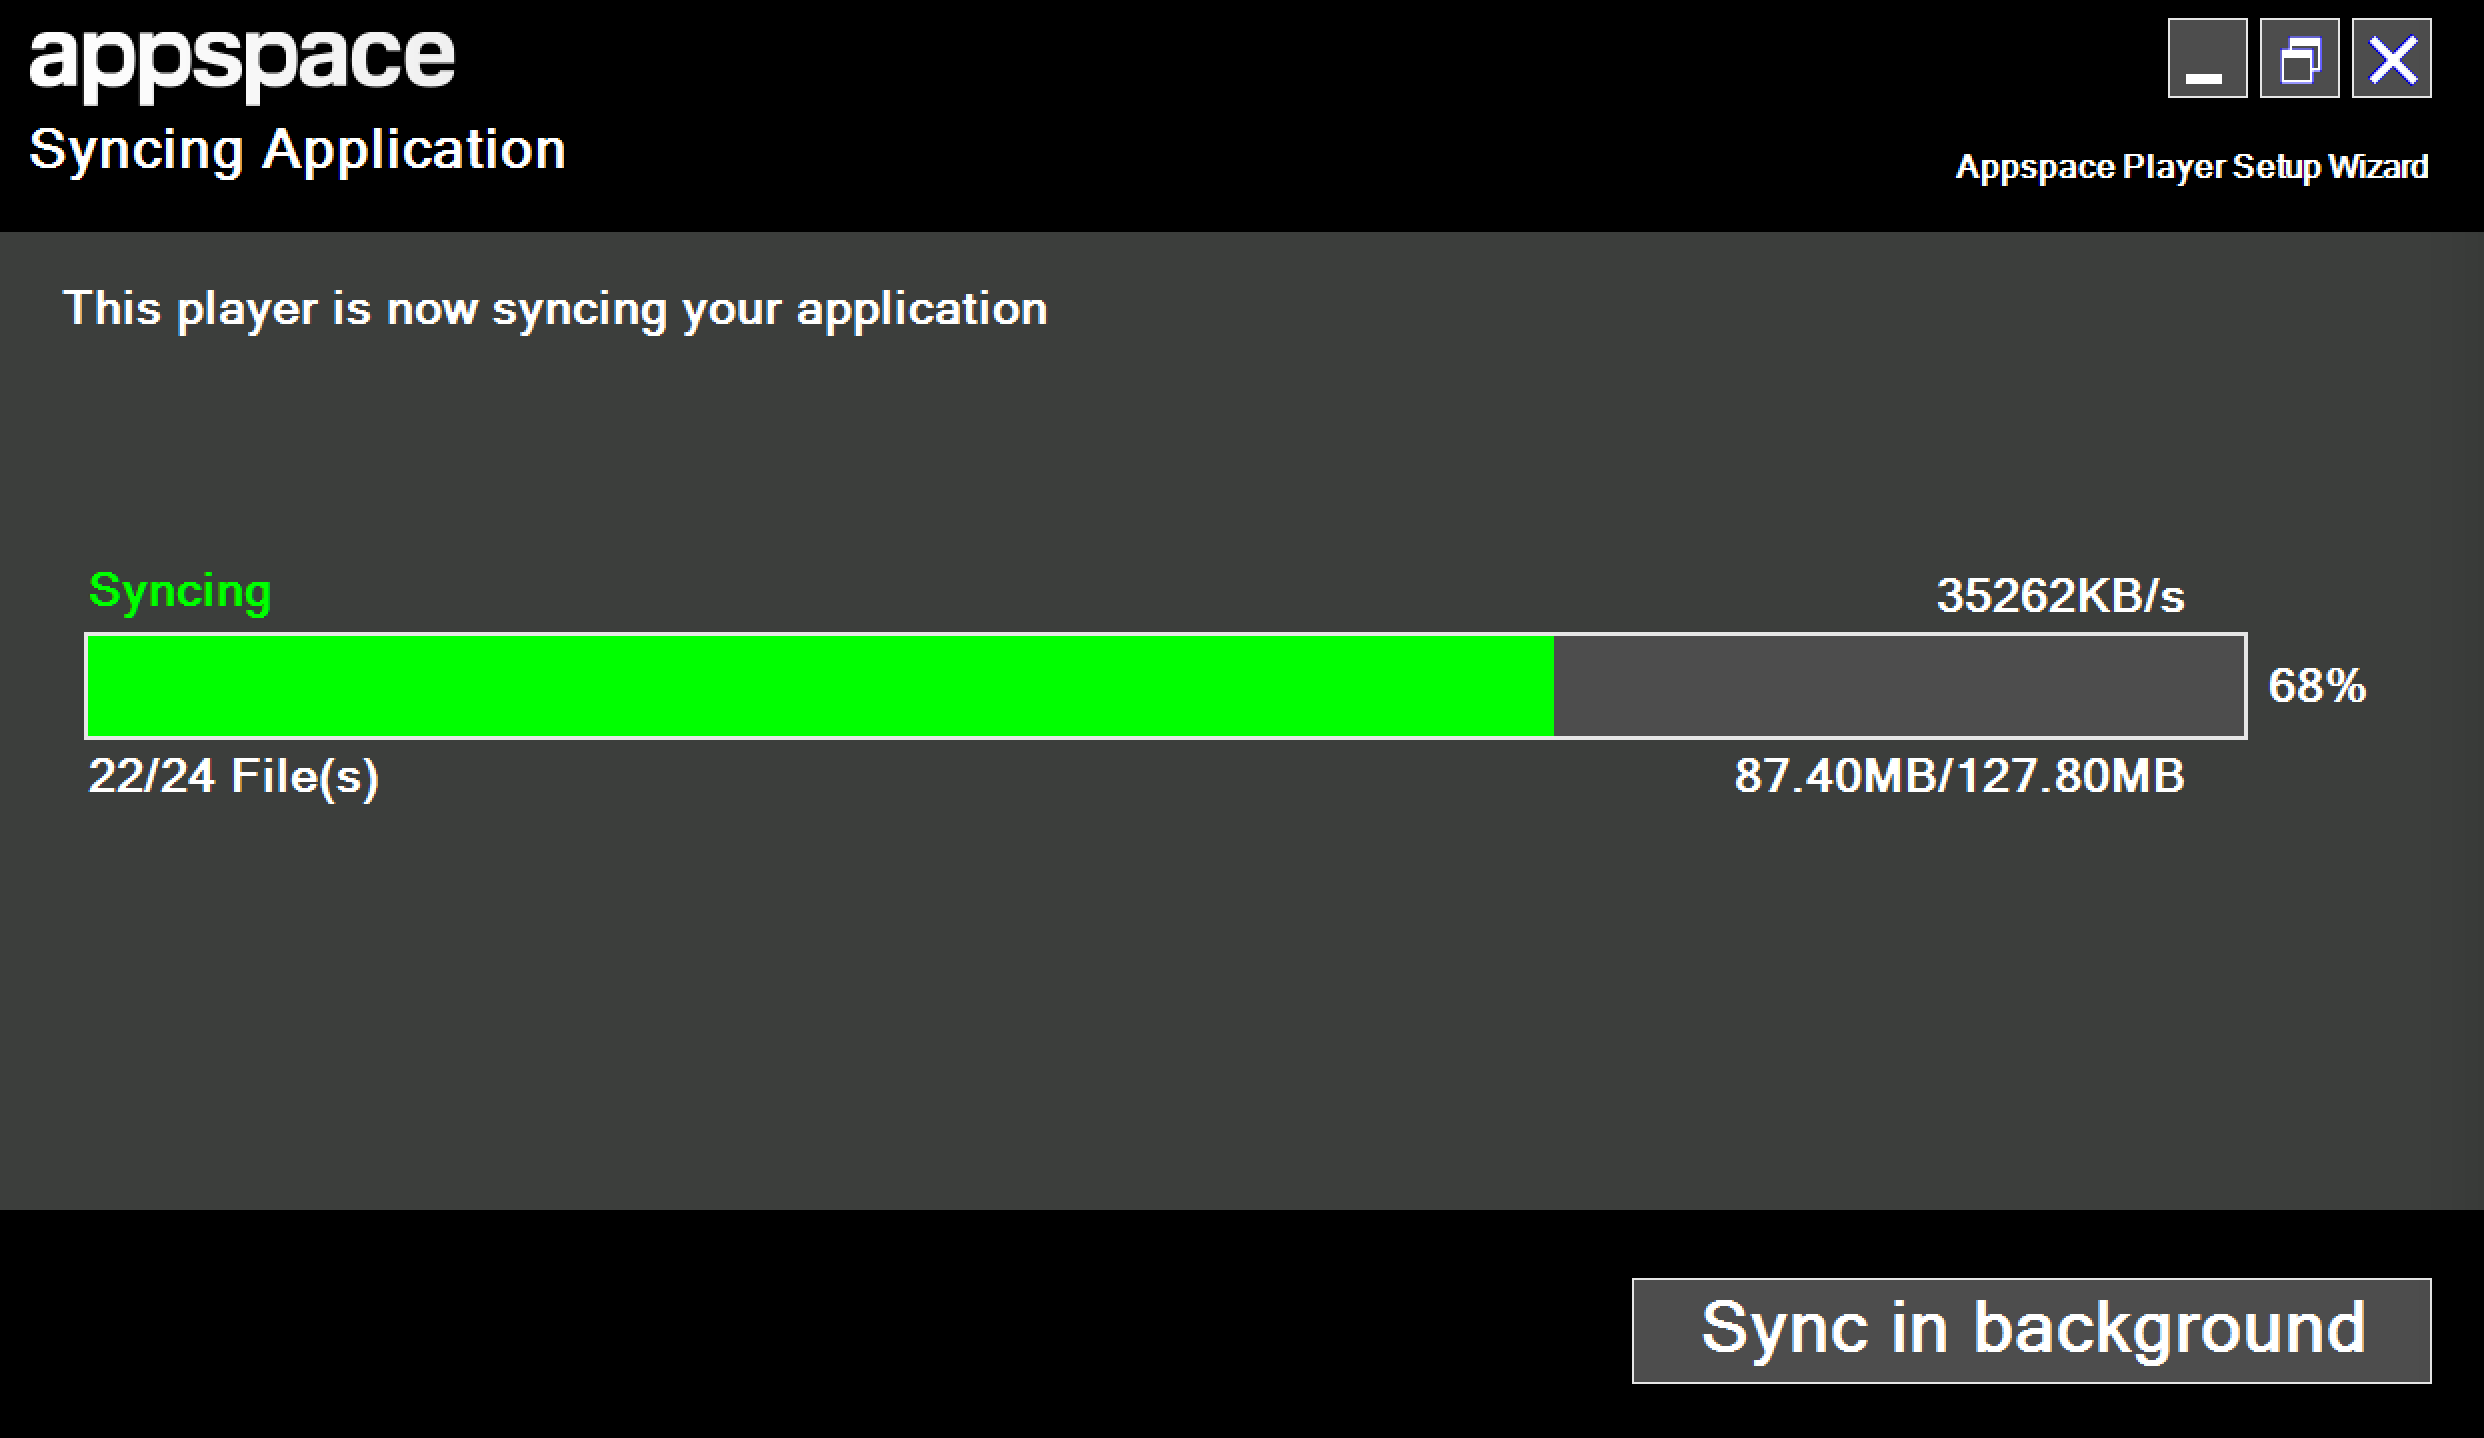
The selected application will be synced to the player with the progress bar. (Optional, click ‘Sync in background’ to hide the window.)
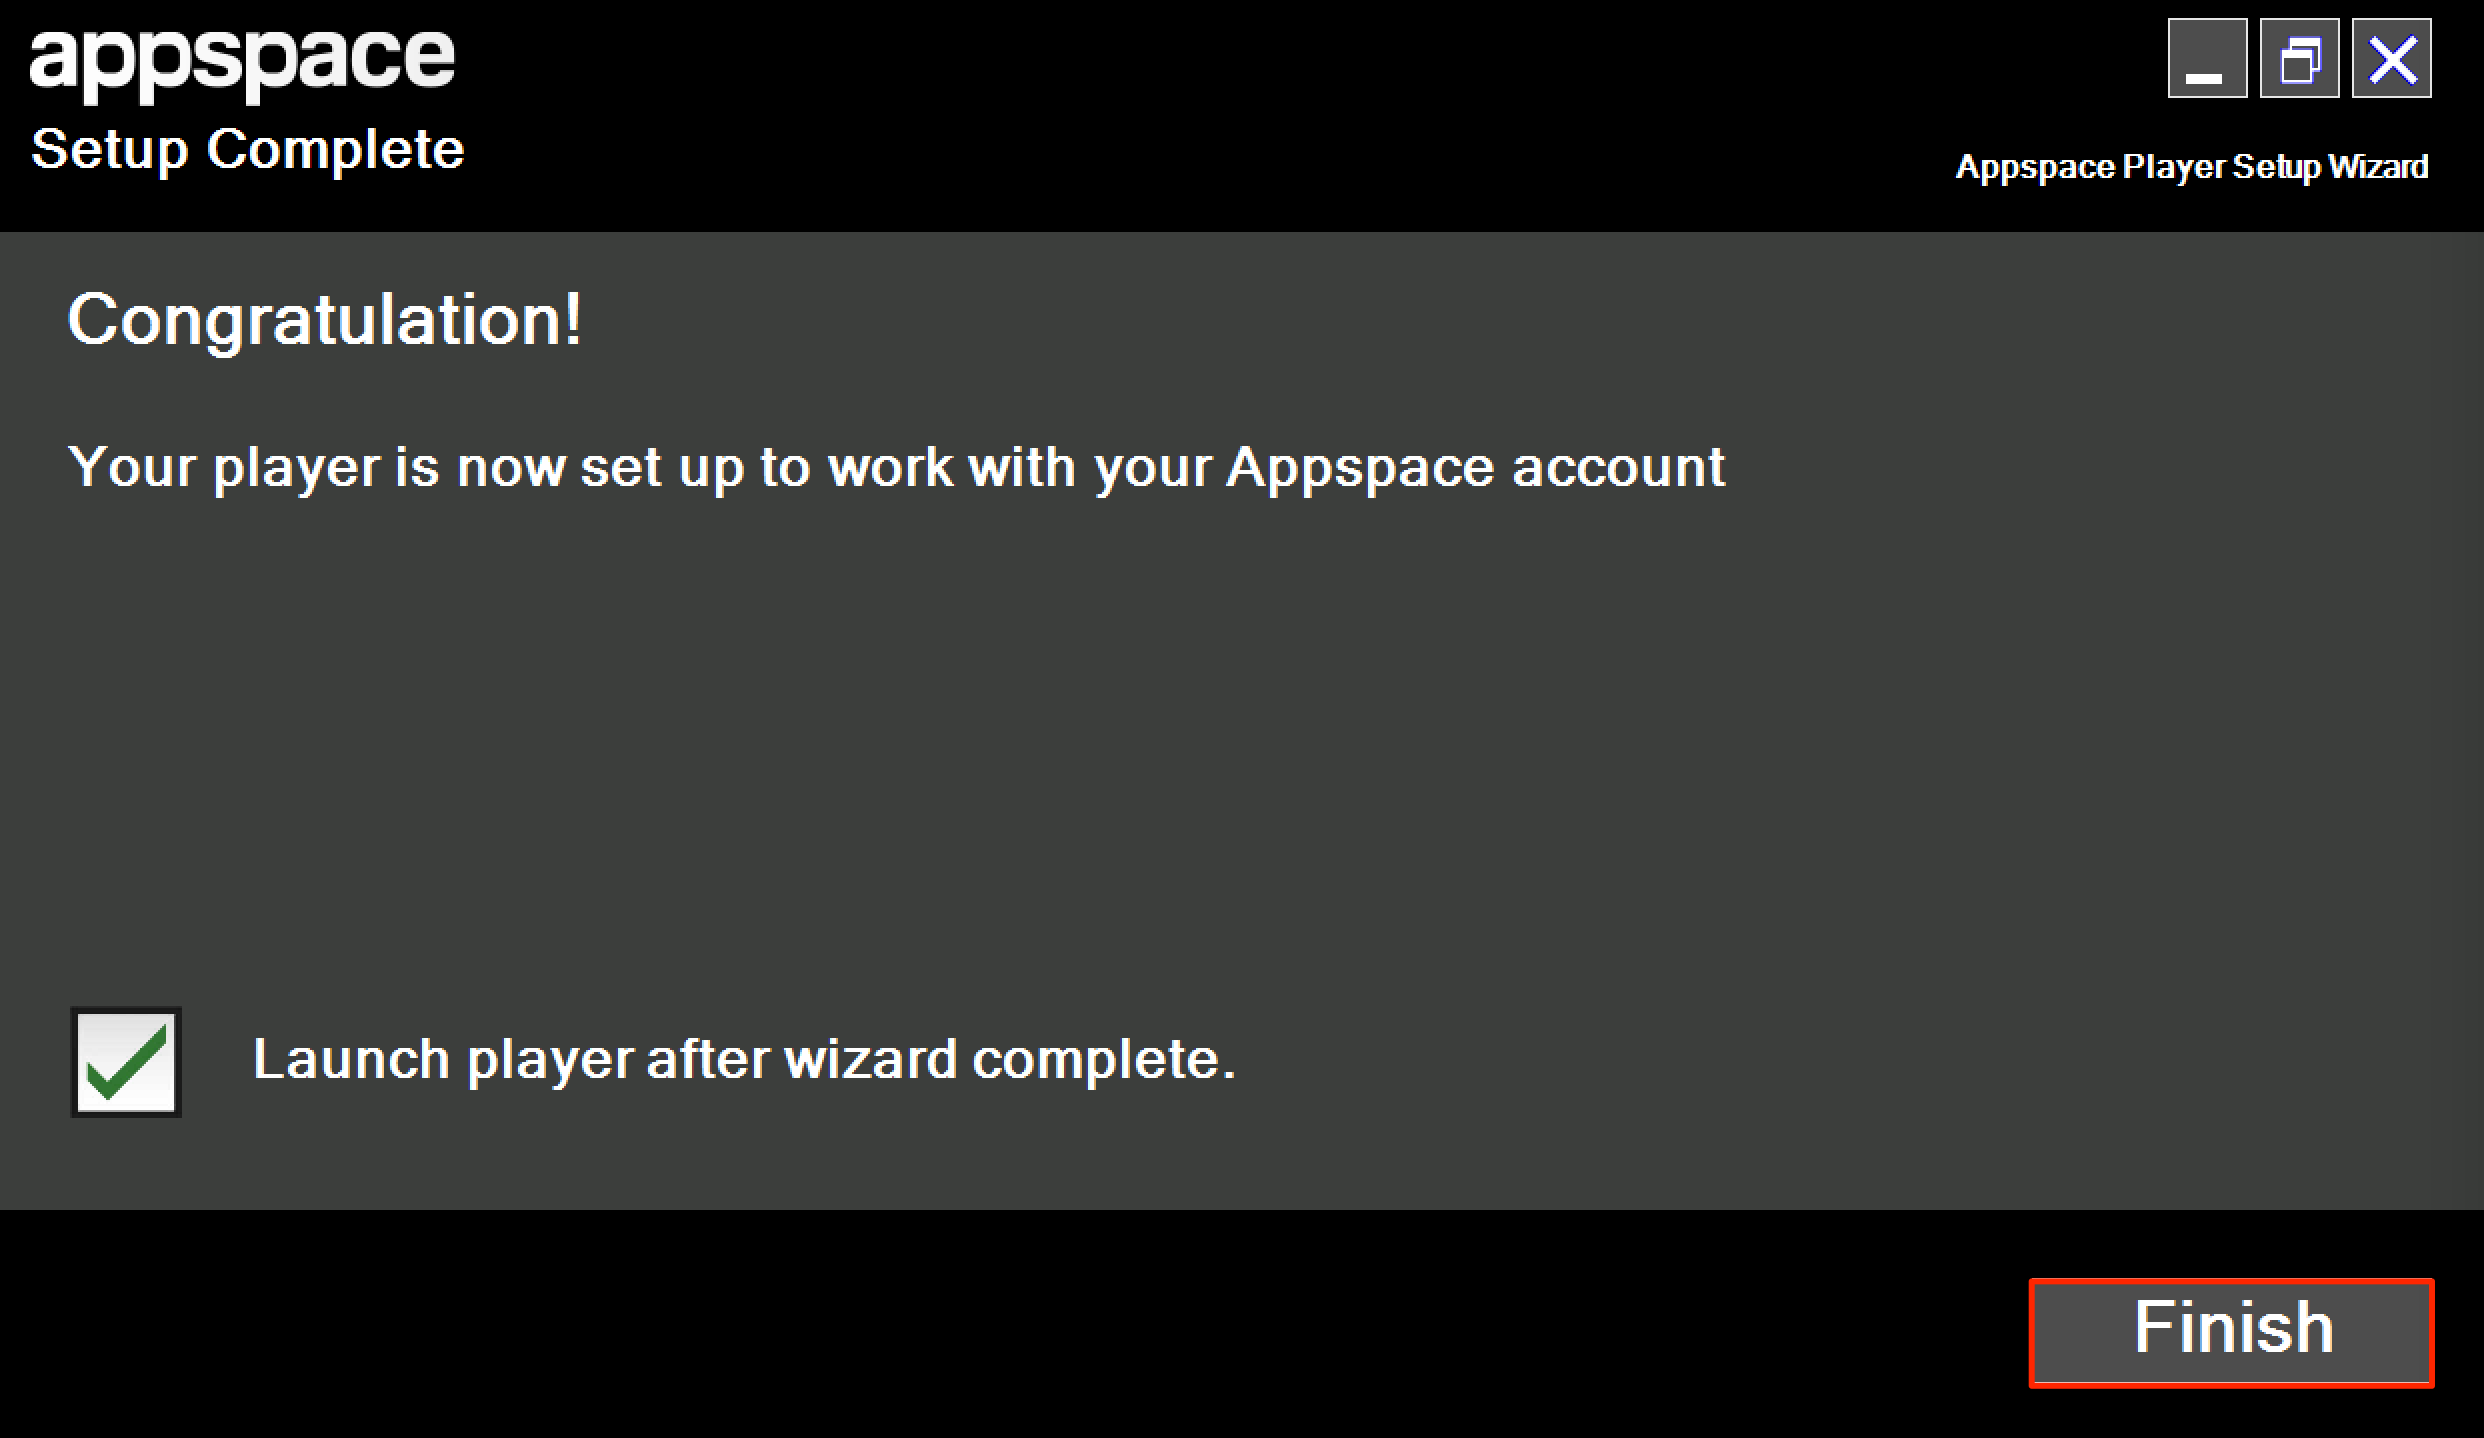
When the application sync has completed, check the ‘Launch player after wizard complete’ box to start the player after setup finishes, or leave the box unchecked to return to the Windows desktop after setup finishes. Click Finish to complete the Appspace Player setup wizard.
Note
The screen may be blank as it will take some time for the Appspace Media Player to complete its first content sync. The duration will depend on the size of the application and the allocated network bandwidth.
Uninstall the Appspace Windows PC Client
Uninstall the Appspace Windows PC Client via Windows Control Panel > Programs > Programs and Features.