Managing proxy settings
This article provides the instructions to configure proxy settings for an Appspace on-premises server that is located behind a proxy server.
Prerequisites
- All proxy server network settings including credentials and bypass information (if applicable).
- Portal Administrator privileges on your Appspace on-premises server.
Configuring Proxy Settings
In the Appspace menu, select System > Configuration.
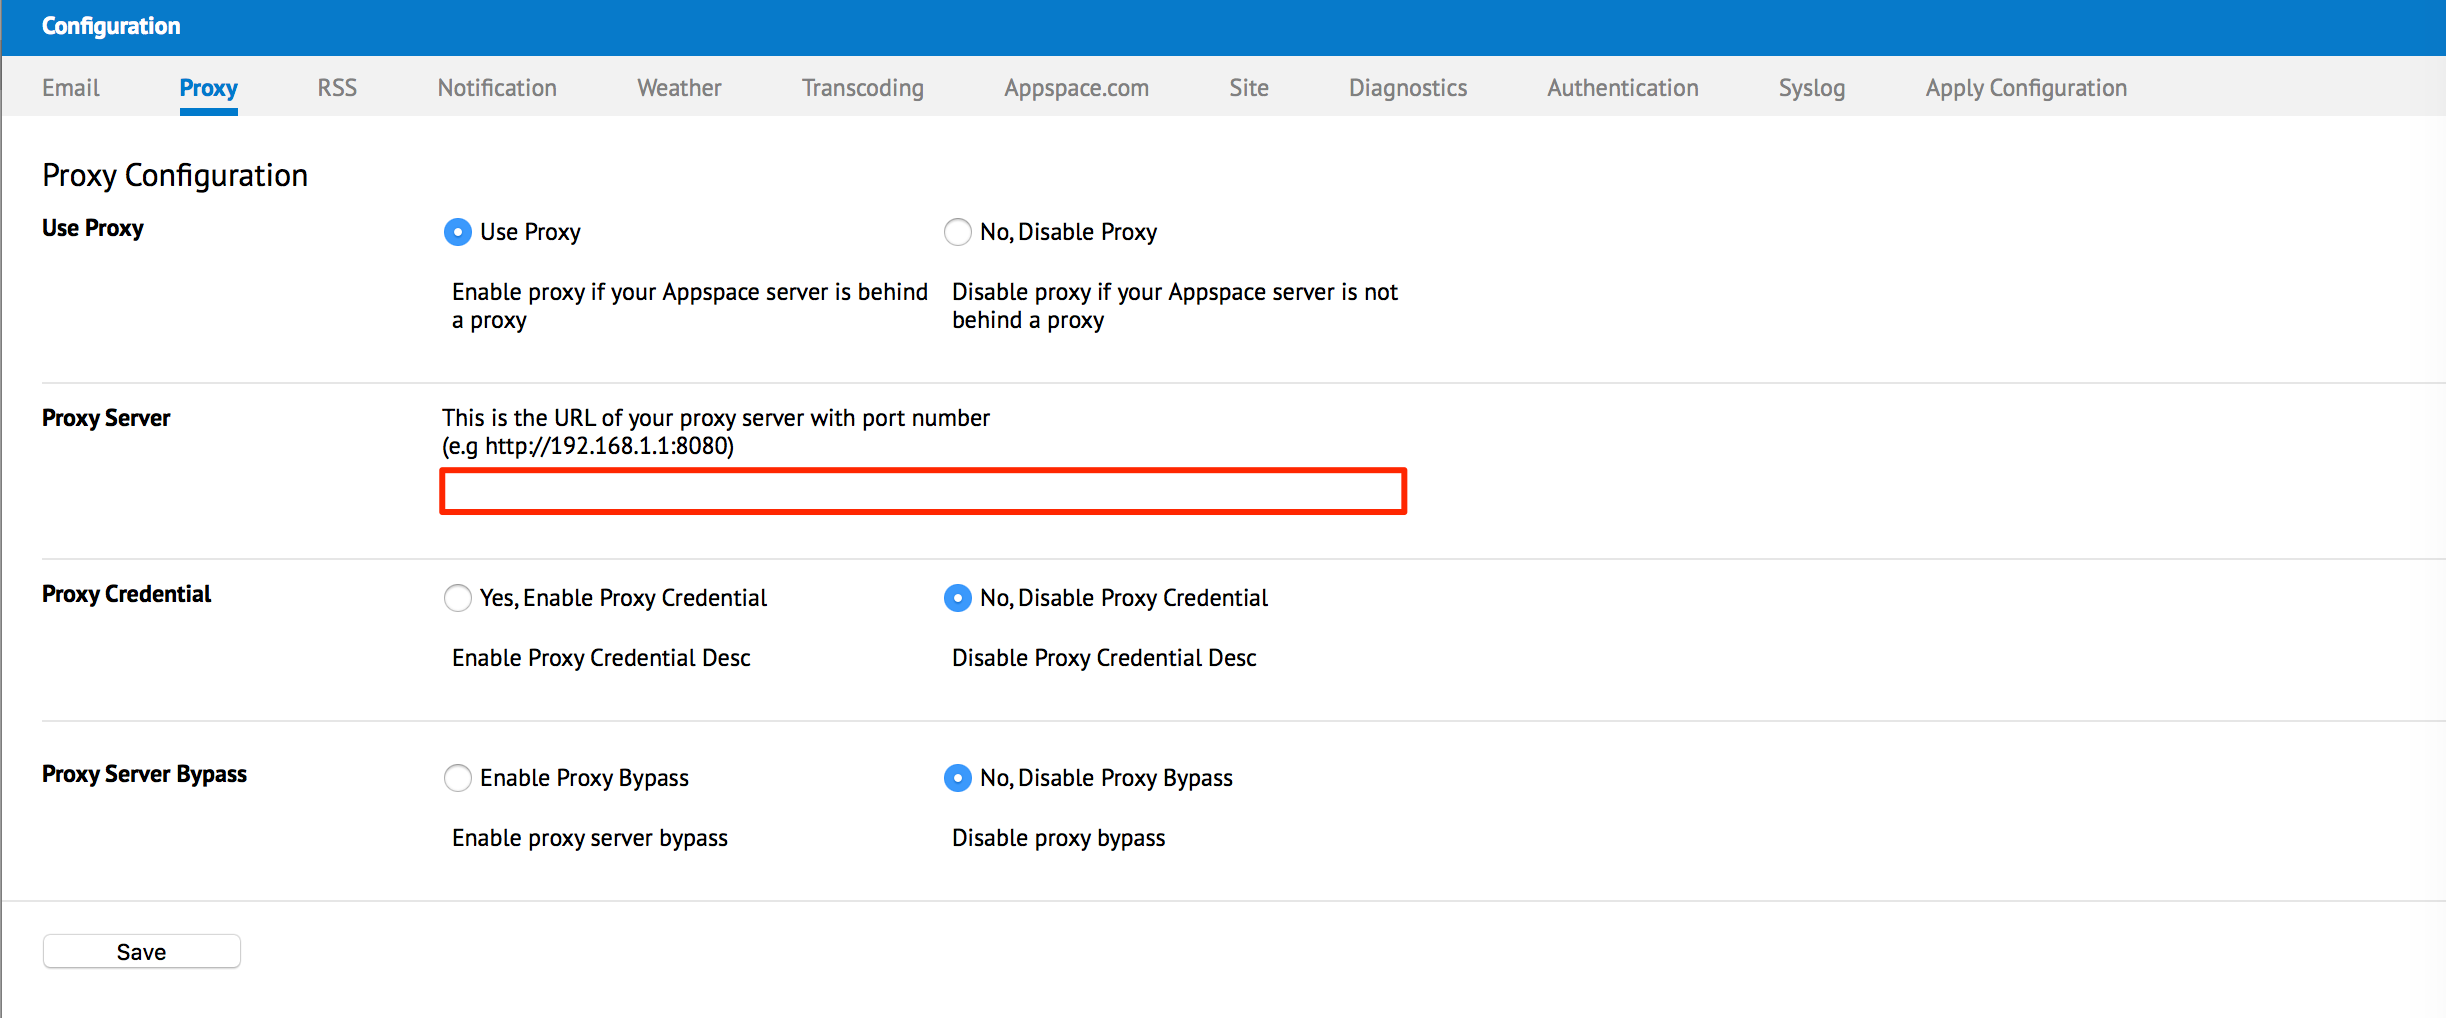
Click the Proxy tab and select the Use Proxy option. Complete the rest of the proxy configuration as per your organization’s network topology and settings. When finished, click Save to confirm your settings.
Note
You will need to select the radio buttons for “Yes, Enable Proxy Credential” and “Enable Proxy Bypass” to be able to define the rest of the parameters. These are optional fields and may not be applicable to all organizations utilizing a proxy.
In the Confirmation window, click Yes to save your changes.
The system should automatically detect a change to the Appspace settings and prompt you with a notification at the top of the page. Click the “Click Here” link.
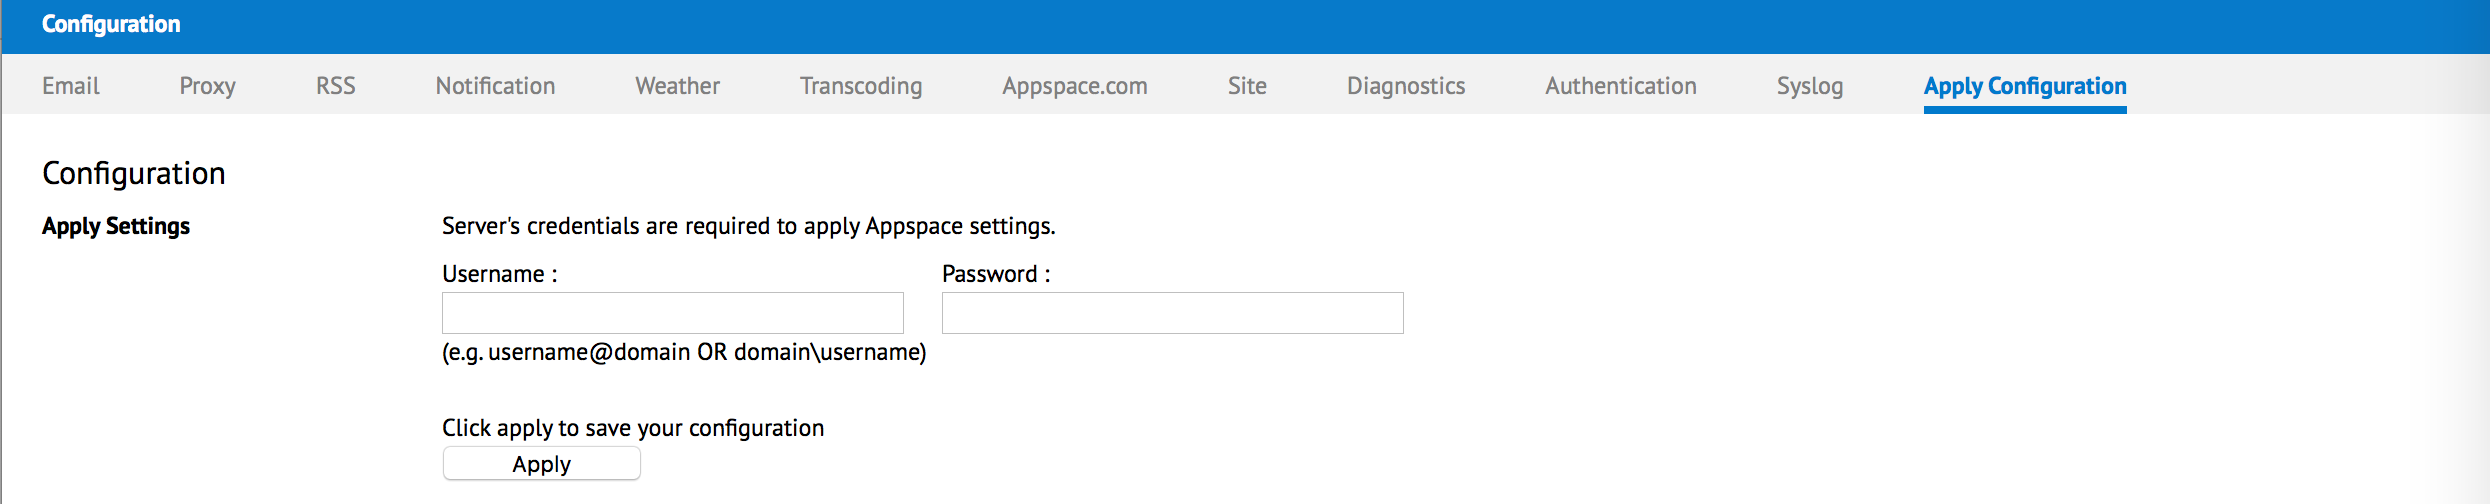
You will automatically be taken to the Apply Configuration tab. To finish applying the changes to the system settings, enter your Windows server credentials and click Apply.
Warning
The username and password should be your Windows server administrator credentials or an account with local administrator privileges to make and apply changes to server settings. This is NOT your Appspace on-premises server administrator credentials or your Appspace Cloud user credentials.
In the confirmation window, click Yes to restart your Appspace on-premises server. You should see a message indicating the Appspace server’s restart progress.
If successful, an information window will be displayed confirming the update. Click OK to complete the process.