Managing extensions
This article will guide you through the various administrative actions relating to the managing of features within Appspace.
- Disabling and Enabling Extensions
- Managing Role Accessibility
- Acquiring Extensions
- Installing Extensions
- Deleting Extensions
Prerequisites
- Portal Administrator permissions required.
Disabling and Enabling Extensions
There are two different options for an administrator to remove access to a feature from a global level. If you have a feature on Appspace that you choose to remove (possibly for re-installation or upgrade reasons) – you should use the Delete option to completely remove the feature from Appspace. You also have the ability to Disable a feature which renders the feature inaccessible by all users on the server until it has been re-enabled. Disabling a feature will preserve all configurations, data files, and assets that are related to that feature.
In Extensions, select the desired feature, and click the Disable button.
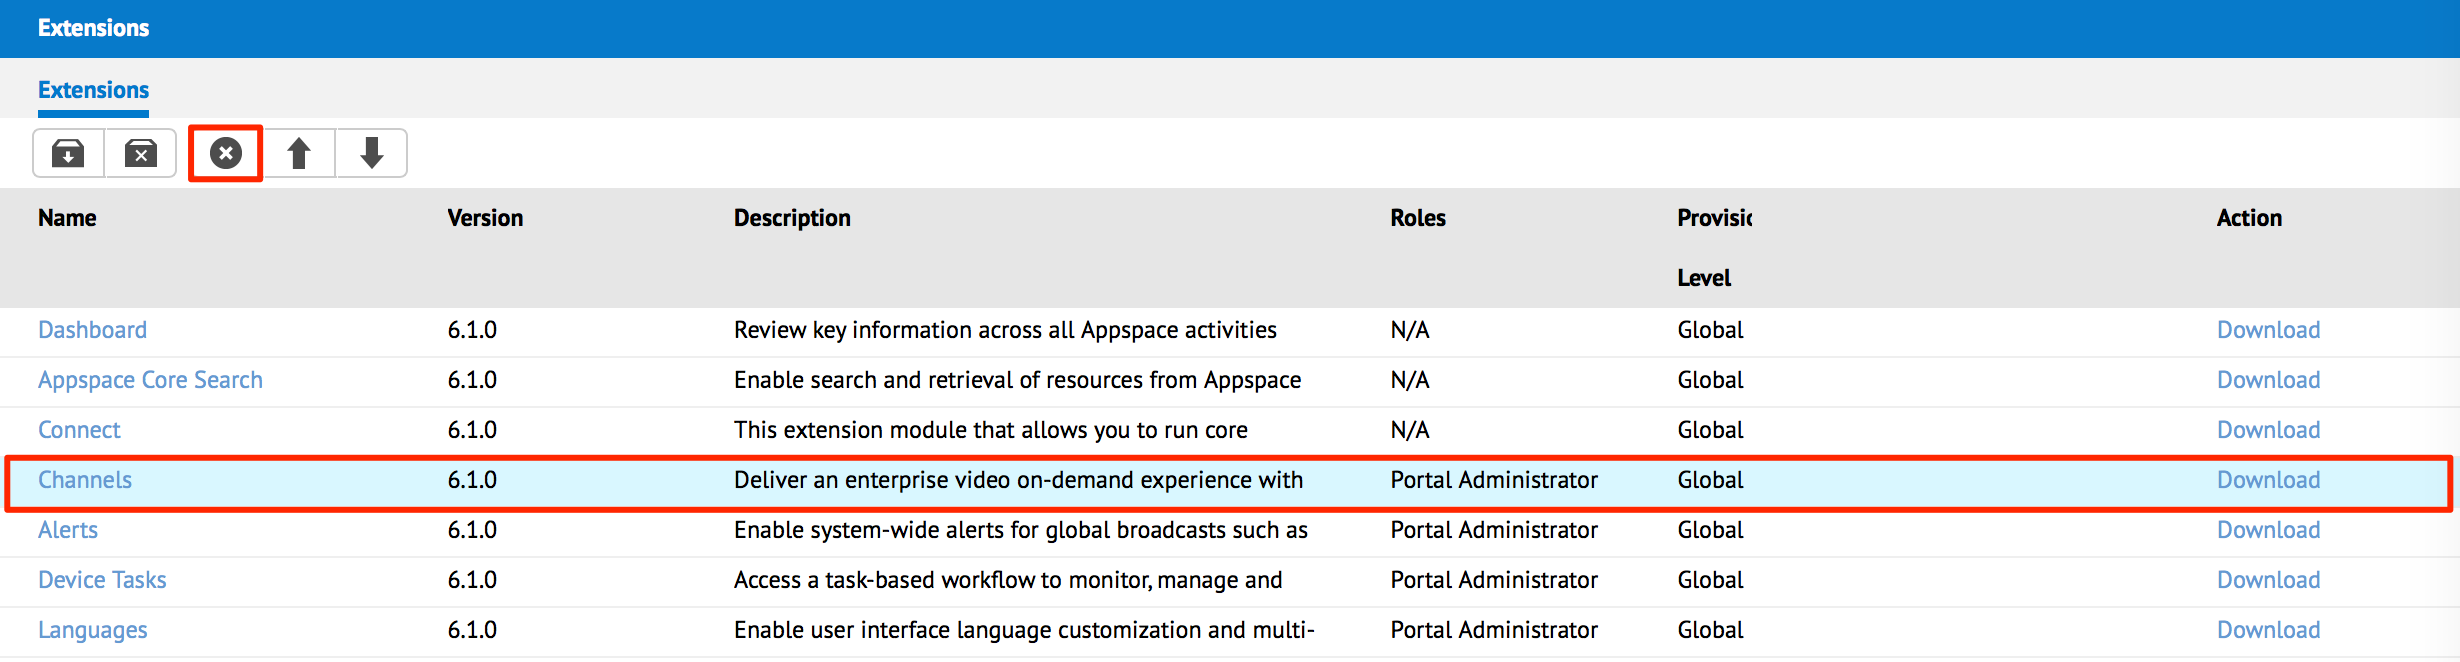
Click Yes to confirm.
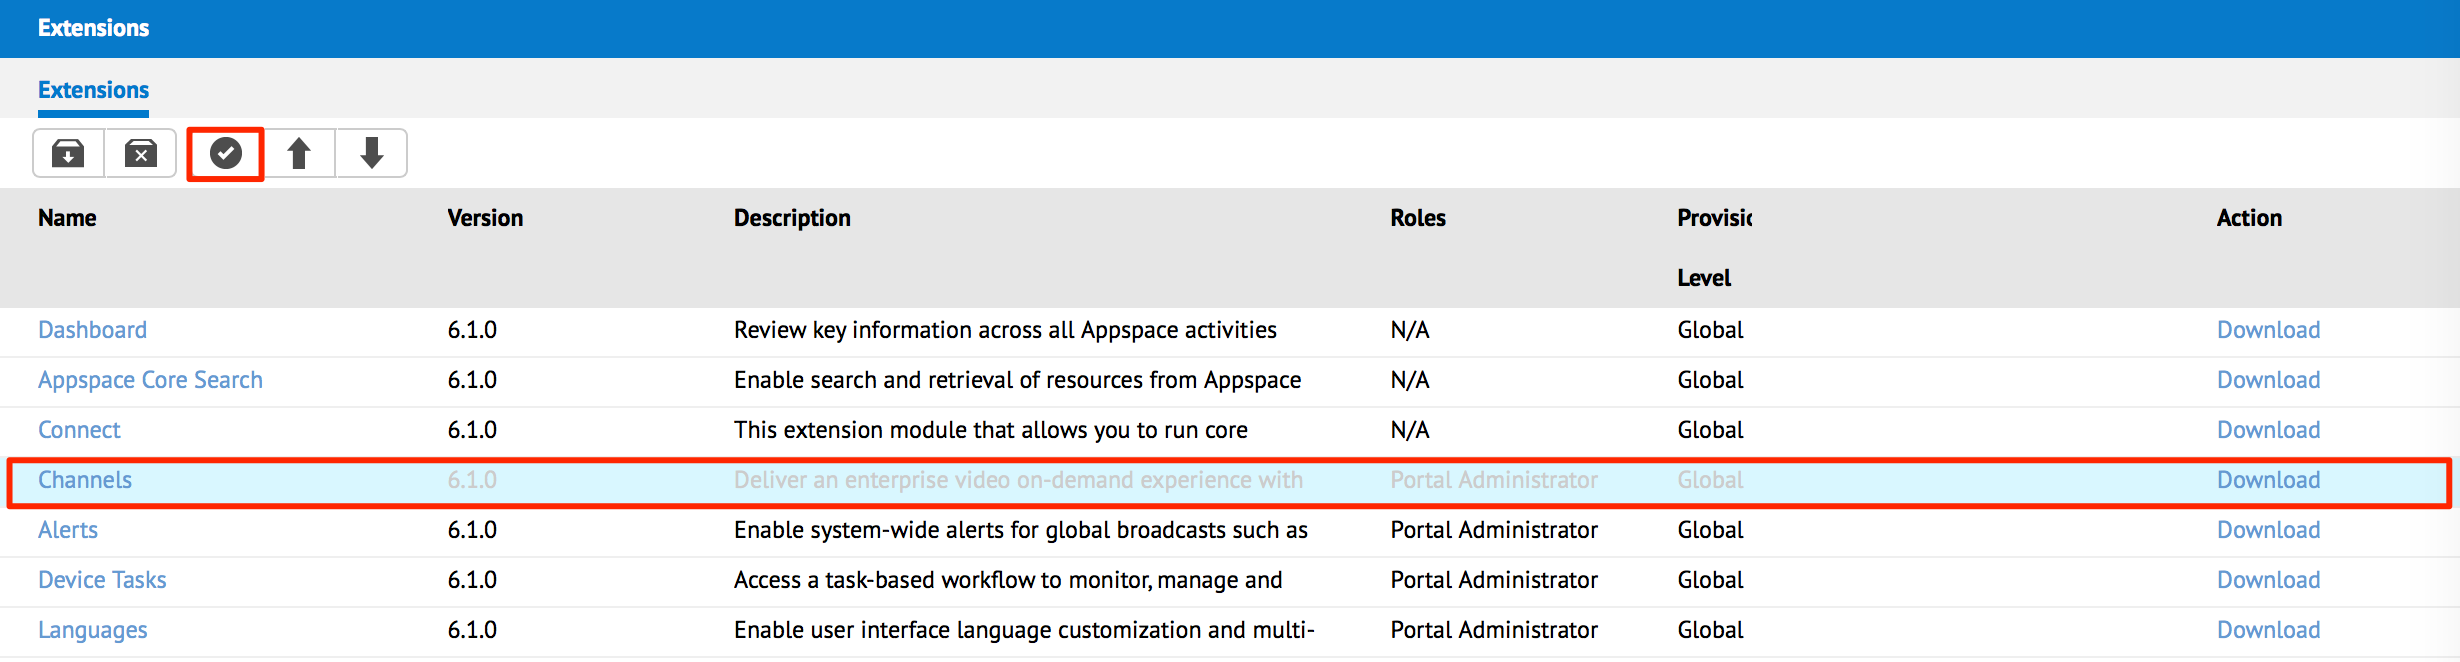
The disabled feature is grayed out (disabled), and is not accessible in the Appspace menu.
To re-enable the feature, select the disabled feature, and click the Enable button.
Managing Role Accessibility
Each feature has by default certain role(s) associated with it that grants users with permissions to access the feature. As an administrator, you have the ability to fine-tune these roles (add or remove roles) for each feature. Current roles with accessibility to each feature is listed under the Roles column.
In Extensions, click the feature name link to edit the roles of the feature.
In the Extension Details page, scroll down to the Roles section to see the current assigned roles of the feature. Click on the Manage Roles button to edit the roles assigned to the feature.
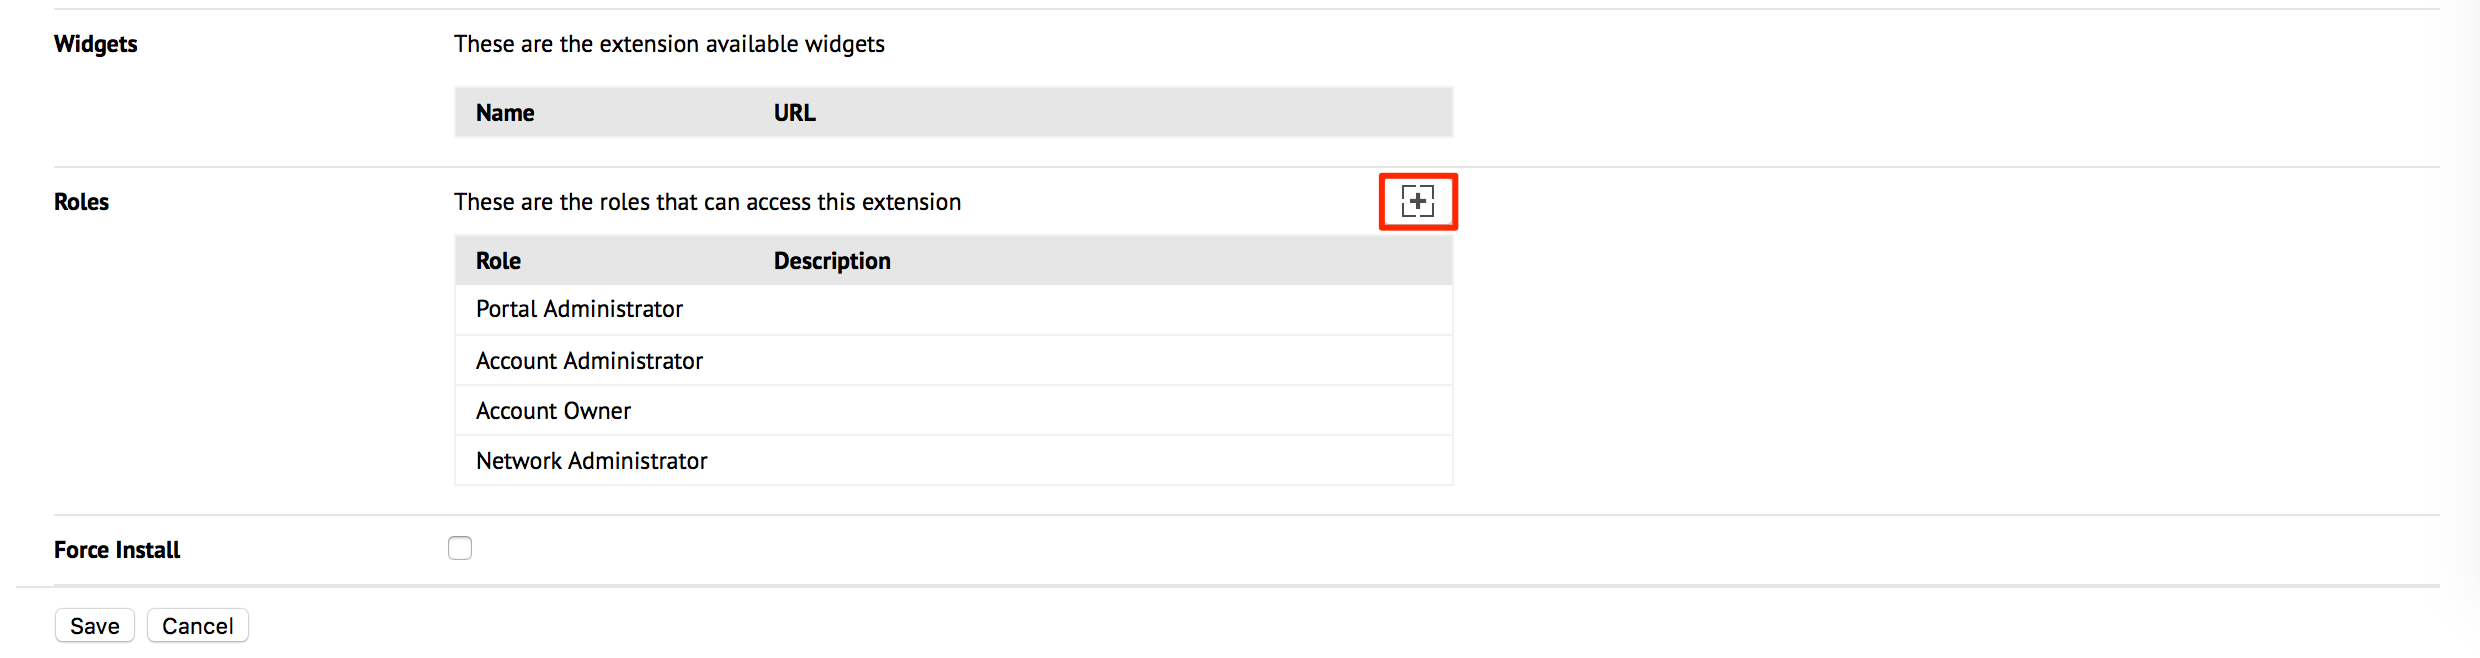
In the Manage Roles window, select the desired role(s) that are able to access the feature, and click OK.

Verify the changes in the Roles section, and click Save to complete the process.
Acquiring Extensions
In addition to the Appspace features that come pre-installed, you may acquire additional features from the Downloads page. The Downloads page is accessible from the Systems group in the Appspace menu.
Within the Extensions page, you have the ability to download a feature to your local machine. This is accomplished by clicking the Download link under the Action column of the respective feature. The feature is downloaded to the default downloads folder and saved in the .zip file format.
Note
The appropriate Appspace Omni subscription or traditional license is required to install the feature to Appspace.
Installing Extensions
In order to install additional features to Appspace, you must already have the feature file downloaded. features can be acquired from the Downloads page.
Note
Features files are packaged in a .zip file format. Preserve the feature file in a .zip file format when installing.
In Extensions, click the Install button.

In the Create New Extension page, click the Browse icon and select the desire feature .zip file to be installed. Click Upload to continue.
Note
The upload process may take some time, depending on the feature’s file size and speed of the network connection between the local machine and Appspace.
Review and verify the installed feature details, as some detail fields are auto-populated with the default values of the feature. Click Save to complete the installation process.
The newly installed feature is now available and appears in the Appspace menu.
Deleting Extensions
In Extensions, click the desired feature to be deleted from Appspace, and click the Delete button.

Click Yes to confirm deletion.
The deleted feature is no longer visible and removed from Appspace.