Installing Appspace on-premises
This article provides the instructions to install, and configure the operating system, prerequisite software, and Appspace software for an on-premises deployment of Appspace.
- Install and Configure Operating System
- Download Prerequisite Software
- Install Prerequisite Software
- Install Appspace Installation Center
- Configure Folder Permissions
- Install Appspace
Prerequisites
You must meet all the requirements listed in the Appspace on-premises requirements article.
Use only local hard drives to install Appspace. Remote storage drives such as SAN and NAS are not supported.
Turn off anti-virus software prior to installation. If unable to turn off anti-virus software due to company policies, configure the anti-virus software to exclude all Appspace folders and databases.
Important
When not turned off, anti-virus software blocks installer processes from running, which prevents the installation of some Appspace files. Overall installation time is also slower.
Install and Configure Operating System
Select and install the Windows Server 2012 R2 Standard Edition operating systems (OS). Please note the specific configurations required for Appspace, as listed below:
Install the OS as per instructions on the Microsoft website: https://technet.microsoft.com/en-us/library/hh831620.aspx.
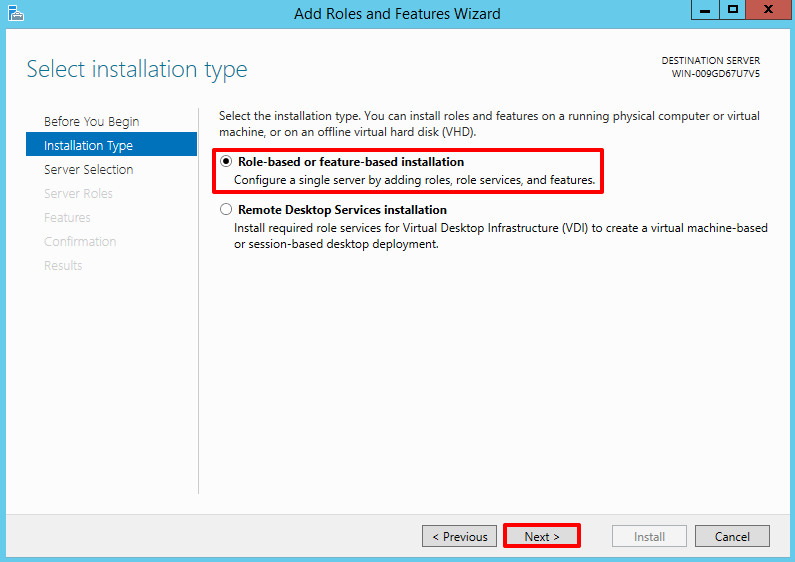
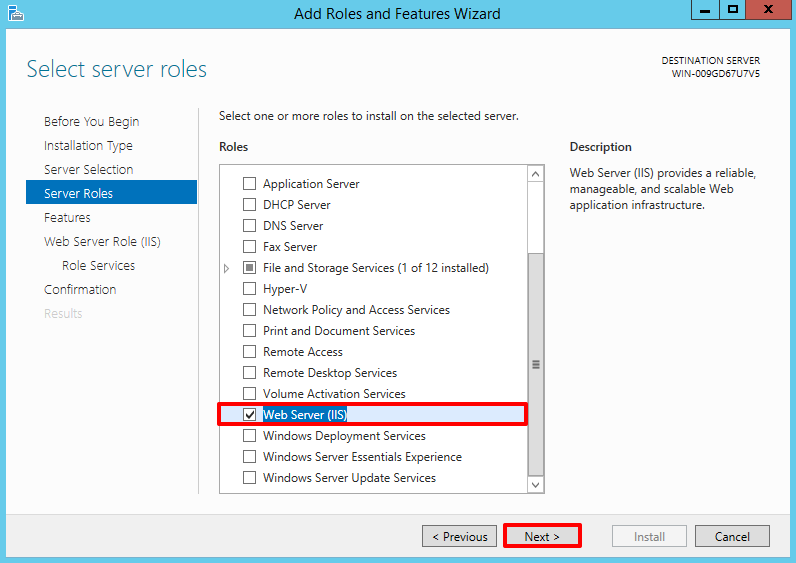
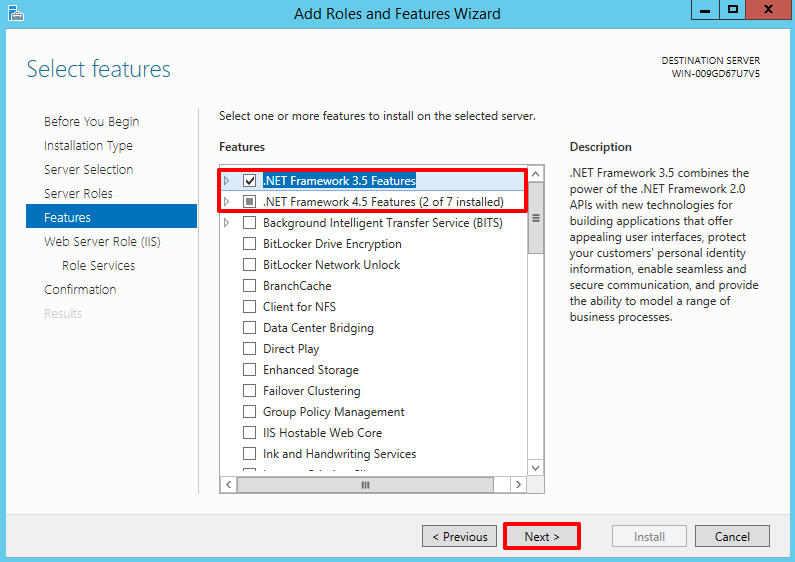
Ensure the following options are checked:
Role-based or feature-based installation
Web Server (IIS)
.NET Framework 3.5 Features and .NET Framework 4.5 Features
Restart the computer and proceed to the next section.
Download Prerequisite Software
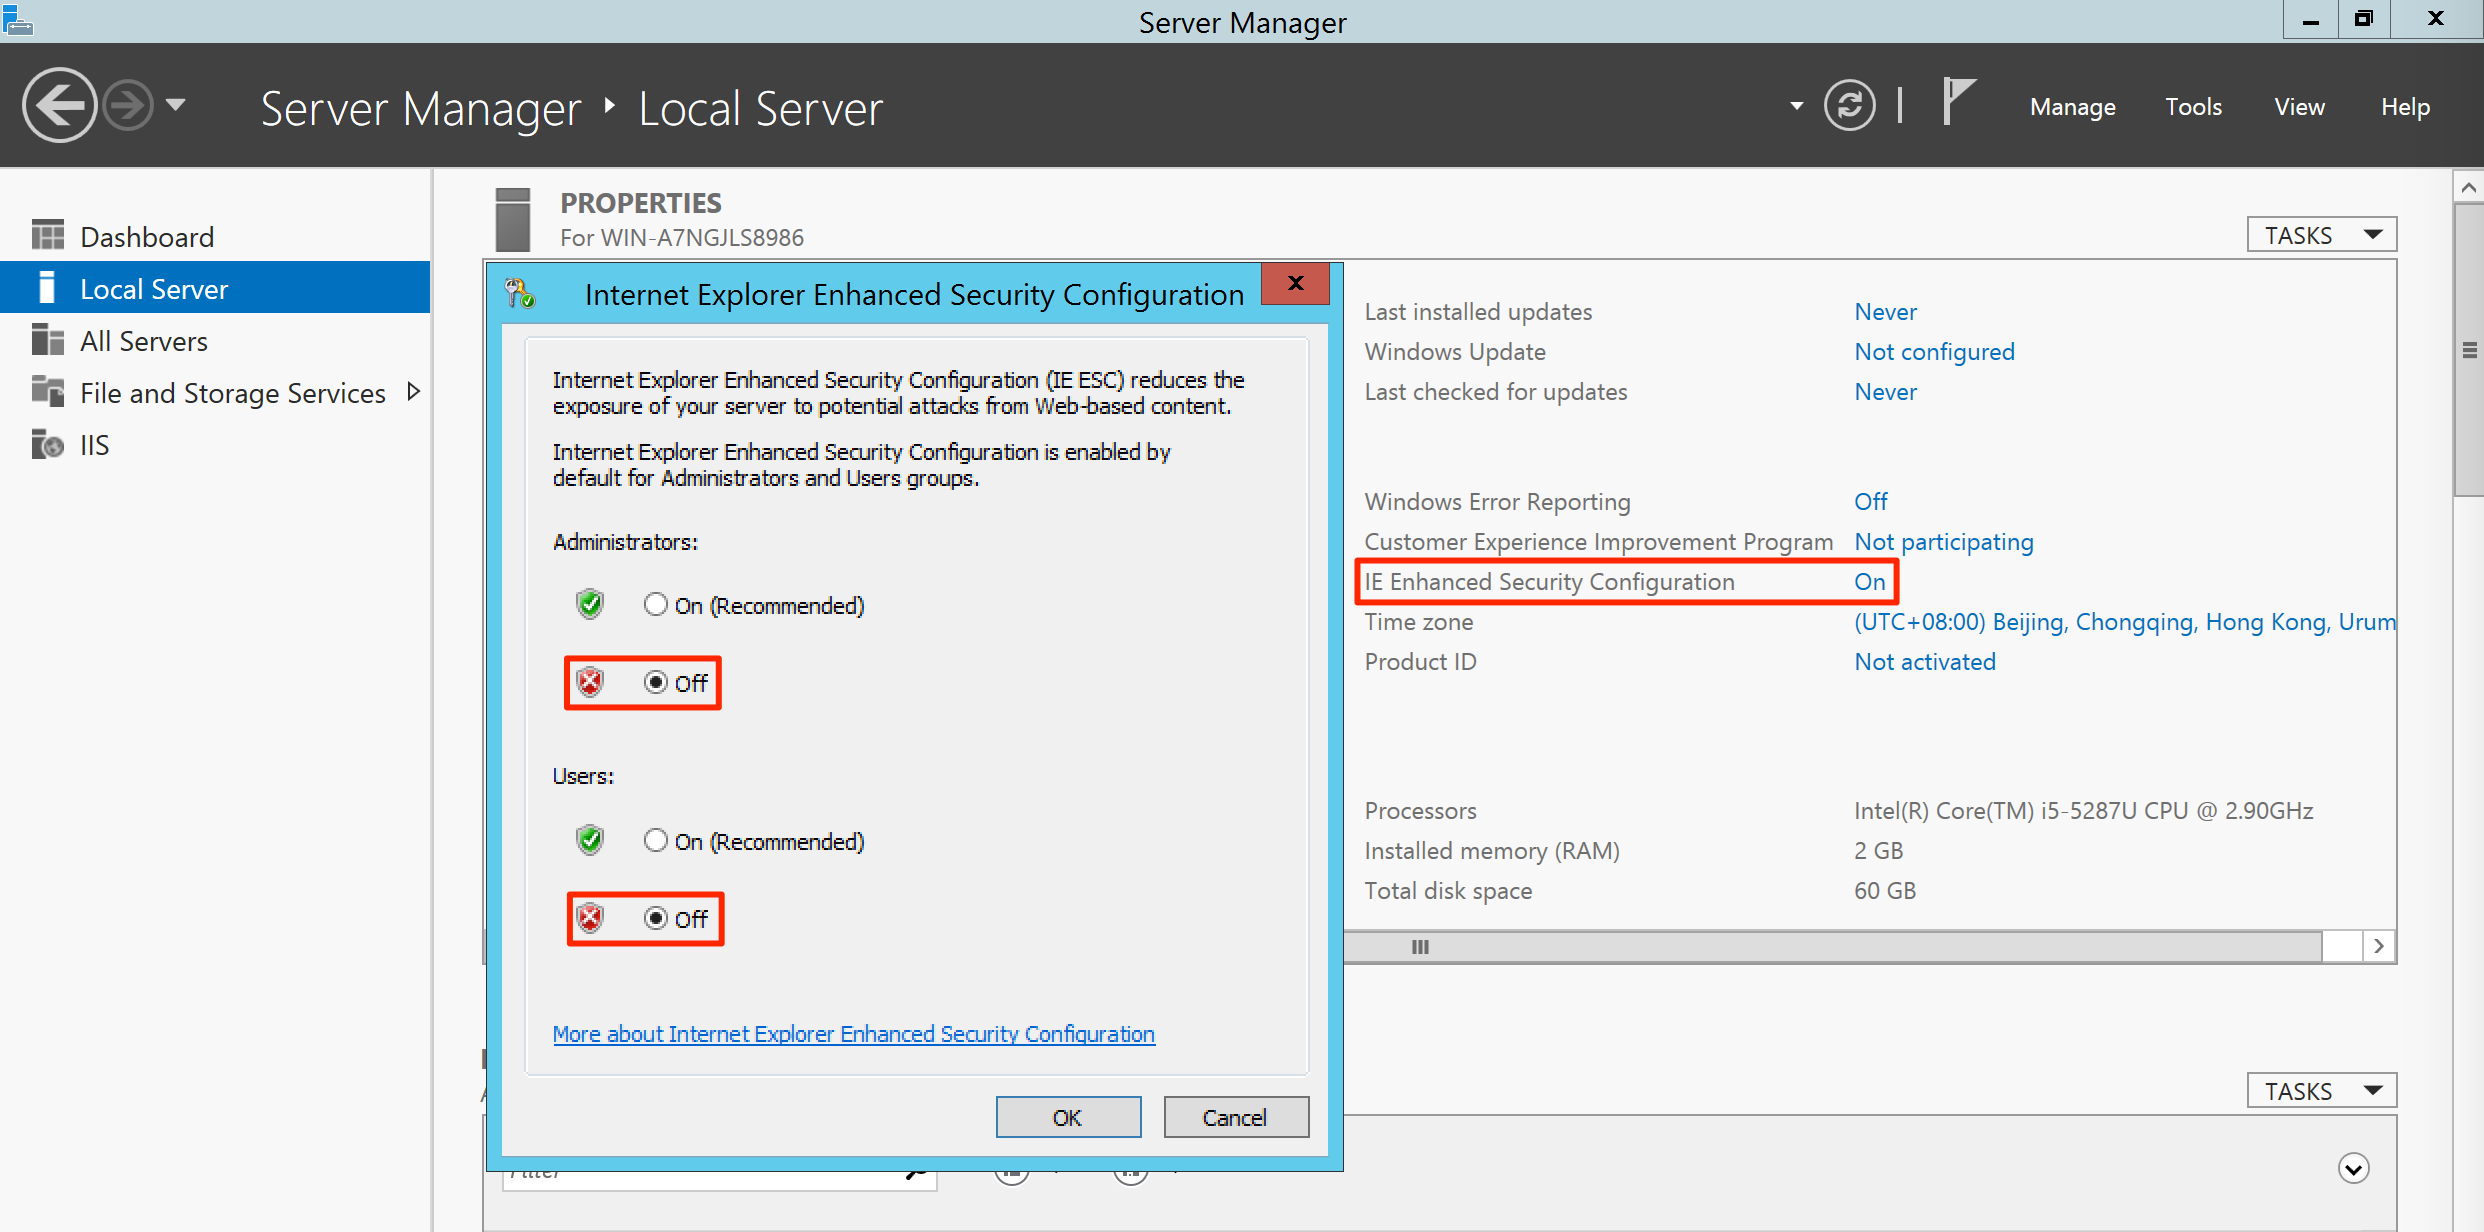
Disable Internet Explorer Enhanced Security Configurations (IE ESC), which is enabled by default. When this feature is enabled, file downloads may be blocked. In Windows Server Manager, click ‘On’ and in the IE Enhanced Security Configuration option, select the “Off” options for both Administrators and Users.
Warning
Only download these software and do NOT install.
Download Microsoft .NET Framework 4.6: https://www.microsoft.com/en-us/download/details.aspx?id=48137.
Download one of the following database:
- MySQL 5.6.x: http://downloads.mysql.com/archives/installer/.
- MS SQL: Microsoft SQL Server 2012: http://www.microsoft.com/en-us/download/details.aspx?id=35575.
Please contact Appspace Support to get the latest Appspace installer (Appspace Installation Center).
Proceed to install the applications as per the instructions in the next section below.
Install Prerequisite Software
Important
- Links to the installation instructions on the provider’s website are provided.
- Please take note of specific configuration information for each application, described in each step below.
- Please right-click each installer file and select ‘Run as Administrator’ to install.
Please install the prerequisite software downloaded earlier, in the following order:
Install .NET Framework 4.6. Follow the instructions here: https://msdn.microsoft.com/en-us/library/5a4x27ek(v=vs.110).aspx
Install and configure your preferred database:
Warning
SQL passwords should NOT contain shell metacharacters such as !#’”`&; or spaces.
MySQL:
Install MySQL 5.6 (Version 5.6.x). Follow the instructions here: http://dev.mysql.com/doc/refman/5.6/en/mysql-installer-gui.html
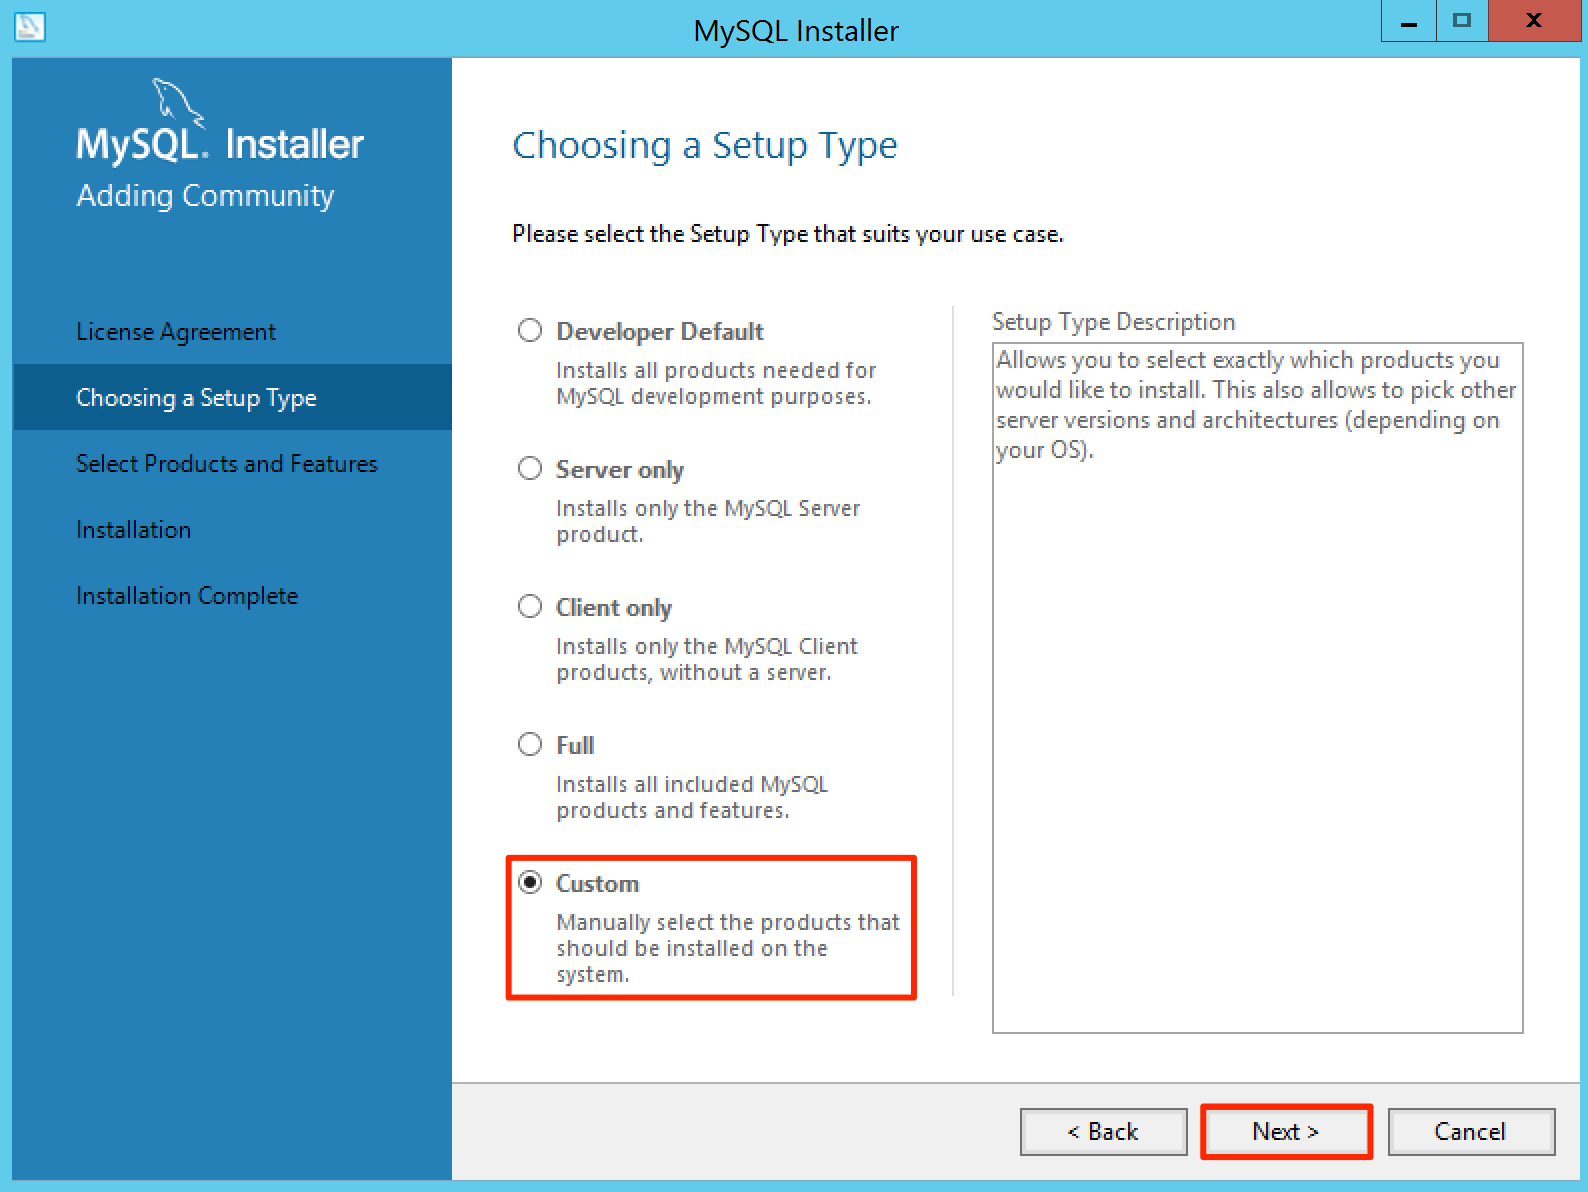
Select the Custom option on the ‘Choosing a Setup Type’ window and click Next to continue.
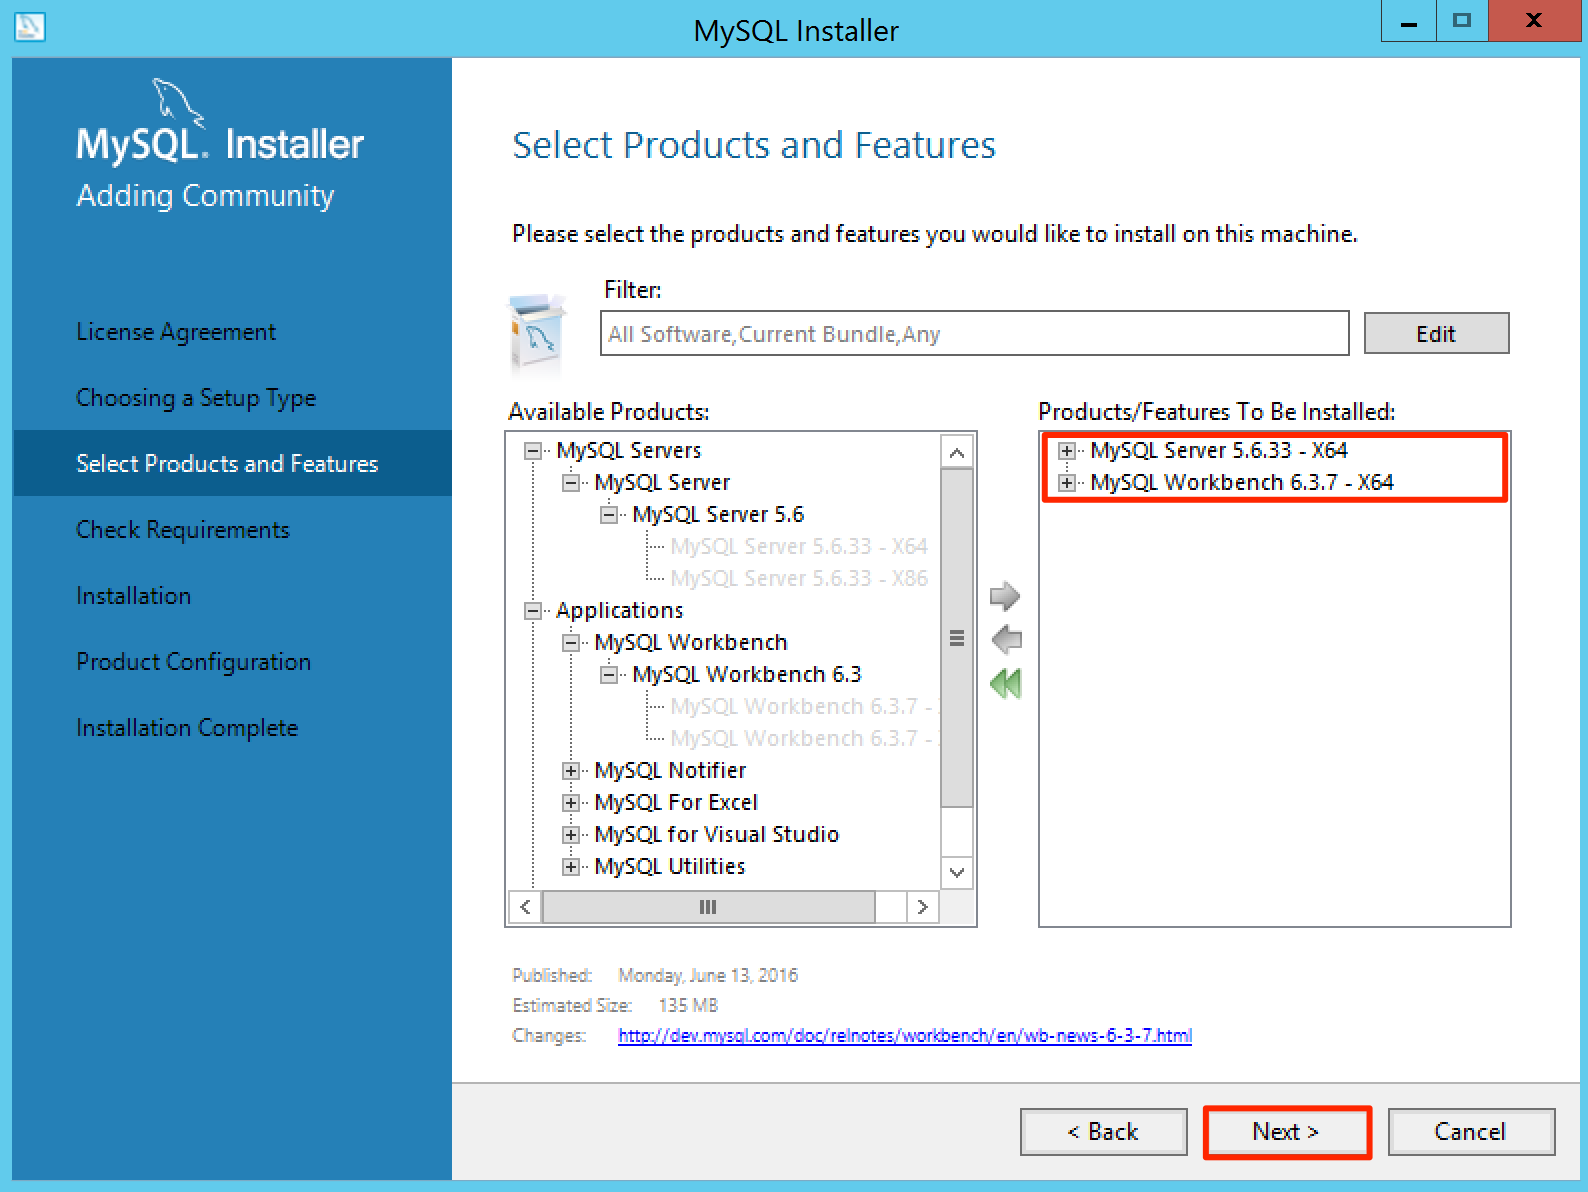
On the ‘Select Products and Features’ window, ensure the following options are selected and moved under the ‘Products/Features To Be Installed’ section.
- MySQL Server 5.6.x (either the x86 or x64 version depending on your server)
- MySQL Workbench CE 6.2.3 (either the x86 or x64 version depending on your server)
Warning
Only select these 2 options. Leave all the other options unchecked. It is important to make sure that the other options (such as MySQL Connectors) are not selected during the MySQL installation.
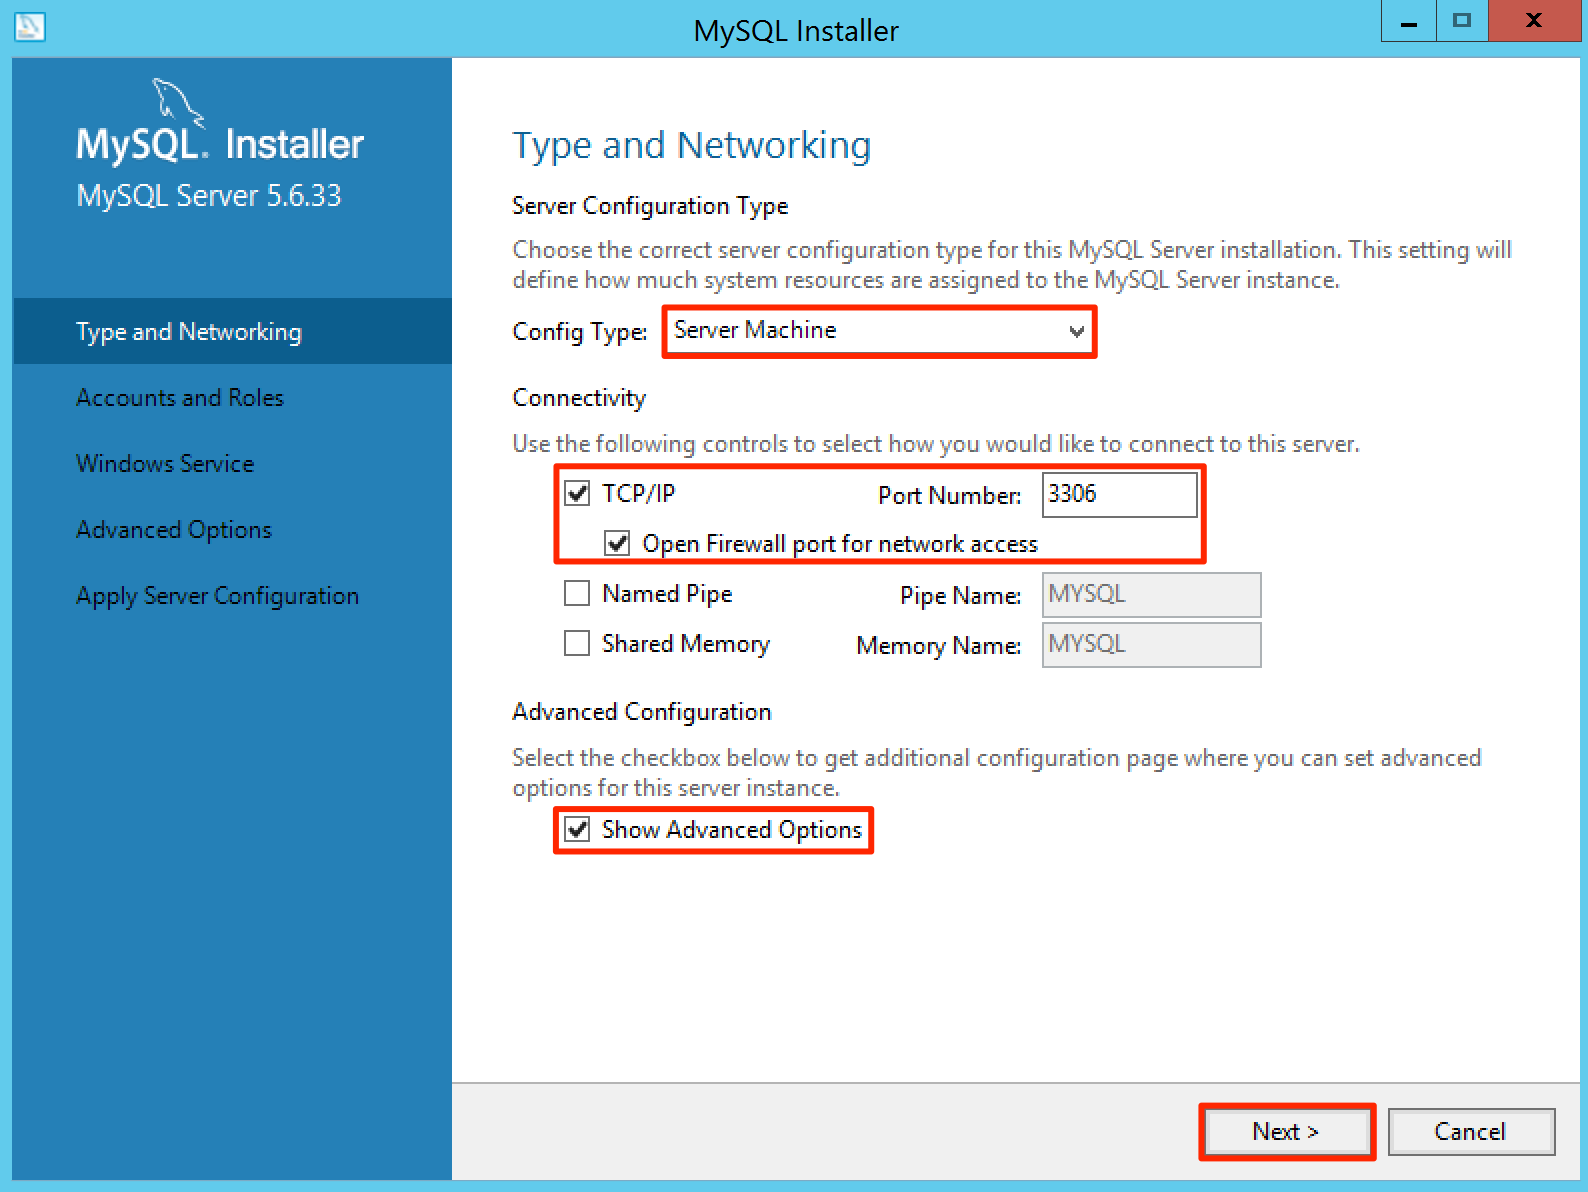
In the Type and Networking window, do the following:
- Select Server Machine from the Config Type menu.
- Under Connectivity, check ‘TCP/IP’ and set the ‘Port Number’ as 3306.
- Check ‘Open Firewall port for network access’.
- Check ‘Show Advanced Options’.
Configure MySQL Workbench. Follow the instructions in the MySQL Setup with MySQL Workbench article.
MS SQL
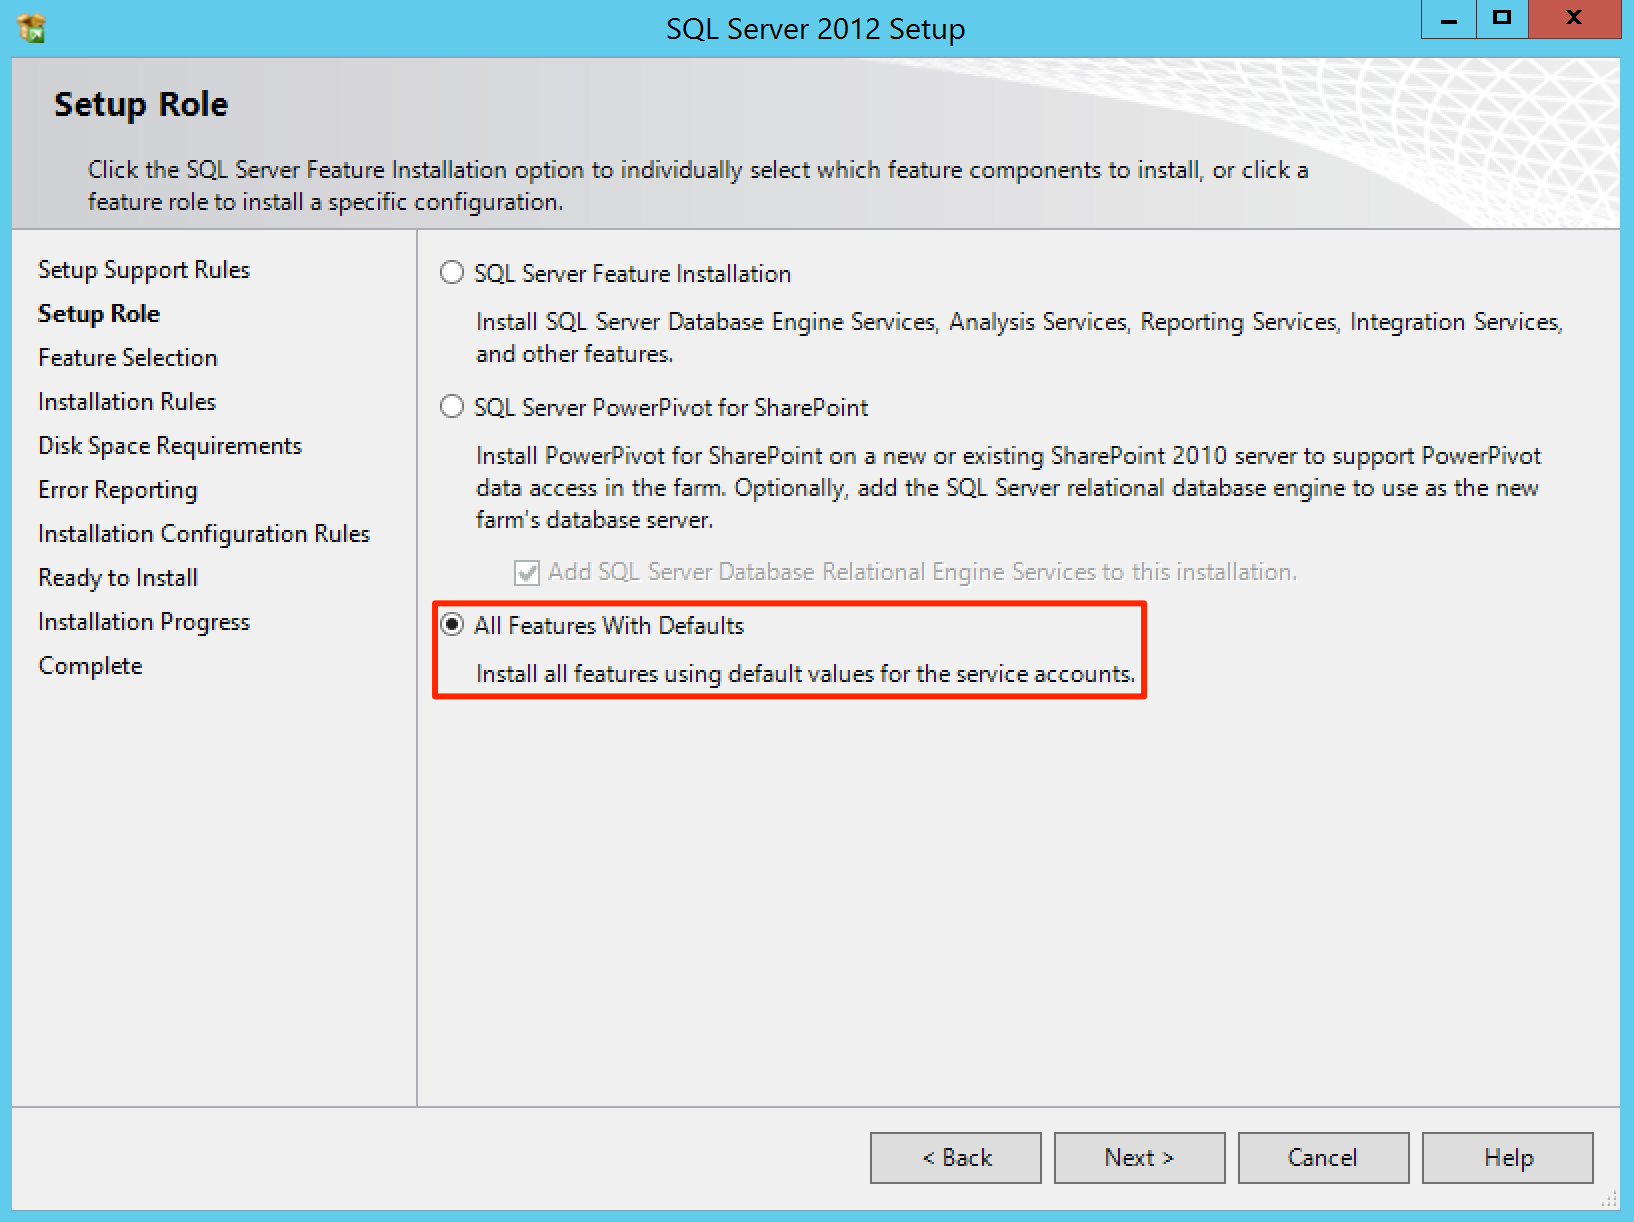
Install Microsoft SQL Server 2012. Follow the instructions here: http://www.microsoft.com/en-us/download/details.aspx?id=35575
In the ‘Setup Role’ window, select ‘All Features With Defaults’.
In the ‘Feature Selection’ window, simply keep all features that are selected by default.
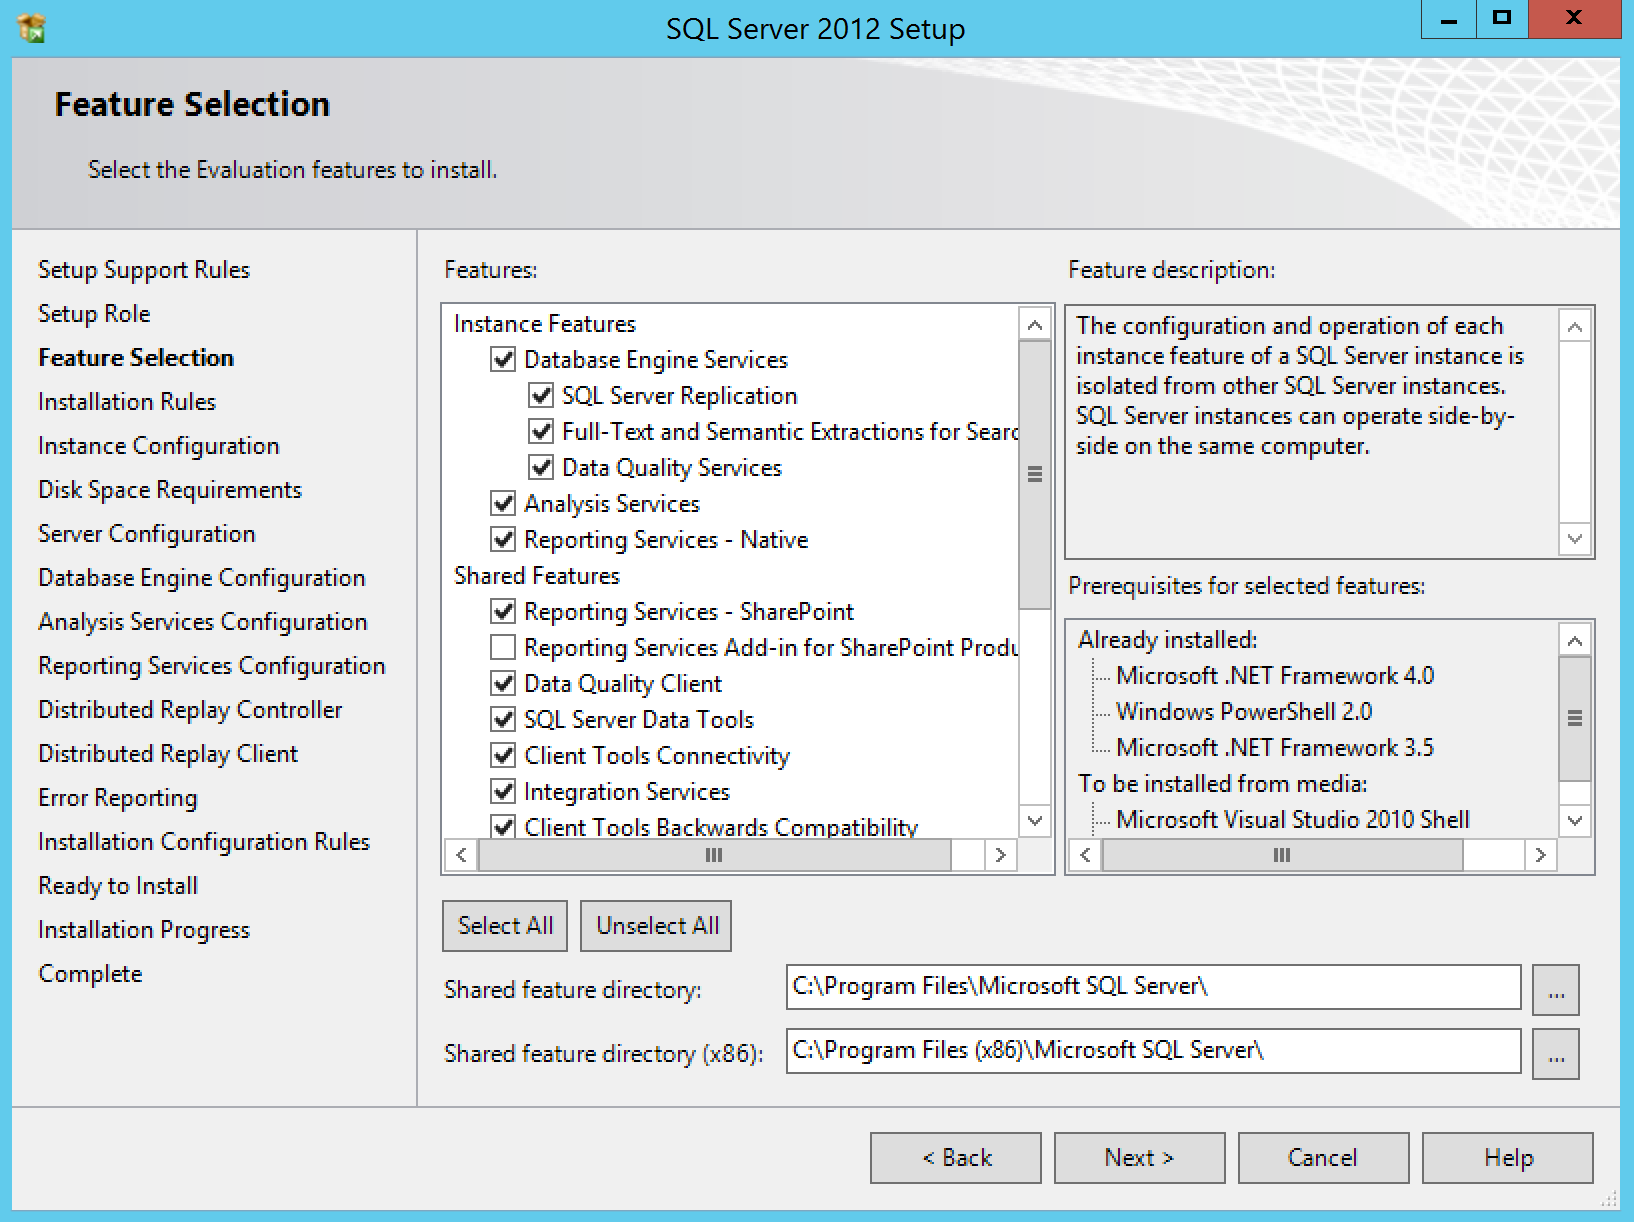
In the ‘Database Configuration’ window, select the ‘Mixed Mode’ option. Ensure that at least one user has been assigned administrative permissions for Analysis Services.

Configure MS SQL Management Studio. Follow the instructions in the MS SQL Setup with SQL Server Management Studio article.
Proceed to the next section below.
Install Appspace Installation Center
Note
The Appspace Installation Center (AIC) is used for the installation as well as the maintenance or upgrade of Appspace software. Please remove any old instances of the Appspace Installation Center from Windows Control Panel > Add/Remove Programs, prior to installation.
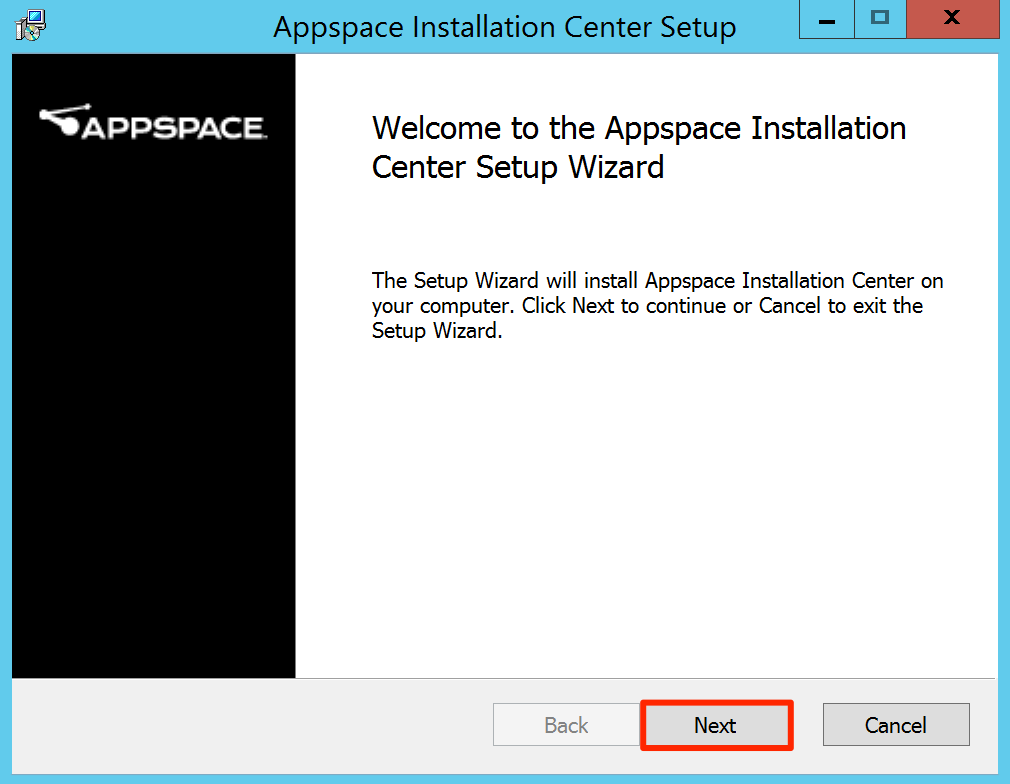
Launch the Appspace Installation Center setup file on your server machine. If prompted by a security warning, click Run to continue.
Click Next in the ‘Welcome to the Appspace Installation Center Setup Wizard’ window.
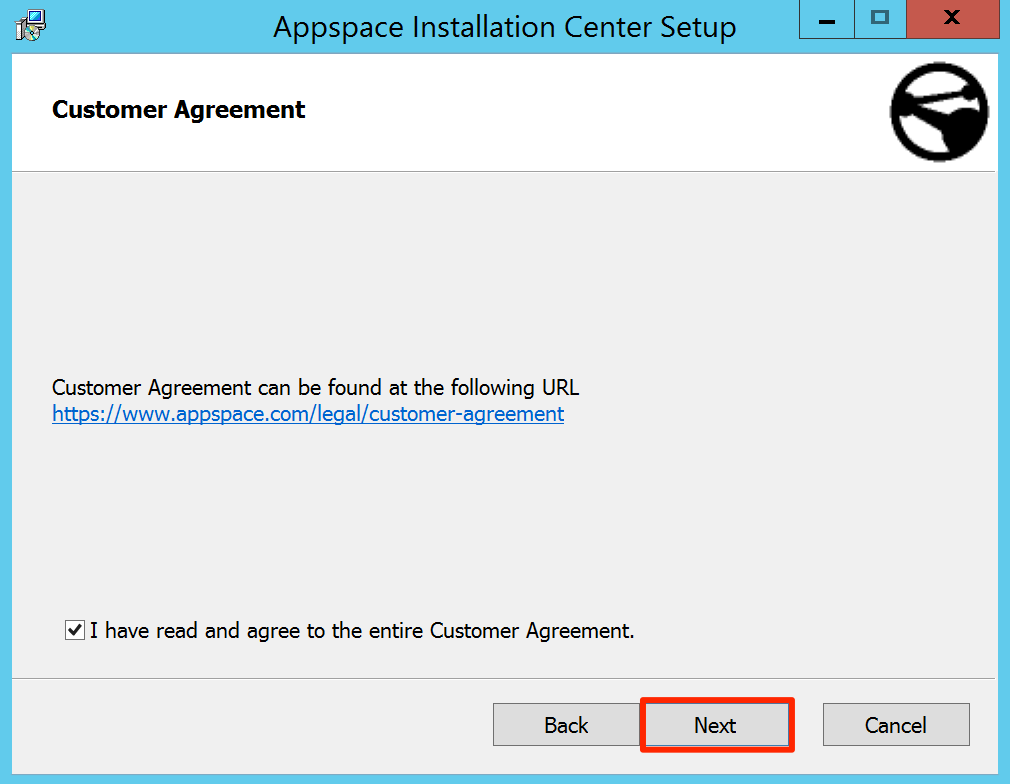
In the Customer Agreement window, check the box to accept the terms and click Next to continue.
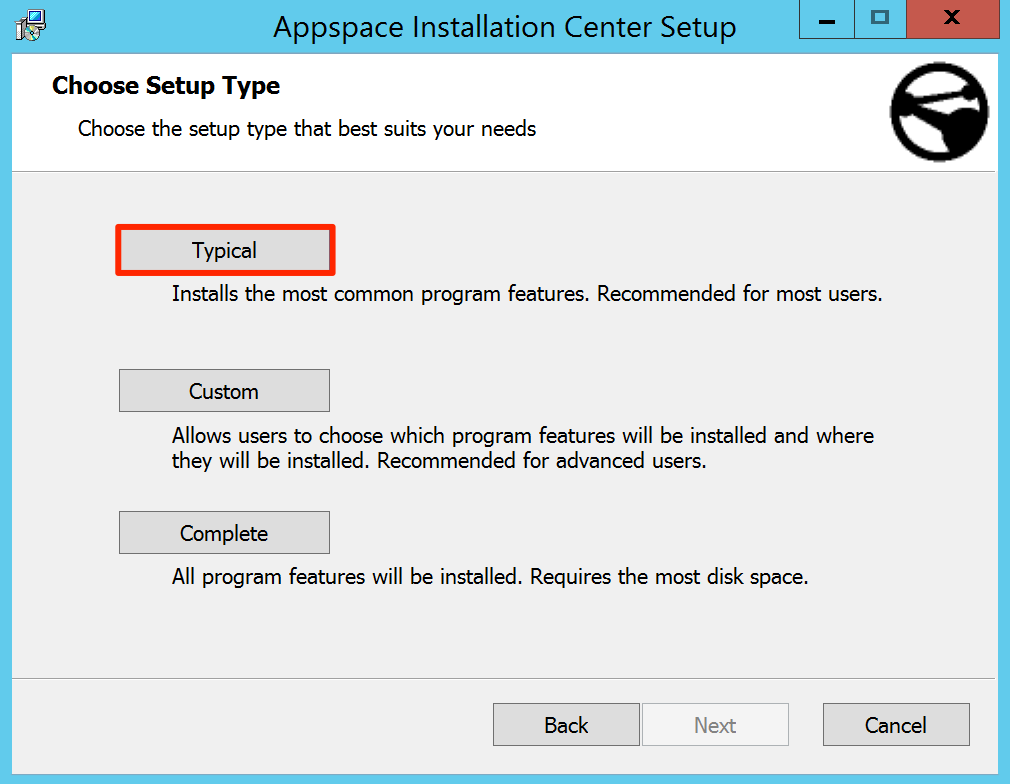
In the ‘Choose Setup Type’ window, select Typical (this is the most common type of installation) and click Next.
Click Install to begin the installation.
If prompted, click Yes to allow the program to make changes to the computer.
Click Finish when you see the ‘Completed the Appspace installation Center Setup Wizard’ message.
Proceed to the next section below.
Configure Folder Permissions
Grant read and write permissions to IIS_IUSRS on the following folders:
- C:/temp
- C:/Windows/Temp
- C:/Appspace
Warning
Failure to set permissions may result in a failed server install due to access restrictions.
Navigate to the ‘temp’ folder on your Windows server. If you do not see the folder, create the folder in the C drive.
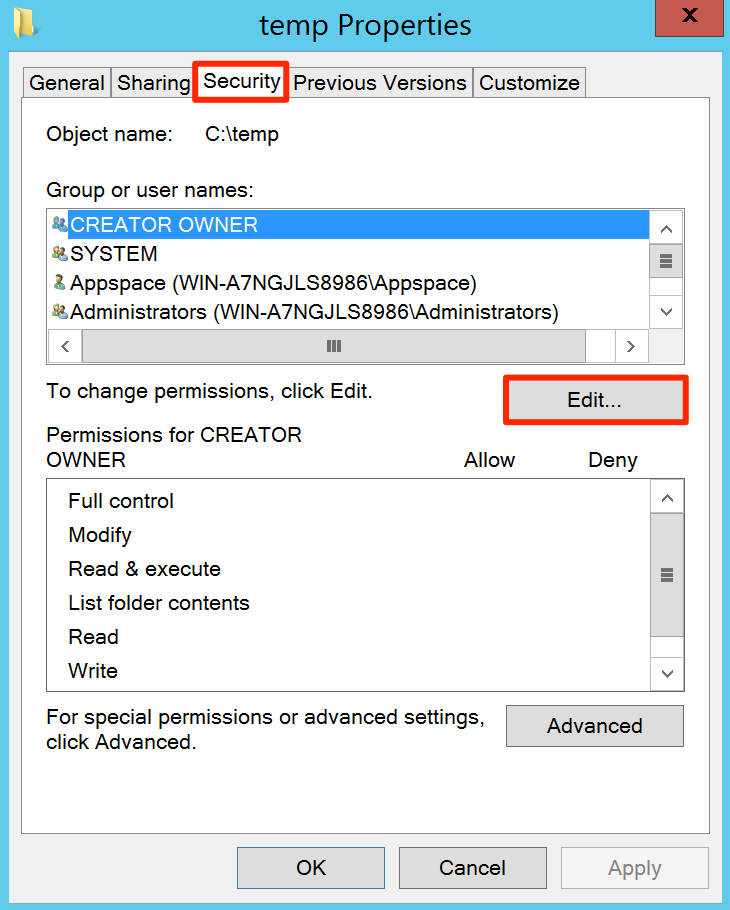
Right-click on the folder and select Properties.

Select the Security tab and look for IIS_IUSRS in the ‘Group or user names’ section.
If it is listed, proceed to Step 6.
If you do not see it, select Edit to continue.
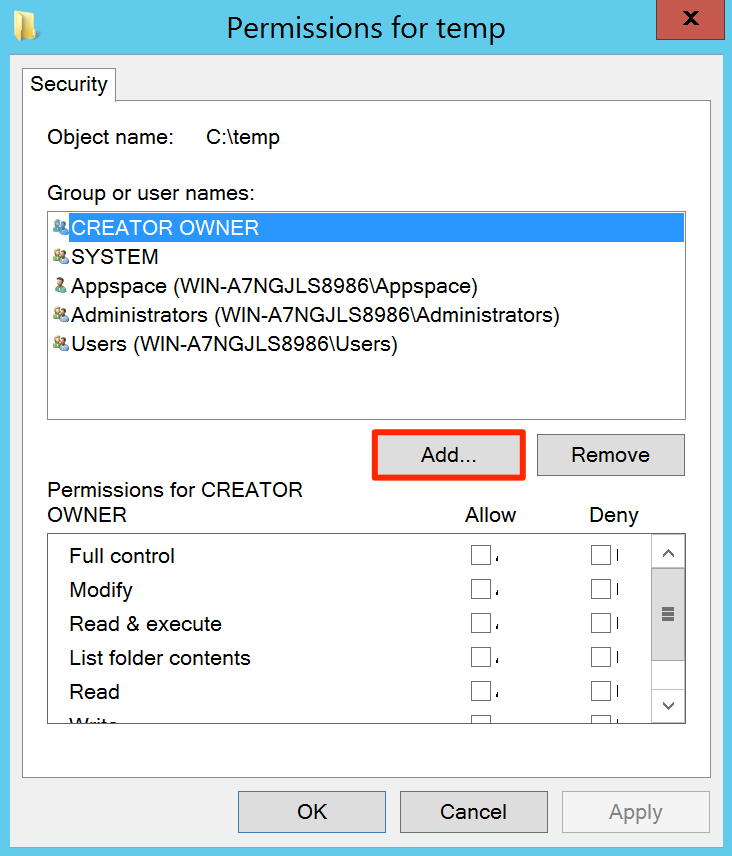
On the next window, select the Add… button to create the group name.
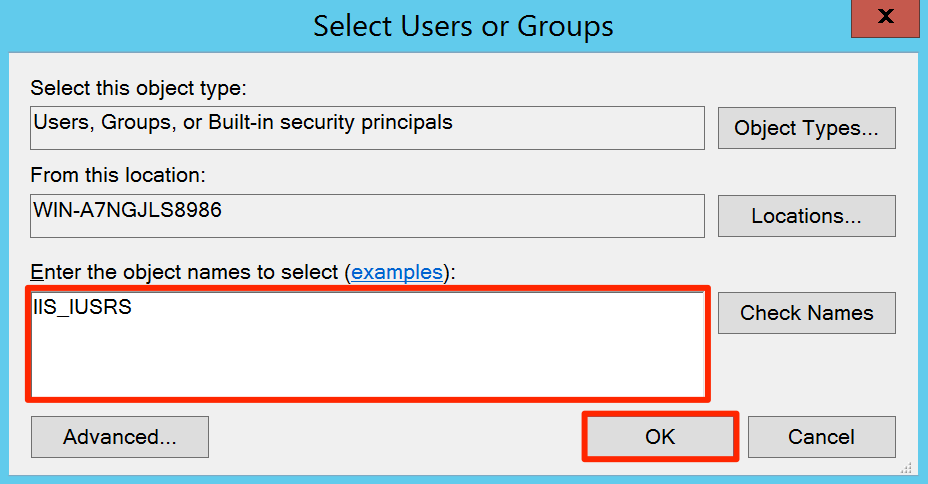
Enter the value, “IIS_IUSRS”, in the ‘Enter the object names to select’ field. Click OK to continue.
Select IIS_IUSRS, and check the Allow check box for ‘Full control’. Click OK.

Repeat Step 1 to Step 6 for the other two folders listed above.
Proceed to the next section below.
Install Appspace
Launch the Appspace Installation Center (AIC) from the desktop. If prompted by a warning, click Yes to allow the program to make changes to the computer.
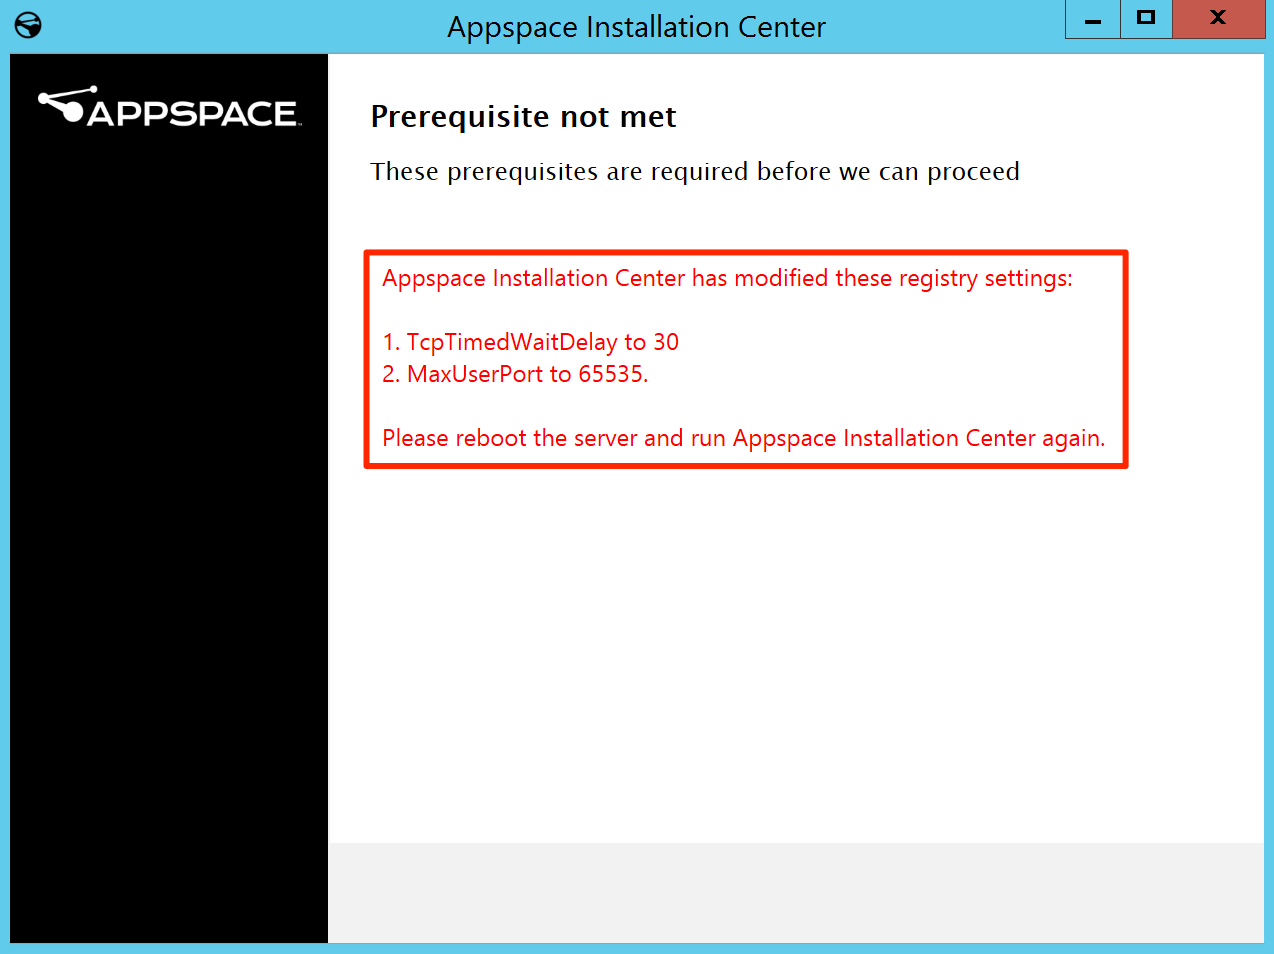
At this point you may see the ‘Prerequisite not met’ window. This is a notification message that informs you of the two Windows registry changes the installation center has just modified (TcpTimedWaitDelay and MaxUserPort).
Close the window and perform a manual restart of your Windows server for the changes to take effect.
Right-click and launch the Appspace Installation Center using the ‘Run as Administrator’ option.
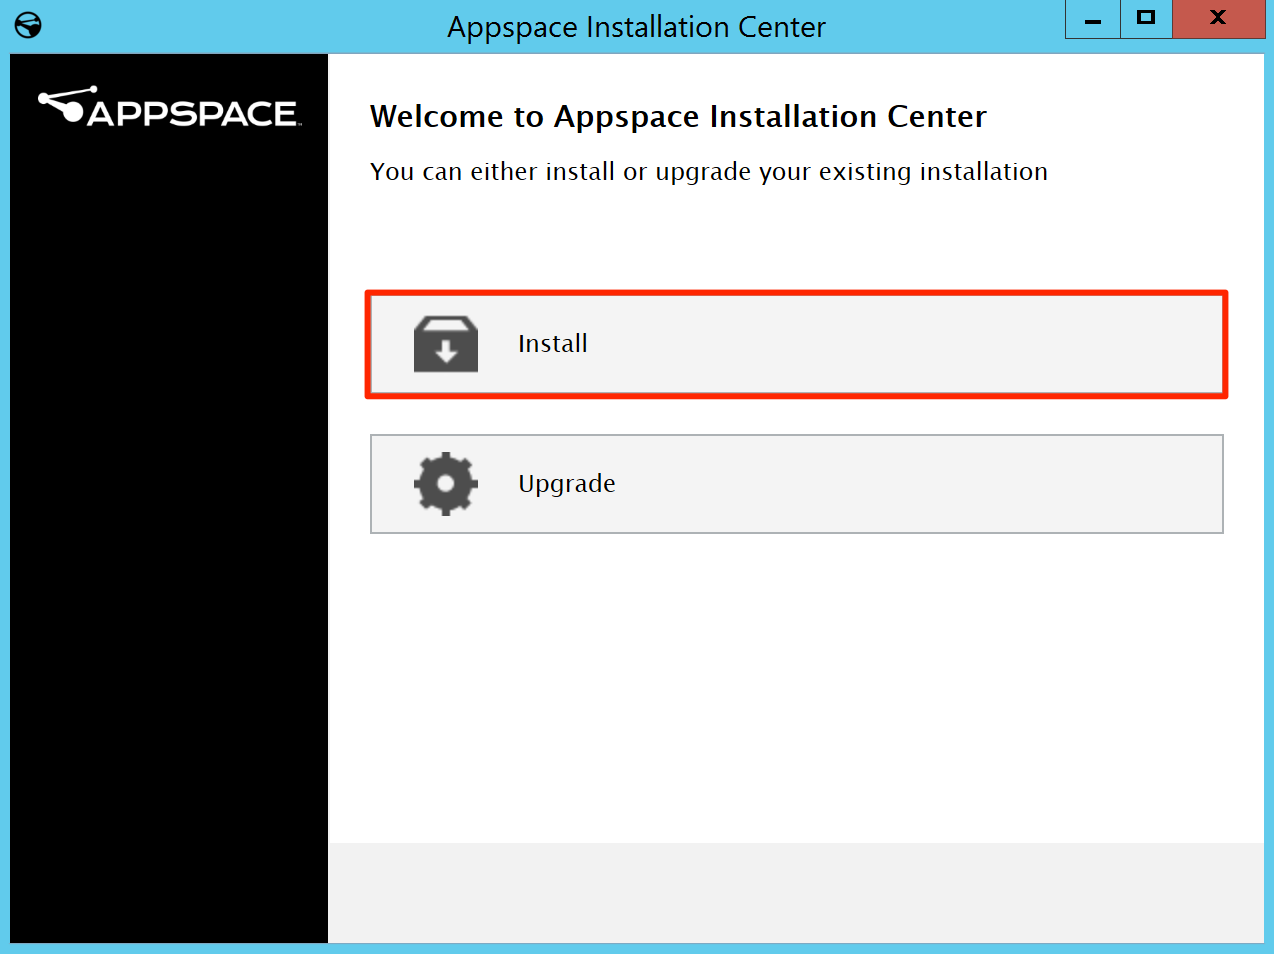
Click Install in the ‘Welcome to Appspace Installation Center’ window.
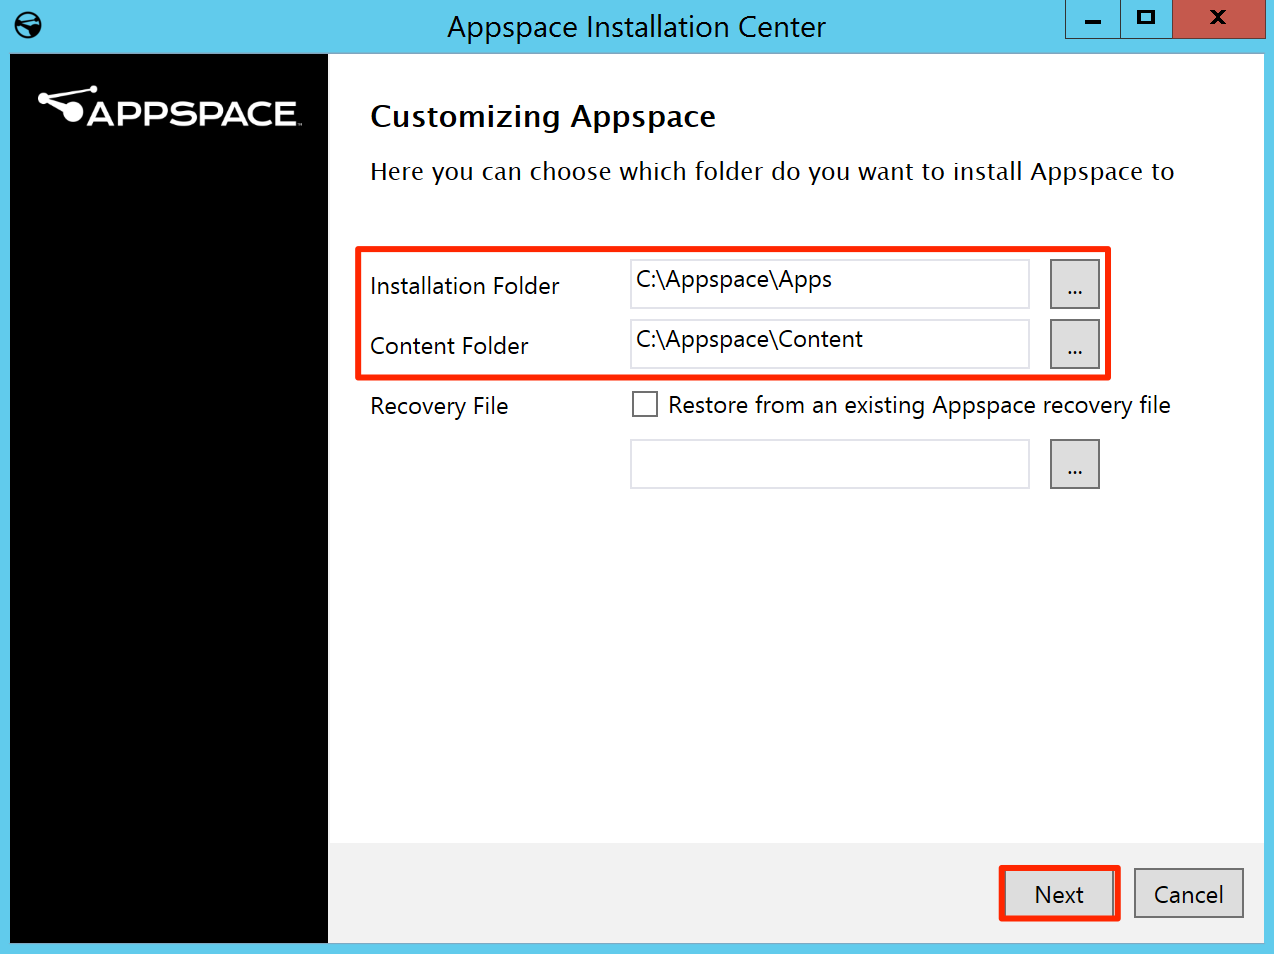
Click Next to continue in the Customizing Appspace window. You may choose to change the installation folder.
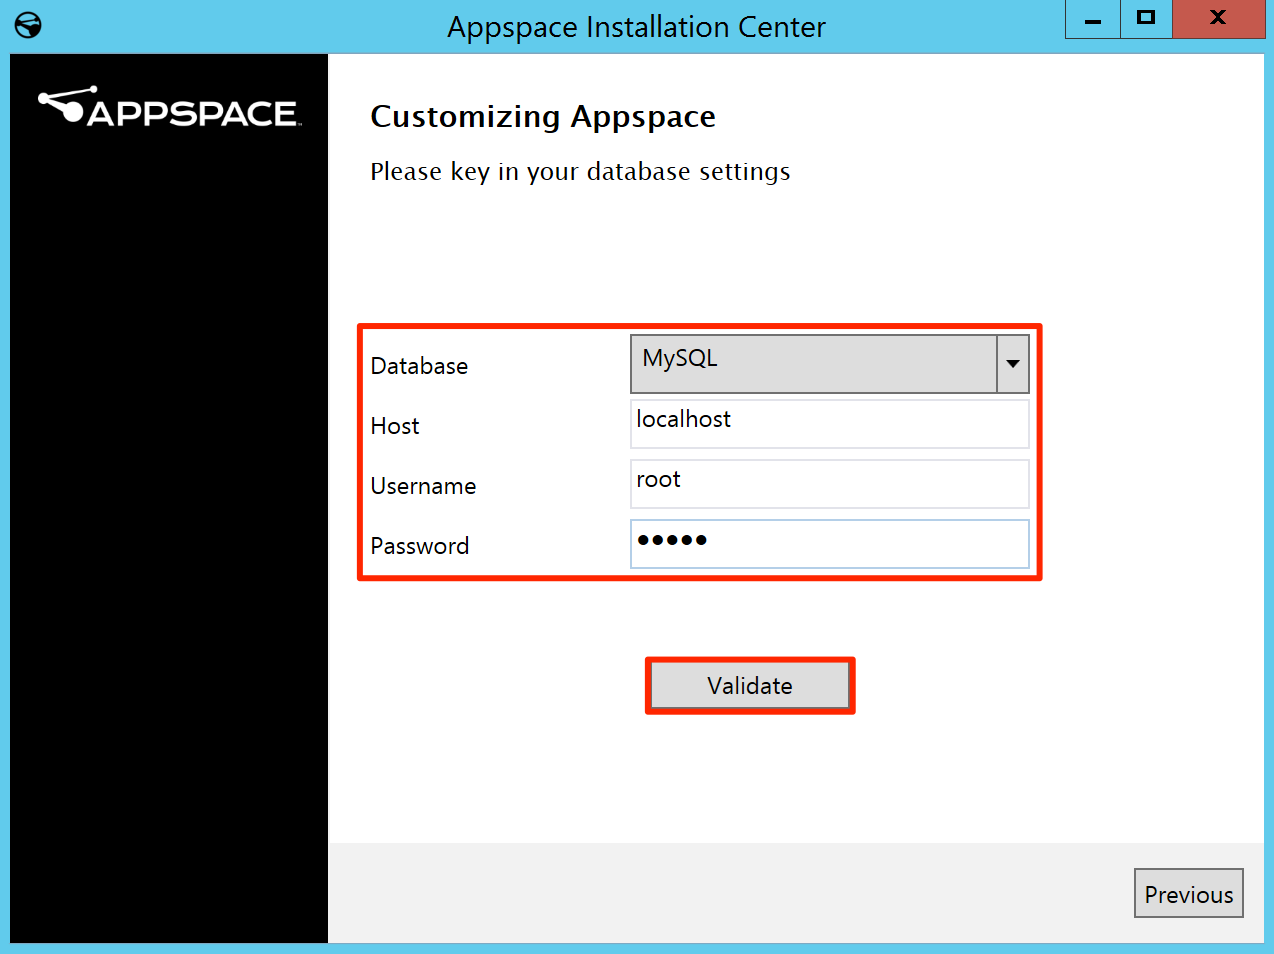
In the Database menu, select your server’s database type, input the credentials, and click Validate.
You may leave localhost as the Host. If the database engine is installed on a separate server, replace the Host value with the IP address of the remote database server.
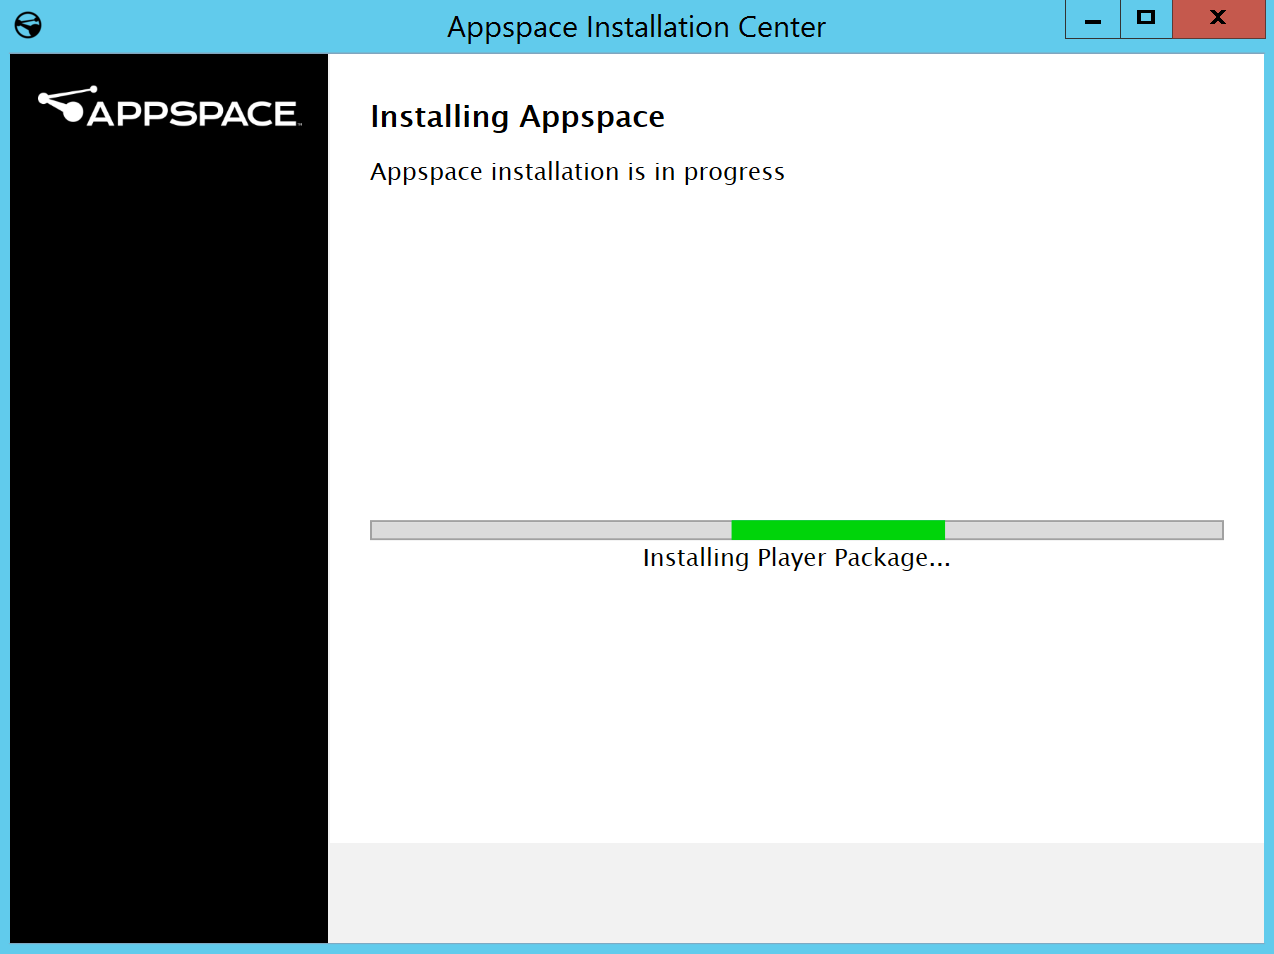
Please wait while Appspace is being installed. Installation duration varies and typically requires at least 20 minutes.
Click OK when you see the “Appspace Installation Complete” message, and perform a manual restart of your Windows server.
Connect to the Appspace server from a web browser via one of the following two URL paths:
http://<server_name_ip_address>/app
(replace <server_name_ip_address> with the DNS name or IP address of your Appspace server)
http://localhost/app
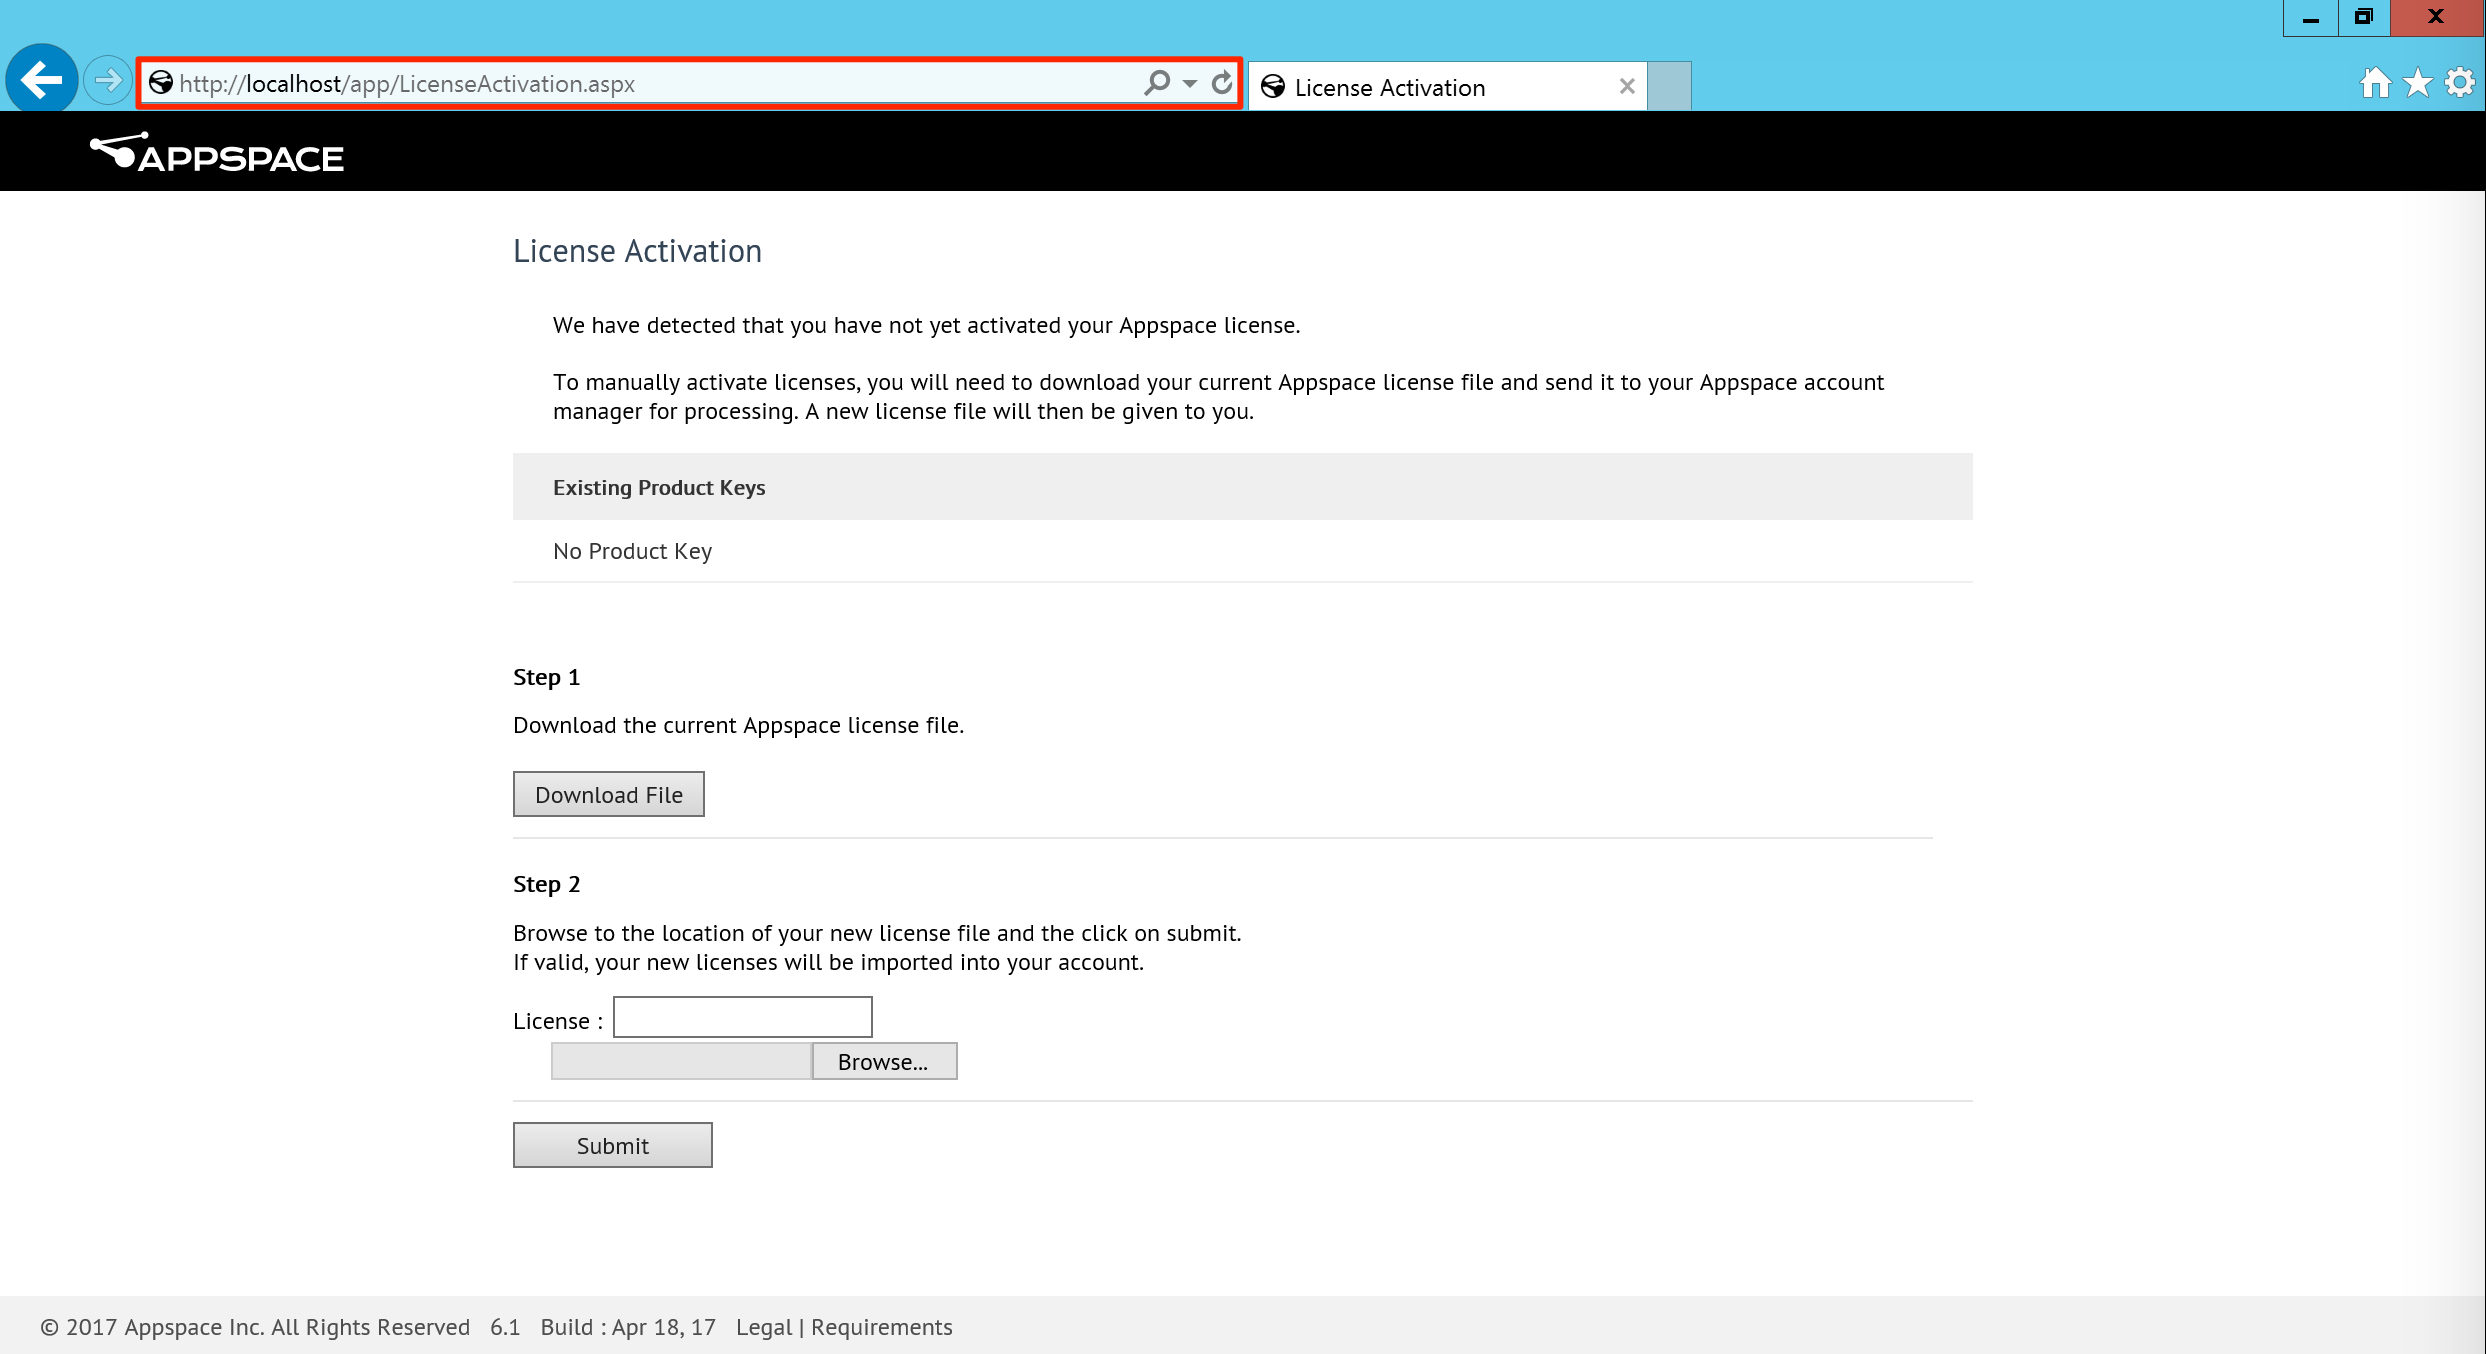
When you access Appspace for the first time, you will be redirected to the License Activation page. Please refer to Activating Appspace on-premises for more information.