Personalising Appspace
Overview
Appspace provides you with the flexibility to customize certain aspects of your server instance. The Instance Settings tab allows users to configure common account preferences (note that some options are only available for on-premise deployments of Appspace instances). The available personalisation options are:
- Appspace Domain – Administrators can set up their own Appspace subdomain or use a custom domain
- Custom Sign In Page – Administrators can create a custom login page for Appspace users to sign in. When a user signs out they will be directed to the custom login page
- Website Logo – Administrators can customize the Appspace logo in the header to use their company or product logo
- Header Background – Administrators can customize the Appspace header to use a custom color
- Language – Users can configure the default language to load when accessing Appspace
- Time Zone – Users can configure the time zone to display date / time in Appspace
Configuring Your Appspace Domain
Important
This configuration/customization is only available for on-premise Appspace server instances and is not available for Appspace Cloud-only users.
Step 1
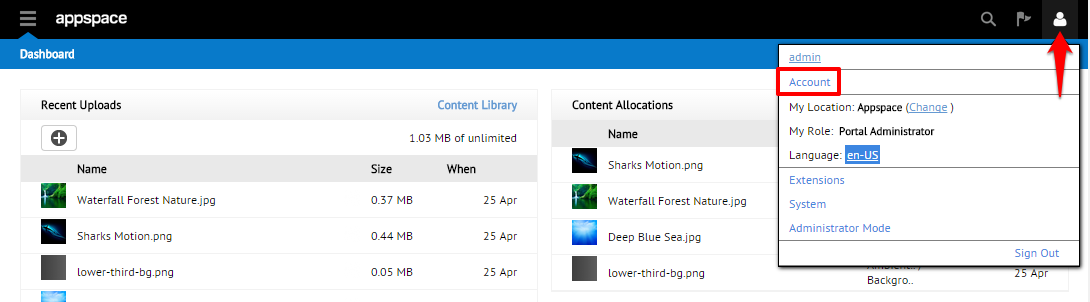
Begin by accessing the Account page through the User icon in the top right drop-down menu.
Step 2
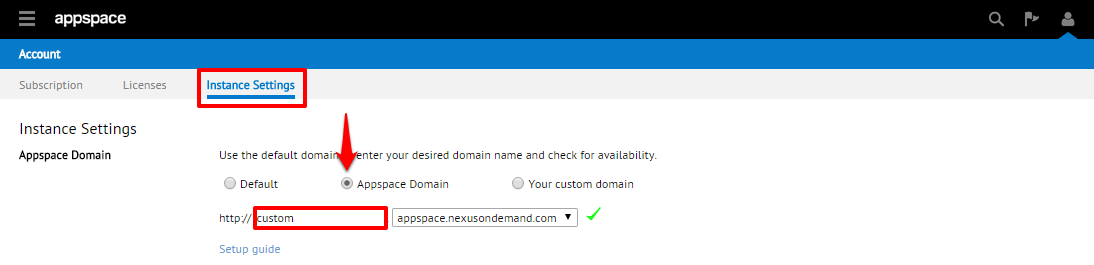
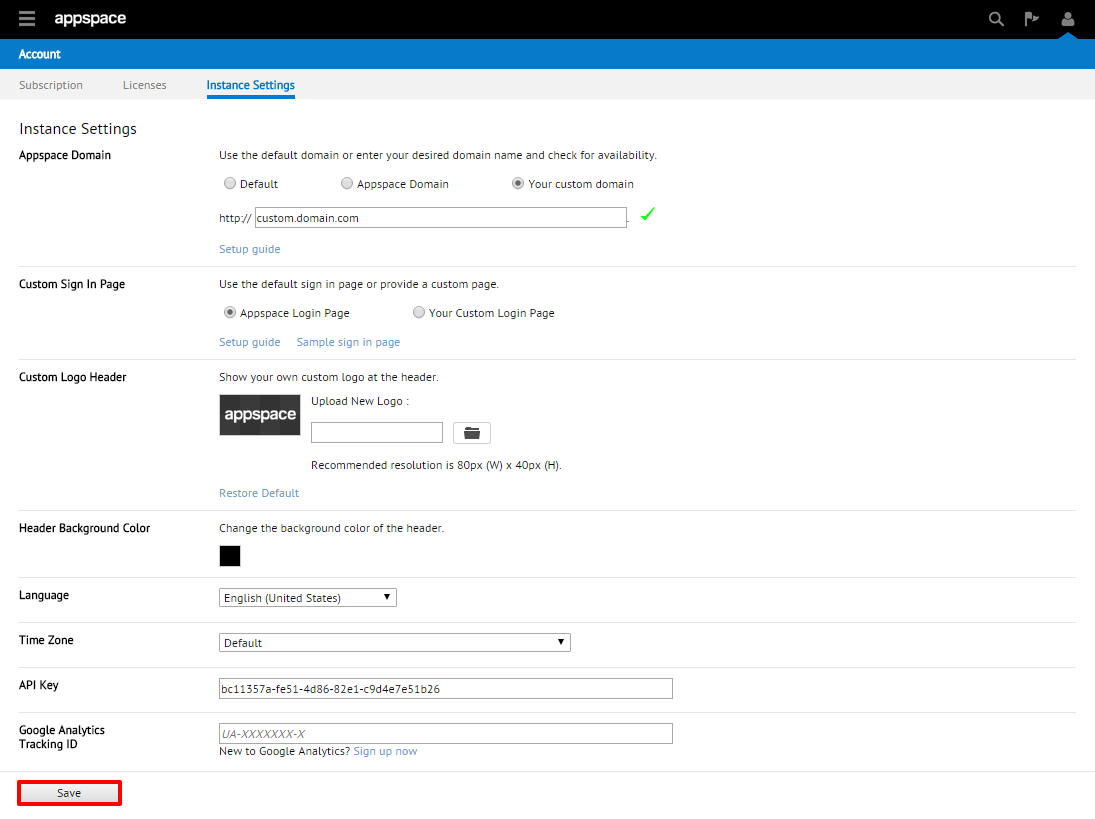
Select the Instance Settings tab. Proceed to configure the desired domain by selecting the ‘Appspace Domain’ radio button and entering the subdomain in the field provided.
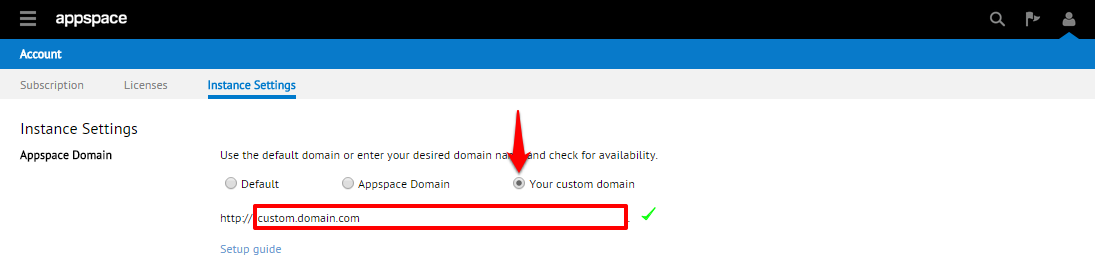
You may alternatively choose to assign a custom domain to the Appspace server instance by using the ‘Your custom domain’ radio button and entering the full domain in the field provided.
Tip
Click on ‘Setup guide’ for some additional tips on properly configuring your custom domain.
Step 3
When finished, click Save to apply your changes.
Setting Up and Configuring a Custom Login Page
Important
This configuration/customization is only available for on-premise Appspace server instances and is not available for Appspace Cloud-only users.
Step 1
To set up your own custom login page to Appspace, you will first need to create your custom login landing page. Your login form must have the username and password HTML text inputs with the following names:
<input type=”text” name=”nexuslogin” id=”nexuslogin” />
<input type=”password” name=”nexuspassword” id=”nexuspassword” />
Your login form must post to Appspace login page URL “http://appspace.nexusondemand.com/app/login.aspx”. Once your login page with the username/password form has been prepared, upload (host) it to a publicly accessible server.
Example Login Page
The following is an example of a simple custom login page and the associated HTML code.

<html>
<head>
<title>My Custom Login Page</title>
</head>
<body>
<div id=”stylized” class=”myform”> <form id=”form” name=”form” method=”post” action=”http://appspace.nexusondemand.com/app/login.aspx”>
<h1>Your custom login page</h1>
<p>your company details here</p>
<label>Username <span class=”small”>your appspace login</span> </label>
<input type=”text” name=”nexuslogin” id=”nexuslogin” />
<label>Password <span class=”small”>your appspace password</span> </label>
<input type=”password” name=”nexuspassword” id=”nexuspassword” />
<button type=”submit”>Login</button> </form> </div>
</body>
</html>
Step 2
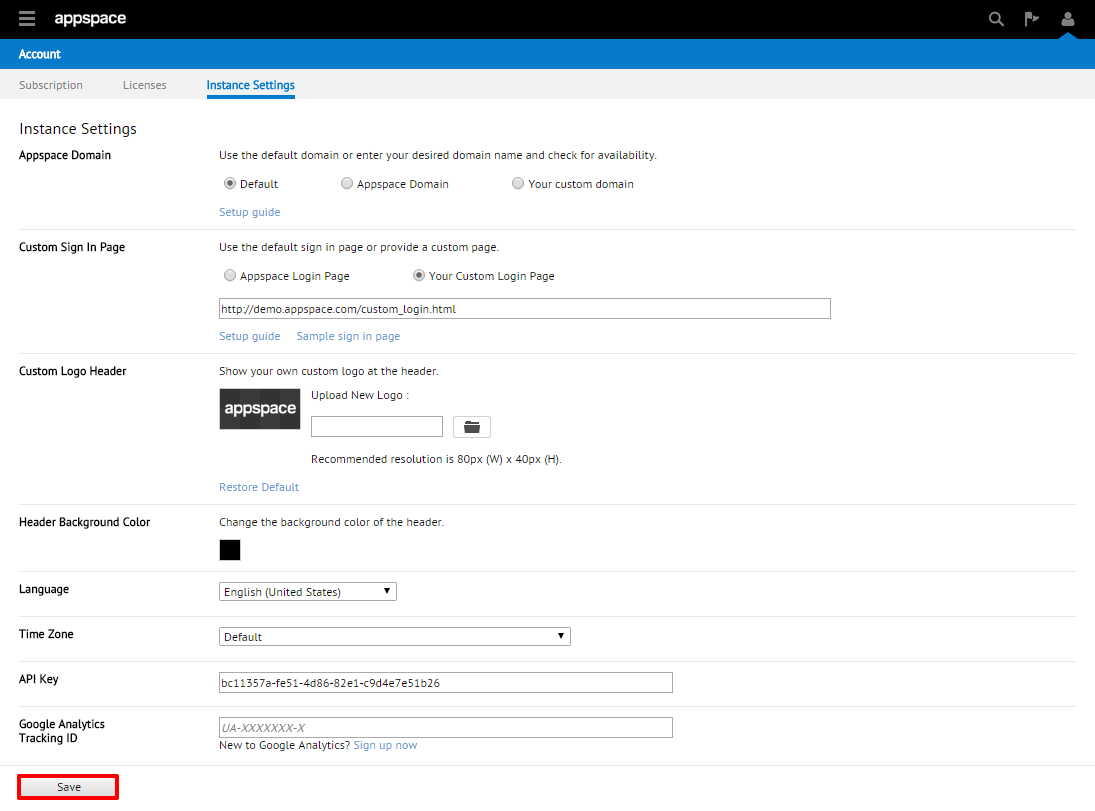
From the Instance Settings tab, select the radio button for ‘Your Custom Login Page’ and enter the URL of your custom login page.

Tip
Click on ‘Setup guide’ for some additional tips on properly configuring your custom login page.
Step 3
When finished, click Save to apply your changes.
Setting Up Your Custom Appspace Logo
Administrators have the ability to upload their own logo for their Appspace account such that all users that belong to the same account will see their company’s logo (instead of the default Appspace logo) once logged in.
Step 1
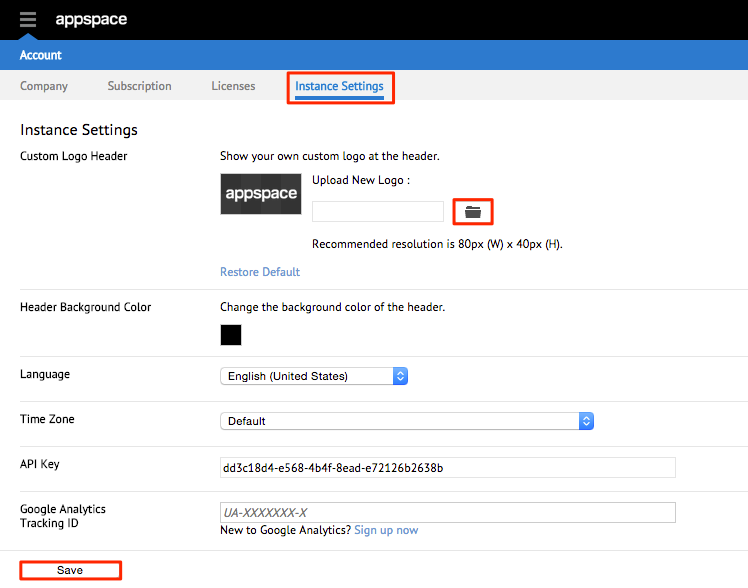
From the Instance Settings tab, select the folder button to browse and select the desired logo image. Once selected, click Save at the bottom of the page to apply the logo change.
Tip
The recommended image size is 80px x 40px.
Changing Your Appspace Background Header Color
Step 1
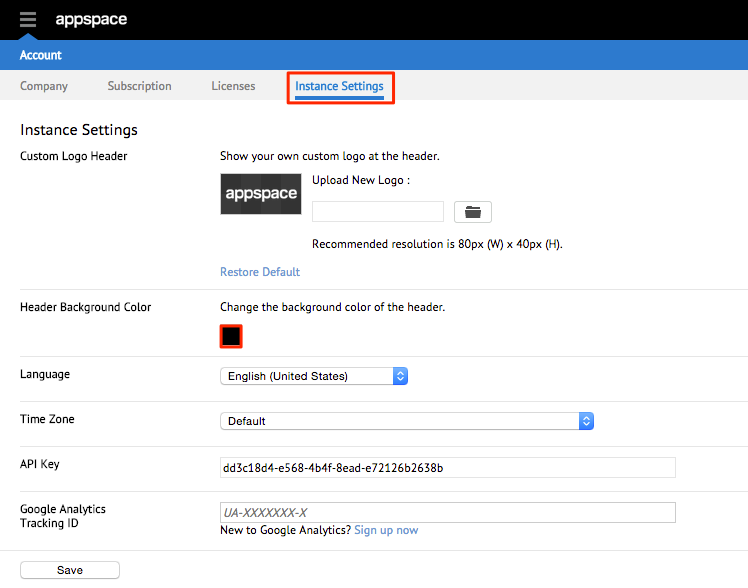
From the Instance Settings tab, select the colored box under the Header Background Color section.
Step 2
A Color Picker should be displayed and allow you to select the desired background color. Choose (or enter the value for) your desired color and click Apply. Click Save at the bottom of the page to apply your new/custom background color.

Selecting Your Default Language
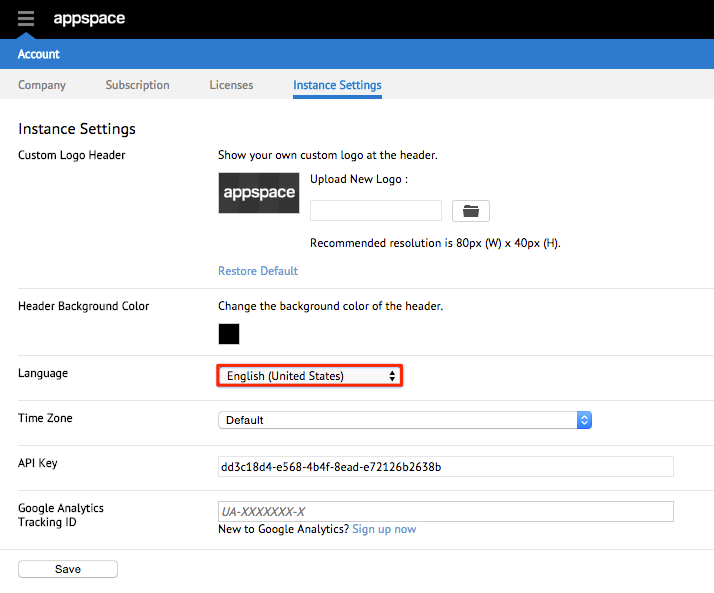
Step 1
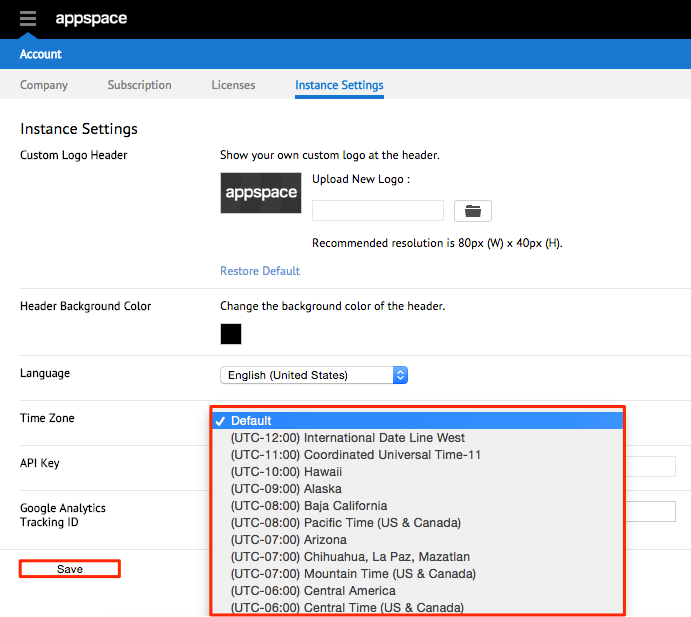
From the Instance Settings tab, use the drop-down menu in the Language section to select the desired default language.
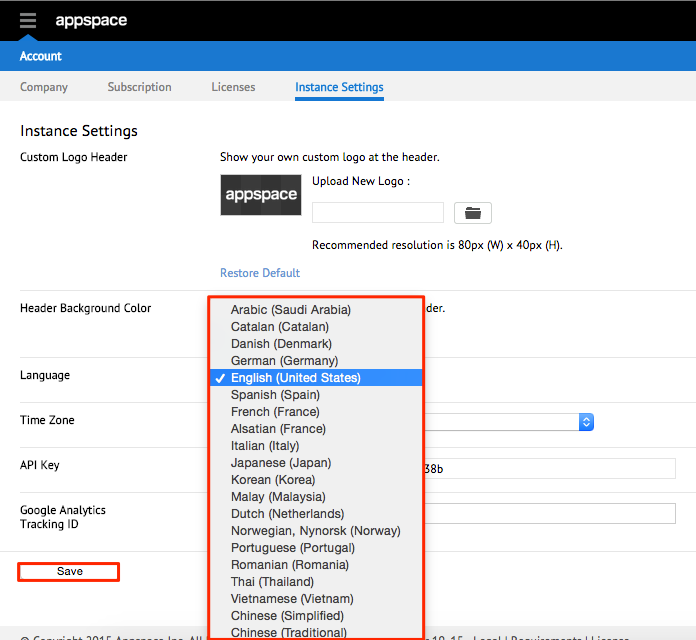
Step 2
Select your desired language. Click Save at the bottom of the page to apply the language change.
Selecting Your Appspace Time Zone
Step 1
From the Instance Settings tab, use the drop-down menu in the Time Zone section to select the desired time zone.

Step 2
Select your desired time zone. Click Save at the bottom of the page to apply the time zone change.