Managing Networks
Overview
A network is a construct that enables users to organize and partition resources within an Appspace account. It allows for the grouping of users, applications, and devices into a hierarchical organization. Some of the motivation for using networks is to replicate the organizational structure of an enterprise within the Appspace system. This type of planning enables users to focus within their scope while simultaneously giving management level administrators a high-level overview.
The following Appspace resources can be grouped under a network:
- User Groups
- Users
- Applications
- Content
- Devices
A network is represented as a hierarchical tree structure. Every Appspace account comes configured by default with one root network that can be divided into other sub networks. A user within a network has visibility to resources within the network and any other sub networks.
Pre-requisites
- The below network management tasks require at minimum the Portal Administrator
- or Network Administrator role
Adding Networks
Step 1
From the Network Management extension, click on the + button to continue.
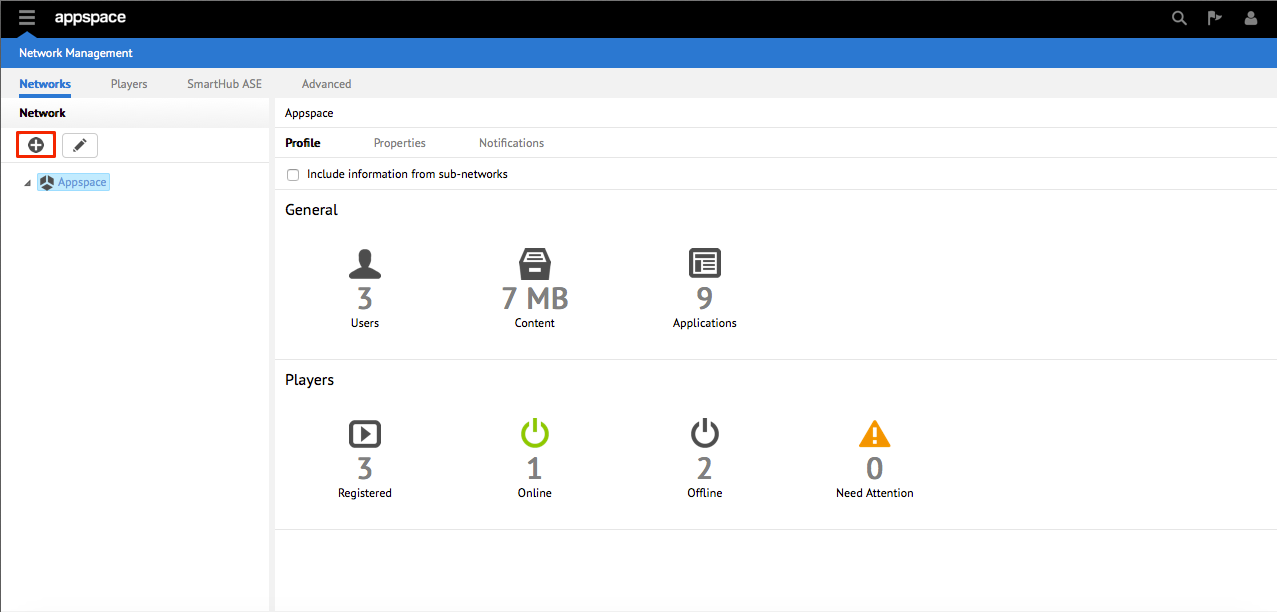
Note
A new network can be added to any existing node.
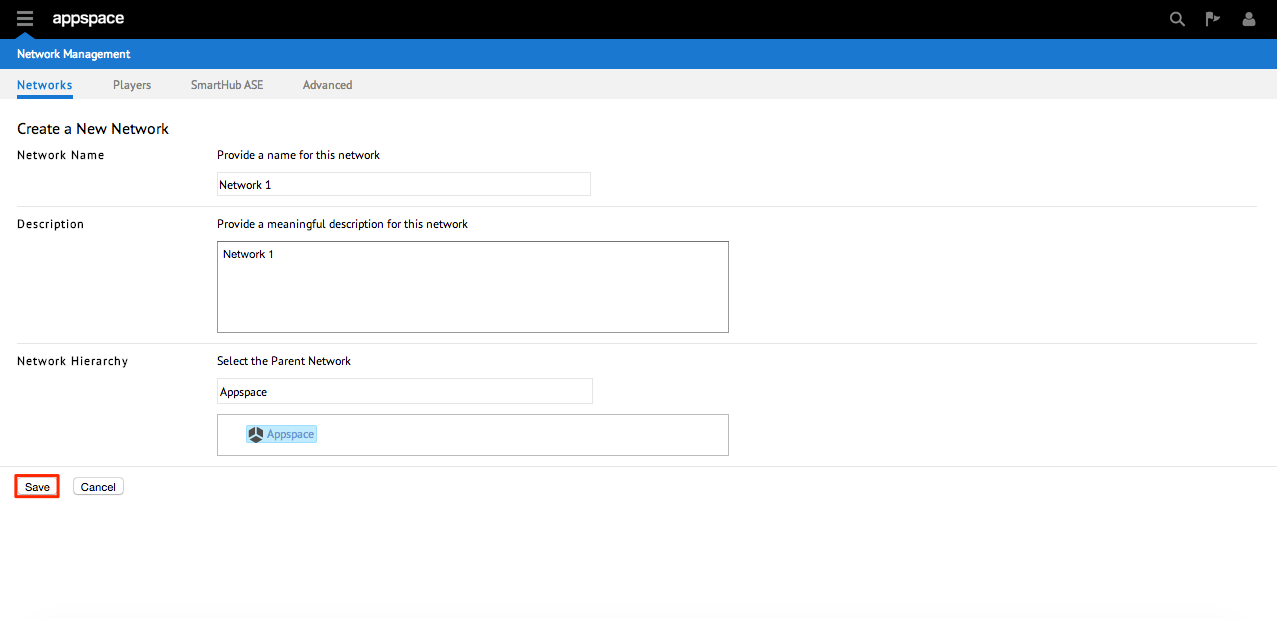
Step 2
Fill in the various fields for the details of the network. In the Network Hierarchy section, select the parent node in which the new network will reside in. When finished, click the Save button to confirm.
Editing Existing Networks
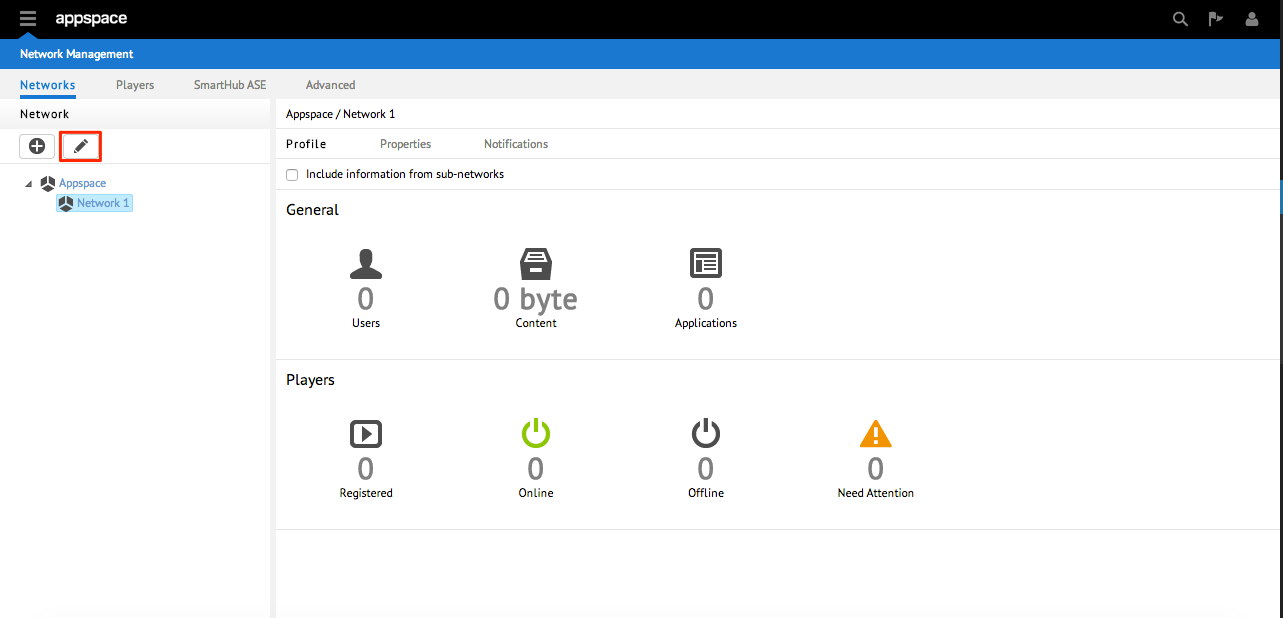
Step 1
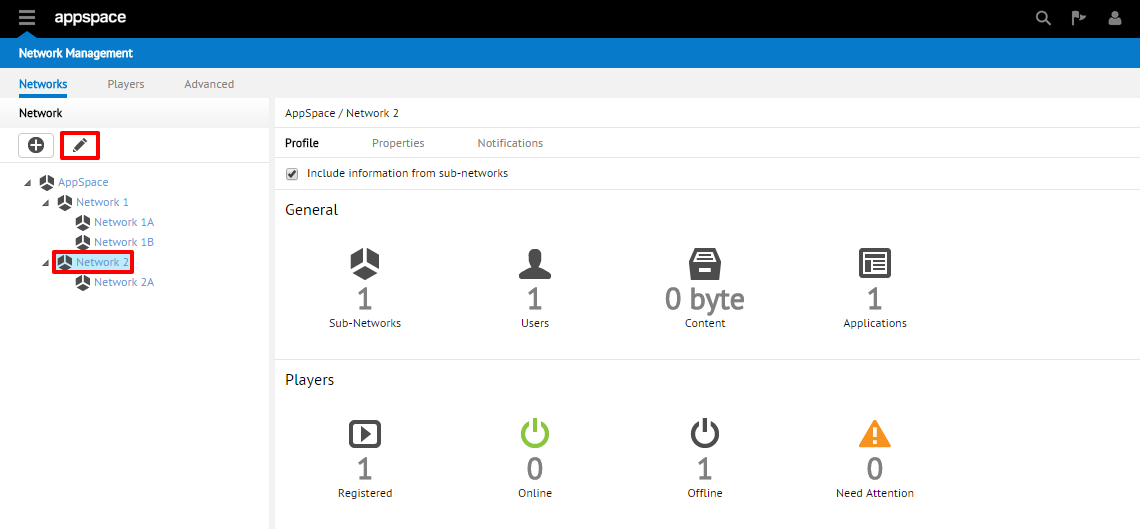
From the Network Management extension, select the network to be edited from the hierarchy tree. Click on the pencil button.
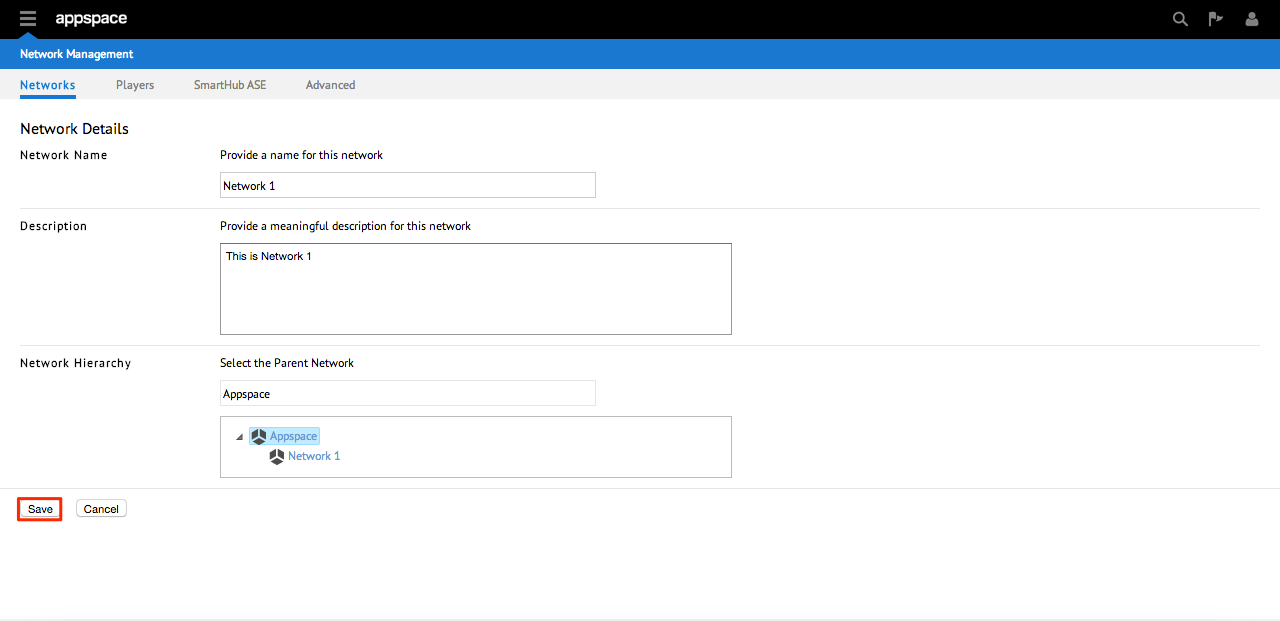
Step 2
Under Network Details, make the desired changes to the various fields and when finished, click the Save button to confirm the changes.
Adding New Network Properties
Network properties are typically non-visual settings that may include things such as screen burn time, device credentials, or software update configurations. The network properties listed and defined at each level of the network will be applied to all media player devices within the network as well as any of its sub-networks.
Step 1
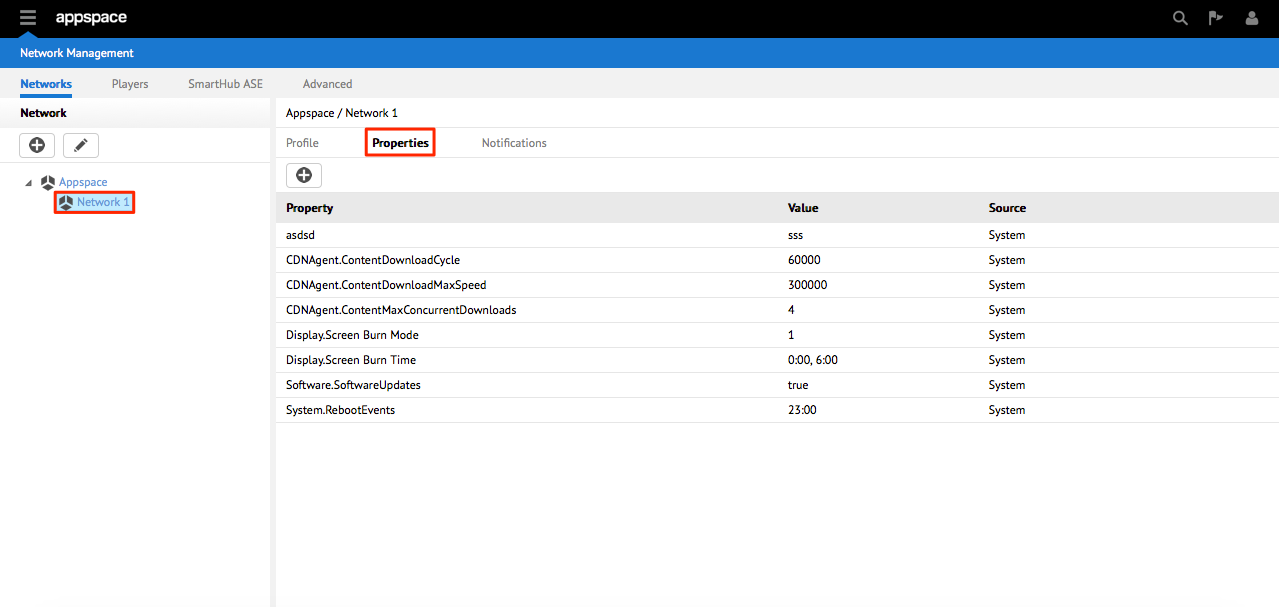
From within the Network Management extension, select the Networks tab. From the left-hand column, select the desired network node in which to add new network properties. Click on the Properties sub-tab.
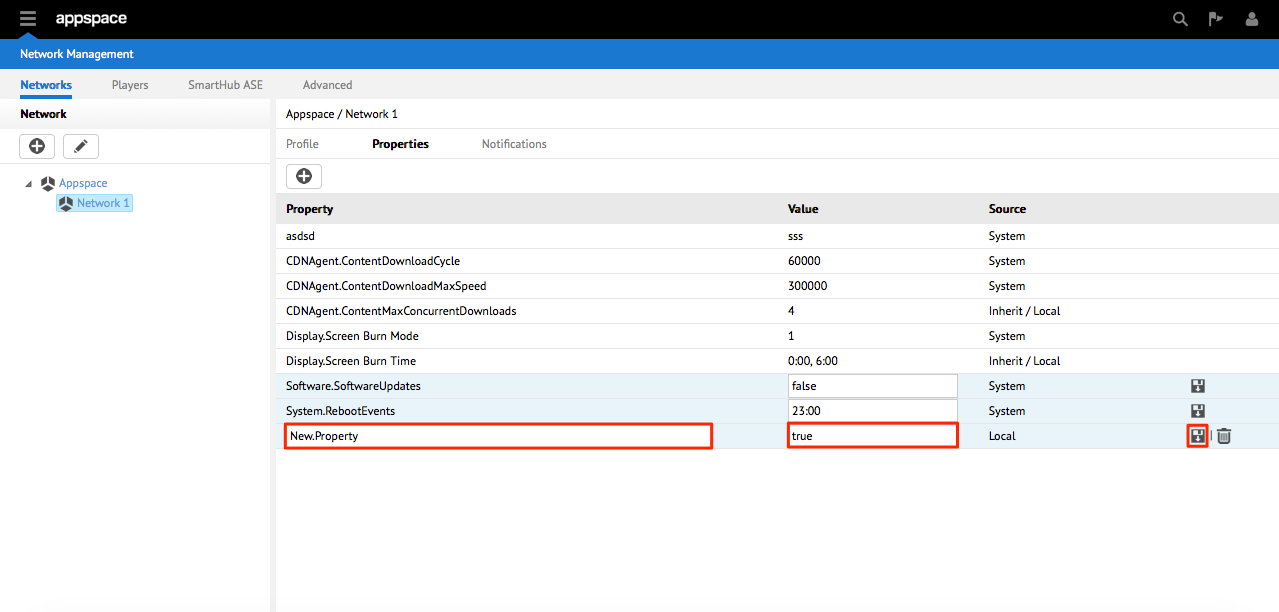
Step 2
Click the + button to begin adding a new network property for this network node. You should see a new row appear that allows you to enter the Property and Value of this entry. When finished, click the Save icon.
Note
- You are also able to edit any existing property by clicking the property’s row.
- Remember that all devices within this network node as well as devices in sub-networks under this node will also inherit these properties.
Deleting Networks
Step 1
From the Network Management extension, select the network to be deleted/removed from the hierarchy tree. Click on the pencil button.
Warning
You may select a network which contains sub-networks. Please take careful note that upon deleting a parent level network, all sub-networks and related assets (user groups, users, media assets, applications) will also be deleted from the system.
Step 2
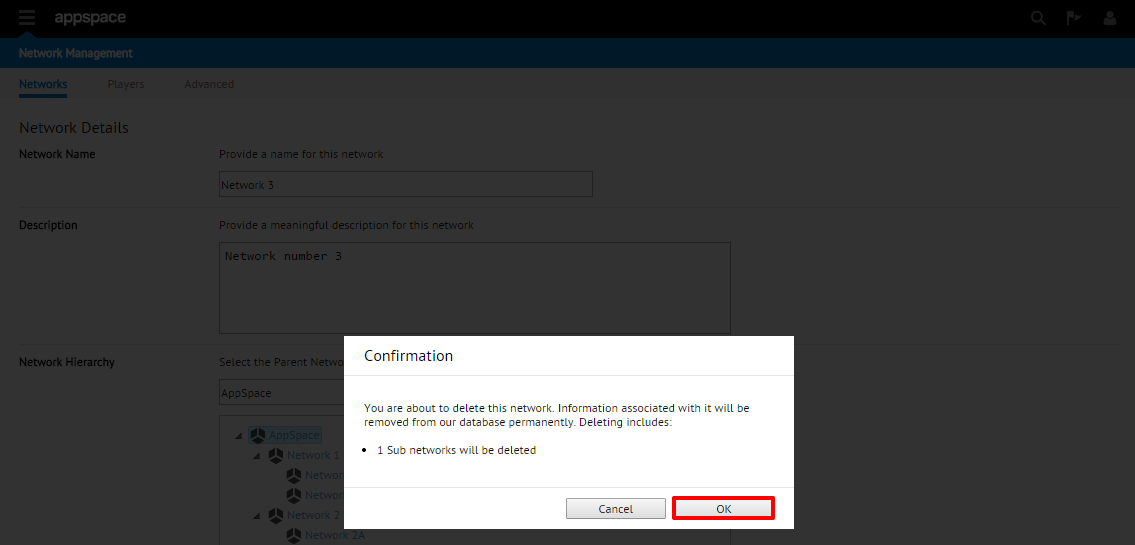
Under Network Details, check the box next to “Delete this Network”.

Step 3
A confirmation window should appear to warn you of any additional sub-network levels and associated content or assets that will also be removed from the system as a result of deleting this network. Click OK when you are ready to proceed.
Another confirmation dialog should appear and prompt you to enter your account password in order to proceed with deleting the network. Click Confirm once you have entered your password to finish removing the network from the system.
