Edge 300 Firmware Upgrade
Overview
This guide outlines the steps to upgrade the firmware on the Cisco Edge 300 and will be described in two stages:
- Preparing a bootable USB drive containing the desired Edge 300 firmware
- Flashing the firmware onto the Edge 300 device
Pre-requisites
- Cisco Edge 300 device
- 1 USB flash drive formatted in FAT32 file system (minimum 2GB free space)
- 1 Edge 300 firmware image file (for use with the USB flash drive)
- 1 paper clip / SIM eject tool (for the recessed reset button)
Note
Empty the contents of the USB flash drive for the purpose of Edge firmware flashing. The process of creating a bootable flash drive will temporarily render it unusable for conventional storage and transferring of files. The flash drive can later be reformatted back to its original file system once the firmware upgrade has completed.
Preparing a Bootable USB Drive
Step 1
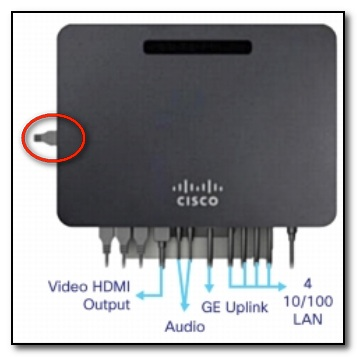
From your computer, copy the Edge 300 firmware image into the root directory of the USB flash drive. Disconnect the USB drive from your computer and connect it to the USB port of the Edge 300, located on the side of the device.

Step 2
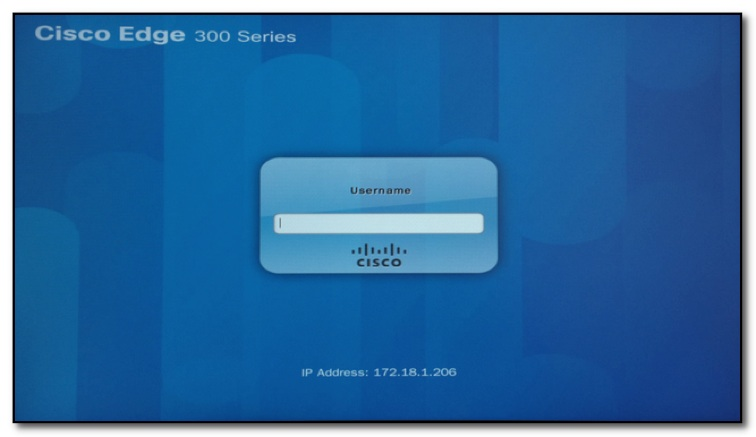
SSH into the device using either PuTTy (on a Windows PC) or Terminal (on a Mac) using the commands shown below. Replace {device IP} with the actual IP address of the Edge device. (verify with your network administrator regarding the correct IP address and root credentials for the Edge 300).
# ssh root@{device IP}
# root@{device IP} password: cisco
Step 3
Use the blkid command to locate the USB drive. (usually /dev/sdxx with xx being b1, b2 or c1, c2 etc.) For this guide, we will assume it is /dev/sdb1.
# blkid
/dev/sdb1: LABEL="USBDRIVE" UUID="7288-0792" TYPE="vfat"
Step 4
Mount the USB drive.
# mount /dev/sdb1 /tmp/mnt
Step 5
Unmount the USB drive. Copy the firmware image onto the Edge 300 device (into the /apps/ directory). Wait for the task to finish. The copying of the image file will be completed when the console displays a # symbol at the beginning of the command line.
# cp /tmp/mnt/smi-usb-sunbird-1.5.0-delivery.tar.gz /apps/
# umount /tmp/mnt
Step 6
Without ejecting your USB drive, run the following commands (remember to replace sdb1 with your blkid if discovered to be different from Step 3). Note that each command will take some time to execute. Wait until each command has completed (console displays a #) before proceeding to the next command. When all commands have been executed, remove the USB drive from the device.
# mkfs.ext3 /dev/sdb1
# mount /dev/sdb1 /tmp/mnt
# tar xvzf /apps/smi-usb-sunbird-1.5.0-delivery.tar.gz –C /tmp/mnt
# umount /tmp/mnt
Flashing the Firmware
Step 1
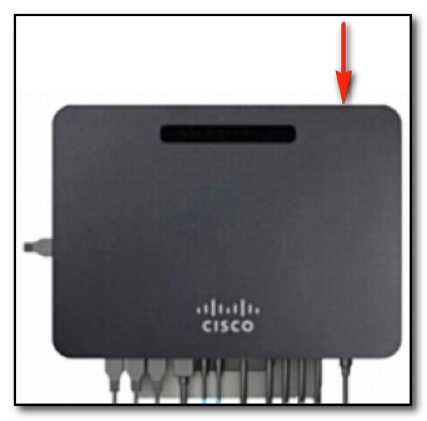
Press and hold the power button on the Edge 300 to turn it OFF. Connect the newly created bootable USB drive into the USB port again, located on the side of the device.
Step 2
Press and hold the power button on the Edge 300 to turn it back ON. Using your paper clip / SIM eject tool, press and hold the reset button located next to the power button of the device for about 5 seconds until the device reboots itself.
Step 3
Once rebooted, the Edge 300 device will read the contents of the USB drive and begin flashing the firmware. The power LED will be flashing continuously at this point, indicating the firmware update is in process. The firmware flashing will be completed when you are able to view the login screen on a connected display.